Easy Rainbow Craft For Toddlers & Preschoolers
Learn how to create a fun rainbow craft using marshmallows. Our children had so much fun using supplies we already had at home.
Disclosure: We only recommend products we would use ourselves and all opinions expressed are our own. This post may contain affiliate links when clicked, we may earn a small commission at no additional cost to you. Read our full privacy policy.
If you are like my family, then you are looking for anything that is easy to entertain your children. This easy rainbow craft is so much fun.
And it didn’t hurt that they got to eat some marshmallows in the process! Just make sure that they do not eat the glued ones!
Recommended Supplies
- Marshmallow (white or colored)
- Cardboard
- Sharpie or Pencil
- Glue
- Optional: Food coloring
How To Dye Marshmallows
Don’t have colored marshmallows at home? No problem. You can use food coloring to make colored marshmallows. Just make sure you give them enough time to dry before gluing them to your final craft.
If you only have small white marshmallows, you will want to dye them with food coloring.
Step 1: Make Baggies For Different Colors
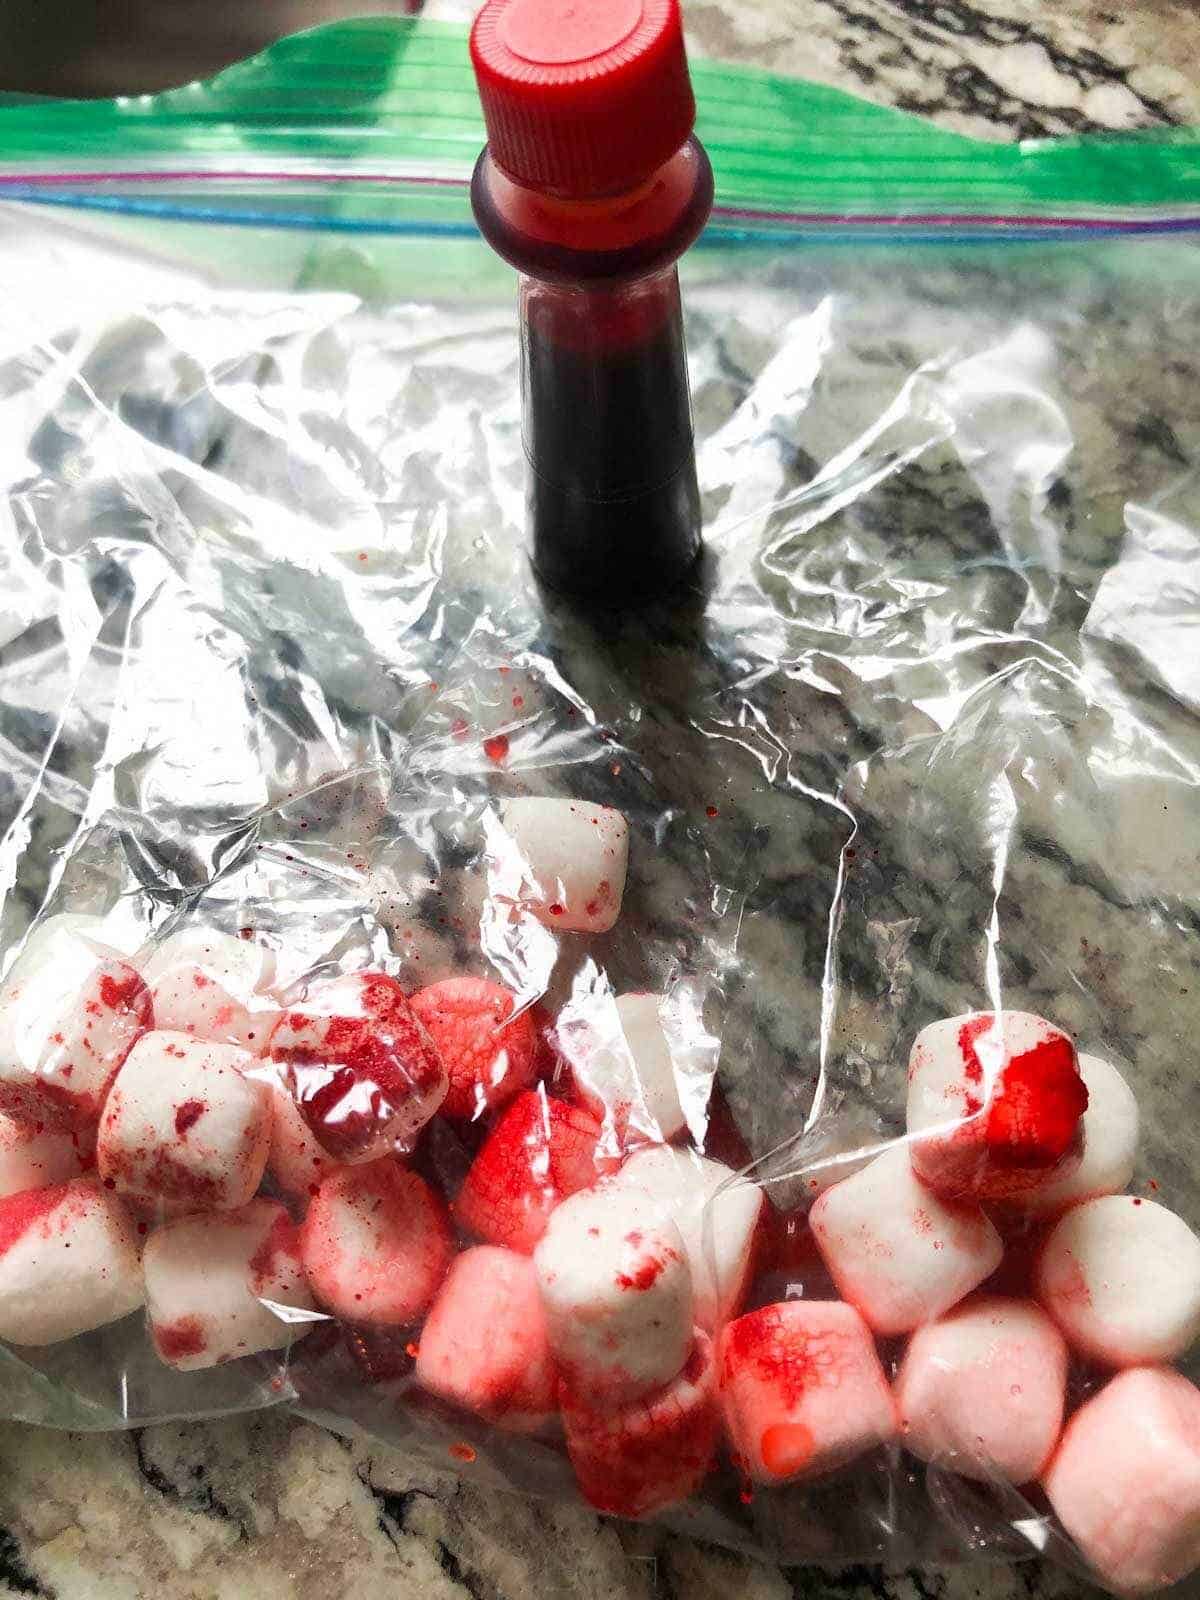
Place the number of marshmallows you think you will need for each color in a plastic bag. Add only a few drops of food coloring and about a tablespoon of water.
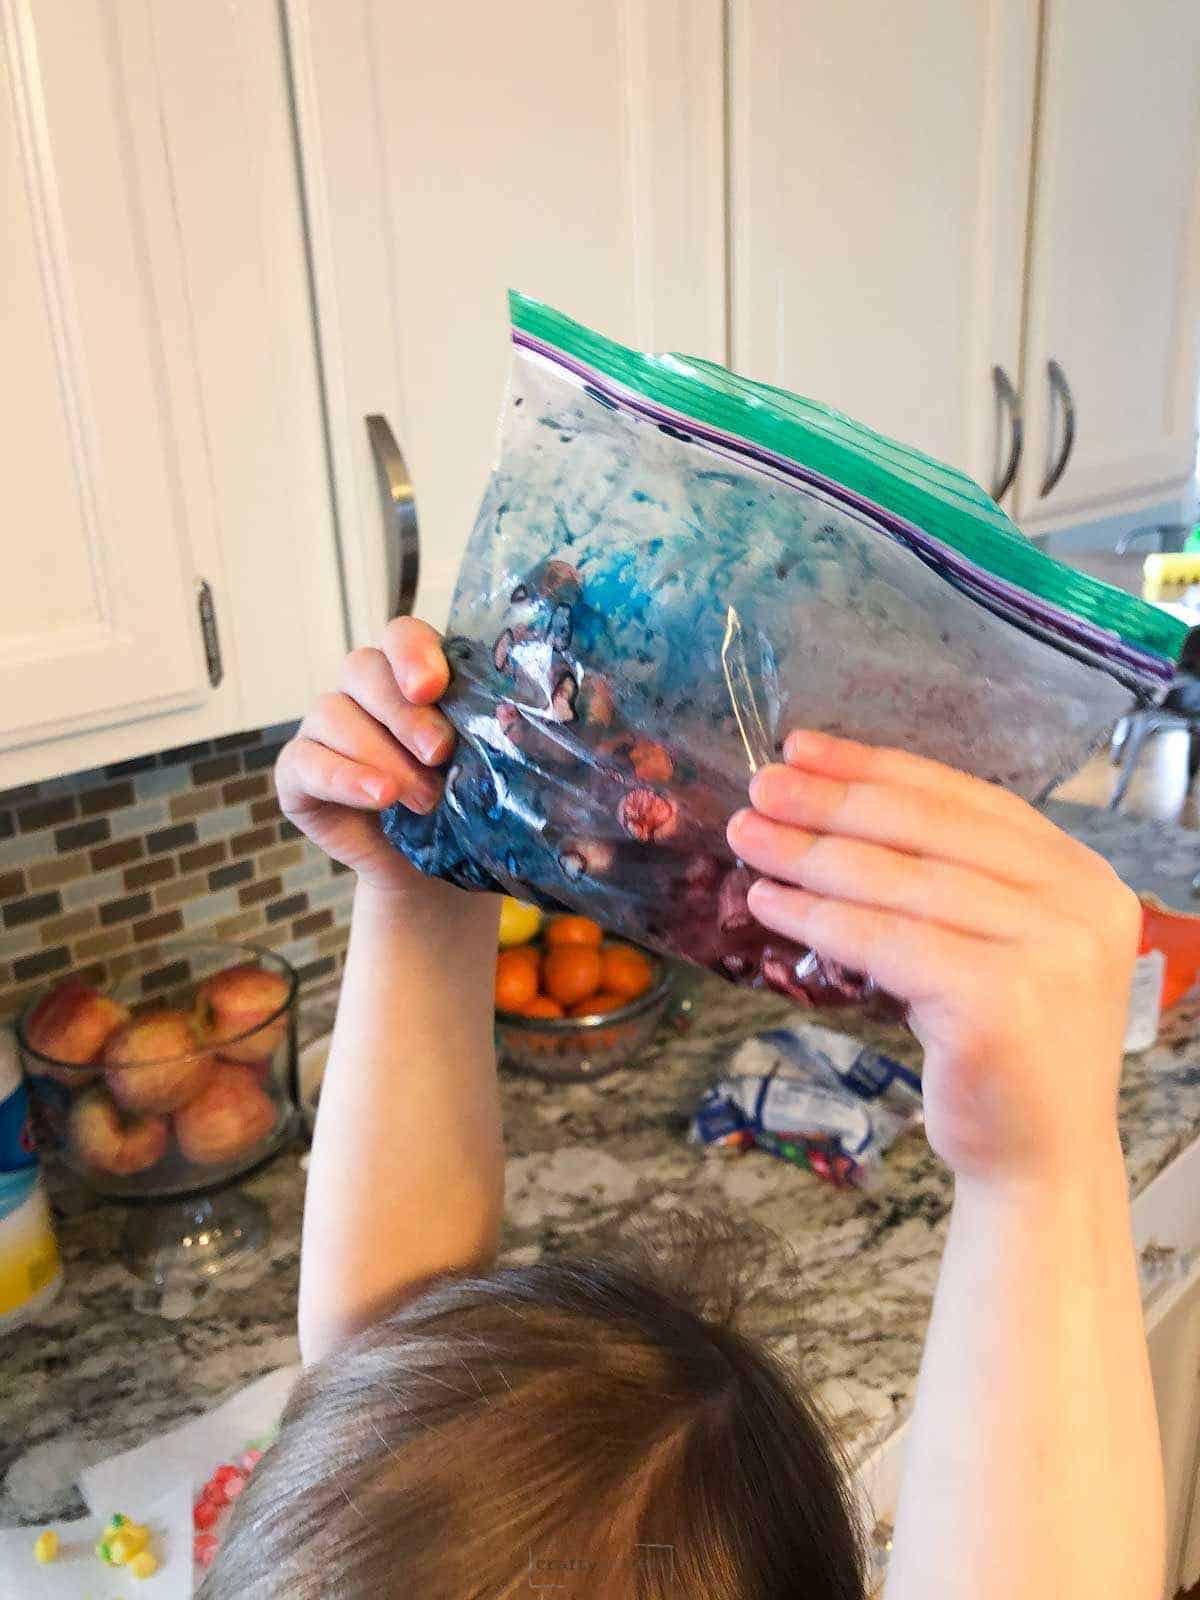
Step 2: Add Food Coloring
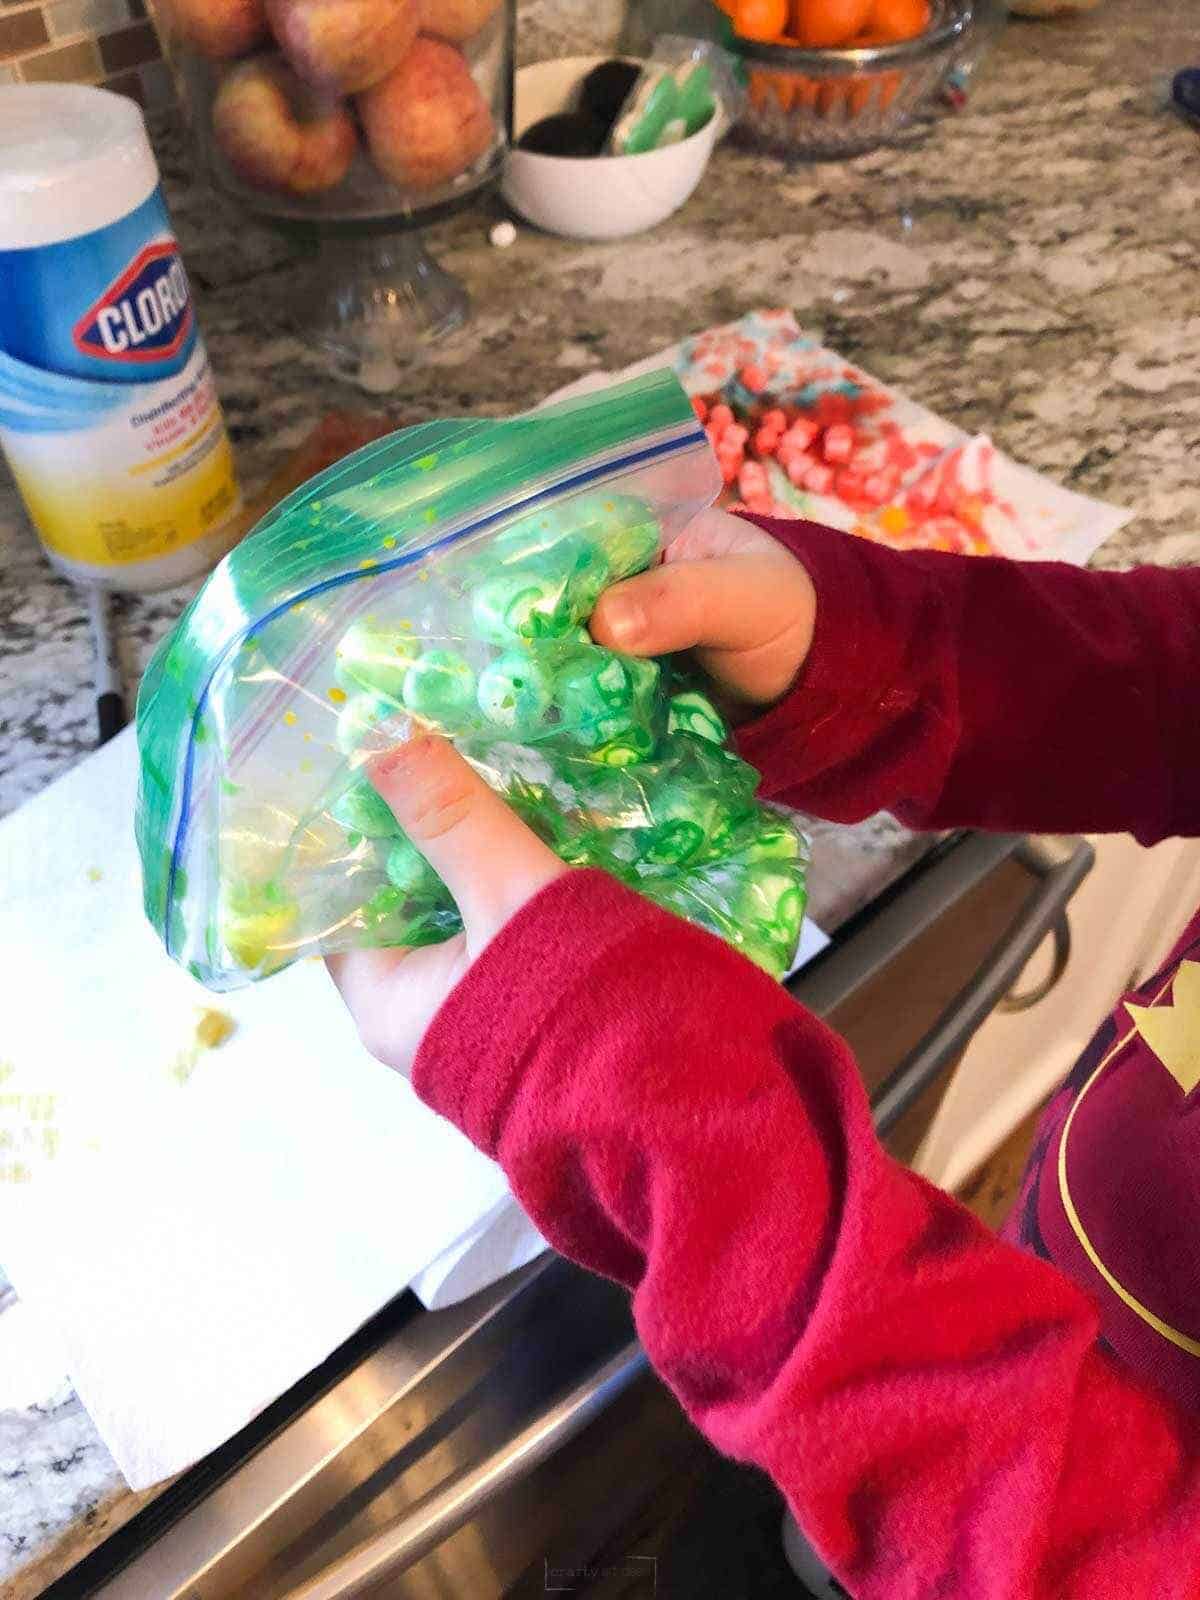
Zip the bag closed and move the marshmallows around. My toddlers loved seeing the marshmallows change colors.
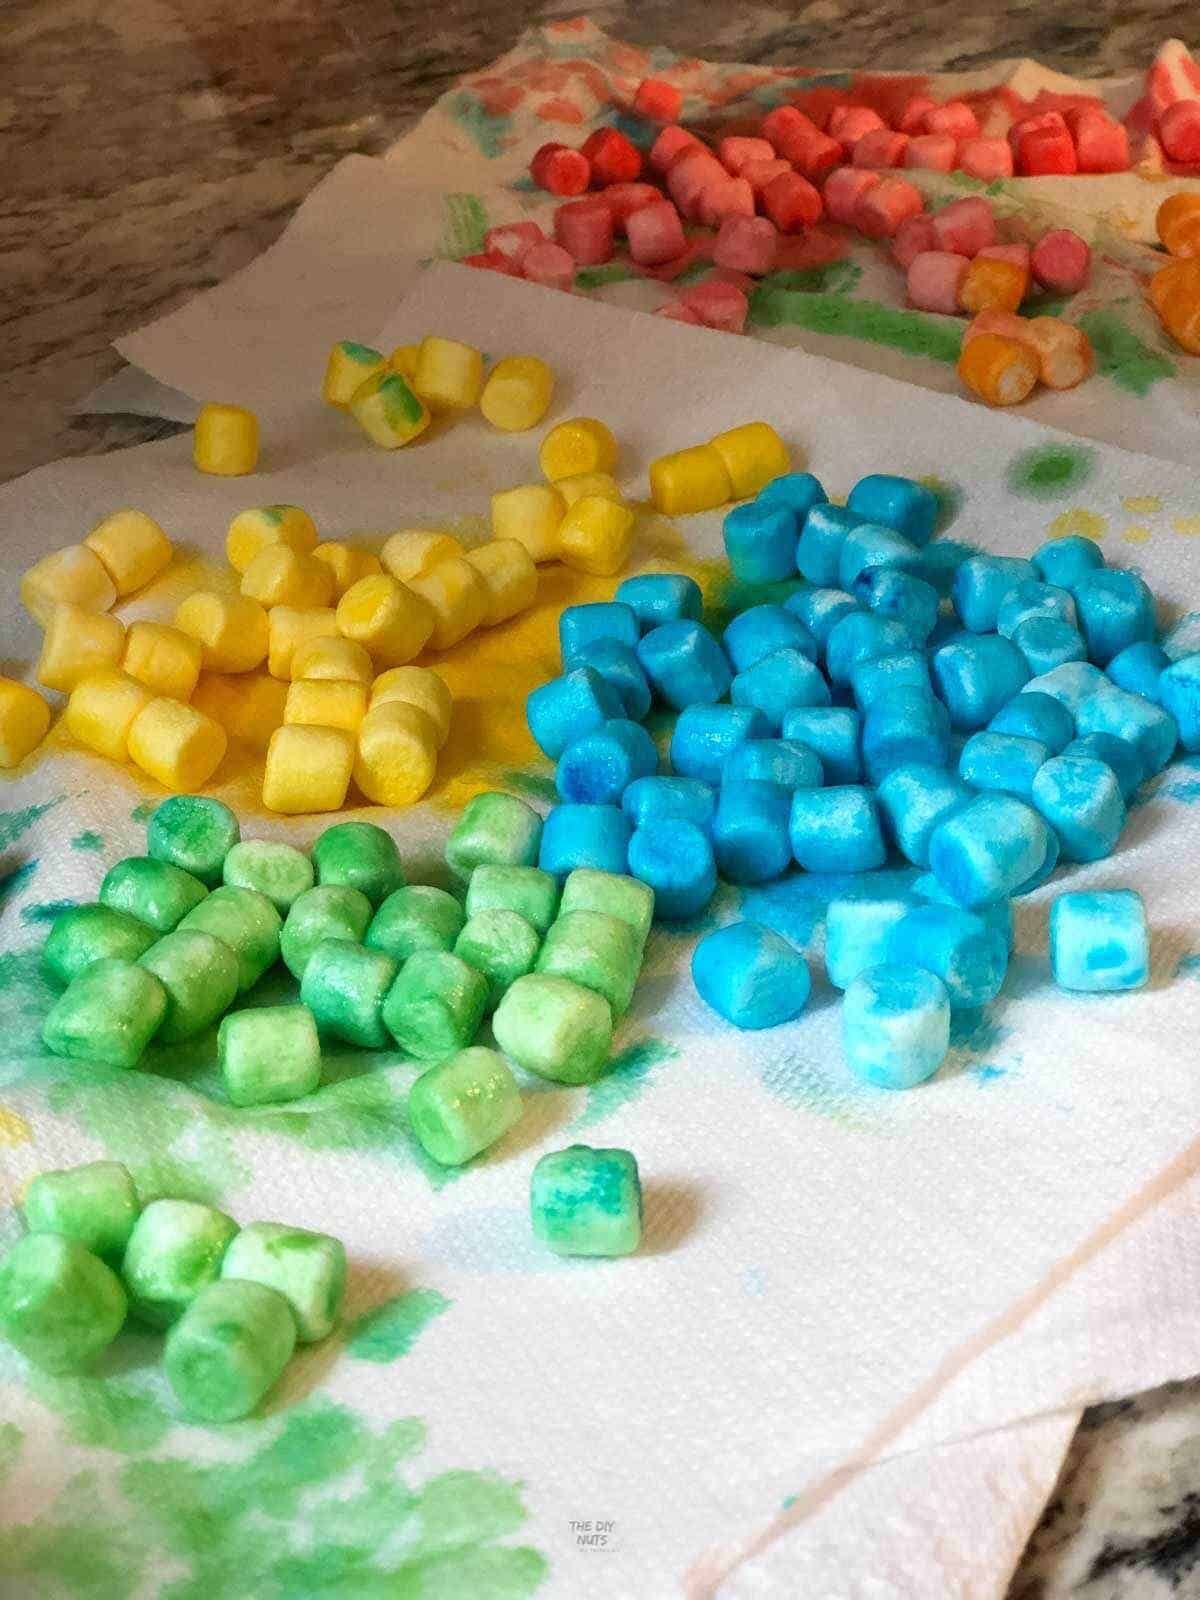
Step 3: Let Marshmallows Dry
Once you have made your colored marshmallows, empty the bag on paper towels. Leave the marshmallows there to dry to at least 30 minutes. I recommend having several layers of paper towels on your counter.
Marshmallow Dying Tip
You can use fewer bags if you make the colors in the order of the rainbow. Start with red, dump out red marshmallows. Then place new white marshmallows in the bag and just add two drops of yellow.
Repeat for all the colors of the rainbow going in ROYGBIV order!
Your children not only have fun seeing the marshmallows change colors, but they also will learn about color mixing. If want to make this even more educational, you could read one of my favorite color-mixing books as well!
Or you could also what my favorite color mixing video! Preschoolers and young children absolutely love this video!
Extra Color Theory Teaching Resources for Children
- Mouse Paint by Ellen Stoll Walsh
- Little Blue and Little Yellow by Leo Lionni
- Monsters Love Colors by Mike Austin
How To Make A Textured Rainbow Craft
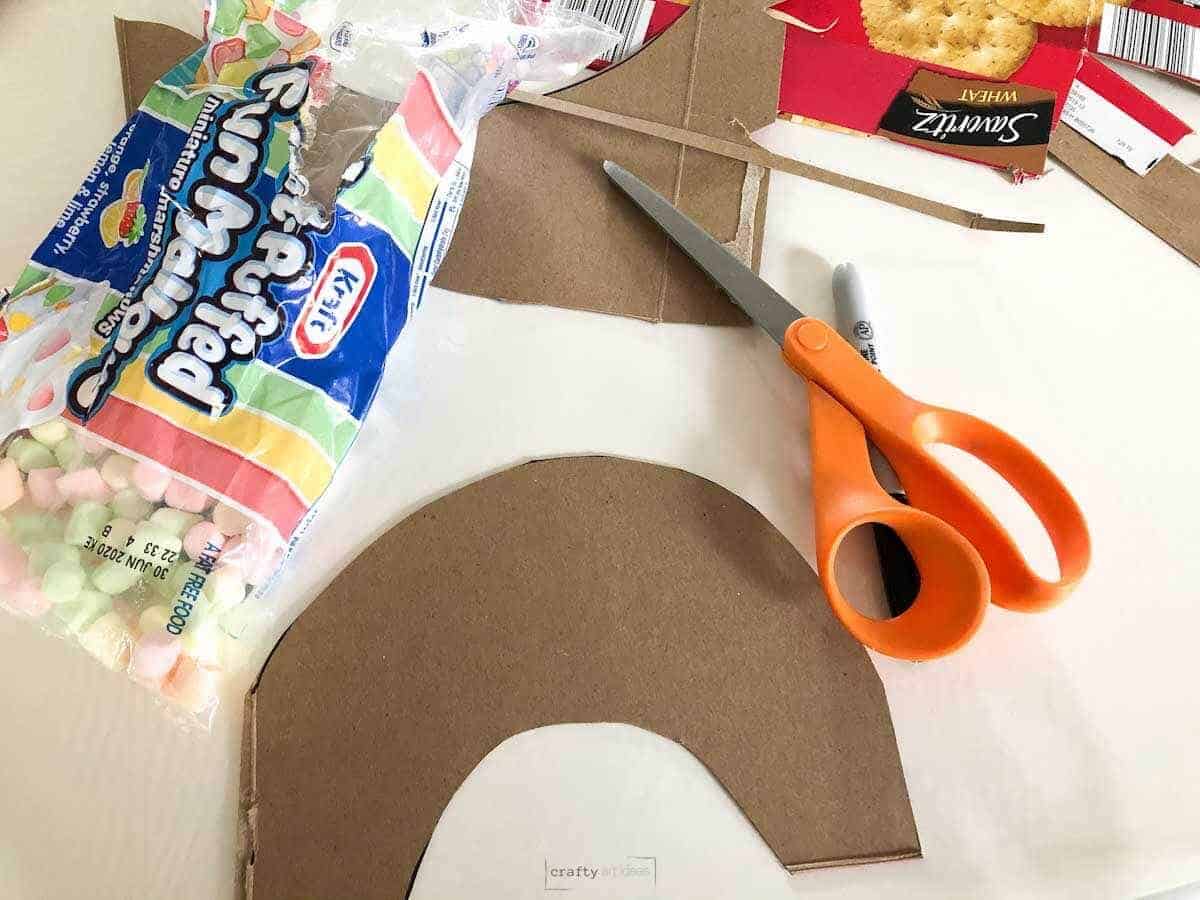
Step 1: Cut Arc Out
As marshmallows are drying, cut a rainbow arc shape out of cardboard. I took apart a cracker box. The back of the rainbow is the outside part box.

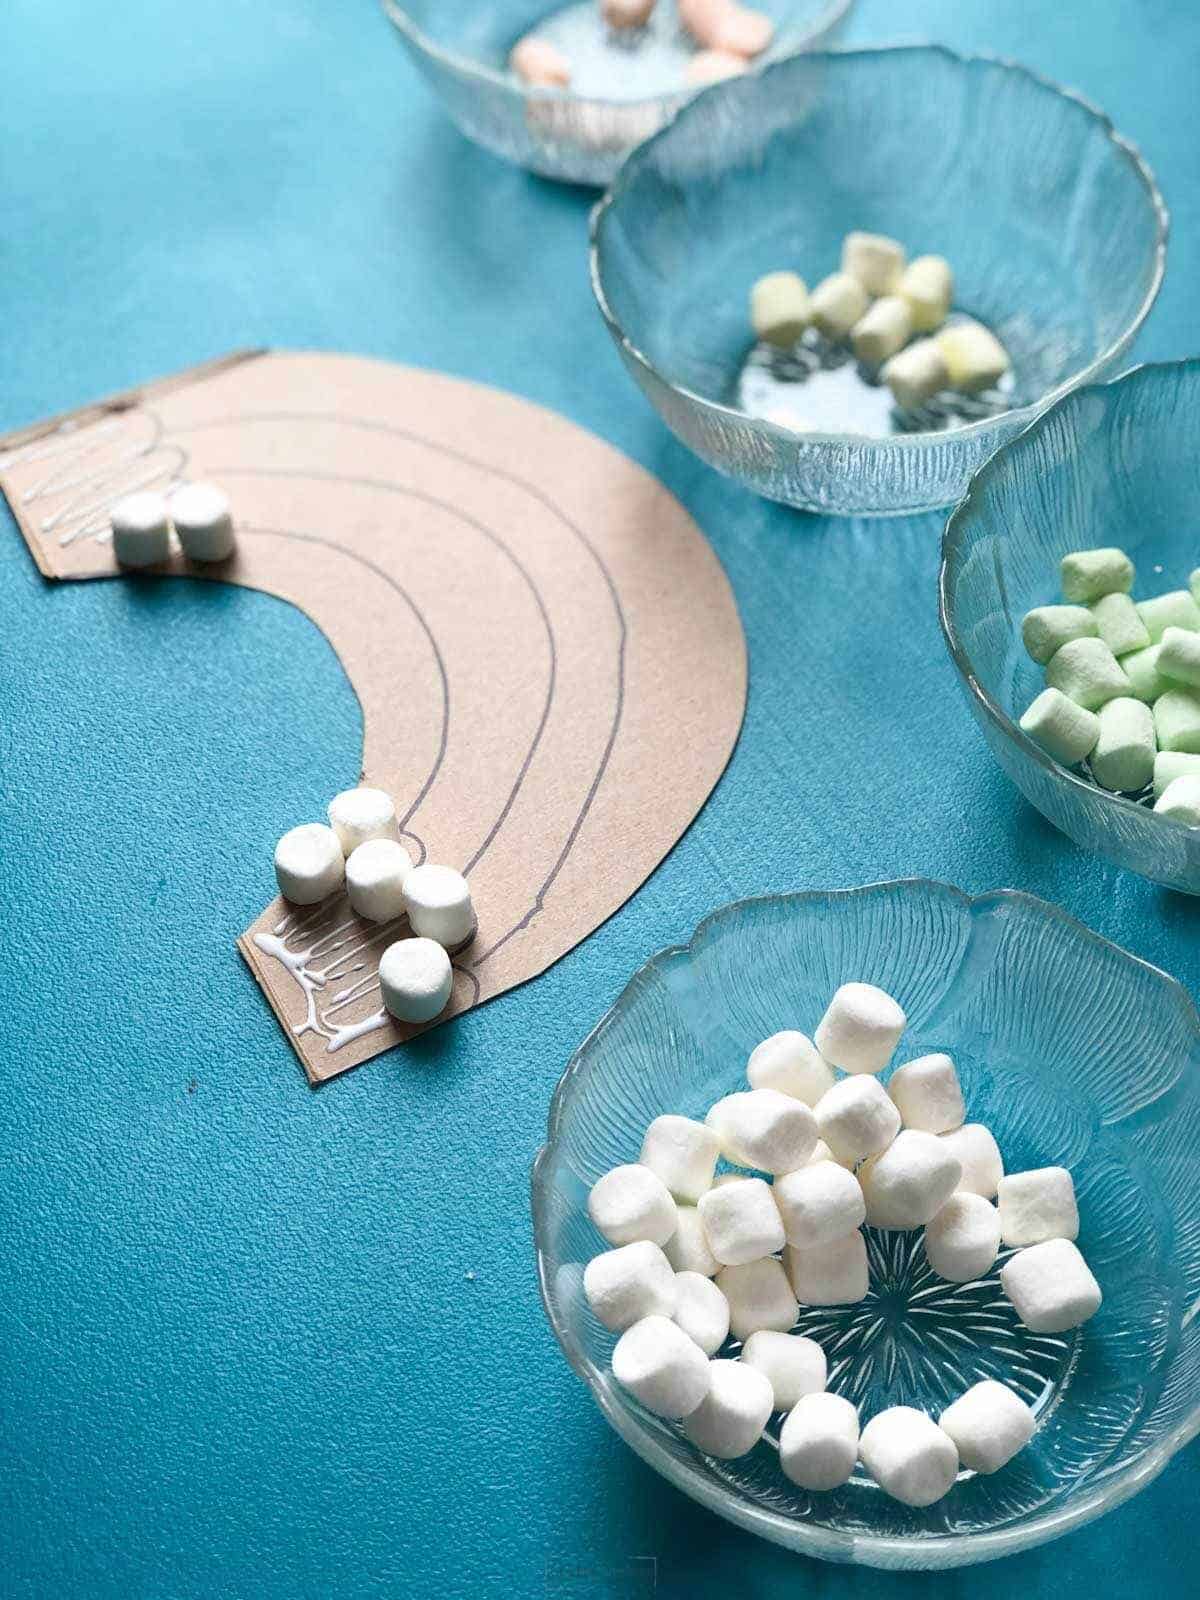
Step 2: Sort By Colors
Once marshmallows are dry enough, have children sort them by colors. Sorting is a great activity in itself for preschoolers!
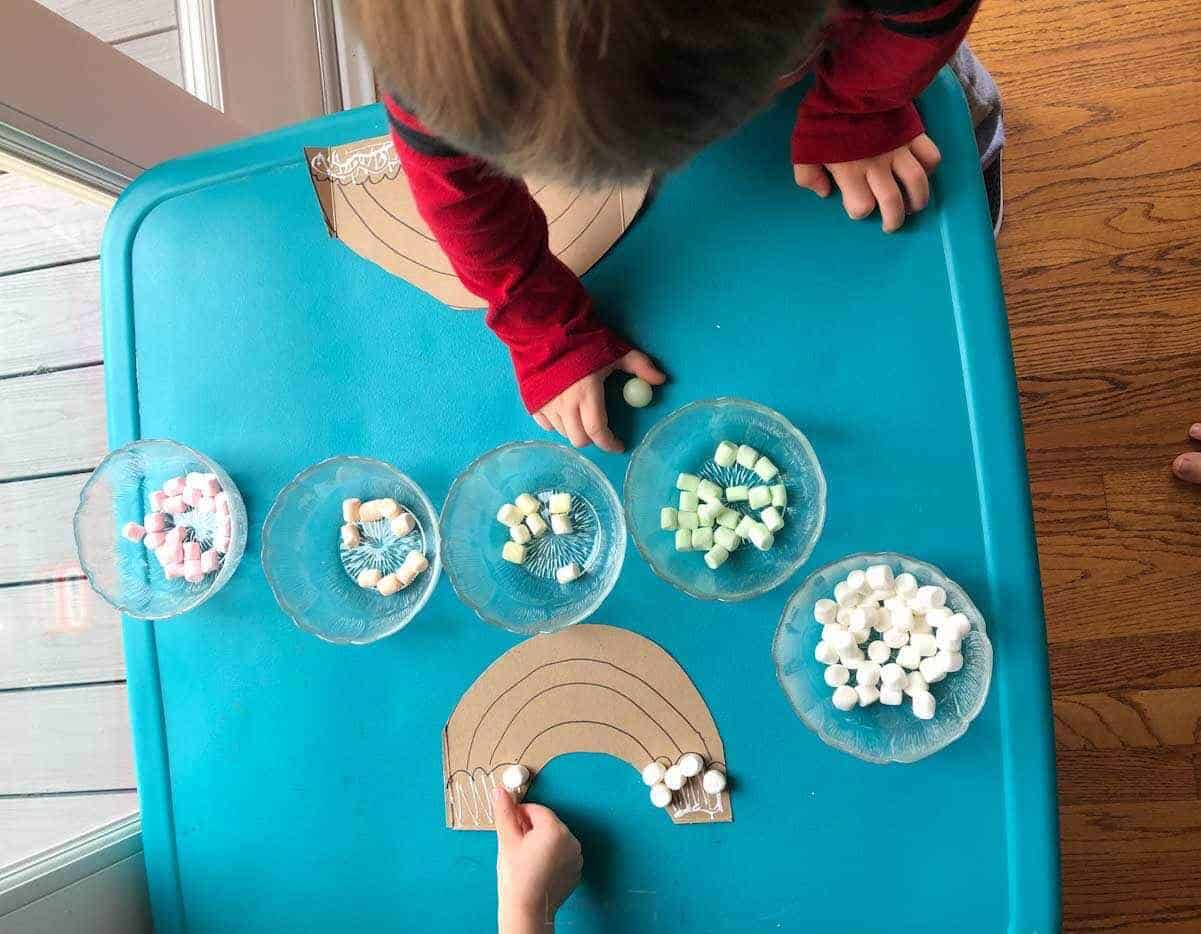
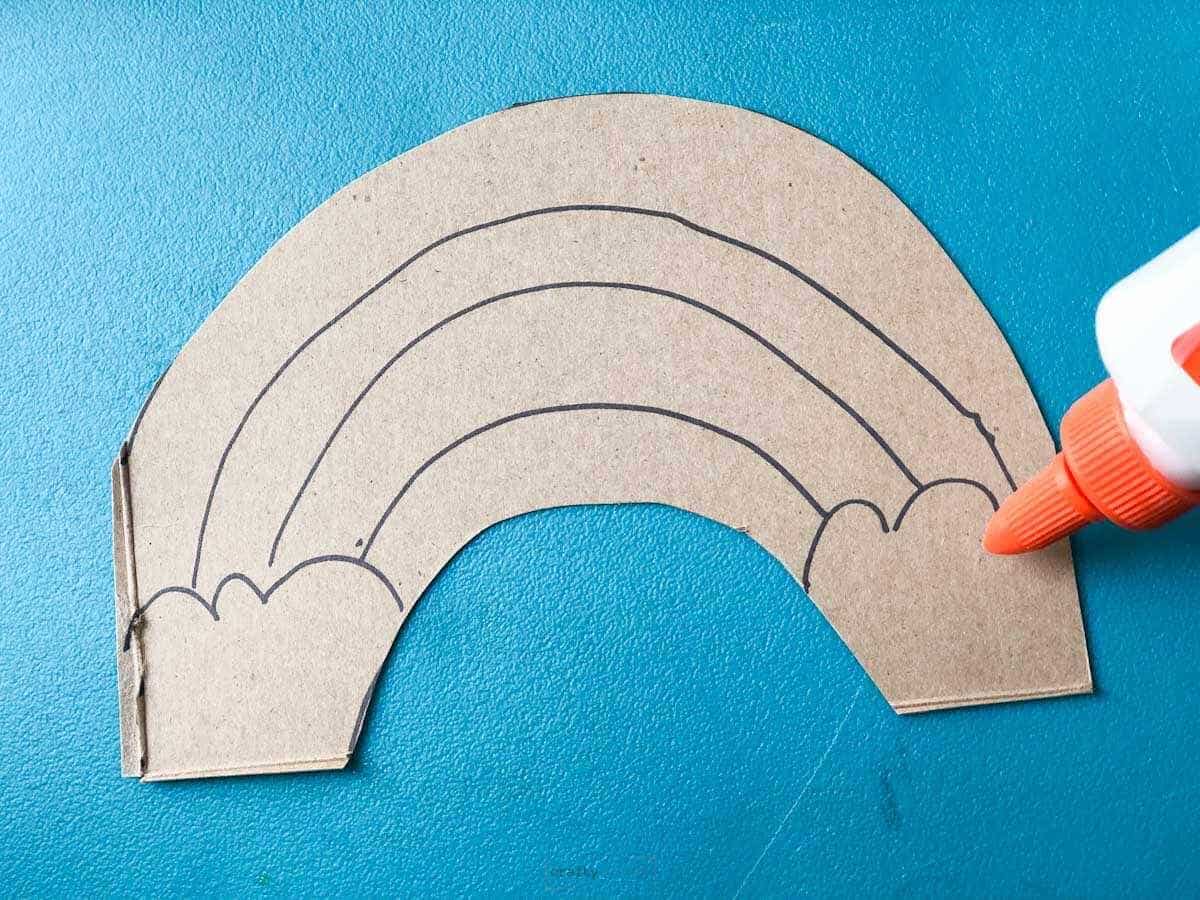
Step 3: Draw Rainbow Design
Draw rainbow lines and clouds if you want. Decide how many colors will be in your rainbow. Draw that many arced lines.
Step 4: Use Glue
Since my kids are preschool-aged, I decided to put the glue down for them. This also helped because I worked in sections.
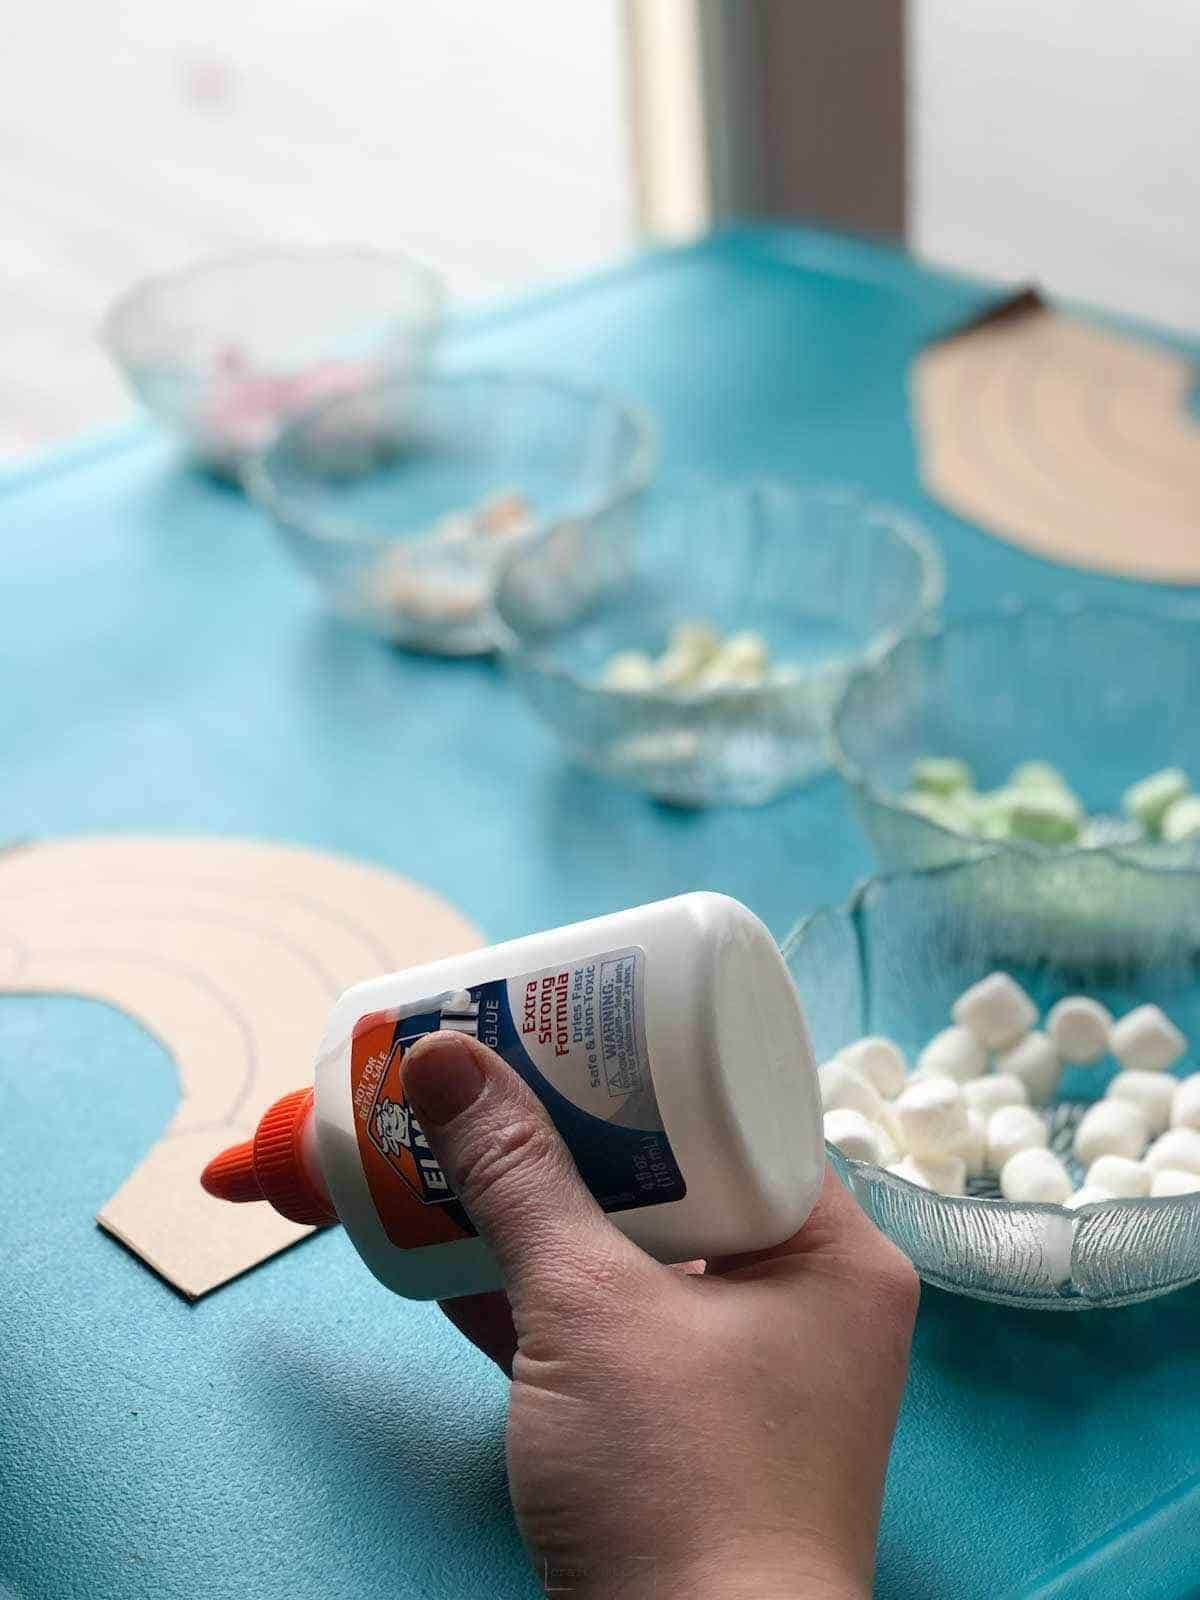
Step 5: Continue Adding Marshmallow
Only put glue down for one color at a time. My daughter was so proud when she would finish one of the colors.
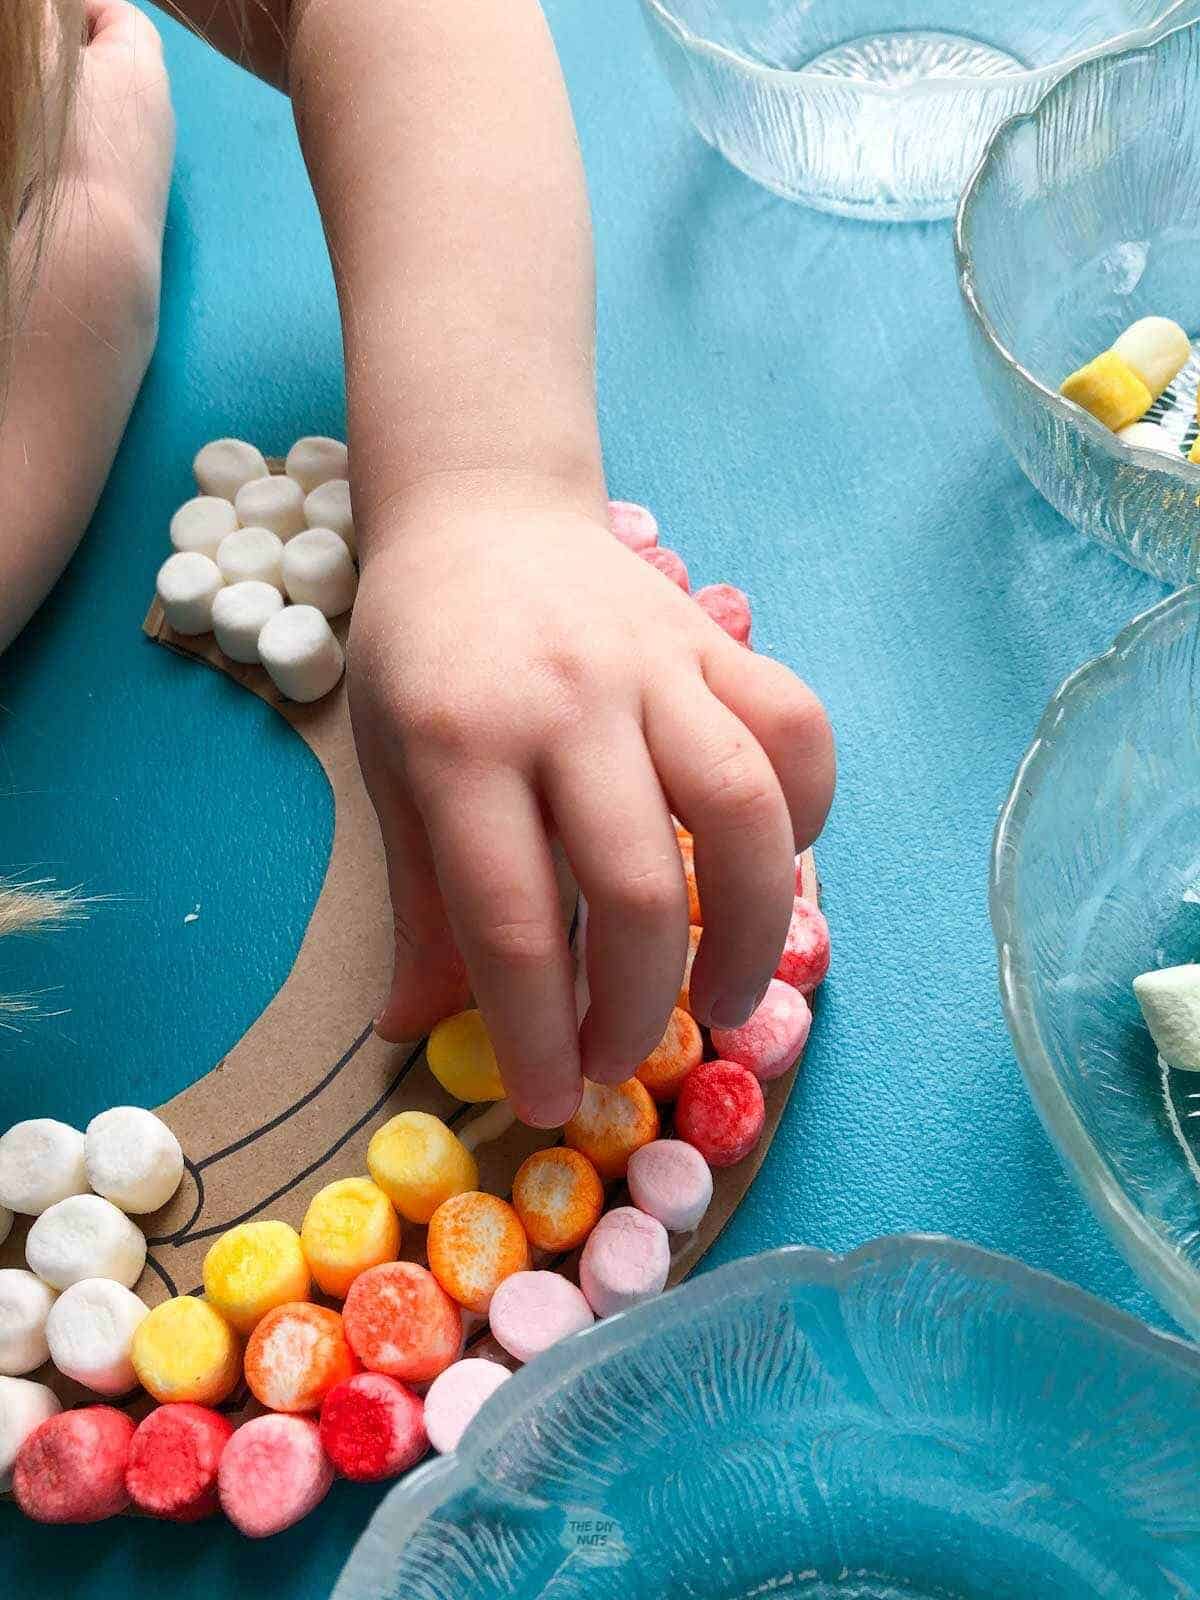
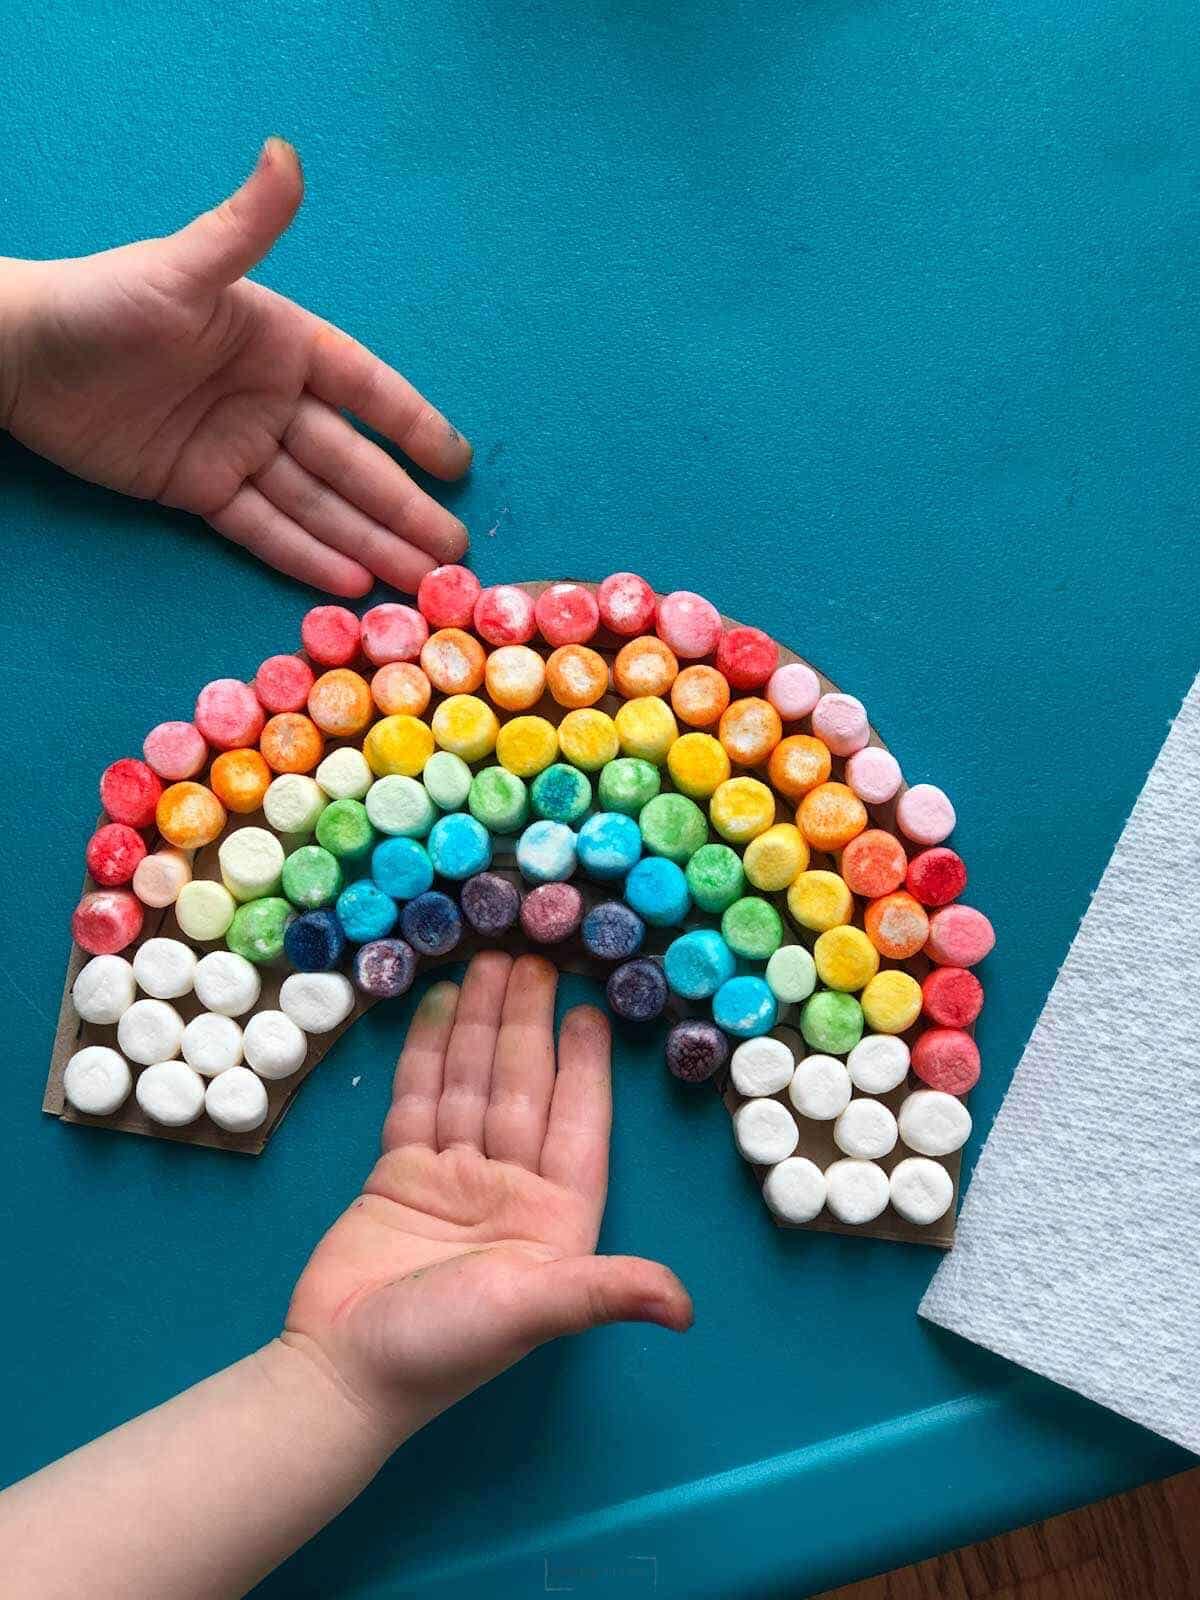
If you have elementary-aged children, then they should be able to do everything for their rainbow craft themselves (from drawing the rainbow to gluing).
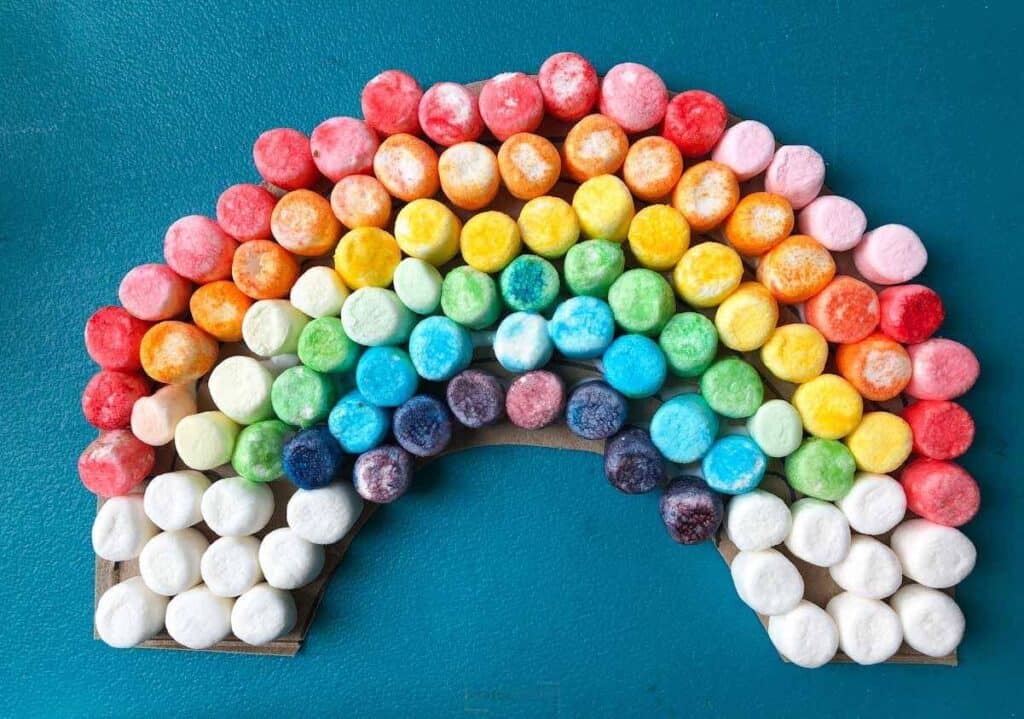
My preschoolers were so proud of what they created. The only thing is that you have to encourage your children to not eat marshmallows if they have glue on their fingers…
Oh the joys of being a preschooler! Don’t eat the glue!
I promised a small bowl of fruity marshmallows once they finished their rainbow art project.
Enjoy spending quality time with your toddlers and preschoolers.
Follow us on Pinterest for more free art and craft ideas!
Looking For More Easy Preschool Crafts?
- Create Abstract Straw Paintings
- Easy Homemade Playdough In Your Slow Cooker
- 24+ Homemade Playdough Recipes Preschoolers Love
- Clever Preschool Caterpillar Craft
When there is a lot of gloom in the world right now, these easy rainbow crafts sure made me smile. Being creative and spending time together is truly what is important.

Easy Toddler Rainbow Craft
Equipment
- Pair Of Scissors
- Permanment Marker
- Ziploc Baggies
Materials
- Cardboard Box
- Tropical Marshmallows
- White Marshmallows
- Food Coloring
- Liquid Glue
Instructions
- Dye marshmallows following the insturctions above and let dry.

- Draw and cut out cardboard arc for the rainbow.
- Sort colored marshmallows.

- Draw rainbow design with clouds.

- Put glue in clouds and one stripe. Place colored marshmallows on cardboard.
- Repeat until all the cardboard is covered.