Easy DIY Crayon Letters
Learn how to make easy rainbow letter crayons using silicone molds.
Print Tutorial
Equipment
- Water container filled with warm water
- Oven
- Oven mitt
- Cookie Sheet option to cover with aluminun foil to keep it clean in case hot wax drips
Supplies
- Silicone molds this is the exact mold that we used
- Old Crayons
Instructions
- Peel the crayon wrapper off of the crayons. Soaking in water for 10 minutes can really help with the process.
- Preheat the oven to 275 °F
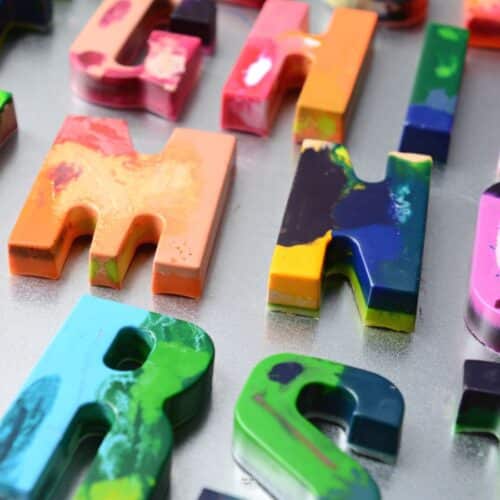
- Place broken crayon pieces in molds. Fill in the letters as much as you can. The crayons melt to fill every empty space.
- Put letter silicone mold on a cookie sheet before putting it in the oven.
- Cook for 9-11 minutes or until fully melted (cooking times may vary based on your oven).
- Once you see that the crayons have fully melted, pull them out of the oven immediately.
- Once one is completely cool to the touch, you can carefully push it out of the letter mold.
Video
Notes
- You may want to cover your cookie sheet with aluminum foil for an easier clean-up if there are any wax drips.
- When melting crayons, make sure to watch for when they are fully melted. You do not want to overcook them.
- As long as you are watching your crayons, you can change the cooking time and oven temperature to work for your crayons and oven. As with any baking time, oven times and temperature may vary for your specific situation.
- If you have one stubborn crayon that won't melt, you can take a toothpick and stir it with the hot wax to try to melt it quicker.
- The wax will be very hot and liquid.
- How long your newly formed crayons need to cool will depend on the size of your molds.
- Carefully pull the mold away from the new crayon before forcing it out of the mold.
Cost: under $10