DIY Peel and Stick Floor Tiles - How to Install Them Yourself
Learn how install peel and stick vinyl ahesive tiles to cheaply makeover your flooring.
Print Tutorial
Equipment
- Hair Dryer
- Safety Gear (such as glasses or kneepads)
- Tape Measurer
- Sharp Scissors
- Floor Roller (we used an old ink brayer, but they do sell small hand rollers or you can rent a 100 lb. roller to ensure the best adhesion)
- Pencil or marker
- Sharp Utility Knife and Extra Blades
Supplies
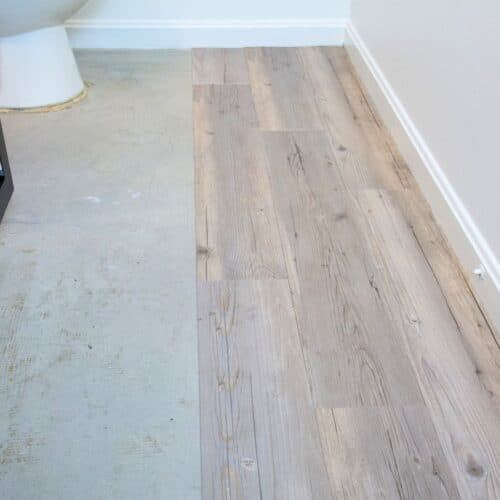
- Peel and Stick Vinyl Floor Tiles here are the gray barnwood peel and stick planks we used.
- Transition Strip this come in all varieties depending on the floor surrounding your peel and stick.
Instructions
Before You Begin
- Remove old flooring, including any adhesive.
- Consider removing baseboards and toilet.
- Ensure that the floor is clean, level, and completely dry.
Prep The Floor
- Vacuum and wipe the subfloor clean.
- Sand any areas that are not completely flush.
- Optional: Paint old grout lines or fill them in with thinset mortar.
- Optional: Clean concrete floors with acetone (optional).
- Unpack the tiles and let them adjust to room temperature and humidity before installation.
- Set aside any tiles with blemishes or patterns you don't like.
- Dry fit your tiles and decide on your flooring pattern and dry lay the tiles on your clean floor.
- Check that you have enough tiles to cover the entire floor.
- Ensure that the layout of the tiles looks even and balanced.
- Cut the tiles. Measure carefully and use a speed square and utility knife to score the back of the tiles. Use high-quality scissors in some areas to trim excess or make hard cuts.
- Begin installation by starting at a straight edge of the room or in the center. For larger rooms it is recommended to start in the middle.
- Remove the paper backing and lay down the tile.
- Line up the plank and make sure you are happy with the placement before pushing down.
- Use a roller to help even push the adhesive into the concrete.
- Repeat the above steps until the whole floor is covered.
- Reinstall baseboards or shoe molding.
- Miter shoe molding after painting it white to match baseboards.
- Install a transition strip if needed.
Notes
- Start in the corner of your room or in the center.
- Make a chalk line down the center of larger rooms to use as a guide.
- For complicated cuts, use a hairdryer to warm the tiles to make the cuts easier.
Cost: varies