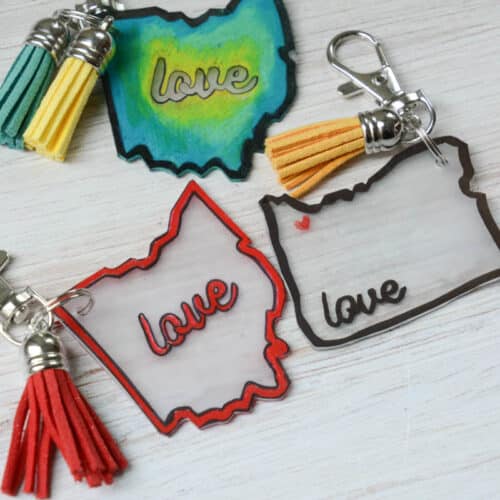
DIY Shrinky Dink Instructions
Learn how to melt shrink plastic in your oven for this fun and easy craft idea. Use our free state templates to create a fun DIY keychain or magnet.
Print Tutorial
Equipment
- Hole Punch
- Cookie Sheet
Supplies
- Shrinky Dinks
- Colored Sharpies or permanent markers
- Parchment paper
- String optional
- Pin backing optional
- Magnet optional
Instructions
- Print out the state printable or sketch your own drawing.
- Place shrinky dink film on top and don't let it move.
- Use a Sharpie or permanent marker to trace your drawing or template.
- Neatly cut out design.
- Punch a hole if you plan to hang it.
- Preheat oven to 325 degrees Fahrenheit.
- Place on parchment paper on a cookie sheet.
- Once the oven is heated, place a cookie sheet in for 1-3 minutes. You will see the plastic curl and twist, wait 30 seconds after it is flat.
- Pull out of the oven and let cool.
- Add magnet, pin, or string.
- Enjoy your easy Shrinky Dink craft!
Video
Notes
- You can use colored pencils, colored permanent markers or acrylic paint to add color to your Shrinky Dinks.
- Make sure to cook in the oven for 30 secs after the plastic film lays flat.
- Do not touch the plastic until it is fully cooled.
Cost: under $5