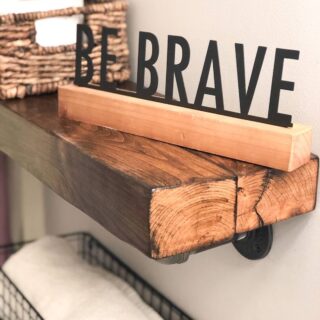
DIY Pipe Shelf With Reclaimed Wood
Learn how to make a DIY pipe shelf with reclaimed wood.
Print Tutorial
Equipment
- Orbital Sander
- Clamps
- 4' Level
- Bubble Level
Supplies
- Reclaimed Wood (or new 2 x10s)
- Stain
- Polyurethane
- 45 Grit Sandpaper
- Drywall Anchors
- Pipe Flanges We purchased this set to save time. You can go to a plumbing store and buy each individual part.
- Wood Glue
Instructions
- Create wood shelf. You can either cut and stain new wood or use reclaimed wood.
- Measure and mark studs. Use a level to mark the wall at your proper height.
- Mount brackets to the studs using drywall anchors.
- Screw in flanges.
- Add pipes into flanges. Check that both flanges are level with a 4' level.
- Add the wood shelf onto pipe fittings from the bottom with the screws provided.
Notes
If using reclaimed wood
- Sand down wood with an orbital sander.
- You possibly may need to glue and clamp pieces together to make it the right size for your shelf.
- Sand down glue pieces again until you have a shelf you are happy with.
Cost: under $40