How To Make String Art
Learn how to make a large word art out of string. This rainbow string art is an awesome way to add inspiration to your walls.
Print Tutorial

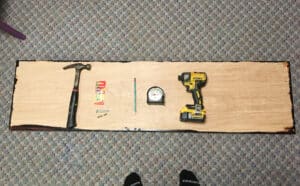
Equipment
- Hammer
- Ruler
- Pencil
Supplies
- Embroidery String
- Small Nails
- Wood or base we used scrap birch plywood
- Brackets for hanging optional
Instructions
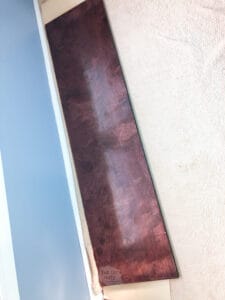
- Prep your hard surface. For us, this included cutting a large piece of birch plywood (15” x 48”), staining and using poly. Plan out your design once board is dry.
- Create a template or print text on copy paper. You can also just sketch the letters out to be the customize size you want.
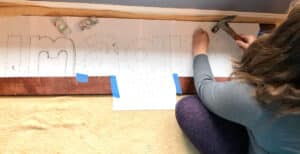
- Use painter's tape to attach template to wood. Make sure that your word is straight by measuring the bottom of the letters and end of the wood in several spots.

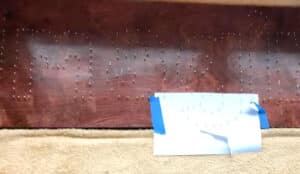
- Lightly tap nails around the edges. At first, I was placing my nails to close together. I realized I did not have to do that. I aimed to tap them in about 1/2".
- Once all of your nails are securely in, you can carefully remove the paper. Some paper may be stuck in around the nails and you will just have to carefully pick it out.
- Tie a knot in the corner of your first letter. and start wrapping Leave a little leftover to make to easier. You will just hide the tail when you are done.
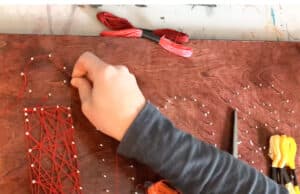
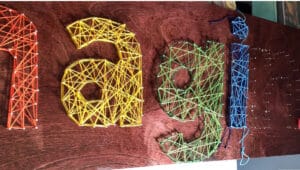
- Go around the perimeter of the letter first and then criss-cross in a random pattern afterwords.
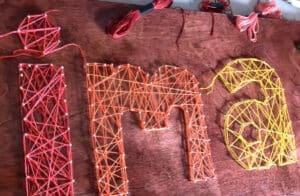
- If doing a rainbow word, repeat above step to add a lighter color on top.
- Hide tails of extra strings when finished and hang your art by adding a bracket to the back in two equidistant spots.
Video
Notes
See above for more instructions on how to hang large word art in the post.
- Use at least 2 or 3 different colors on the same letters. This will give you more depth and interest.
- Modify this design to make a rainbow string art in the size you want.
Cost: under $20