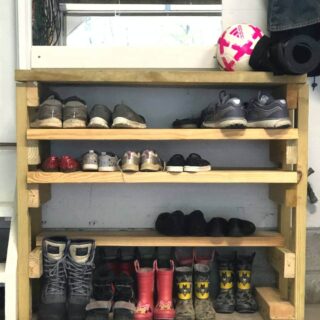
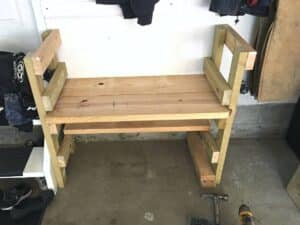
DIY Garage Shoe Rack
Learn how to build a simple wooden DIY shoe rack for your garage.
Print Tutorial
Equipment
- Hammer Drill if drilling into concrete floor
- Drill
- Screw gun
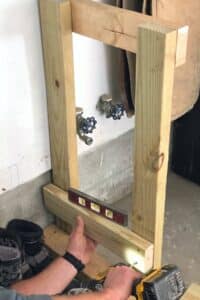
- Torpedo level
- Tape Measure
- Circular Saw
- Pencil/pen
Supplies
- Tapcon concrete screws and drill bit
- 3” long wood screws
- 2x4s use pressure-treated if the area will be wet
- 2x10s use pressure-treated if the area will be wet
Instructions
- Design shoe rack for your space.
- Precut lumber you need.
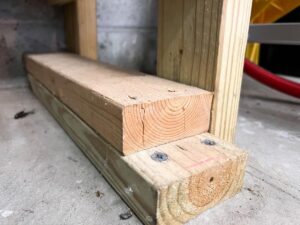
- Optional: Attach the base to concrete by using a hammer drill and tapcons to secure 2 x 4.

- Once the 2 boards are secured to the concrete floor put another 2 x 4 directly on top of the boards attached to the tapcons. Use wood screws to attach this new 2 x 4.
- Add vertical supports. Next using wood screws attach the vertical 2x4s that will determine the height of the overall structure.
- Add 2x4s to the inside face of vertical 2x4s. Put these at the height of your shelves.
- Add shelves with 2 x 10s on small 2 x 4s.
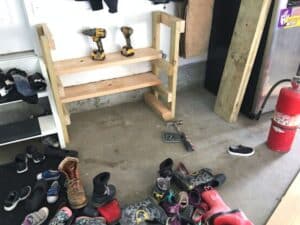
- Continue building shelves until your garage shoe rack is complete.
Notes
How To Attach Wood To Concrete
We attached our shoe rack to make it sturdy so we could stand on it.- Use the tapcon concrete screws to screw through the first 2×4 into the concrete floor.
- At the end of the 2 x 4s you should drill a pilot hole with a regular drill bit first. Drilling a pilot hole at all locations will keep the ends of the lumber from splitting.
Cost: under $40