Design your base: Determine the height of your rock wall and the angle you want it to be at. Use the Pythagorean Theorem to calculate the distance your base should be from the side.
Cut two 2 x 4 boards at the size you decided for the hypotenuse or angled part of the wall.
Attach angled base 2x4s to your existing structure.
Cut 2 x 4 boards to the desired width (we used 42" for our wall).
Use deck screws to attach all the cut climbing boards to the two angled 2 x 4s.
Draw a grid on the boards and mark the amount of holes you will need to drill. Place the rock hand holds every 10-12 inches in the grid.
Pre-drill holes with a drill bit where you plan to attach the rock holds. Attach the rock holds using 2.5 inch screws.
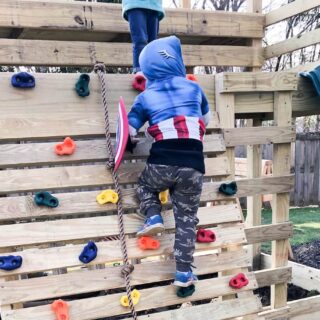
Test the wall for stability and safety. Make sure the wall is stable and all the holds are secure before allowing children to climb on it.
Optional: Add safety measures, such as a landing pad or protective padding, to ensure a safe climbing experience.