How To Make Melted Crayon Letters-Easy DIY Tutorial
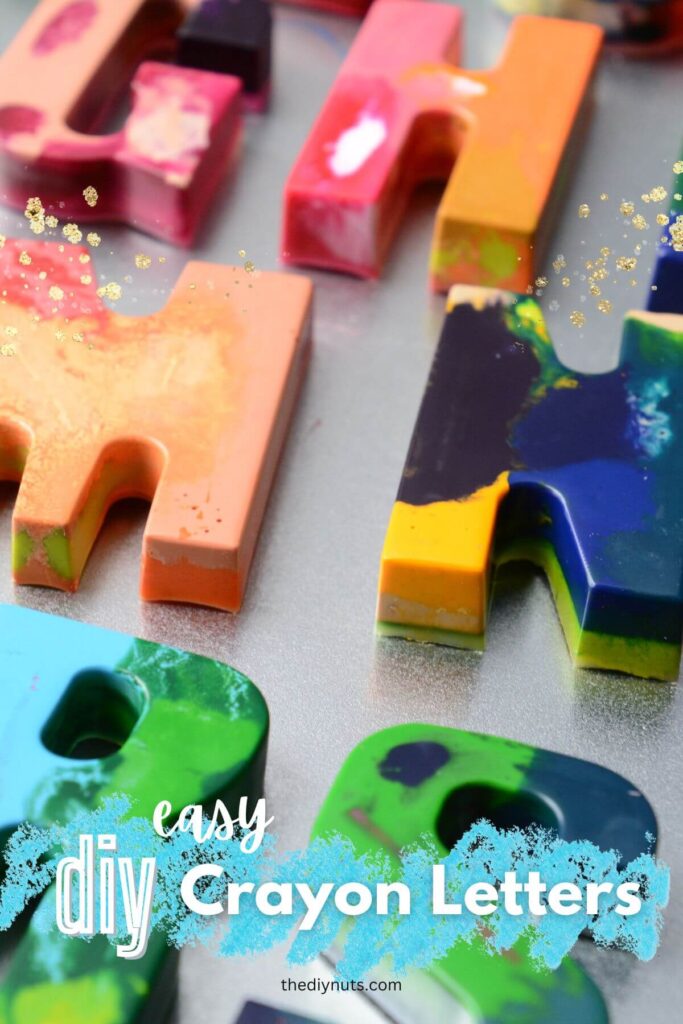
Are you looking for a simple and fun craft idea that makes an amazing gift? Learn how easy it is to use your old broken crayons and make these DIY letter crayons. You can make a whole set of alphabet crayons in less than 20 minutes and for under $10!
*Disclosure: I only recommend products I would use myself and all opinions expressed here are our own. This post may contain affiliate links that at no additional cost to you, I may earn a small commission. Read our full privacy policy.
Recommended Supplies
- Water cup with warm water
- Old Crayons: Crayola crayons melt the easiest and give the best colors
- Oven
- Oven mitt
- Cookie sheet (optional to cover with aluminum foil)
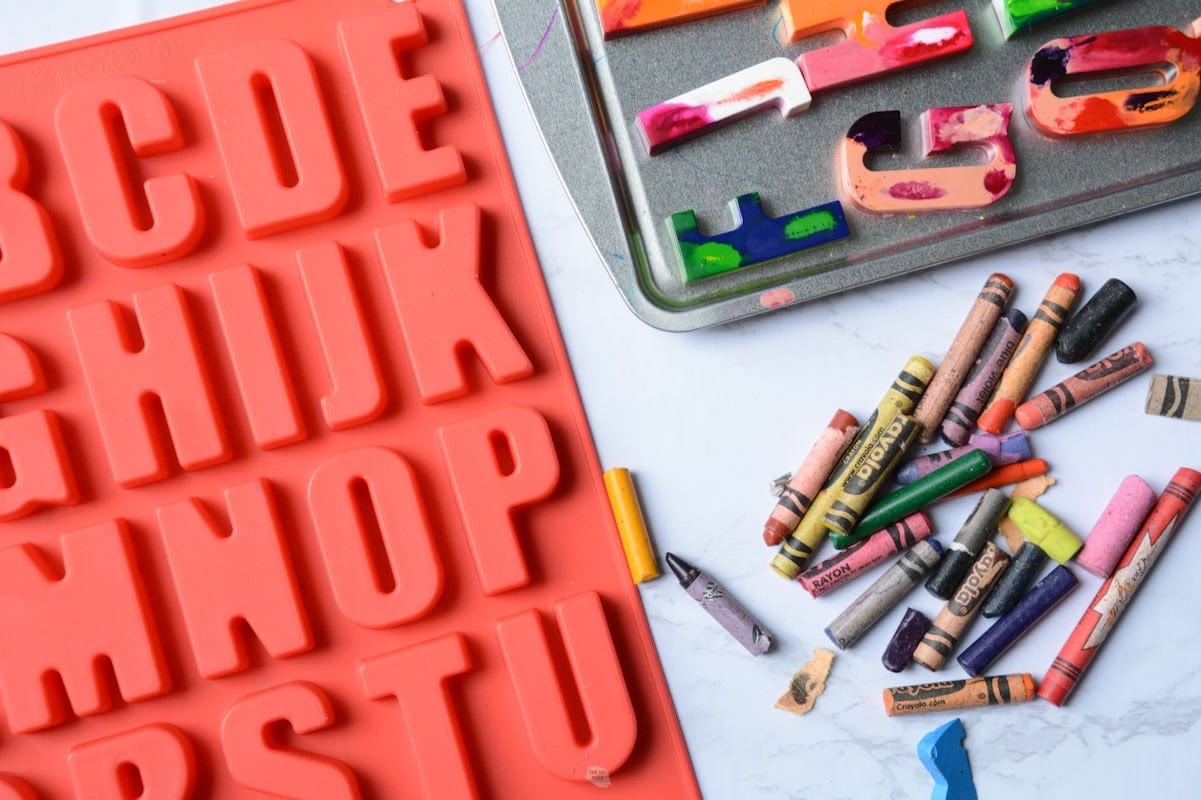
- Silicone molds (this is the exact mold that we used)
Tip To Easily Peel Crayon Wrappers
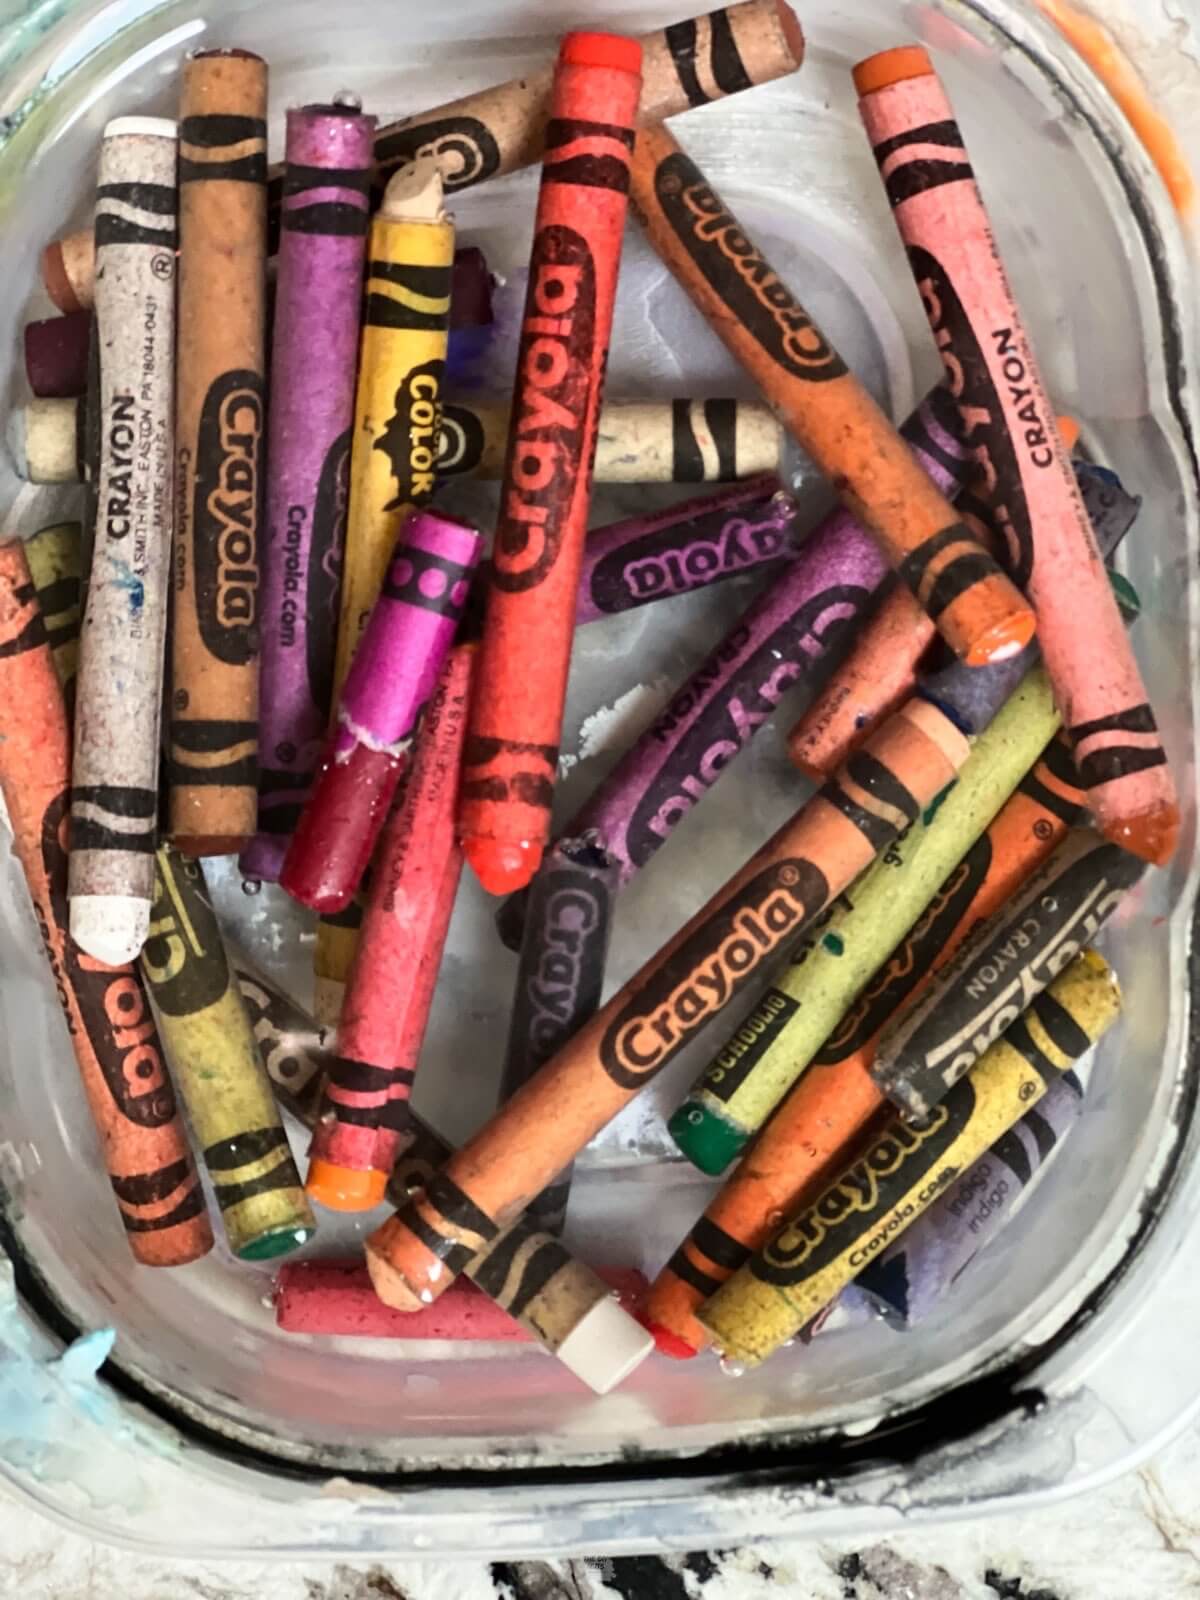
Soak the crayons in warm water for about 10-15 minutes. Some of the papers will just fall off while others may need a little extra help. Twist your hands over the paper to help get more of the crayon papers to come off easily.
If you don’t want the hassle of peeling the wrappers off, consider buying bulk unwrapped crayons for your letter crayons.
How To Make Alphabet Crayons
Step 1: Take The Wrapper Off
Peel the crayon wrapper off of the crayons. Soaking in water for 10 minutes can really help with the process.
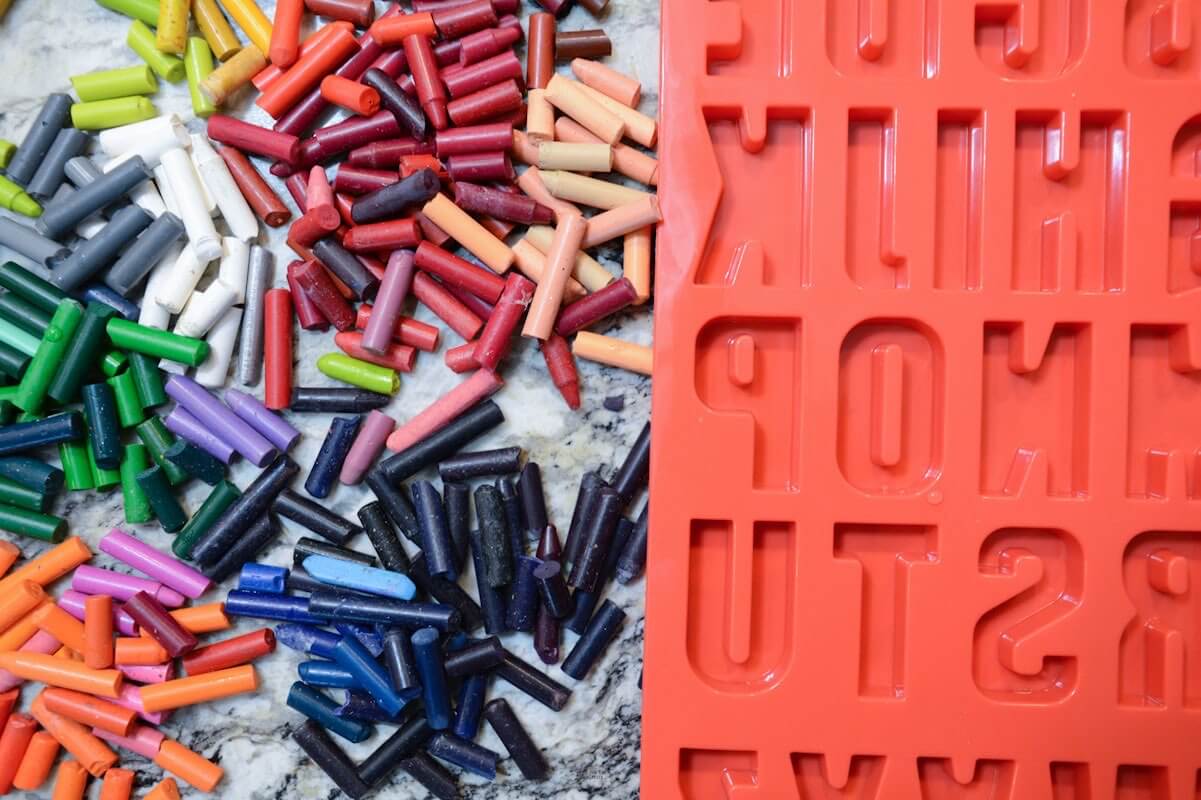
Separating the crayons by color will help you quickly fill the molds before melting.
Step 2: Preheat The Oven
Preheat the oven to 275 degrees Fahrenheit.
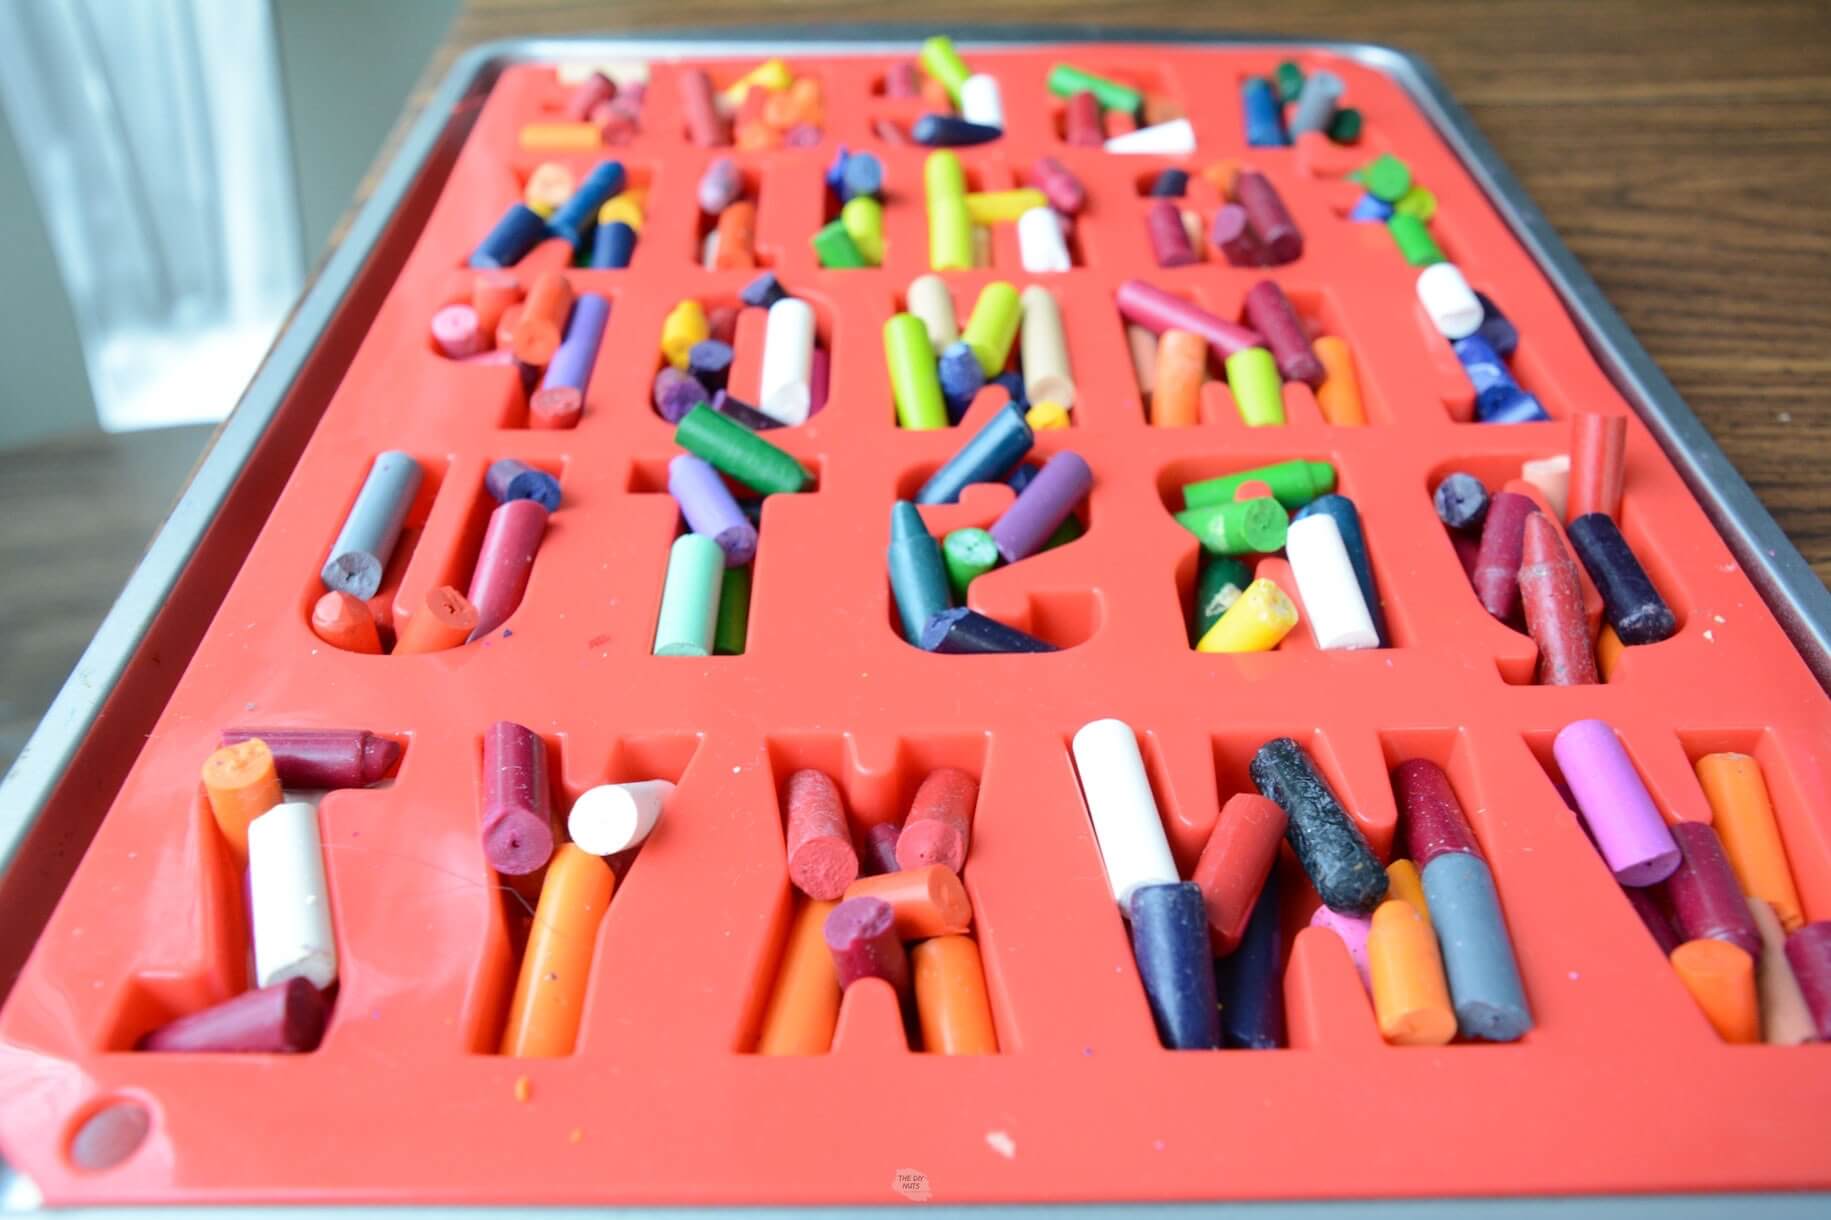
Step 3: Fill Molds
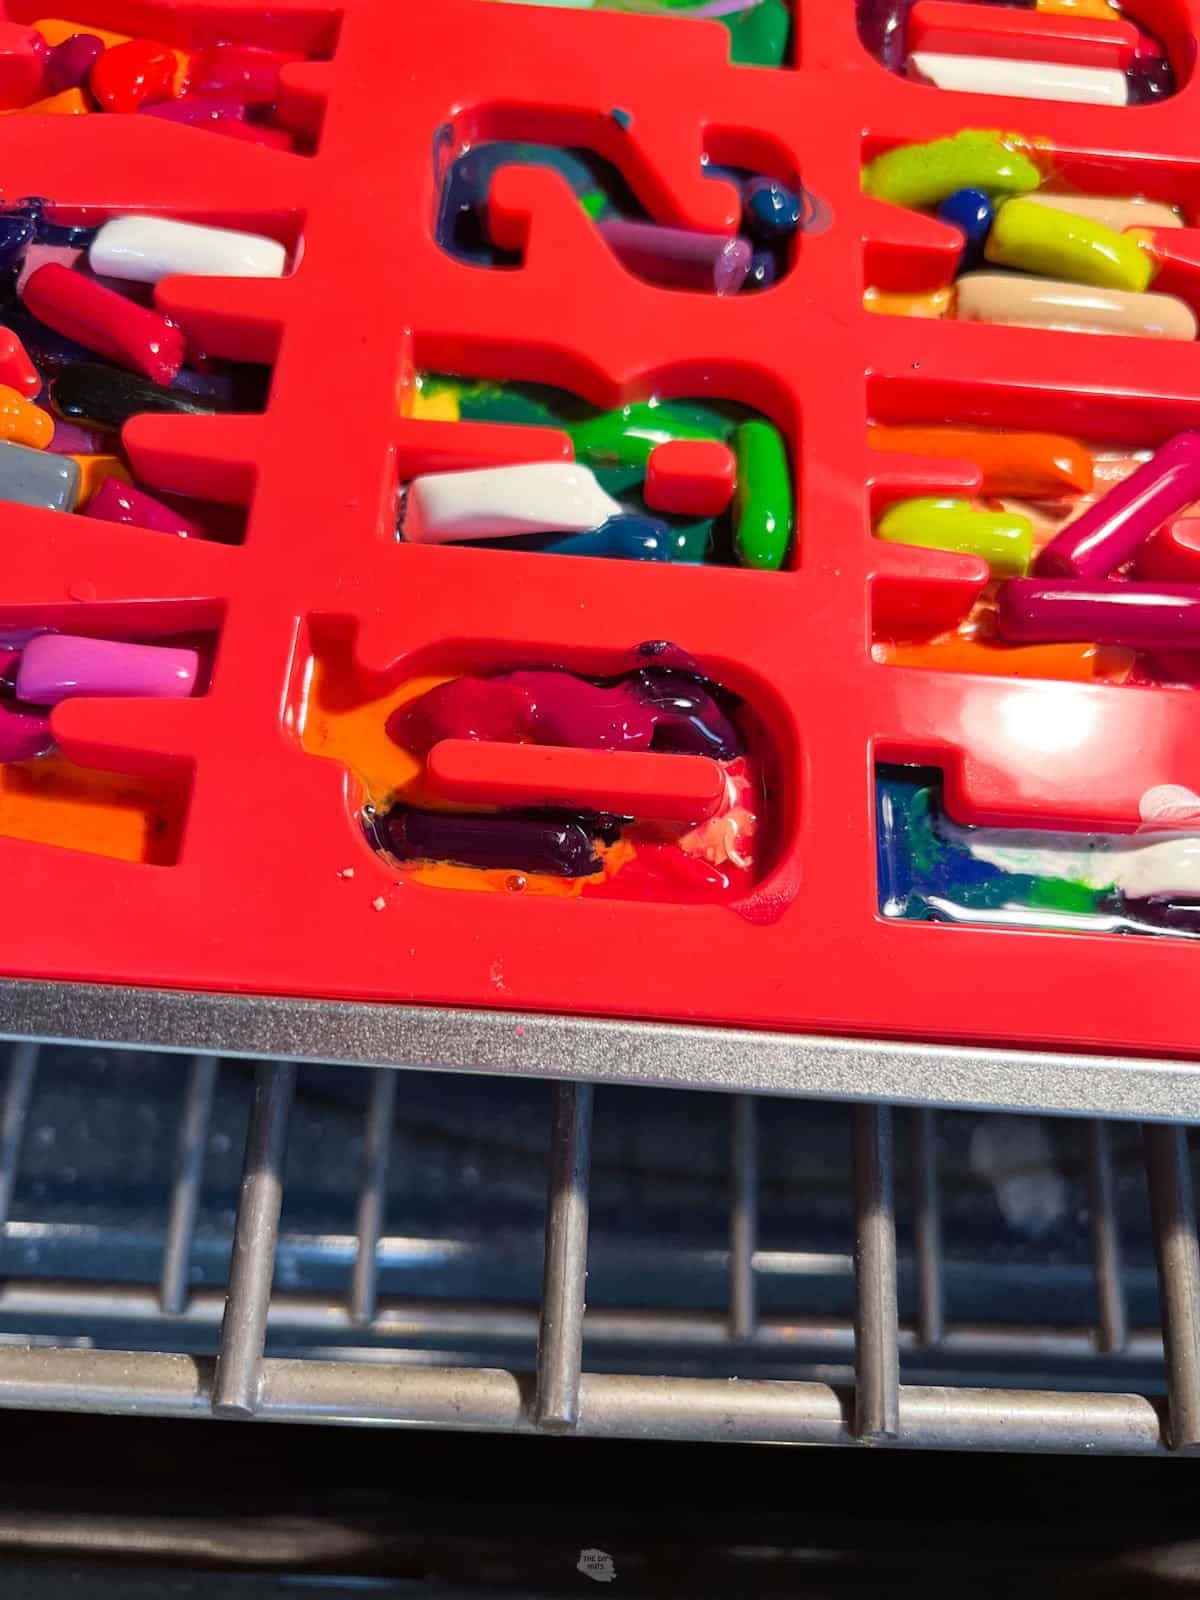
Place broken crayon pieces in molds.
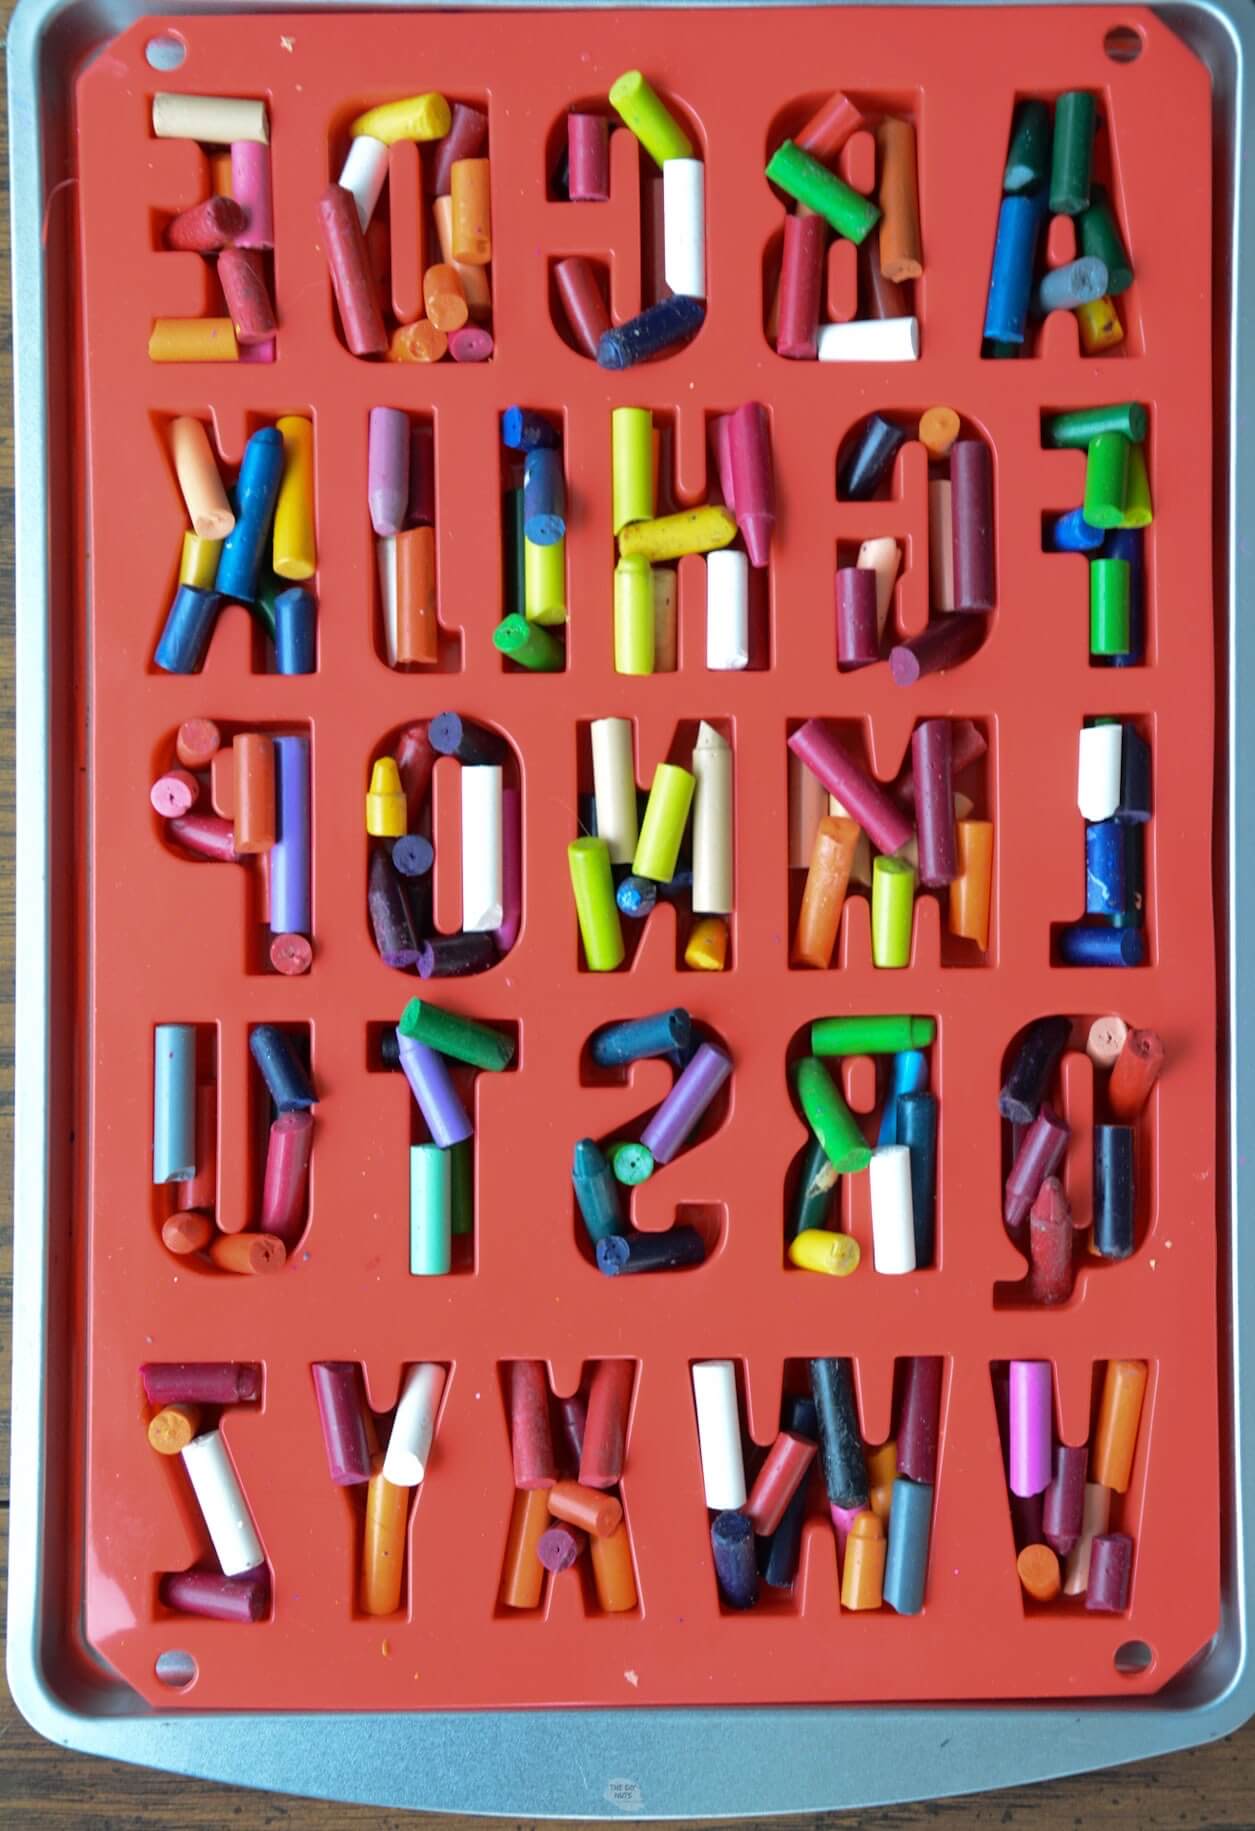
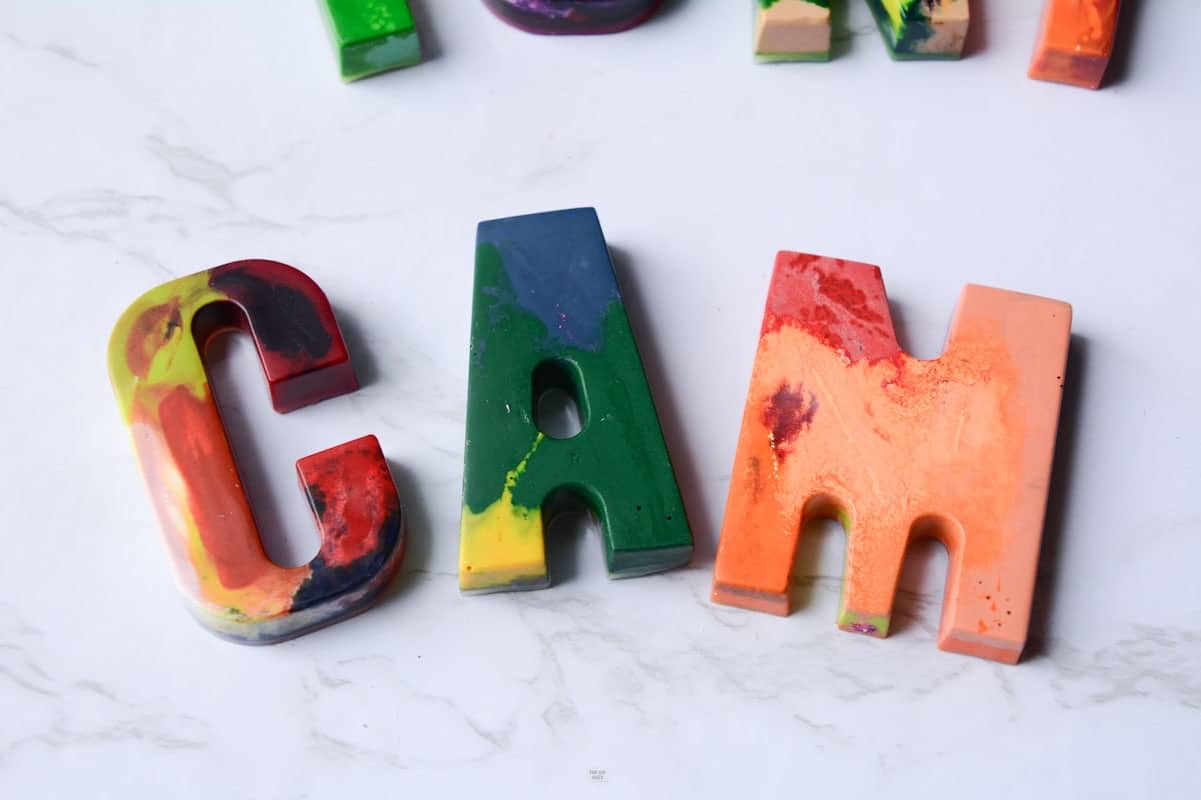
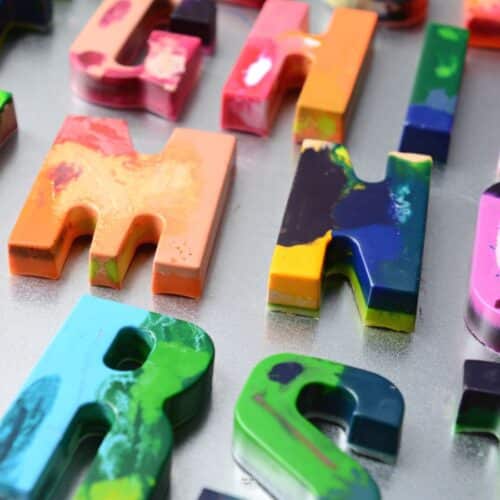
Fill in the letters as much as you can. The crayons melt to fill every empty space.
Step 4: Place In The Oven
Put letter silicone mold on a cookie sheet before putting it in the oven.
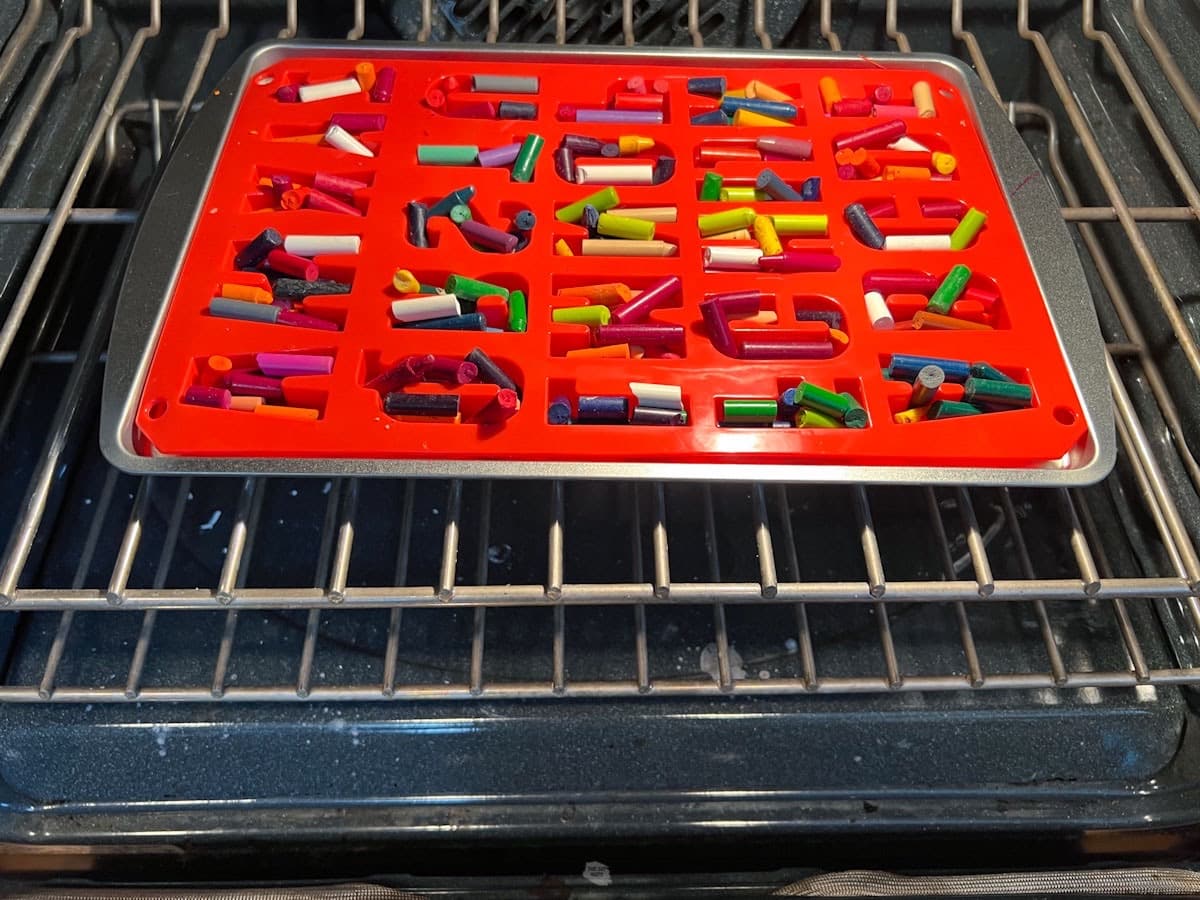
Step 5: Cook Until Fully Melted
Cook for 9-11 minutes or until entirely melted. Make sure to watch for when they are fully melted. You do not want to overcook them.
Like baking, times may vary. We would rather cook them at a lower temperature for longer.
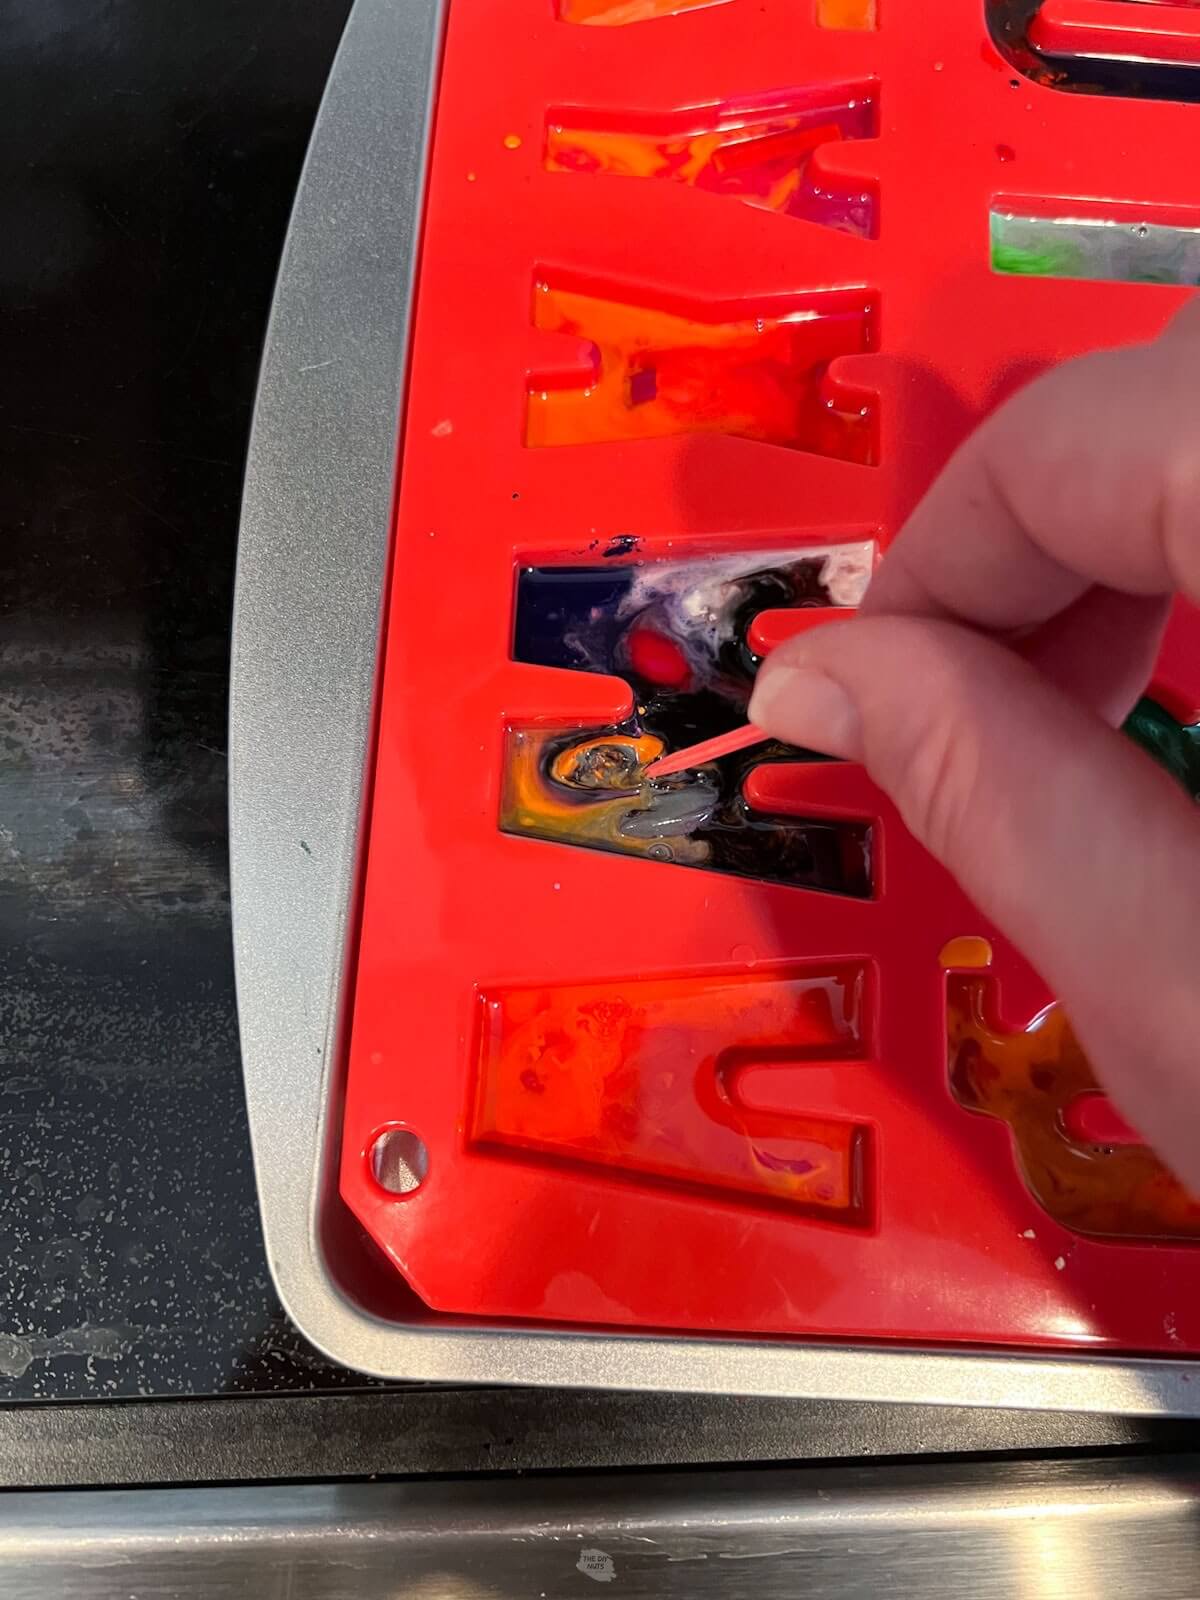
You can use a toothpick to stir the hot wax if you have a stubborn crayon piece that won’t melt.
Step 6: Pull Out Of The Oven
Once you see that the crayons have fully melted, pull them out of the oven immediately. The wax will be very hot and liquid.
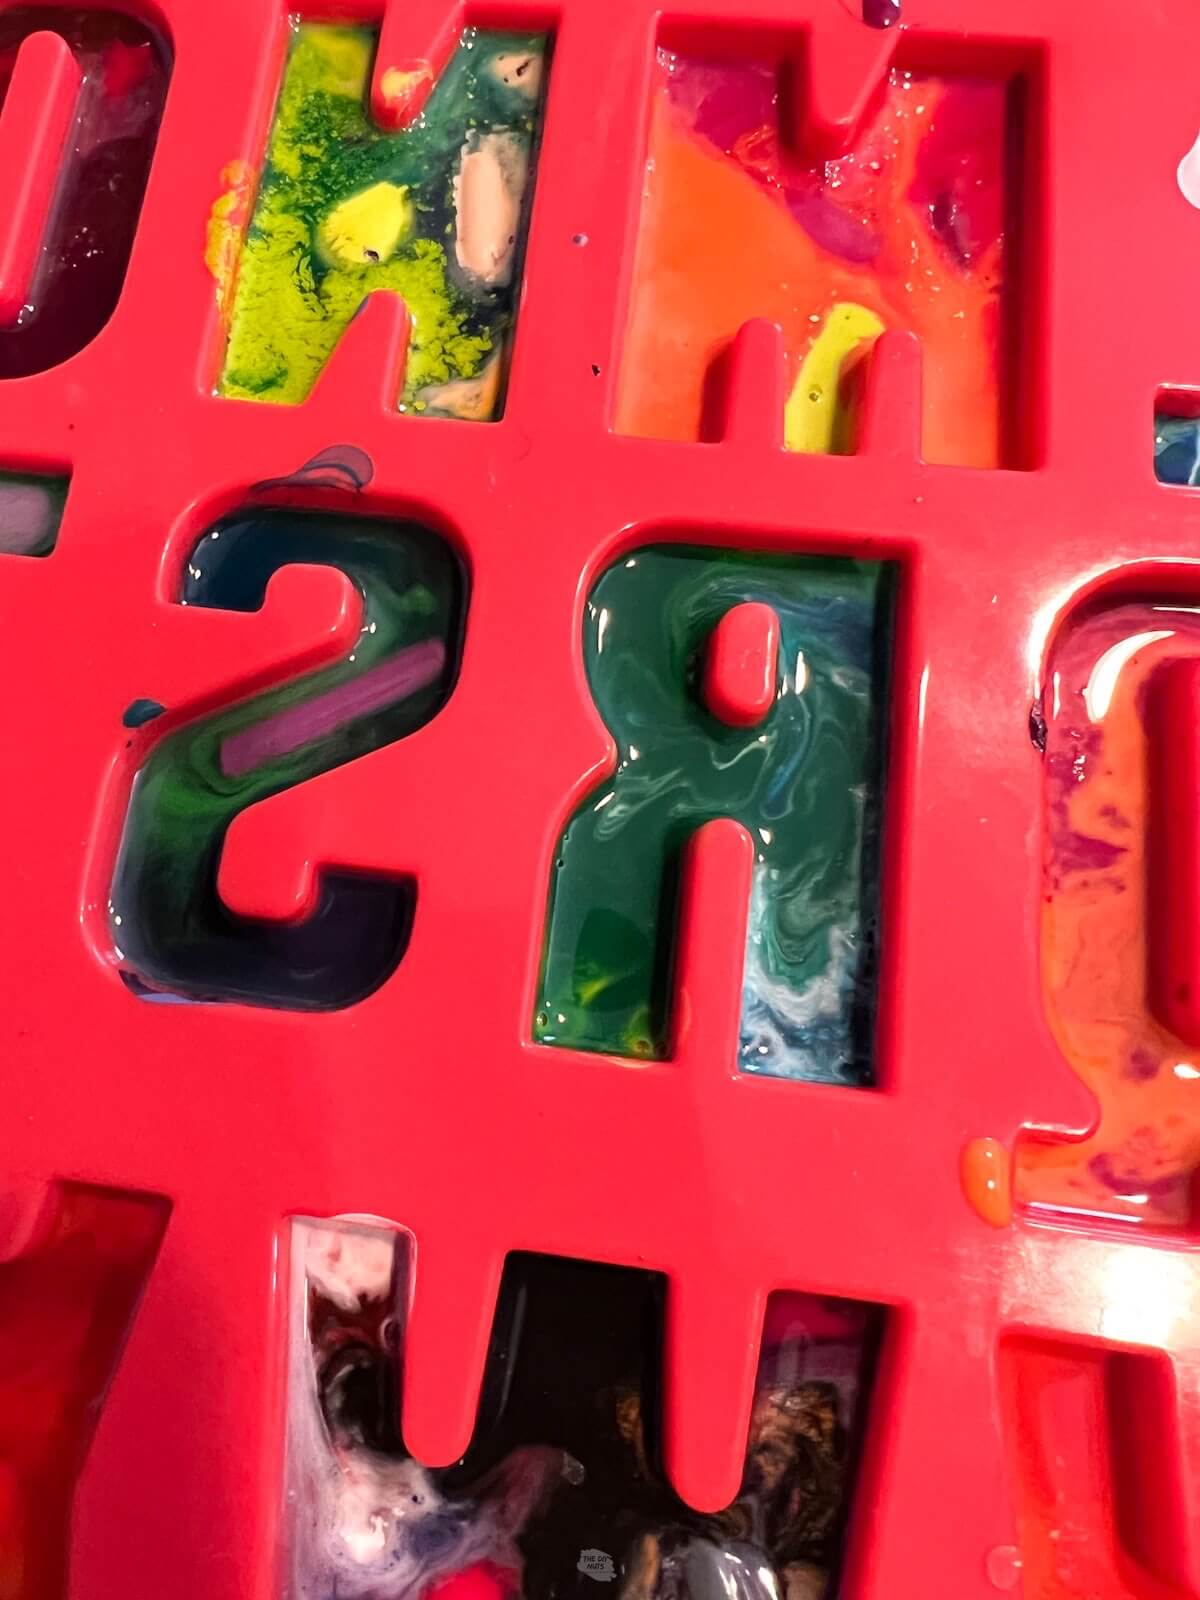
Step 7: Let Crayons Fully Cool Down
How long your newly formed crayons need to cool will depend on the size of your molds. You will know the letter crayons are fully cooled when they are not warm to the touch and have a little white appearance to them.
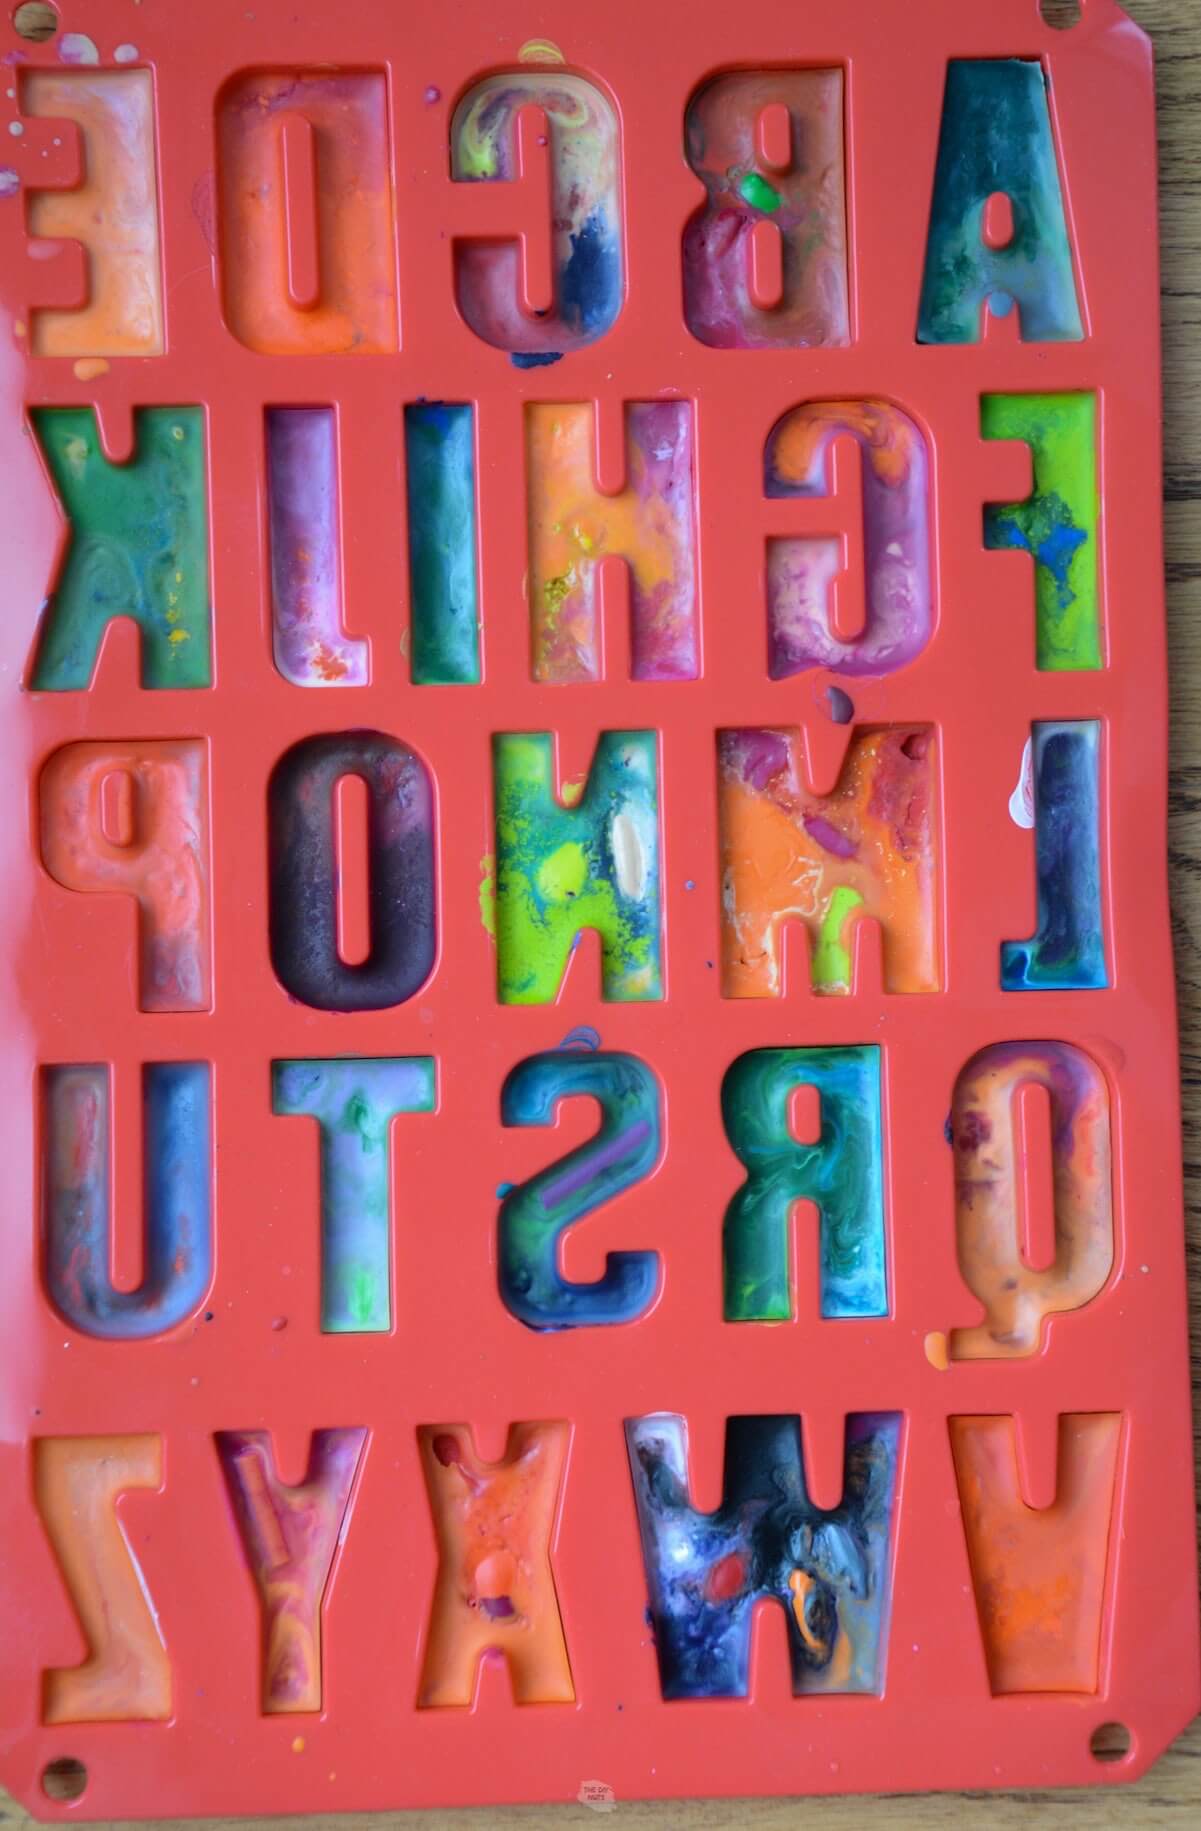
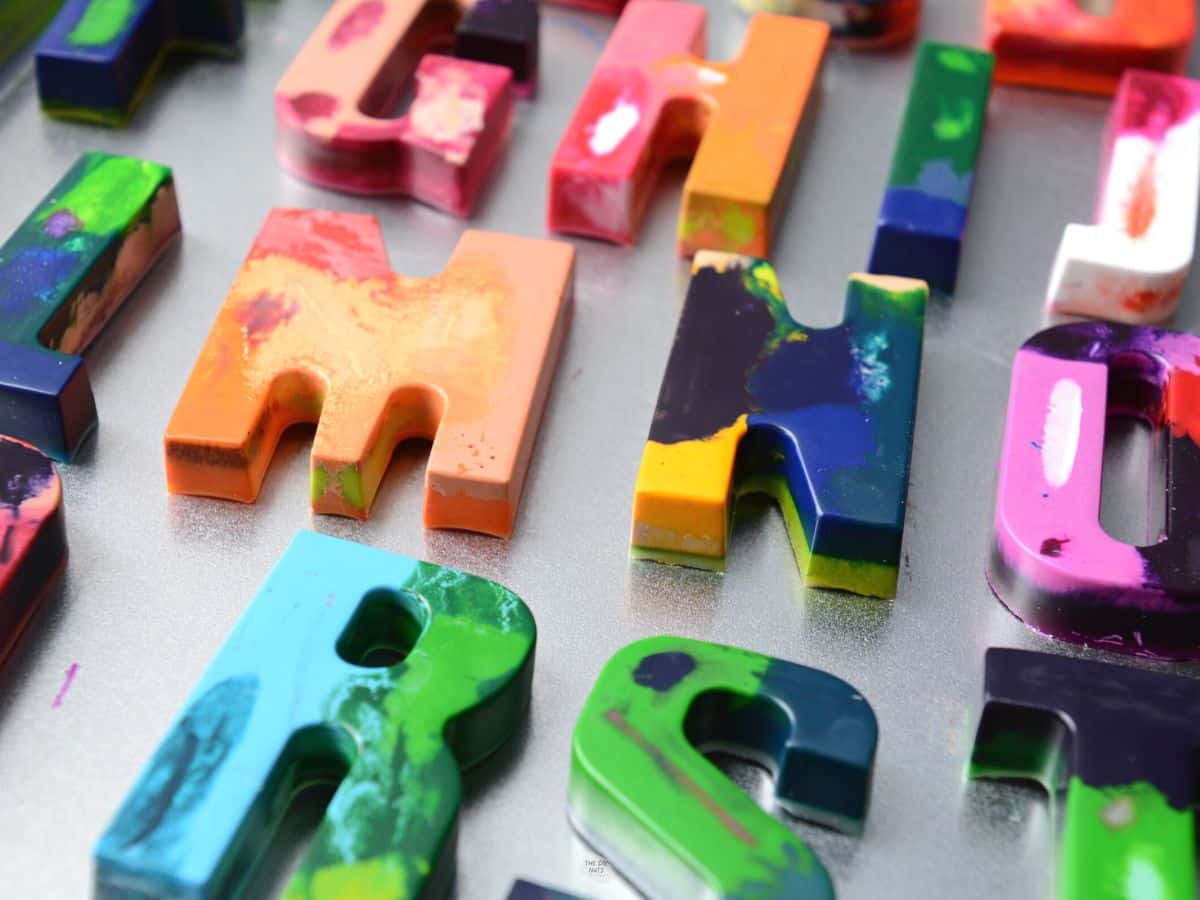
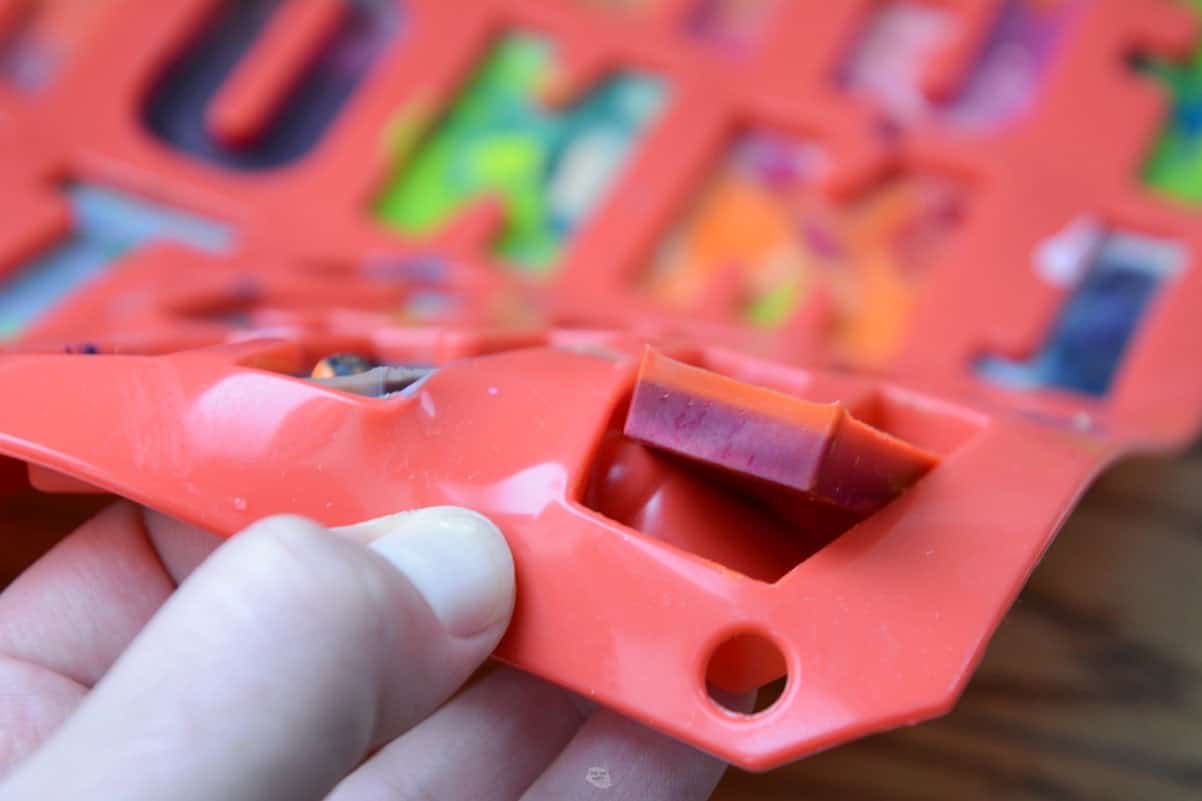
Step 8: Remove Them From The Mold
Pull the edges around the mold first to help loosen your new crayons. Once one is completely cool to the touch, you can carefully push it out of the letter mold.
Factors That May Change Your Melting Time
- The size you cut or broke your crayons. Small pieces will not take nearly as long to melt as larger pieces
- Different colors also will have different melting temperatures
- Your molds are of different sizes
- Your oven runs differently
- The brand of crayons used
As long as you are watching your crayons, you can change the cooking time and oven temperature to work for your crayons and oven. As with any baking time, oven times and temperature may vary for your specific situation.
You could try cooking these new crayons at 300 or 350 degrees for less time. We like using lower heat and longer cooking times to limit the fumes.
Ideas For Gifting
These letter crayons make an awesome gift, party favor, or stocking stuffer. Here are a few ways you could consider gifting them.
- In long clear bags with a ribbon
- Create a DIY gift tag to add
- In small boxes with tissue paper or other filler
Craft FAQs
Any brand of crayon will work, just note that each brand has a different melting time. Therefore, if you mix brands you will need to keep a good eye on them while in the oven.
If you remove the crayons from the mold too soon, they may break. Place the crayon back in the mold and reheat it until it has melted back together.
Similar colors will mix better together than if you try to put every color of the rainbow in. You can try a rainbow crayon if you watch it carefully and immediately pull it out before all the colors mix into an ugly brown.
Follow us on Pinterest, YouTube or Facebook for more DIY inspiration!
Did you have fun making this craft with your family? Make sure to leave a 5-star ⭐️ ⭐️ ⭐️ ⭐️ ⭐️ review in the comments!
Easy DIY Crayon Letters
Equipment
- Water container filled with warm water
- Oven
- Oven mitt
- Cookie Sheet option to cover with aluminun foil to keep it clean in case hot wax drips
Supplies
- Silicone molds this is the exact mold that we used
- Old Crayons
Instructions
- Peel the crayon wrapper off of the crayons. Soaking in water for 10 minutes can really help with the process.
- Preheat the oven to 275 °F
- Place broken crayon pieces in molds. Fill in the letters as much as you can. The crayons melt to fill every empty space.
- Put letter silicone mold on a cookie sheet before putting it in the oven.
- Cook for 9-11 minutes or until fully melted (cooking times may vary based on your oven).
- Once you see that the crayons have fully melted, pull them out of the oven immediately.
- Once one is completely cool to the touch, you can carefully push it out of the letter mold.
Video
Notes
- You may want to cover your cookie sheet with aluminum foil for an easier clean-up if there are any wax drips.
- When melting crayons, make sure to watch for when they are fully melted. You do not want to overcook them.
- As long as you are watching your crayons, you can change the cooking time and oven temperature to work for your crayons and oven. As with any baking time, oven times and temperature may vary for your specific situation.
- If you have one stubborn crayon that won’t melt, you can take a toothpick and stir it with the hot wax to try to melt it quicker.
- The wax will be very hot and liquid.
- How long your newly formed crayons need to cool will depend on the size of your molds.
- Carefully pull the mold away from the new crayon before forcing it out of the mold.
Super cute and fun!
Question: How do you clean your molds when you’re done??
Thanks!
Hi Nikki. I don’t really clean these as I only use them for crafts. However, I would think you could soak them in really hot water, wipe and rinse to get rid of leftover crayon wax.
Does the wax seperate and create a white layer on bottom of crayon? How do you prevent this?
I have never had this happen. I would just pull out the crayons as soon as you see they are mostly melted. If you leave them in too long, then all the colors will blend to make a new color. If there is a stubborn crayon, just carefully stir it with a toothpick to help melt the crayons.