How To Paint Kitchen Cabinets White (Our Best Tips)
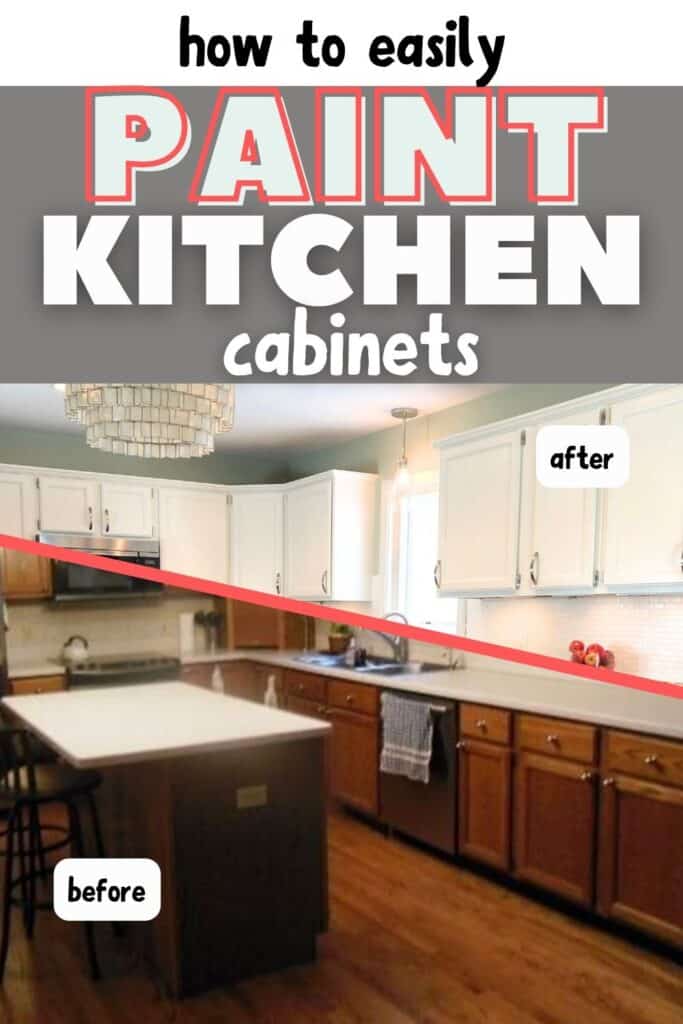
Are you looking for a simple way to update your kitchen? Painting cabinets can be one of the best ways to update your kitchen while staying on a budget. Use our steps to learn how to paint your kitchen cabinets white with a small roller and brush.
*Disclosure: I only recommend products I would use myself and all opinions expressed here are our own. This post may contain affiliate links that at no additional cost to you, I may earn a small commission. Read our full privacy policy.
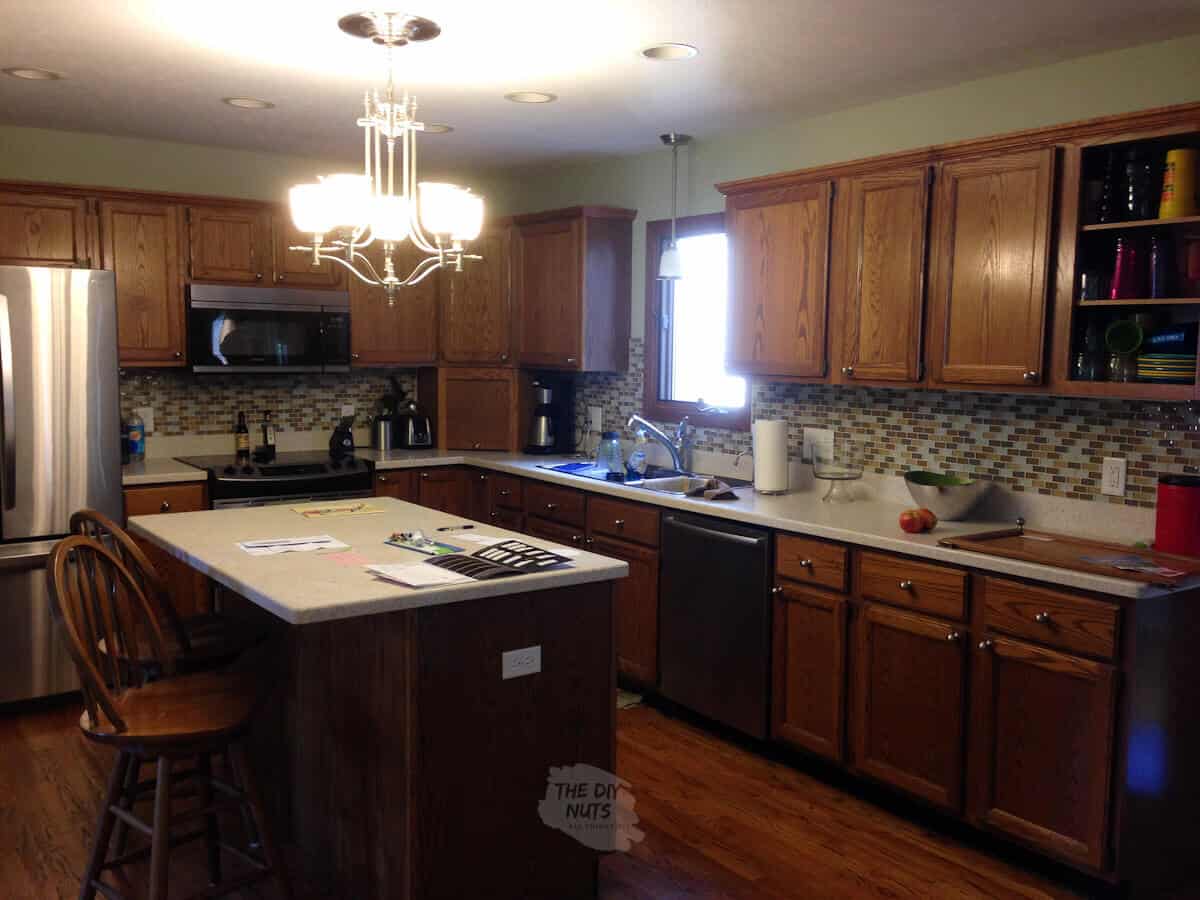
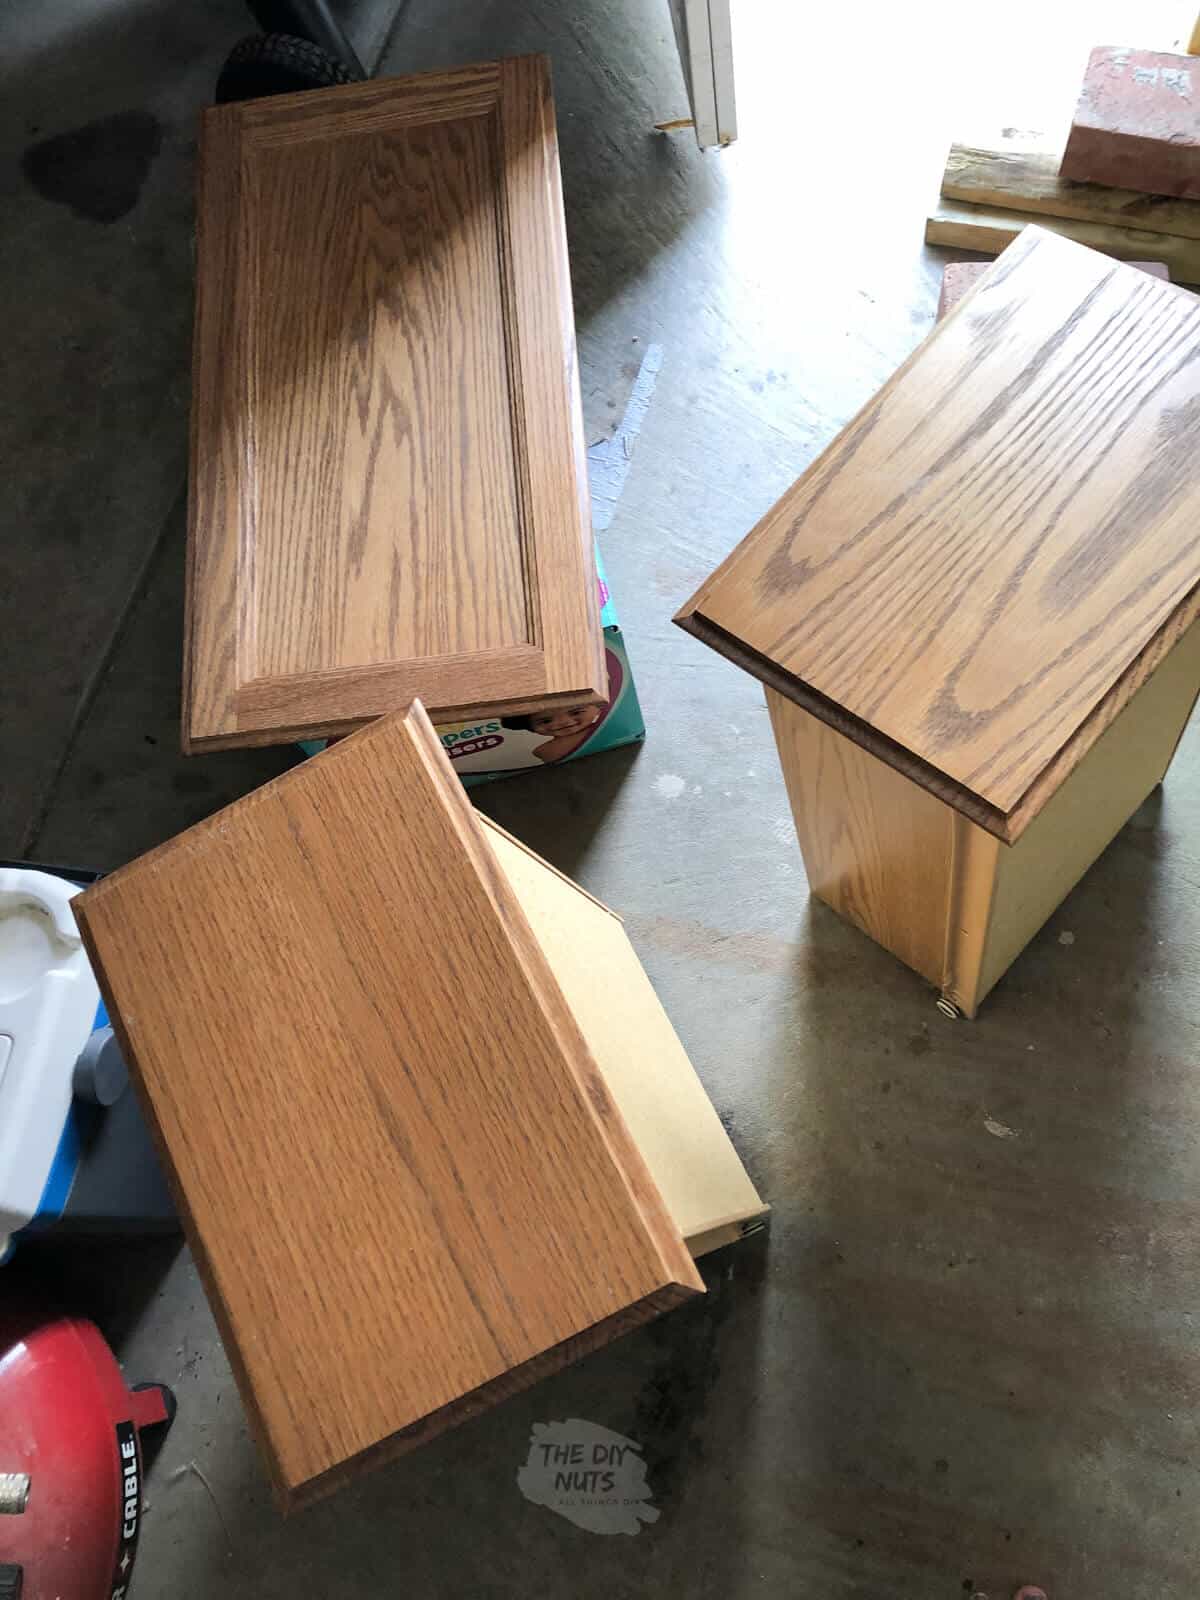
Our Oak Kitchen Cabinets
The first time we decided to paint our kitchen cabinets white was over ten years ago. If you have been following along with our kitchen DIY projects then you know that we have almost gotten rid of all that ’90s construction-grade honey oak.
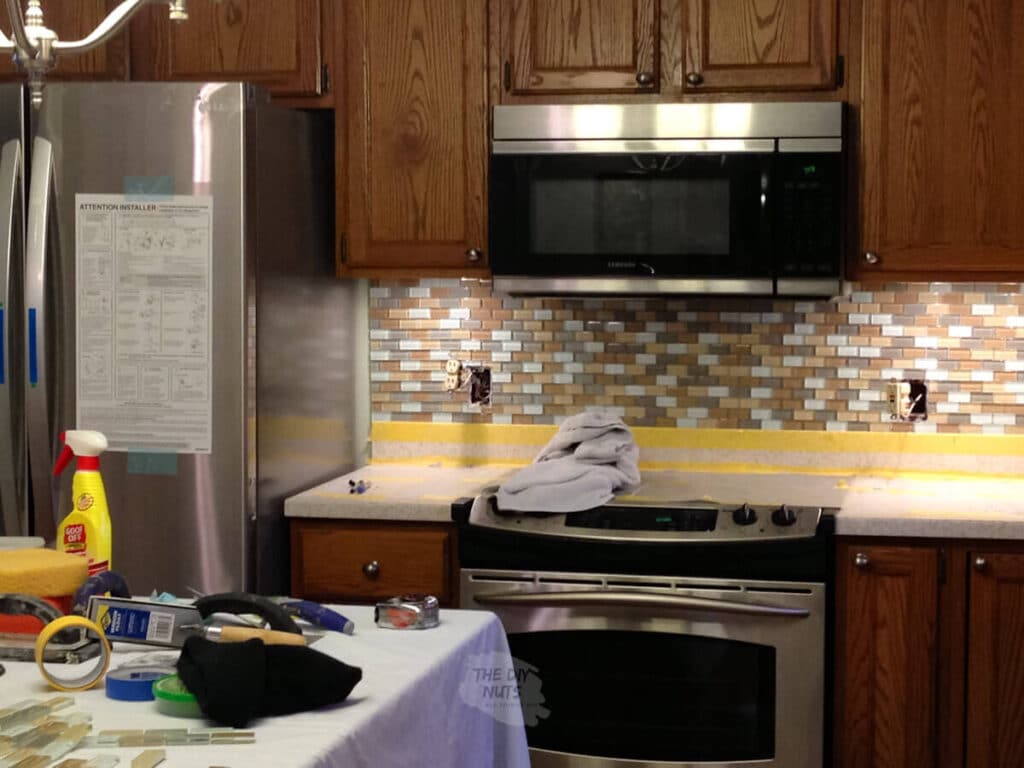
One of the larger projects we took on was turning our oak cabinets into white cabinets. Here are our painting tips and tricks that will help you learn how to paint your kitchen cabinets without a sprayer.
Considerations Before Painting
If your cabinets are in bad shape structurally, adding paint will not make them better. Here are a few questions you should ask yourself.
- Do the doors close nicely?
- Is there water damage to your kitchen cabinets?
- Can all of the drawers slide in and out?
- Do you mind seeing the wood grain (if your cabinets are oak)?
- Is your kitchen layout acceptable? You can’t fix a kitchen cabinet layout with paint.
- Are you willing to put the time in to properly paint your cabinets?
For the most part, we felt paint was our best chance to make our golden oak kitchen cabinets look modern. We had a few troublesome areas, but nothing major.
Yes, I do still dream of the day of soft-close drawers. However, our painted cabinets helped us cheaply update our kitchen 7 years ago when that was all we could afford.
Painting kitchen cabinets white is such a budget-friendly way to update your kitchen.
Erin
Recommended Supplies
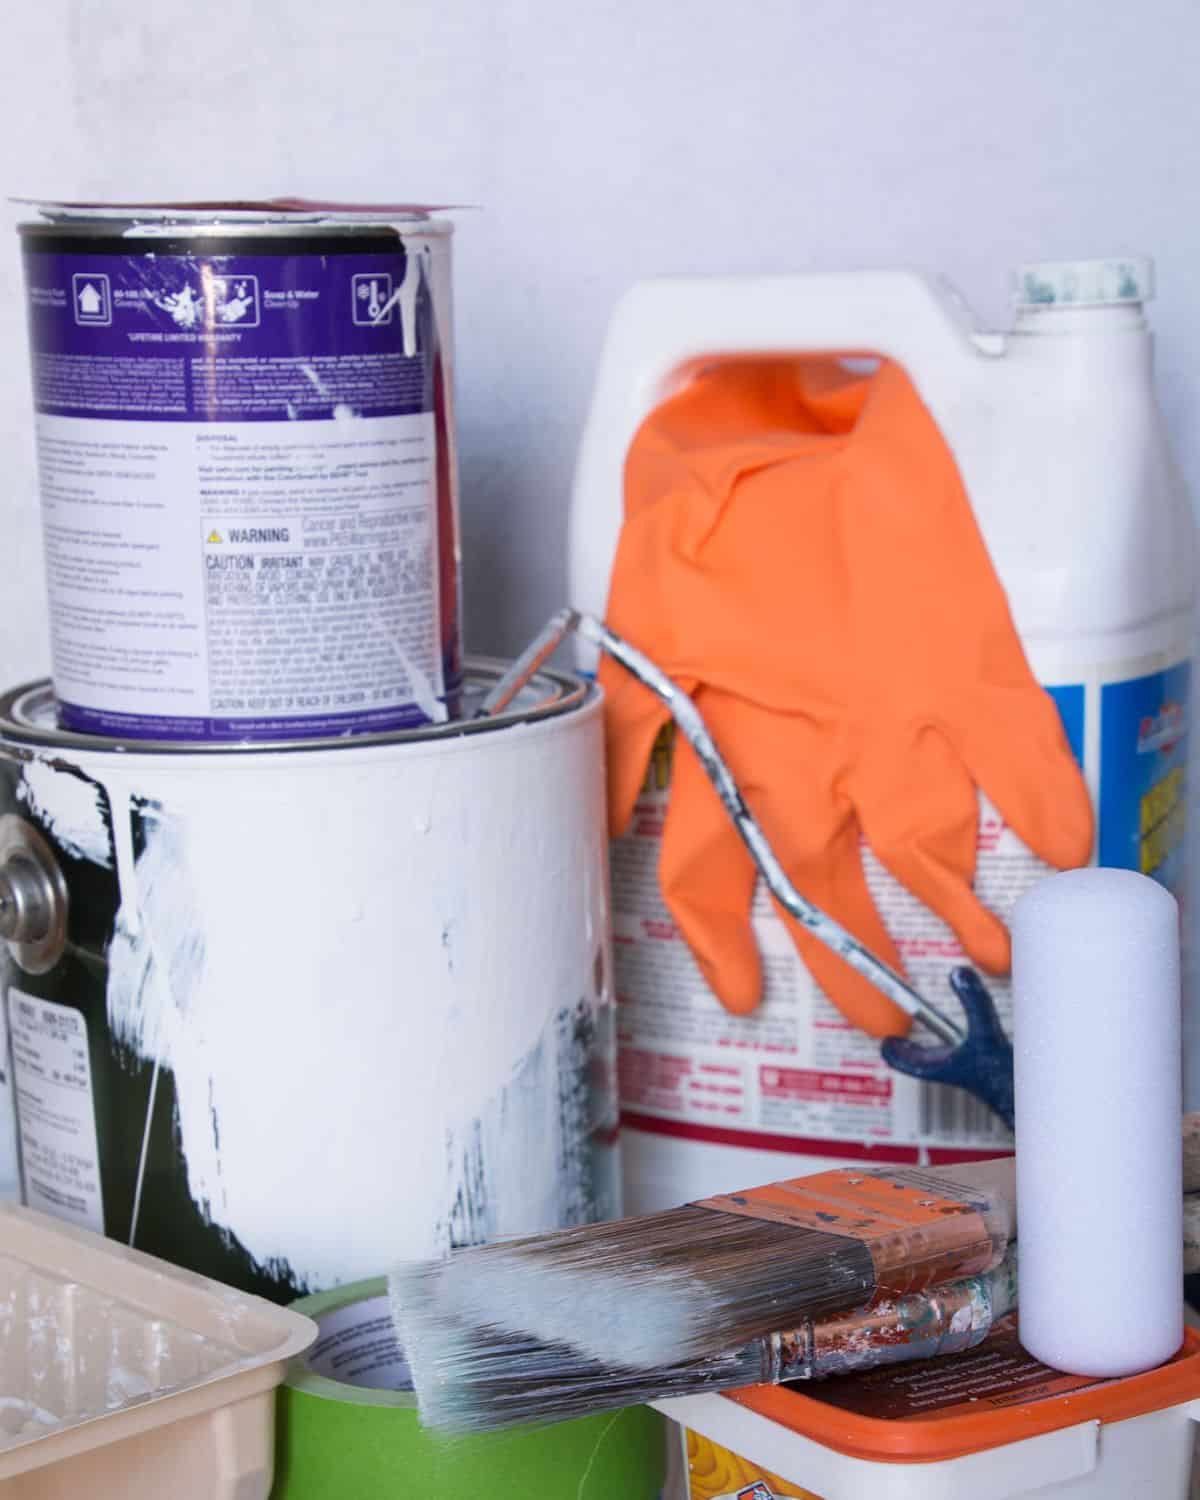
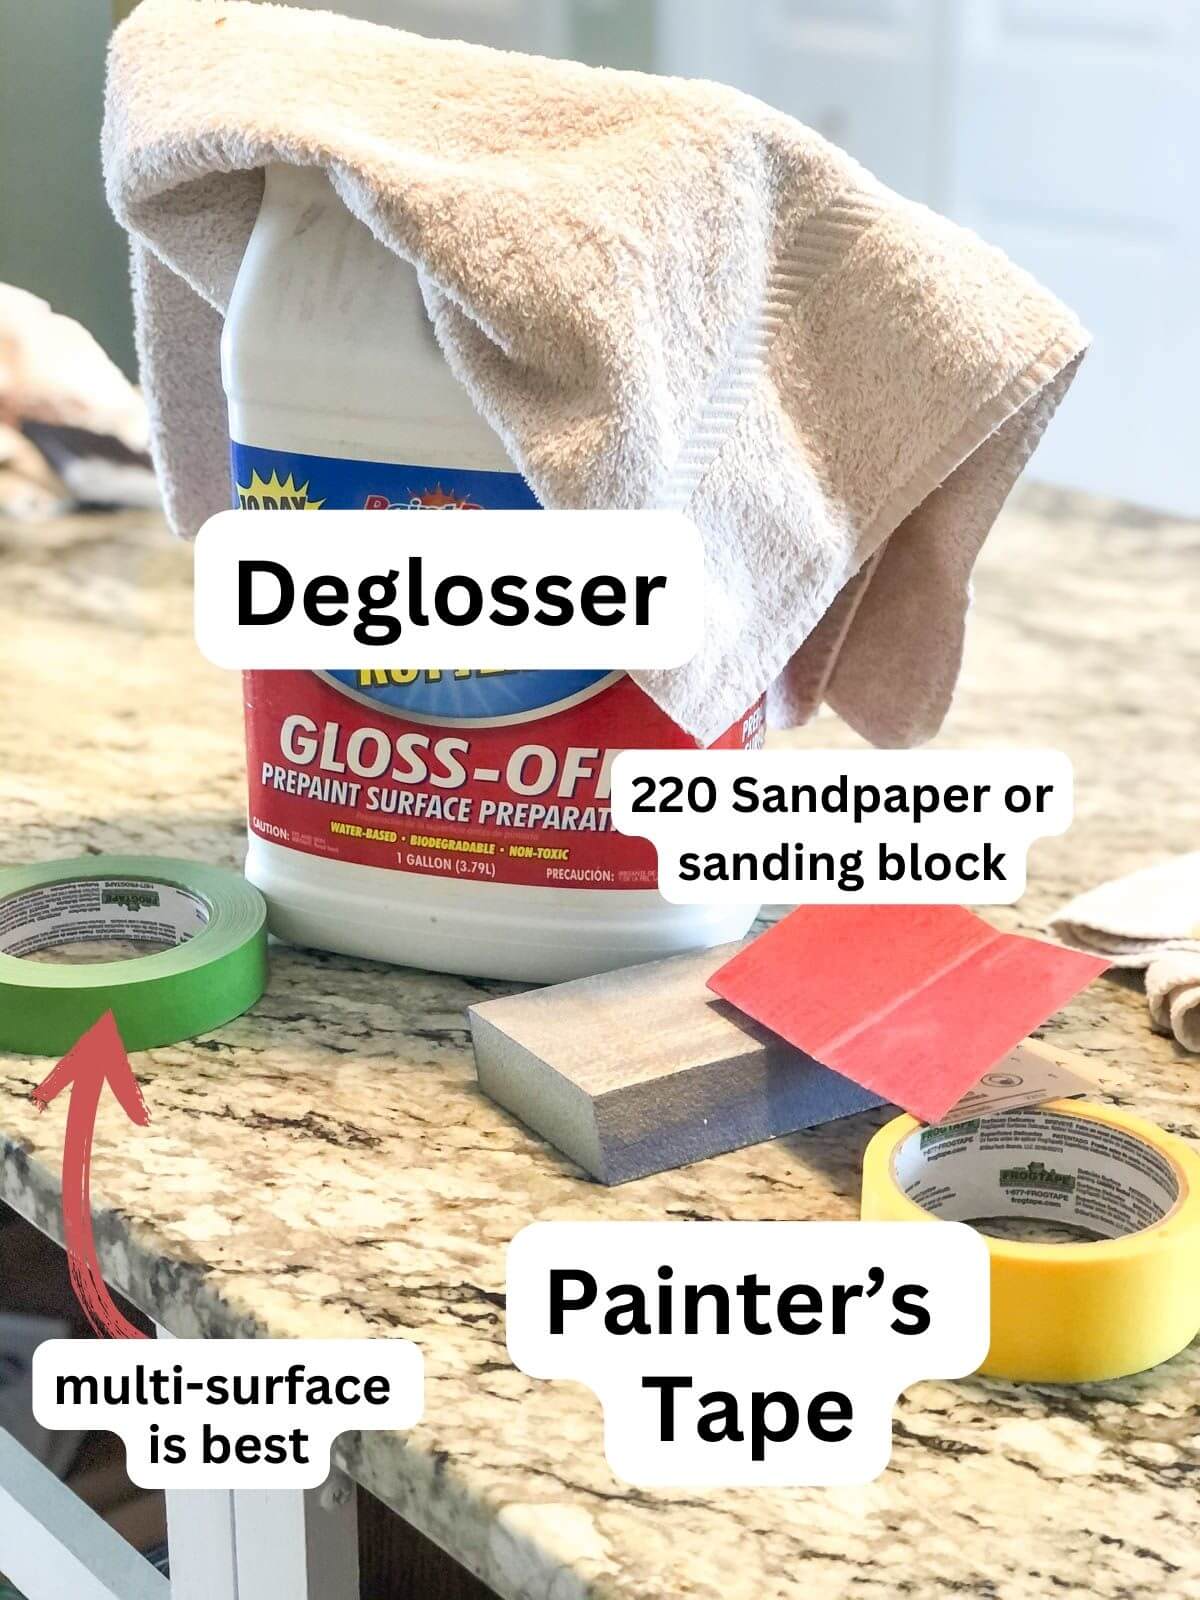
- Deglosser
- 220 Fine Sandpaper
- Old Rag
- Latex Enamel Paint in Semi-Gloss: We love Sherwin Williams Emerald Trim Urethane Enamel in a white paint of your choice
- Primer
- Brush: We like using Purdy 2 ½” Angular Trim Brush or equivalent from Wooster
- Small High-Density Foam Roller: This roller will give you the smoothest finish when used properly.
- Roller Handle
- Mini Paint Trays: These paint trays are so easy to move around and use.
- Painter’s Tape: I used this brand meant for delicate surfaces, but I actually should have used the classic multi-surface tape)
- Hardware Pulls or Knobs: This is an optional finishing touch. Sometimes just cleaning your old hardware can work out really well.
- Spray paint or new hinges: You can either purchase new hardware, or you can spray paint your current hinges and hardware to fit the new style of your kitchen.
- Wood Filler: If you need to fill old hardware holes or fix blemishes.
Stain-Blocking Primer
Make sure you use a stain-blocking primer on your oak cabinets first. We used Sherwin Williams Latex Primer and had pretty good success, but a few spots did have some tannin bleed through over the years on the doors.
The good news is that the few discolored spots went away when I repainted the cabinets with SW Emerald Urethane Trim Paint.
Latex Primer Recommendation
Now we like using Zinsser Stainblocking primer (still the water-based one). I have a hard time with fumes from an oil-based primer that really claims to be a stain blocker.
Cabinet Paint Recommendation
We recently repainted our kitchen cabinets to add a two-toned look. We used Sherwin Williams Urethane Trim Enamel paint and will only be using this paint for cabinets and trim from now on.
Also, don’t let the price scare you because:
- You can get these paints on sale most of the time.
- If you are going to do the work, you want the paint finish to last.
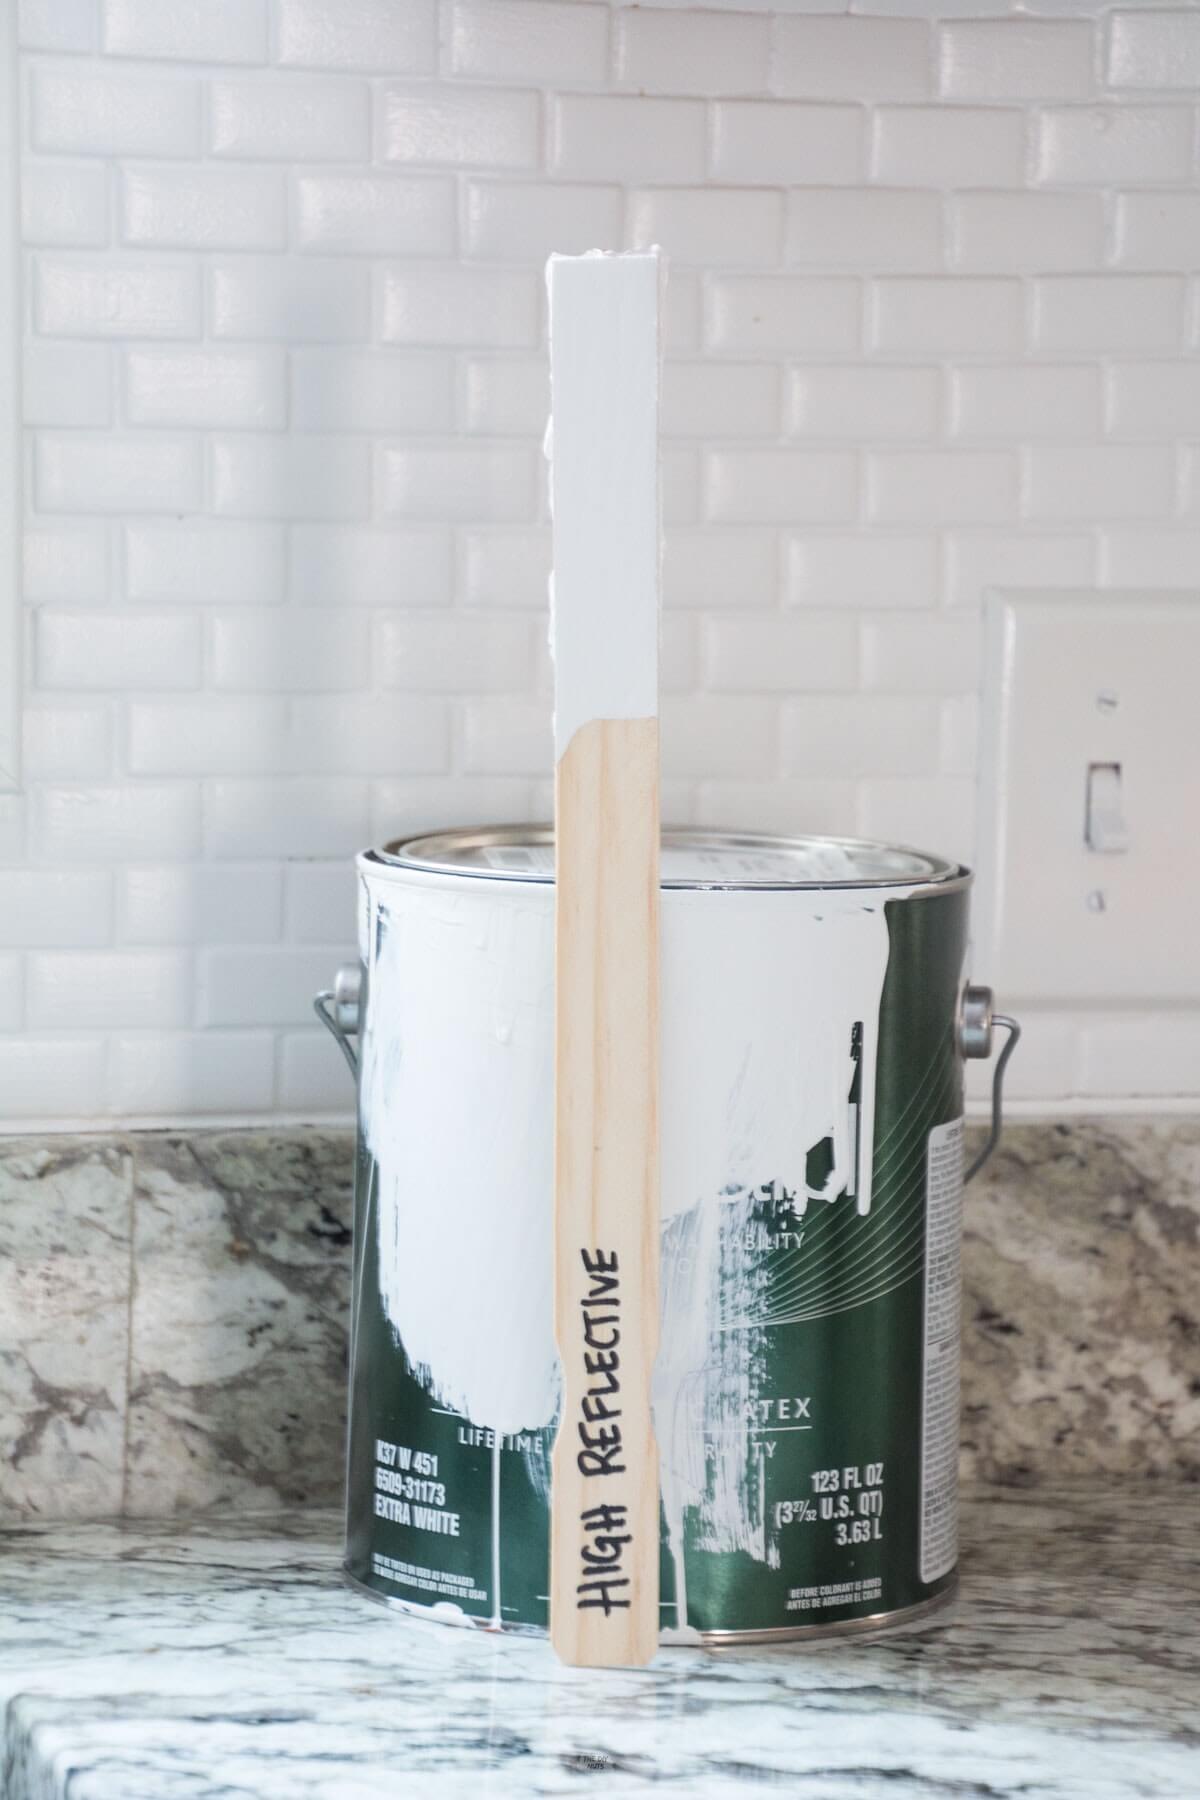
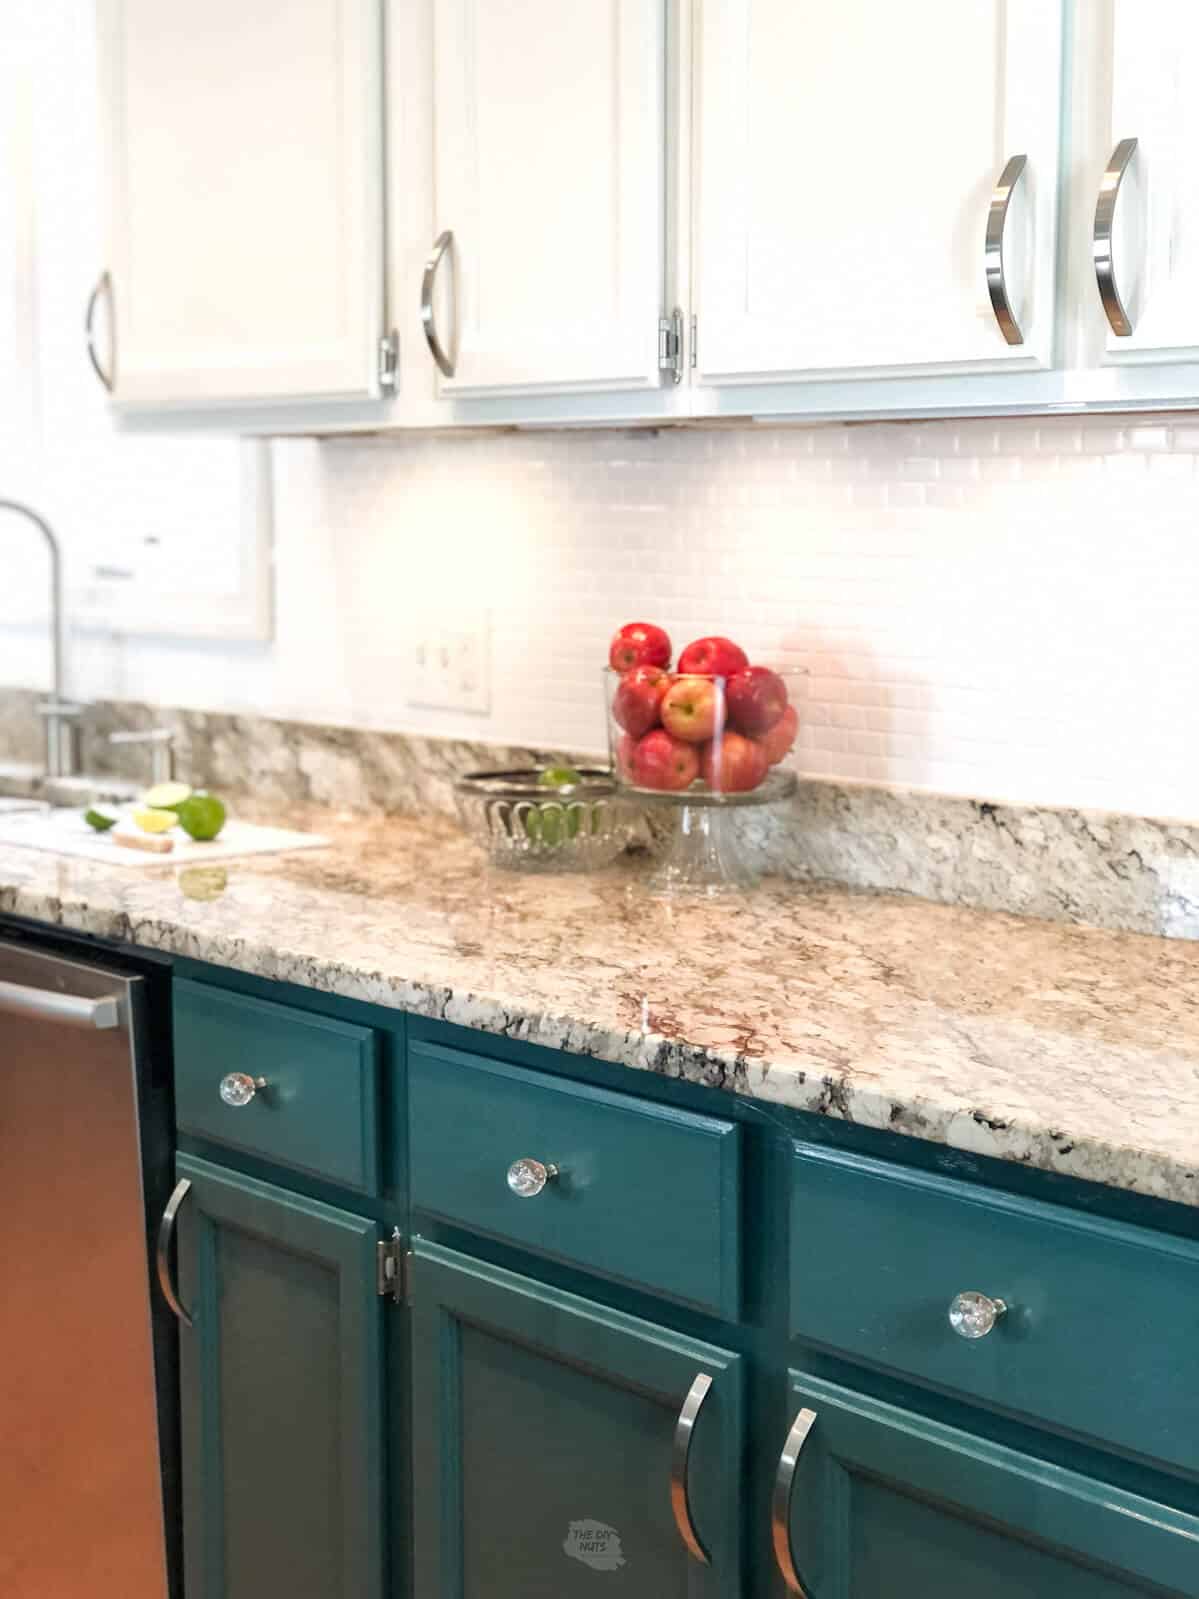
Not only did we paint the bottom cabinets a blue-green color, but we also painted our glass tile and repainted the upper cabinets with High Reflective White for a fresh feel after the original paint job 8 years prior.
Proclassic vs. Emerald Trim Enamel
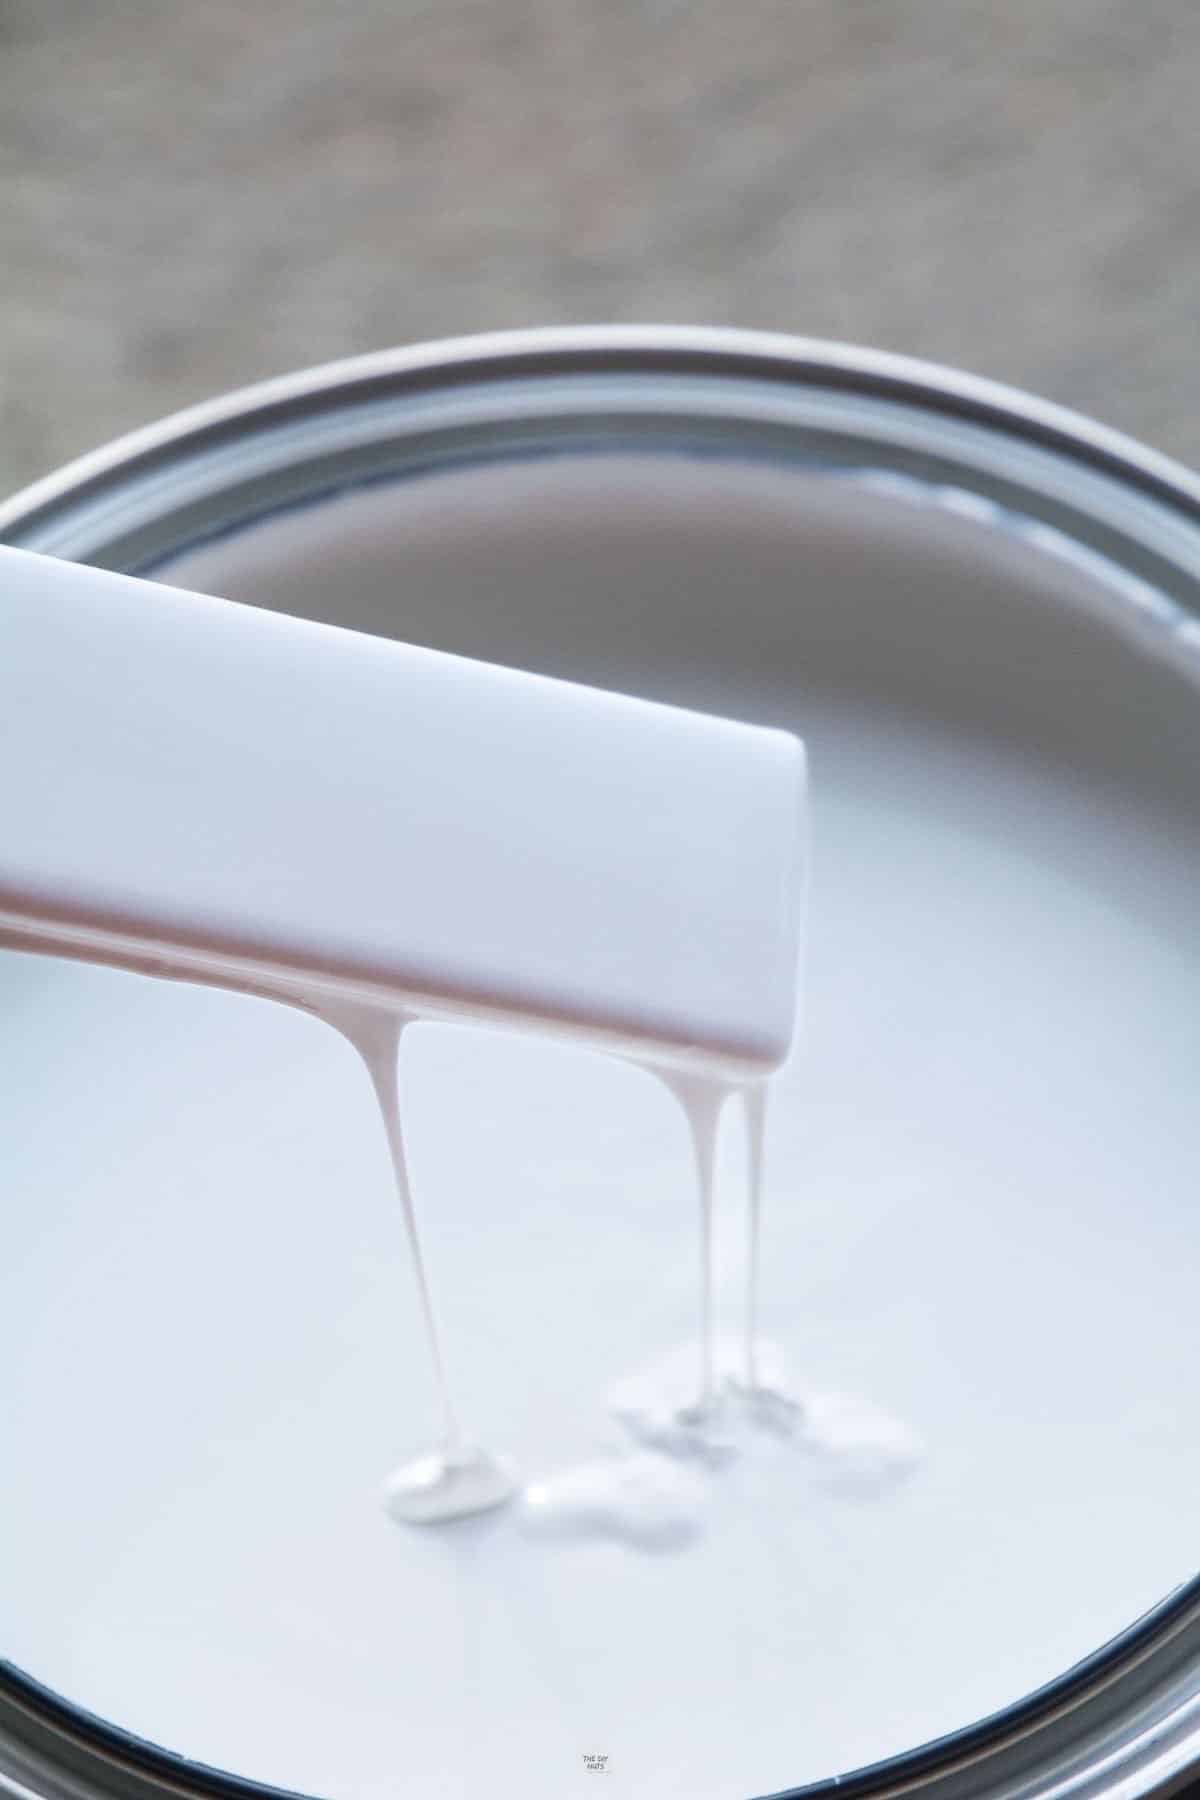
While the Proclassic Latex Enamel worked well, the first time we used Emerald Urethane Trim Enamel we were hooked. This product gave such a great finish due to having more self-leveling properties.
Now we recommend using Sherwin Williams Urethane Trim Enamel. We have used this line of paint on several cabinet painting projects. While Proclassic Latex Enamel is still great the Emerald Urethane is just another step up.

Popular White Paint Colors
We have a whole post with real examples of white-painted cabinets with the most popular white colors. Here are a few of the most popular colors to consider.
- Benjamin Moore White Dove OC-17
- Benjamin Moore Simply White OC-117
- Sherwin Williams Alabaster SW 7008: A creamy and softer white color
- Sherwin Williams Pure White SW 7005: We actually used this color in our basement craft room to brighten a small space)
- Sherwin Williams High Reflective White SW 7757: Our upper cabinets are now this color.
How To Paint Kitchen Cabinets White
Before beginning, you want to decide where you are going to paint doors and drawers. Having your painting station set up will make your life easier.
Before You Begin: Draw A Map
If you have a large kitchen, you may want to draw a little map of how you labeled the doors. The last thing you want is not to be able to remember where things go back when you are done.
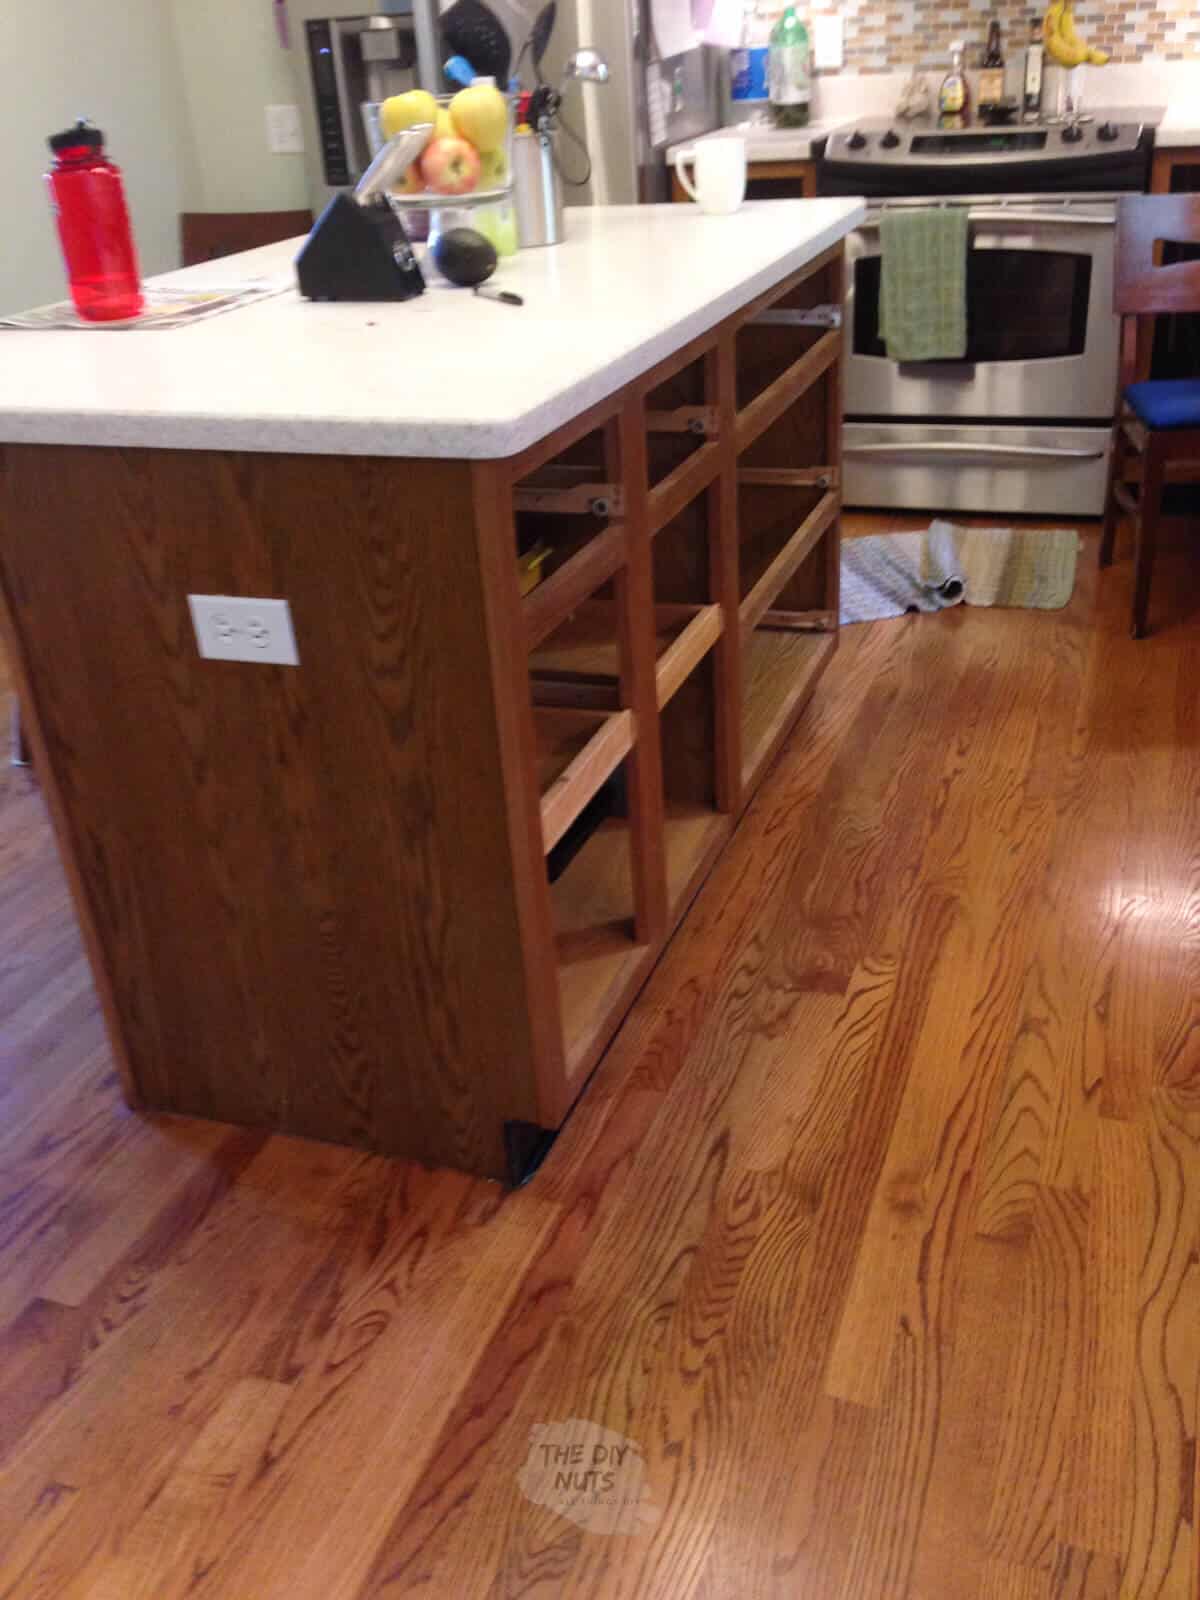
Step 1: Remove All Doors and Drawers
Take all doors and drawers out. Take off hardware (hinges as well). Place in a bag and label clearly.
You also want to put a piece of painter’s tape inside the drawers and doors labeling where they came from. We left items in our kitchen cabinets because we were only painting the outside/ wooden frame part.
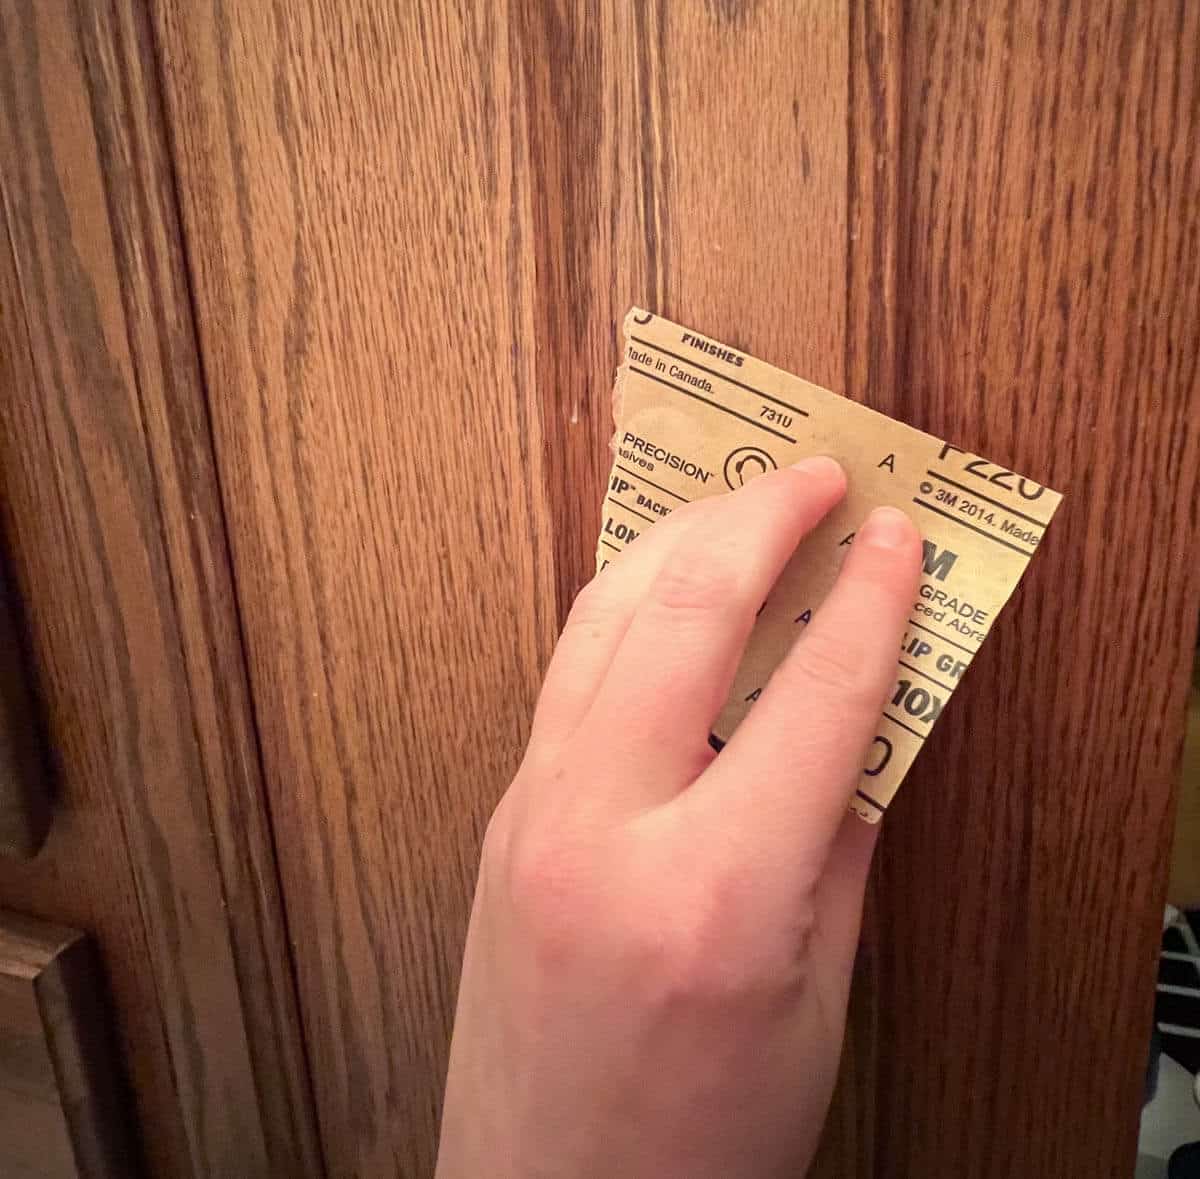
Step 2: Roughen Up The Cabinet Surface With Sandpaper
Lightly sand with fine sandpaper or fine sandpaper block to rough up the gloss on our current surface. You do not need to go overboard with this. Just a little scuffing up will do.
Step 3: Wipe Down All Surfaces With A Deglosser
Use a deglossing agent with a rag to wipe down cabinet frames, drawers and doors. Make sure to completely clean all parts. You do not want anything greasy left over.
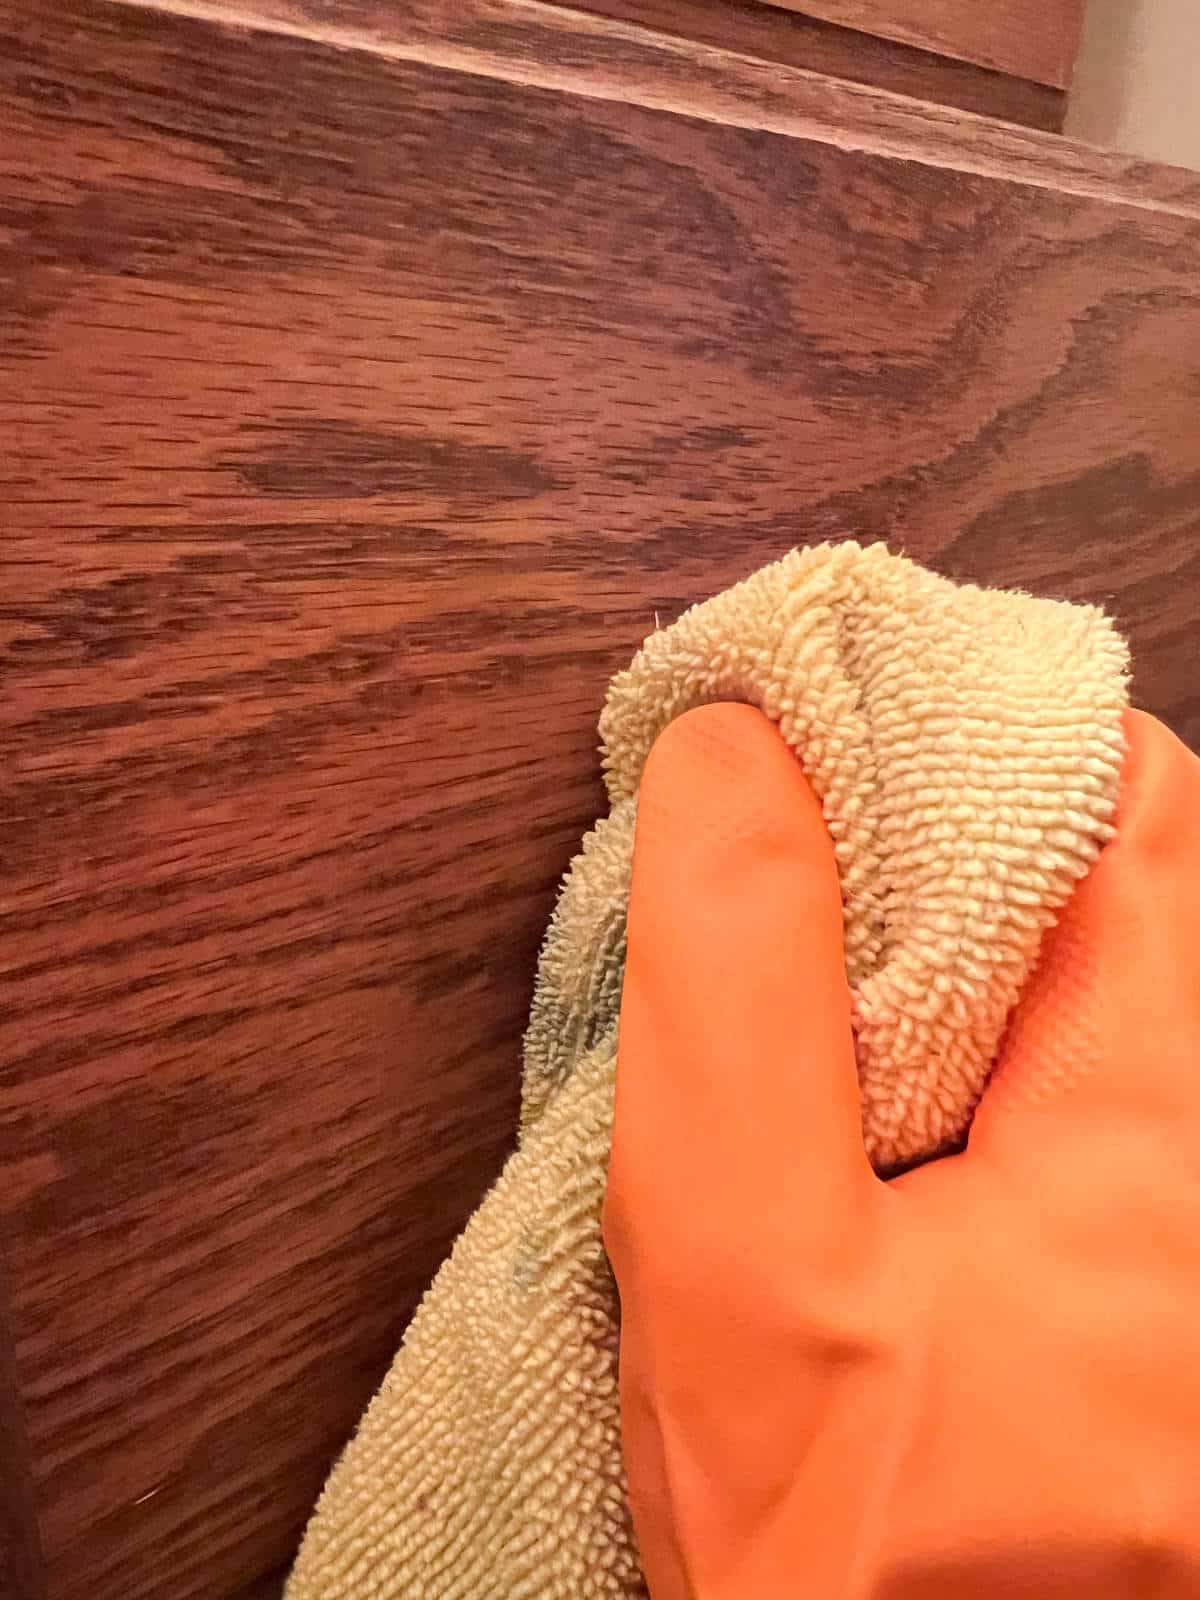
Wear a latex glove or rubber glove for this, especially if you have sensitive skin. Make sure to read all safety guidelines when using new products.
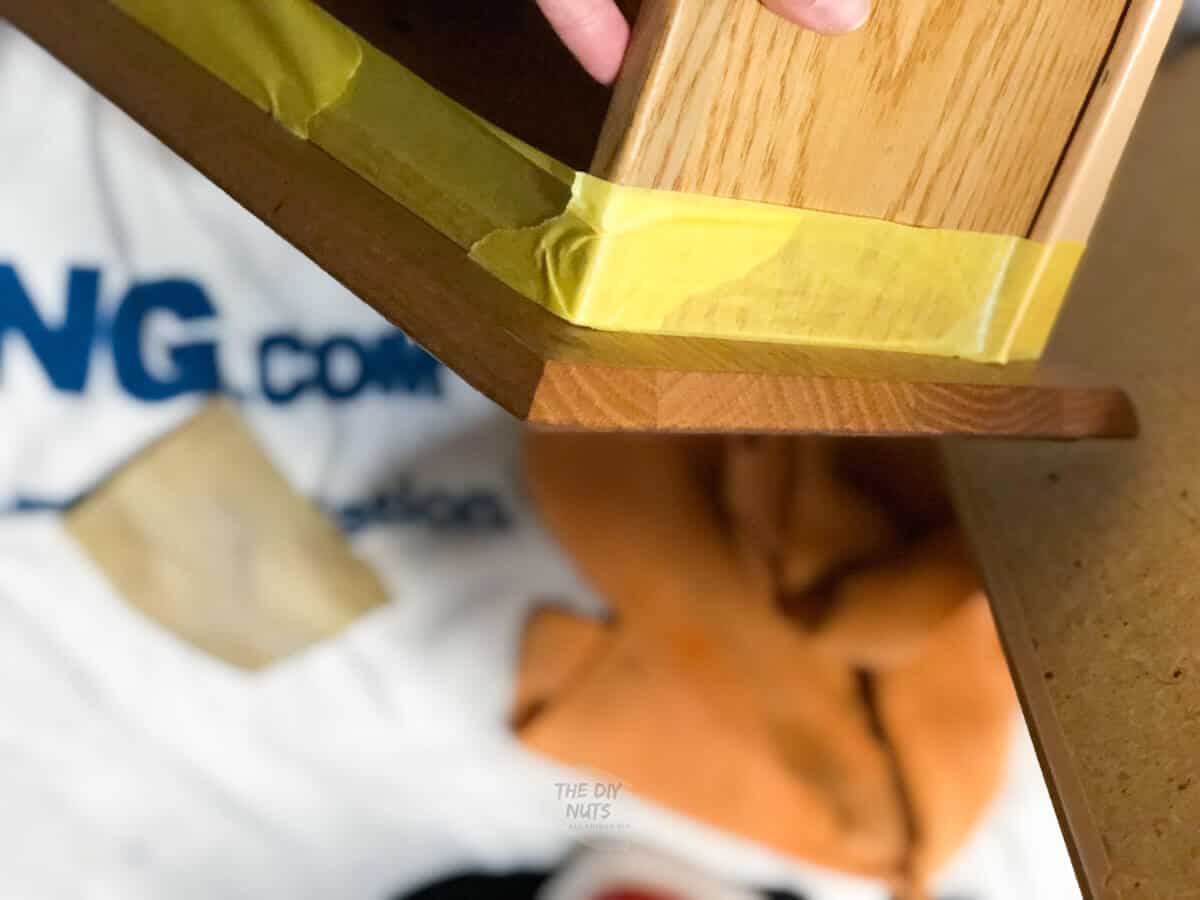
Step 4: Prep With Painter’s Tape
If you don’t think you can be careful, you may want to tape the inside of your cabinet inside the “lip”. You also may want to tape around the front of the drawers so that you have a clean look when you are finished.
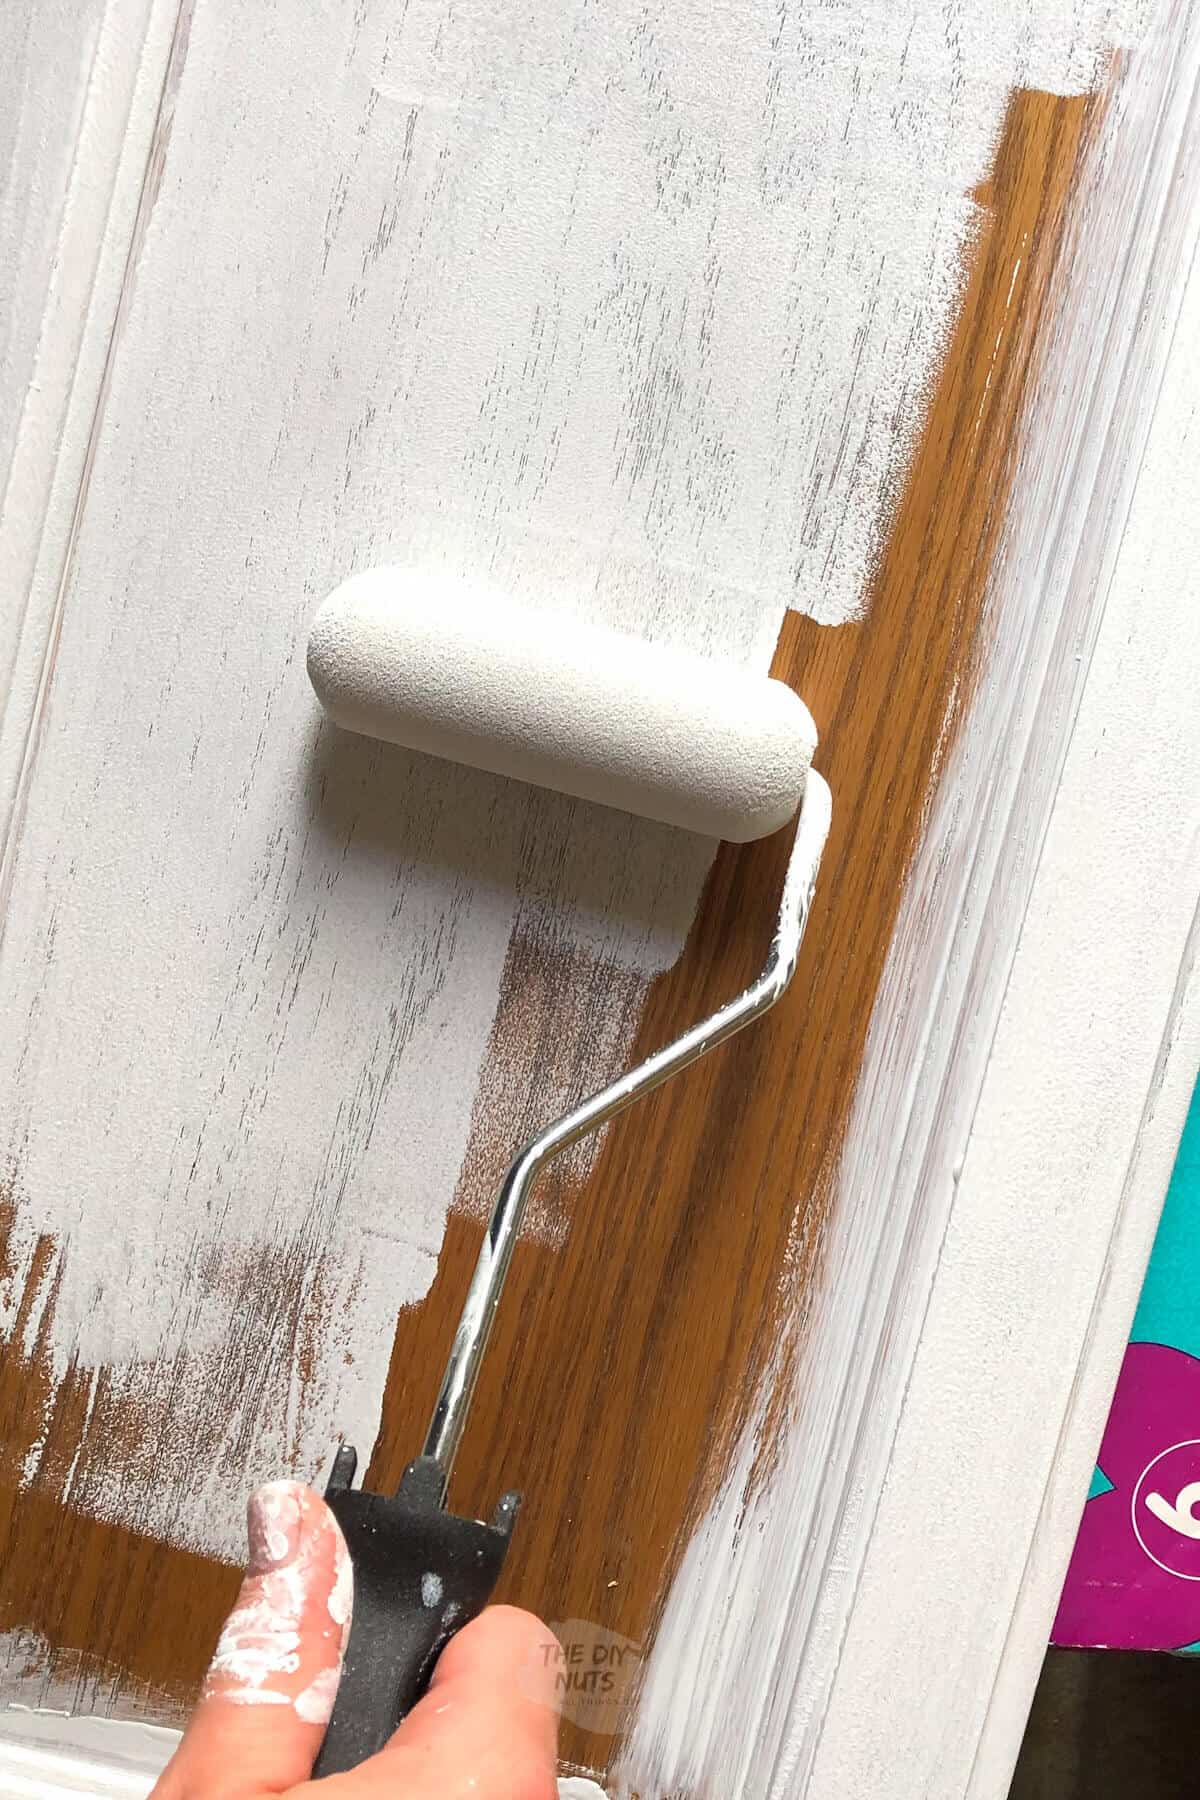
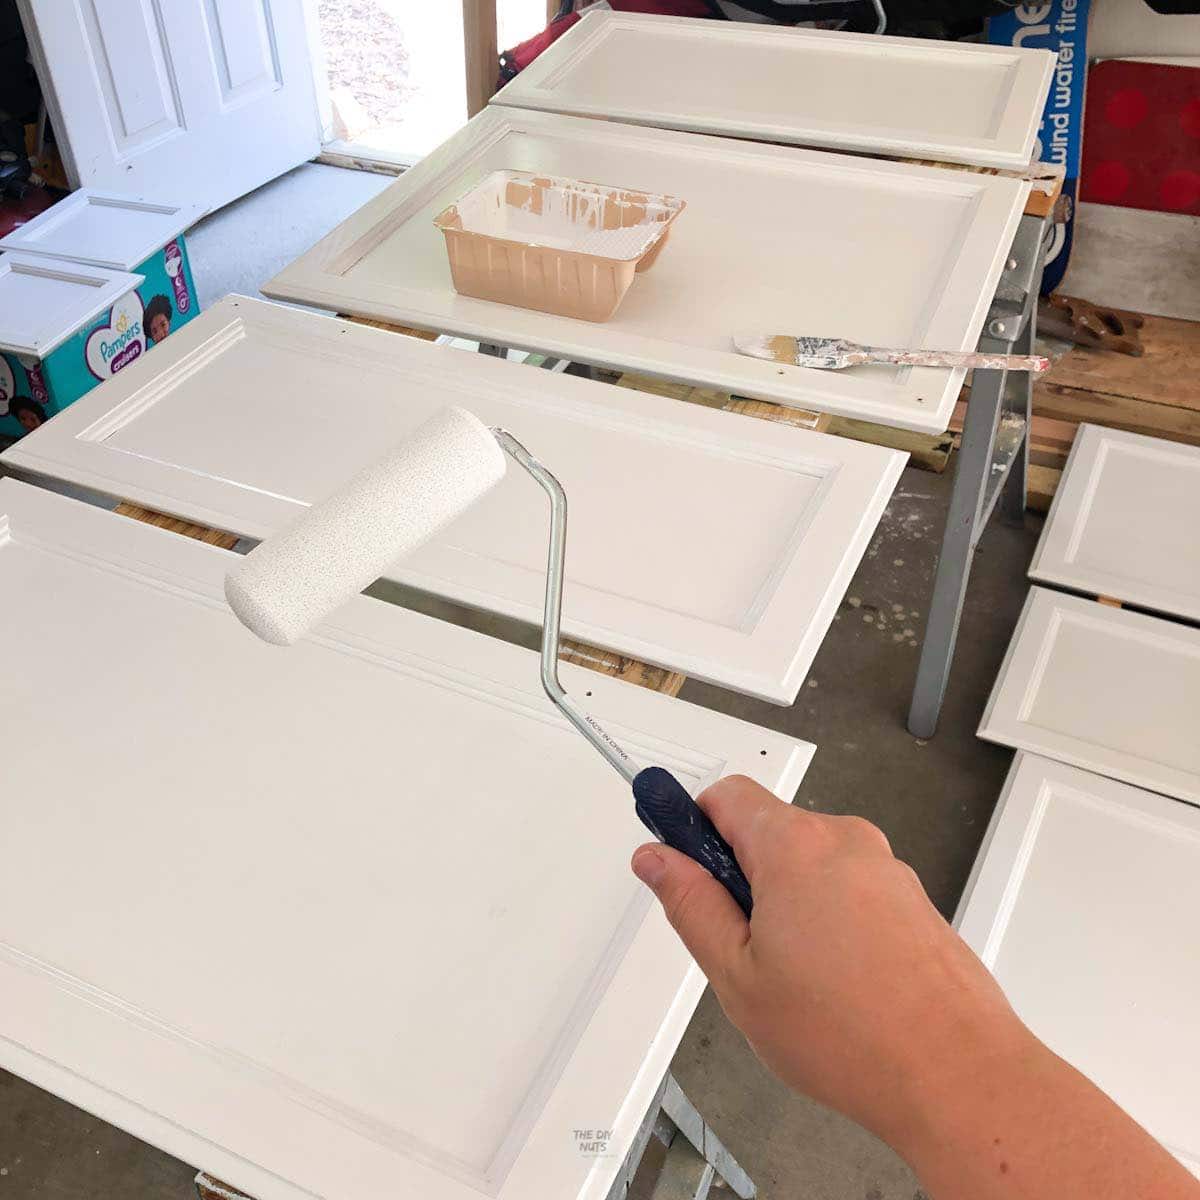
Step 5: Prime All Surfaces With A Brush and Small Foam Roller
Completely prime all oak. Setting up a paint station for your drawers and doors will really help you. We normally paint on 2 x 4’s in our basement and will even have 2 x 4s on a sawhorse and rotate the doors that way.
The great thing about the drawers is that they can just be propped upright. Also, you can almost roll the primer and paint on without too much brushwork.
Step 6: Continue With Primer and Check For Drips
Make sure to cover all oak with primer. Use a brush for the grooves and a small roller for all the flat areas. Don’t forget about the edges of the doors and drawers.
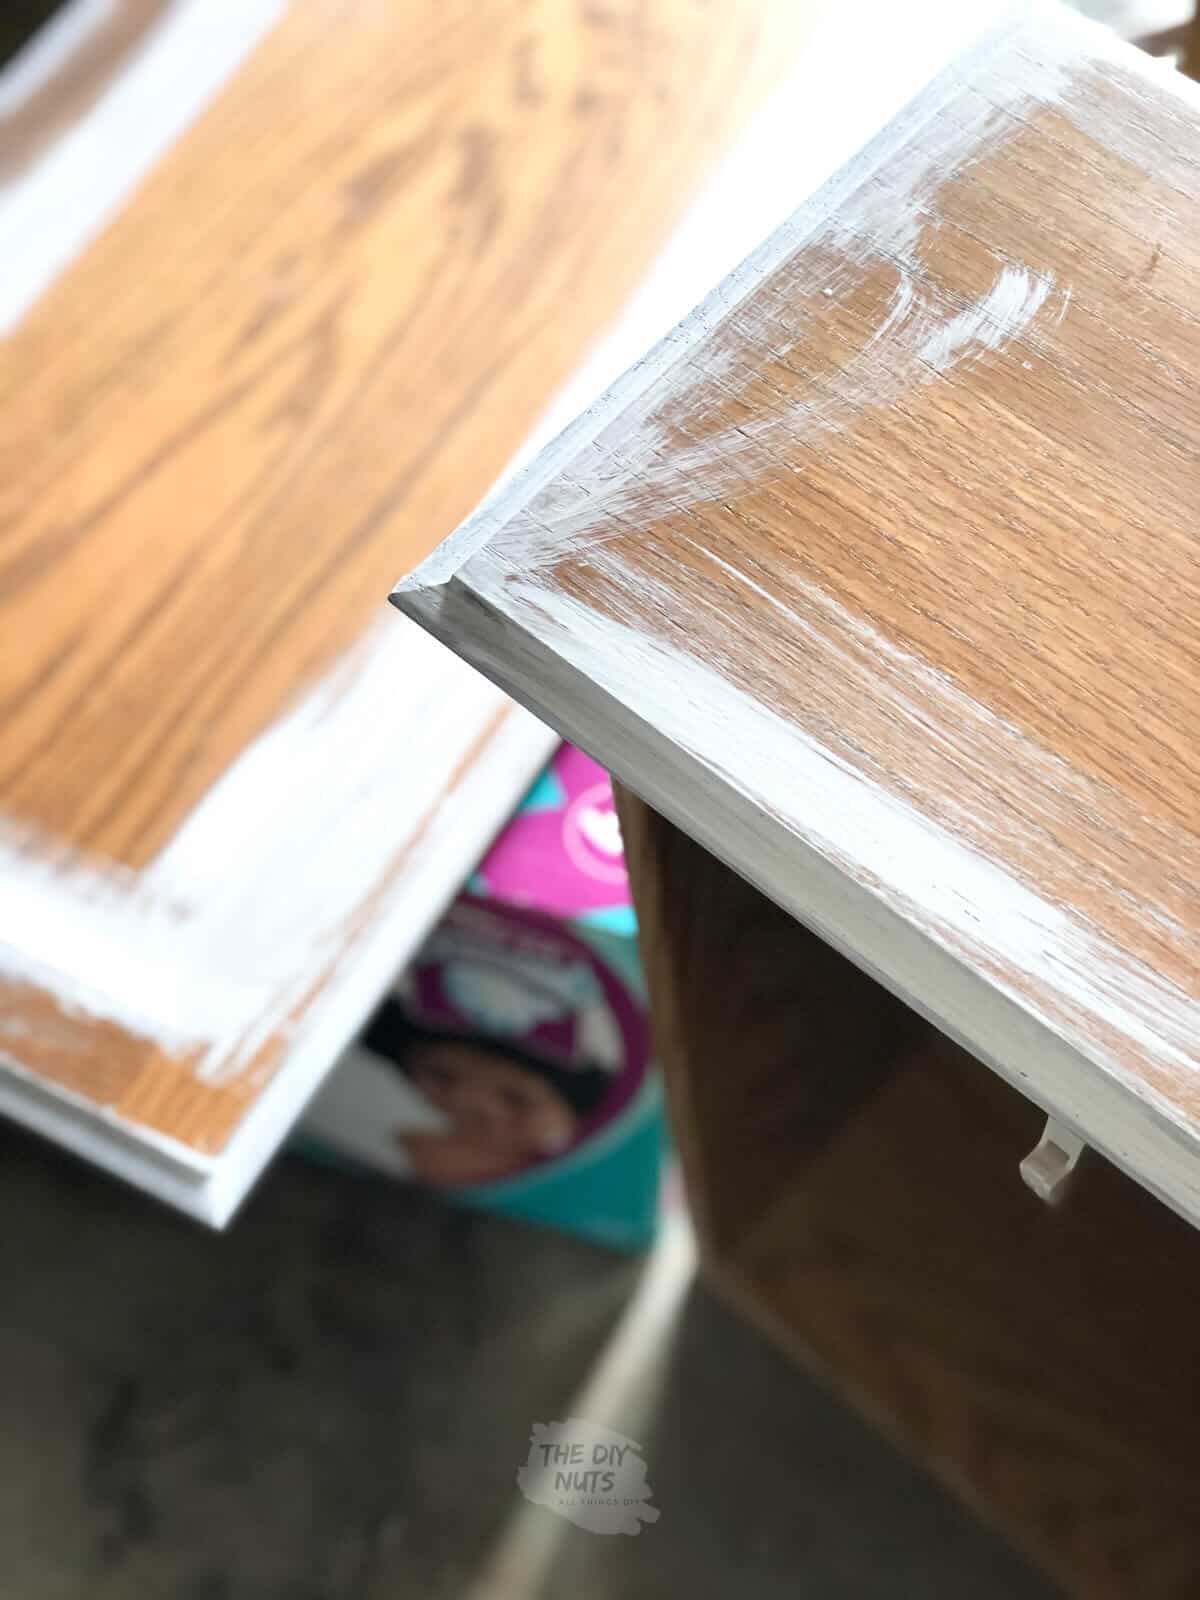
Pro Tip: Looking at them from multiple angles will ensure you have covered all surfaces and make sure that you have cleaned up any drips that may have occurred.
If any drips happen and you miss them, you will have to sand them down (unless you want a bumpy cabinet). So it is always easier to spend a little extra time just checking for drips on each step.
Step 7: Use Primer On Both Sides Of The Doors
The front and back of the drawers should be able to be painted/primed at the same time because you should be able to prop them up. Once the primer is dry, you will have to flip the door over and do the front side.
We recommend starting to paint the backside of the doors first to ensure the smoothest finish and longest dry time on the front.
Easy Brush and Roller Idea To Save Time
Use a gallon-sized Ziploc bag to store your brush and roller when not in use. Make sure to squeeze on the air, but make sure you keep your brush’s shape. You can also use clear plastic wrap and painter’s tape to keep your brush fresh between paintings without cleaning.
Obviously, make sure you clean your brushes and use a new roller when transitioning from the primer to the paint. The brushes would last a few days like this, but any more than that make sure to wash completely or it will just be harder to clean then (plus you may ruin your brush).
Step 8: Continue With Primer and Let It Completely Dry
The primer should be dry in a few hours. Read the can for the dry time.
I always continue the next step the next day. The last thing you want to do is flip a door over and ruin the work you just did because it wasn’t fully dry.
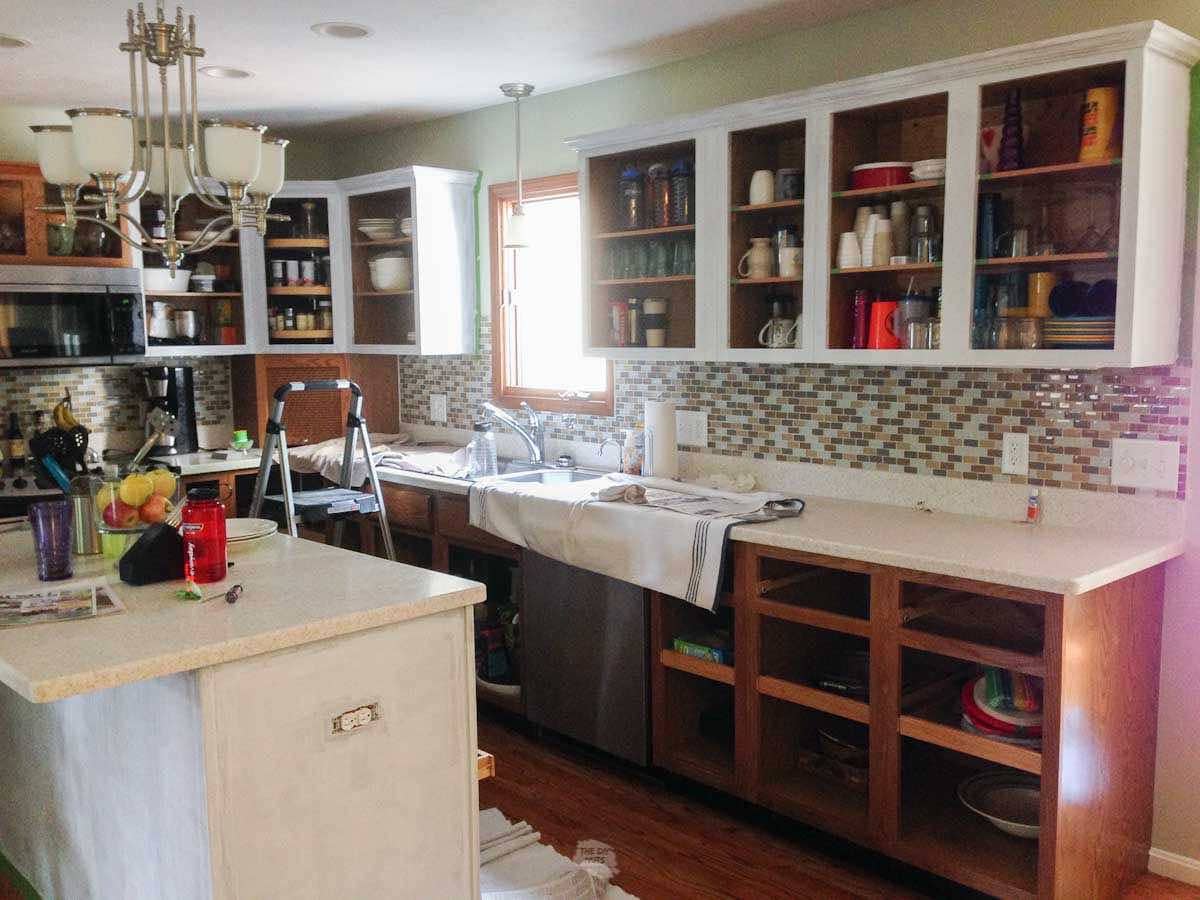
While you are waiting for doors and drawers to dry, start to prime the cabinet boxes.
Step 9: Begin Using Latex Urethane Trim Enamel White Paint
Following the same brush and roller procedure, apply the latex enamel paint. Let dry and then add a second coat to the drawers, doors, and cabinet base.
Step 10: Let Dry and Paint A Second Coat
Make sure that you evenly paint the sides and all parts of the drawers, doors, and cabinet frame. It is very easy to miss a spot.
Looking at your cabinet and box parts from all angles, helps you see if you missed any spots. Even asking for another set of eyes to check is always helpful.

Optional Step: Add A Third Coat Of Paint
If you think you need a third coat, feel free.

Step 11: Let Paint Cure Fully and Add Hardware
Once the paint is cured, reattach doors with either new hardware or old hardware. We have sprayed paint hinges and hardware before, but for this kitchen makeover, we bought all new hinges, pulls, and knobs.
Please note that if you have previous holes in your doors and drawers, then it is just easiest to find hardware that matches the distance. We were lucky and our cabinets had only knobs so we were able to get any sized pulls and drill a new hole where we wanted.
If you are changing the dimensions of your hardware, you will need to fill those holes before the whole painting process begins.
DIY Cabinet Painting Tips
- You can replace or spray paint old hardware and hinges for a fresh look. We chose to replace our hinges and buy new hardware. You wouldn’t believe the difference a new hinge makes.
- Set up a proper painting station. Kitchens have way more cabinets than a bathroom, etc. Setting up 2 x 4’s will help you keep the cabinets off the ground or better yet on sawhorses to save your back.
- If you do not want to see the grain at all, you will need to apply a wood grain filler and sand before painting. This is a lot of work and depends on the look you want.
- Properly prep and paint your kitchen cabinets. Do not skimp on the prep. You will be sad in the future.
- A deglosser helps fully clean the paint surface. The deglosser allows the primer to adhere to the varnish or cabinet surface more easily and this will help prevent your paint from chipping.
- “Roughen” up the surface of your cabinet so that the primer can adhere properly. Using Fine sandpaper and a deglosser really helps make sure that your painted cabinets will last for years to come.
- Let the paint fully cure. Ideally 30 days before putting back on your hardware. Do not rush trying to put on new hardware or allow those crazy kids to run around your kitchen too soon.
- Save extra paint for touch-ups over the years. The utensil drawer or places where furniture rubs up against will most likely need a little love over the years.
Things We Would Have Done Differently
As far as the kitchen cabinet painting goes, there are a few things I would have done differently from the beginning.
- Use a different stain-blocking primer
- Use Emerald Urethane Trim Enamel instead of Pro-Classic in a satin finish
- Painting the bottom cabinets a color sooner. We just love having a darker color on the bottom.
A few doors needed more coats of paint and maybe a stain-blocking primer would have worked better. However, then I would have dealt with the smell (and I don’t do good with fumes).
For now, we still love that we were able to completely update our kitchen without breaking the bank.
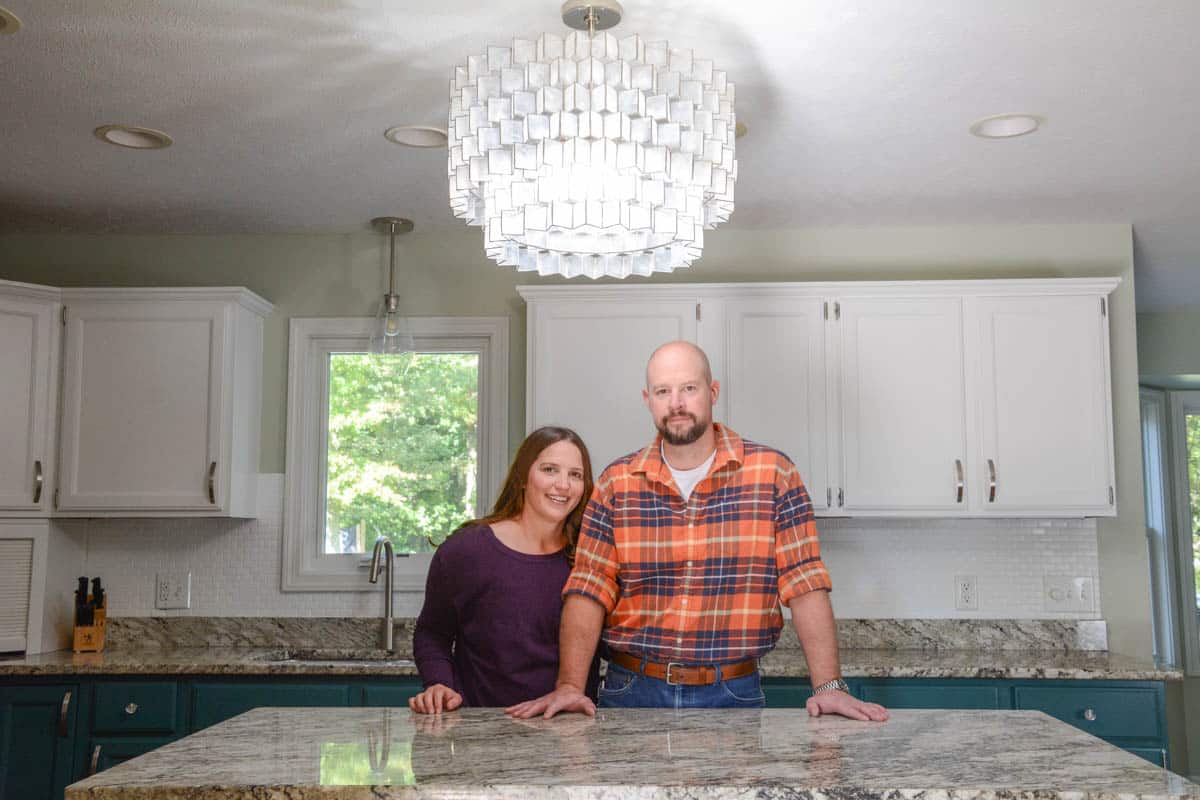
Before and After Kitchen
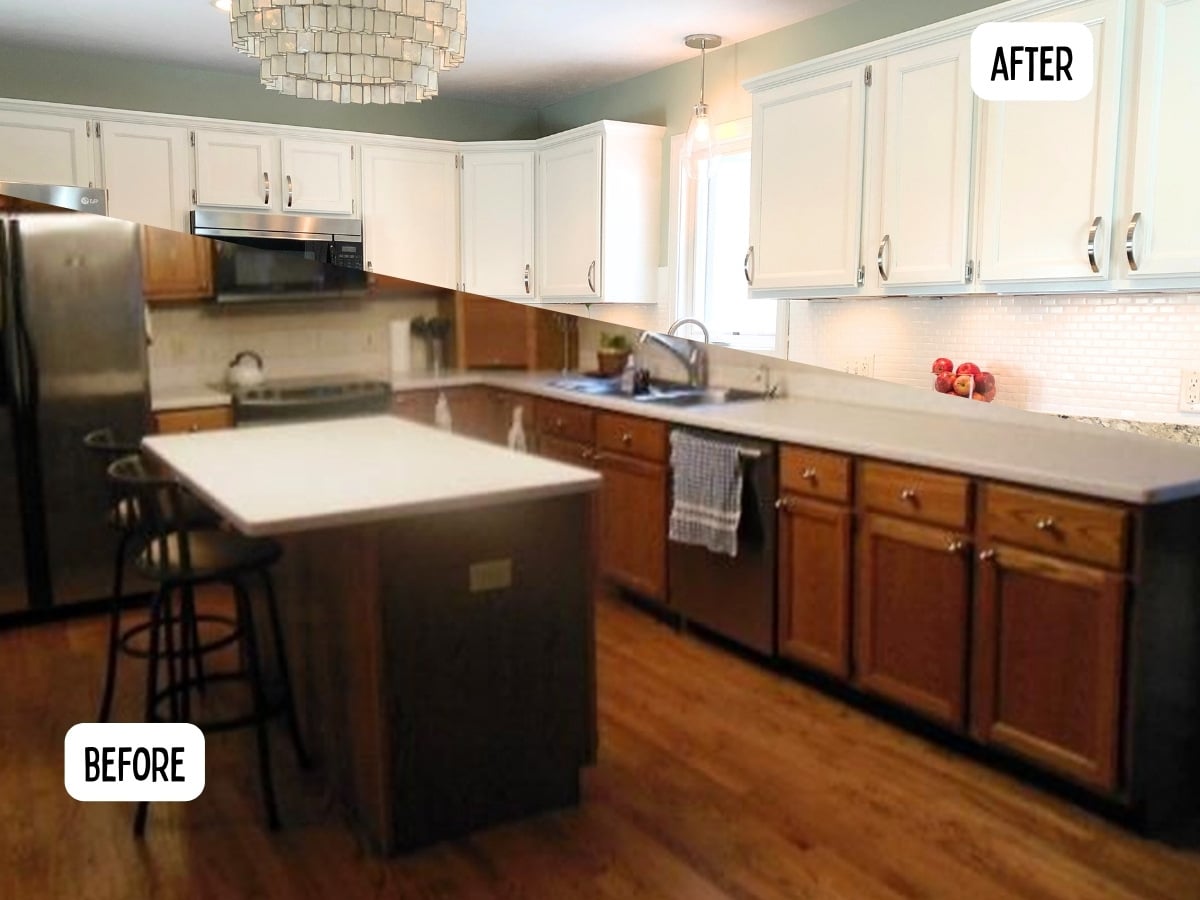
Our brown-to-white kitchen really brightened the whole space.
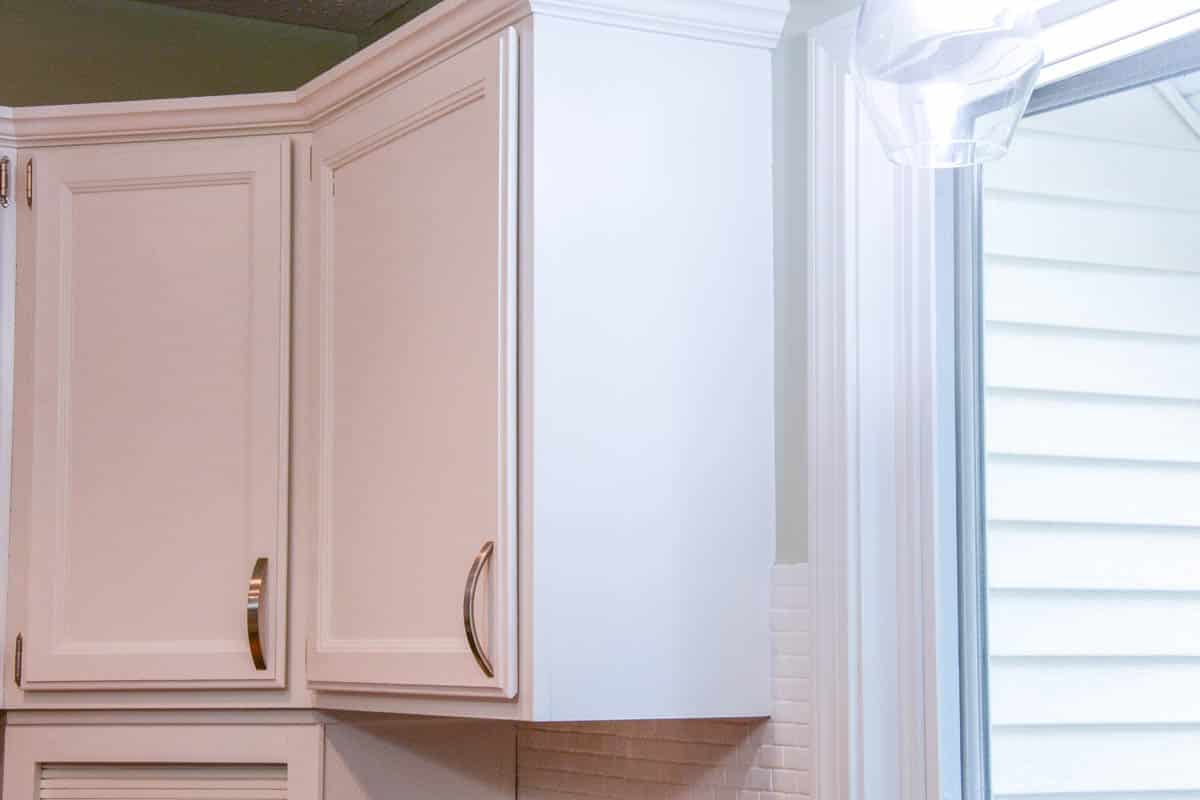
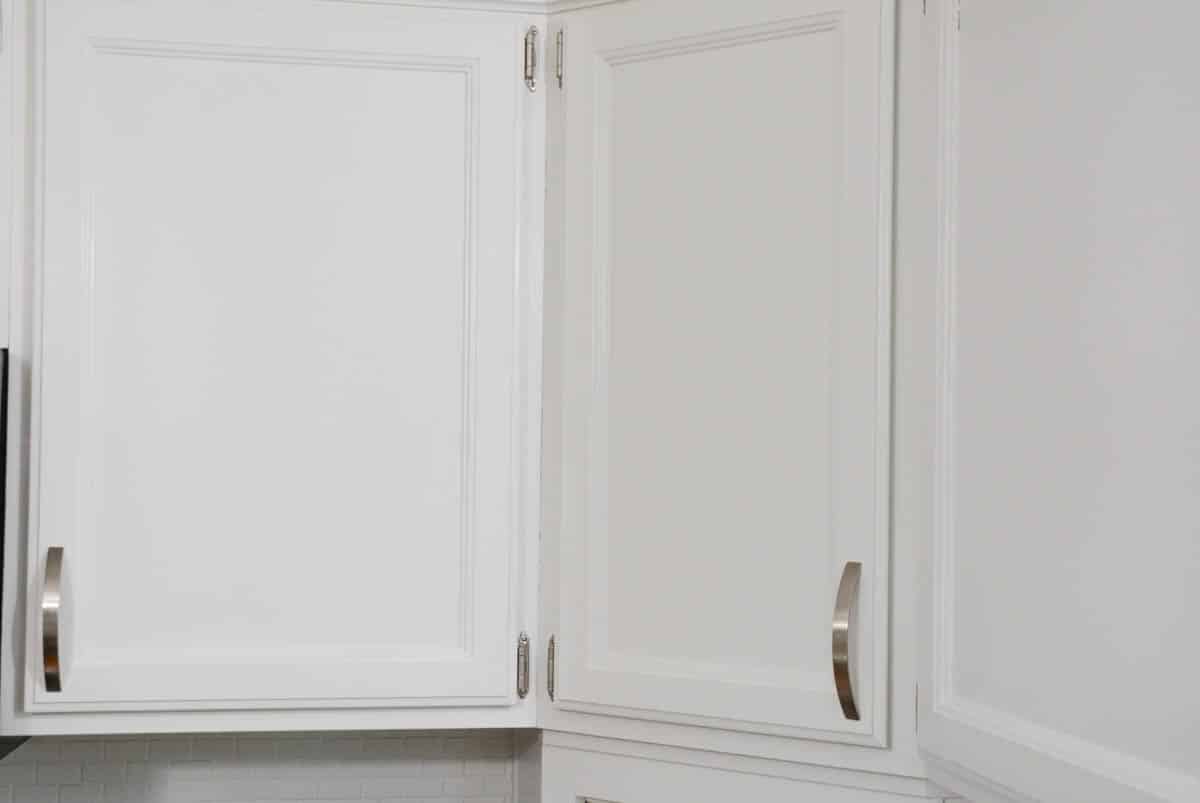
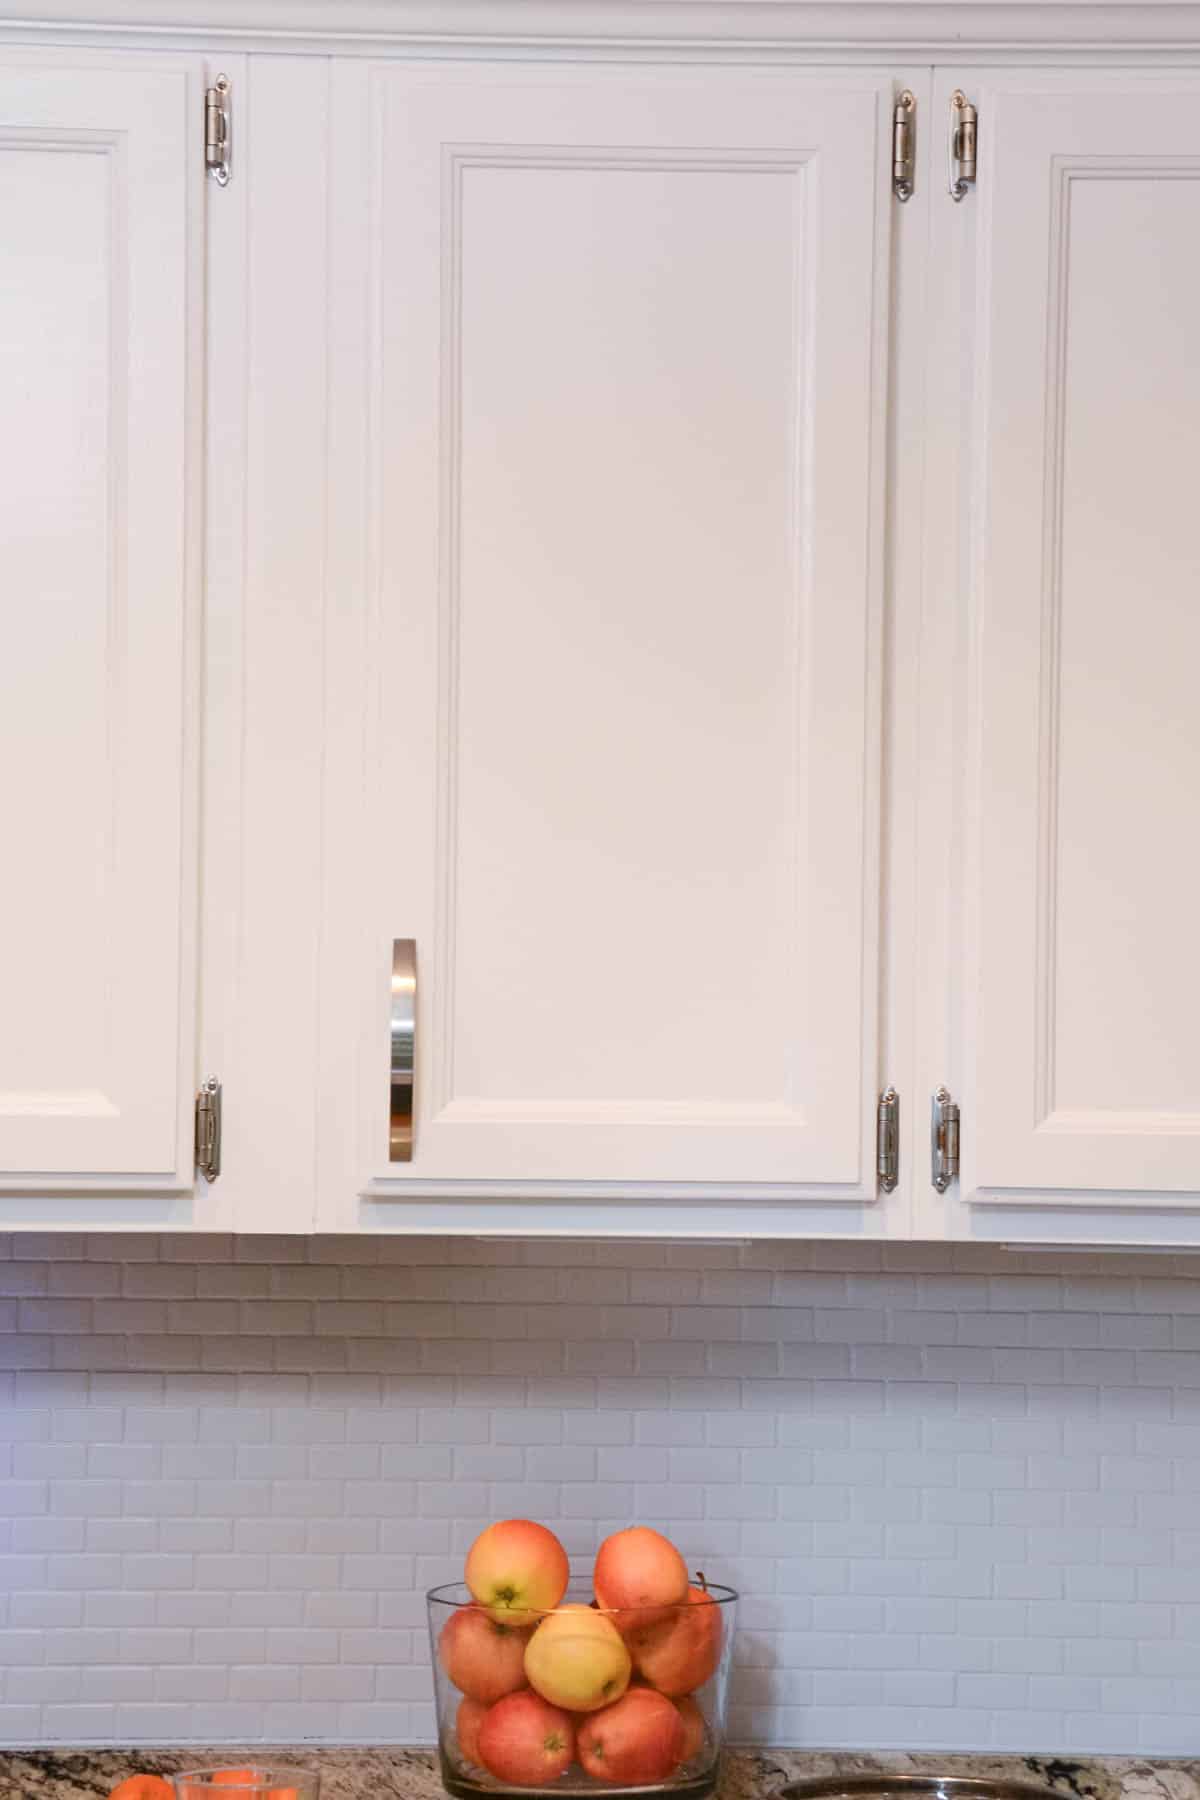
Current Painted White Kitchen Cabinets
After painting the cabinets white, we decided to add color to the lower cabinets and paint the glass backsplash. Make sure you check out those posts for all our painting ideas!
Tutorial FAQs
As far as the wear and tear, I am pleasantly surprised that the original white paint job was still in pretty good shape. The two main areas that needed touched-up were the silverware drawer and cabinets under the sink need the most love.
If your cabinets are in good shape then painting may be a great option. If there are structural problems or you don’t like your cabinet layout then painting may not be worth it to you.
We recommend Sherwin Williams Emerald Urethane Trim Enamel when painting cabinets.
Consider really cleaning the current doors, hardware or hinges. Changing the surrounding things, like painting your walls a bright airy color or adding a new backsplash will give your kitchen a modern feel without painting cabinets.
You can follow similar steps listed here if your paint is in good condition. If you are just changing the color you may not need to prime or sand.
We like using a small high-density foam roller and a 2.5″ angled paint brush to paint cabinets. For best results, use the roller in all places you can. Only use the brush in areas the roller can’t reach.
We did not use a product to fill the grain beforehand. If you do not like the look of some texture then we recommend using a product like Aqua Coat before you prep for painting.
There are pros and cons to using a paint sprayer. If you have space and the means, you can also consider a paint sprayer. The biggest issue for your kitchen is you would really have to prep your kitchen to make sure that overspray doesn’t occur.
If I were to be using a sprayer, I would probably spray the drawers and doors and hand-paint the frames so that I didn’t have to worry about that. Once the doors are on, any difference in texture would probably not be that noticeable. And if you are that picky, you probably should just replace your whole kitchen completely.
As far as chalk paint, maybe it would work. Blogging friends of mine have done vanity cabinet makeovers using it, but we will save chalk paint for our furniture makeovers and not cabinets that get a lot of wear and tear.
If you are insistent on not prepping and priming cabinets, I have heard good things about this satin enamel paint. I have not personally used it, but you may want to check it out. Depending on the size of your kitchen, this product may end up being more inexpensive than if you just were to get a good gallon of latex enamel.
Follow us on Pinterest, YouTube or Facebook for more DIY inspiration!
Related Posts
- 50 DIY Home Projects You Could Try This Weekend
- 7 DIY Cabinet Painting Mistakes To Avoid
- How To Paint Trim White
- Our Favorite Boho Chic Light Fixtures
We are still loving our budget kitchen makeover. The best part of DIY painting projects is that you can always repaint or fix it if something doesn’t work out.
If you like this tutorial, please give it 5 stars below 🤩🤩🤩🤩🤩. Your support helps us continue to provide unique and budget-friendly DIYs.
How To Paint Kitchen Cabinets White
Equipment
- Small High-Density Foam Roller This roller will give you the smoothest finish when used properly.
- Old Rag
- 2.5" Brush We like using Purdy 2 ½” Angular Trim Brush or equivalent from Wooster
Supplies
- Deglosser
- 220 Fine Sandpaper
- Sherwin Williams Emerald Trim Urethane Enamel white paint of your choice
- Stain-Blocking Primer
- Painter’s Tape
Instructions
Before You Begin
- Draw a map with numbers for each cabinet door and drawer.
- Fill any old harware holes or other belmishes with wood filler and sand smooth.
Prepping Cabinets
- Remove all doors, drawers, hinges and hardware from your cabinets.
- Label doors and draw map of where doors and drawers came from.
- Roughen all cabinet surfaces with 220 sandpaper.
- Wipe down all surfaces with a deglosser on a rag.
- Use painter's tape to prep areas. Consider taping where drawer front meets the box, walls and small lip of wood inside the frames.
Priming and Painting
- Primer all surfaces with a stain-blocking primer. Use a 2.5" brush for grooves and areas that a small foam roller can't reach.
- Keep priming all surfaces including the cabinet boxes, fronts and backs or doors and drawer fronts & backs. We did not paint the inside of our cabinets or drawers.
- Following the same brush and roller procedures using Sherwin Williams Urethane Trim Enamel.
- Repeat a 2nd coat when first layer of paitn has fully dried.
- Add a 3rd coat of paint, if necessary.
- Let cabinets fully cure for as long as possible (at least 7 days) before adding back on hardware.
Notes
- Satin finish is the most popular choice for kitchen cabinets.
- This painting project takes a while to complete and for doors to dry. Do not rush the process.
- Setting up a painting station for drawers and doors will help you work at your own pace.
- If you end up having a few drips or mistakes, you can lightly sand those away once dry and repaint that area to a smoother finish.
When I have used a foam roller (Purdy) I get bubbles. How do you prevent the bubbles?
Hi Elissa. I always do light coats/layers and that seems to help. If you are using self-leveling paint like SW Emerald Urethane Enamel that will also help when painting kitchen cabinets.
Your kitchen looks amazing! Have you ever finished your cabinets or hears of anyone putting a finish coat on them like a sealer or a sealant of some sort to make them even more durable.!?
Hi Robyn. I know other DIY bloggers have used something like Cabinet transformations. However, with high-quality paint (like SW Emerald Urethane Trim Enamel) you shouldn’t need a sealer. Our cabinets get quite a beating and the finish of that paint is very durable. We always recommend going to an actual paint store (not a big box store) and to talk about your project before starting.