Create A DIY Craft Room On A Budget
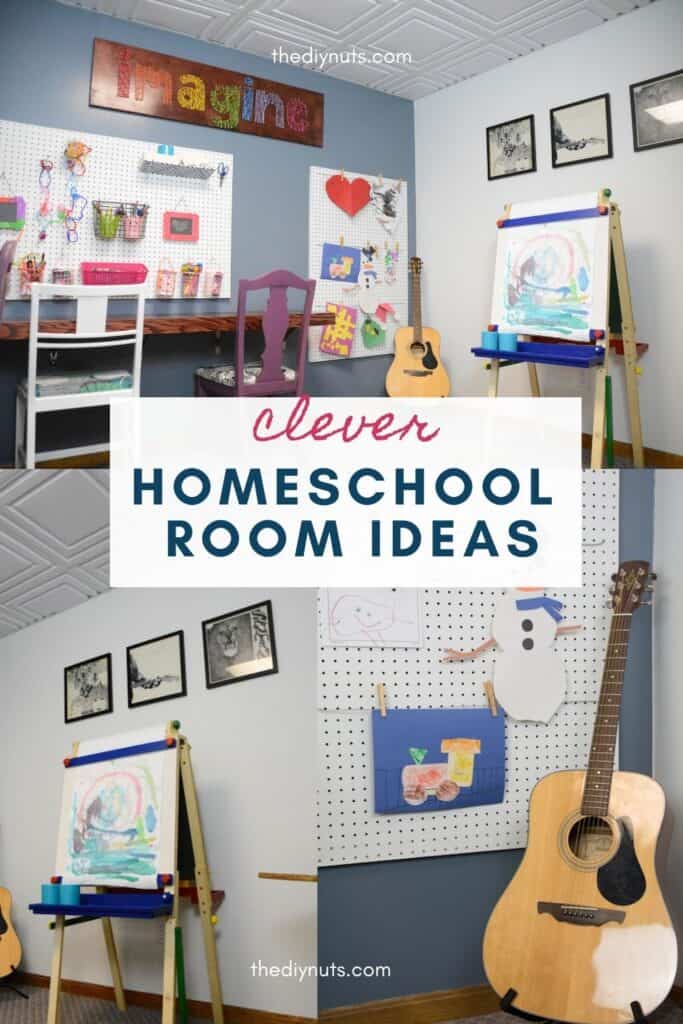
Do your kids love to create, imagine and make arts and crafts? If you wish you had a designated space or spare room for them, this post is for you. See how we turned a small space in our basement into an awesome creative space for our children.
*Disclosure: I only recommend products I would use myself and all opinions expressed here are our own. This post may contain affiliate links that at no additional cost to you, I may earn a small commission. Read our full privacy policy.
This room also gave us plenty of space to do anything from Zoom school to any type of preschool craft you can think of.
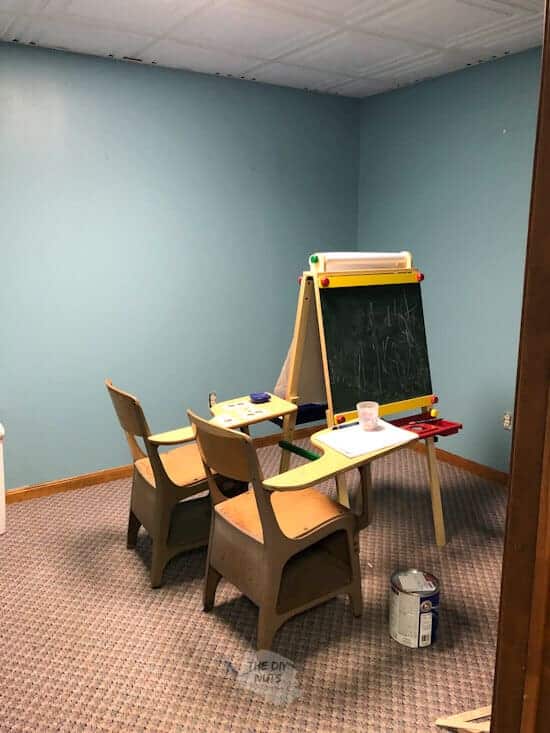
The “Before” Small Basement Room
This room has had many lives. When we first moved in, it had golf wallpaper with a crazy golf border throughout.
Yuck. It was dark and depressing. Then we painted it blue, which was fun for a little while when my husband had his weights in this empty space.
After that, this old room was my husband’s home office for a second. And before this last transformation, we had a bed in there for grandparents to stay in. However, as our lives have drastically changed, this space needed to.
We believe this change to a crafty room will be permanent. We built it so that our children will be able to use it for the next decade and more!
#1: New Paint Colors
Okay, I love fresh paint, just like any DIY girl. However, I hate having a ton of leftover paint sitting around going bad.
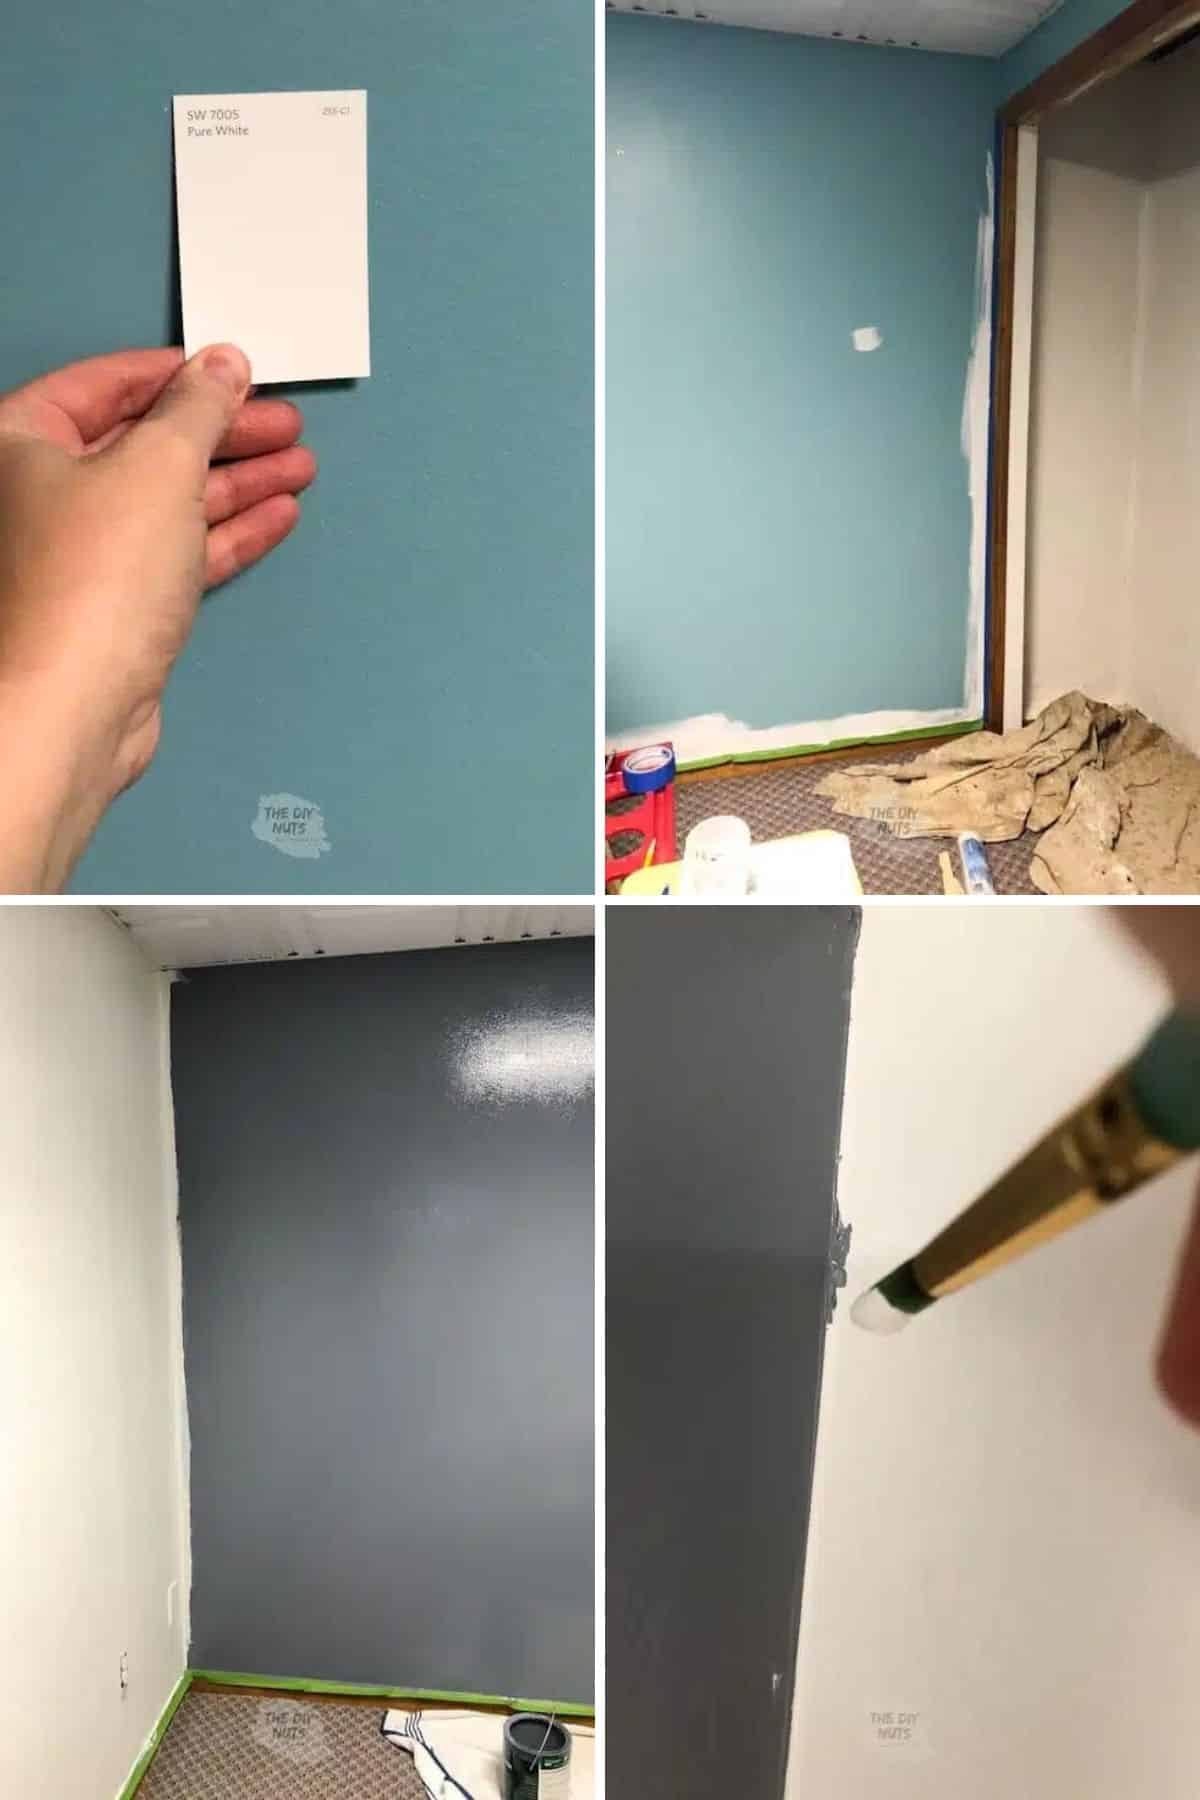
Since we had a can of Behr Charcoal Blue leftover from our laundry room cabinets, I decided to try using it to paint our accent wall. Normally I would never use enamel latex on the wall, but it was free and did the job.
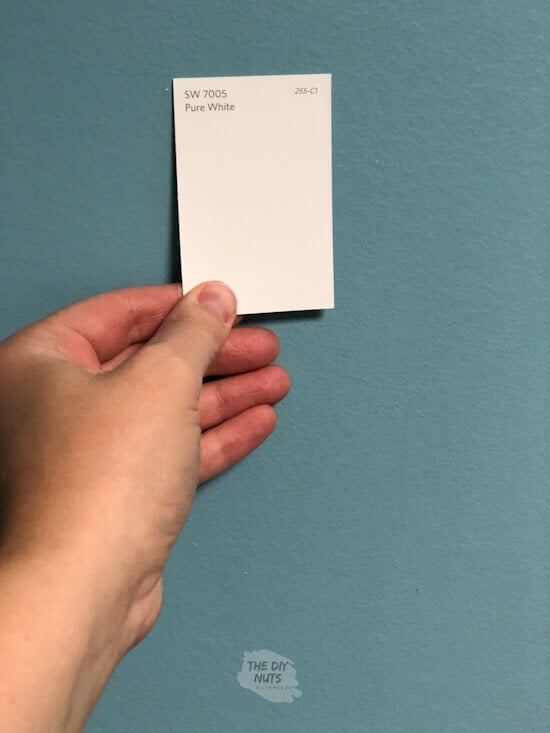
Since we do not have the luxury of natural light, we needed to brighten the work space. We chose to paint the remaining walls with Sherwin Williams Pure White. Once that first coat of white went up, we knew it would make the room feel much bigger.
Before painting the whole room, you may want to consider how to update the outlets or trim first. Because this is our basement, we decide to keep the oak trim. It is honestly the only oak left in our house!
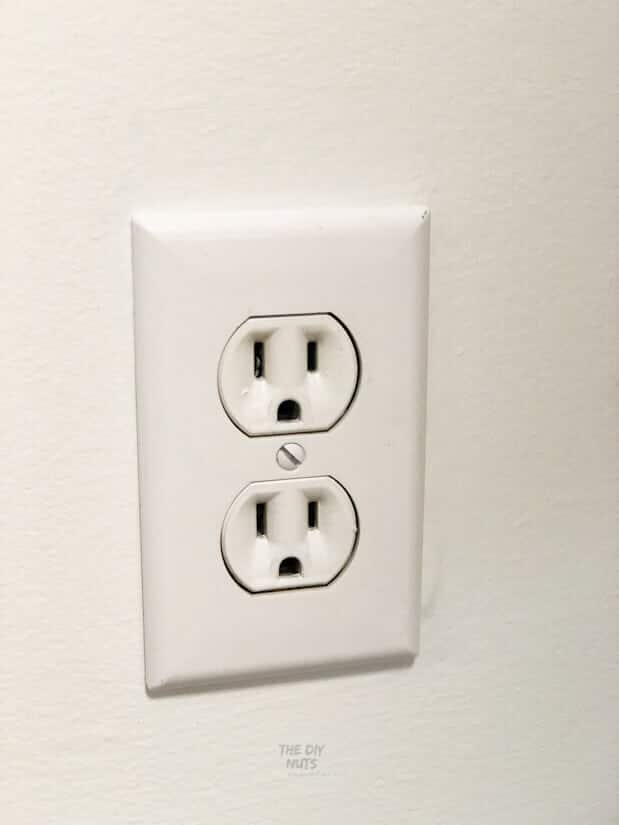
Spray Paint Outlets
This room and every room in our house had almond-colored outlets. This looks very funny when you go to update with fresh white plate covers.
You can use this spray paint to update the outlets. However, be very careful! You do not want to spay it directly into the outlets.
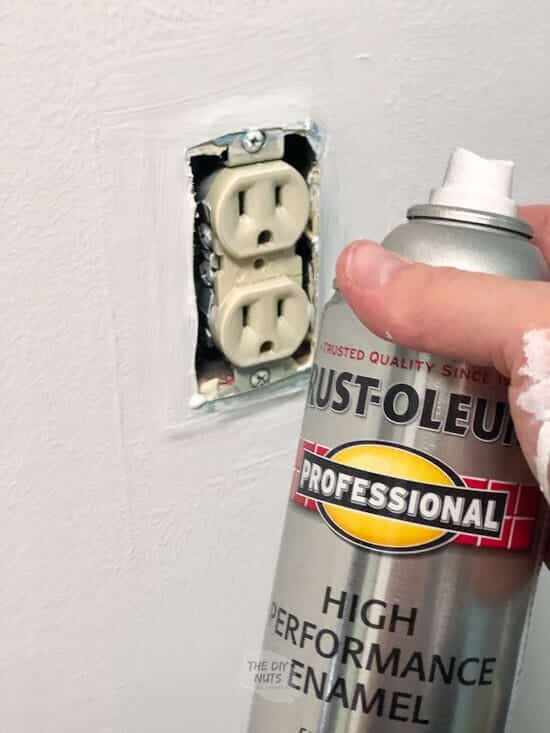
Hold a piece of paper or cardboard under the outlet so that spray doesn’t get everywhere. Spray from the side and different angles, but not straight on.
Remember, we are sharing what has worked for us. Always be careful when dealing with electrical work.
Paint An Accent Wall
The first step in this craft room makeover was to add an accent wall and new paint on the surrounding areas. Here is how we added a simple paint accent wall to our crafting space.
- Tape the baseboards.
- Paint the side walls with white paint by trimming and rolling. Repeated this twice.
- Once the white paint is dry, tape the edges of the wall where the colors will meet.
- Trim and roll with charcoal blue paint. Again, repeat twice.
- Remove painter’s tape. This is our favorite brand and one we have used to create our accent walls! Make sure to pull away from the accent wall.
- Touch up any areas that bleed through the tape. A simple small brush is a great option and can make this easier.
Read More>>>>DIY Accent Walls That Are More Than Just Paint
#2 Create Zones For Different Uses
Depending on the year (yes, I am looking at you, 2020), this room has had many functions. It is a great space in our basement for my children to go to.
Not only can we store art materials, but they now have a distinct place to paint, sculpt, draw or do homework or even Zoom school.
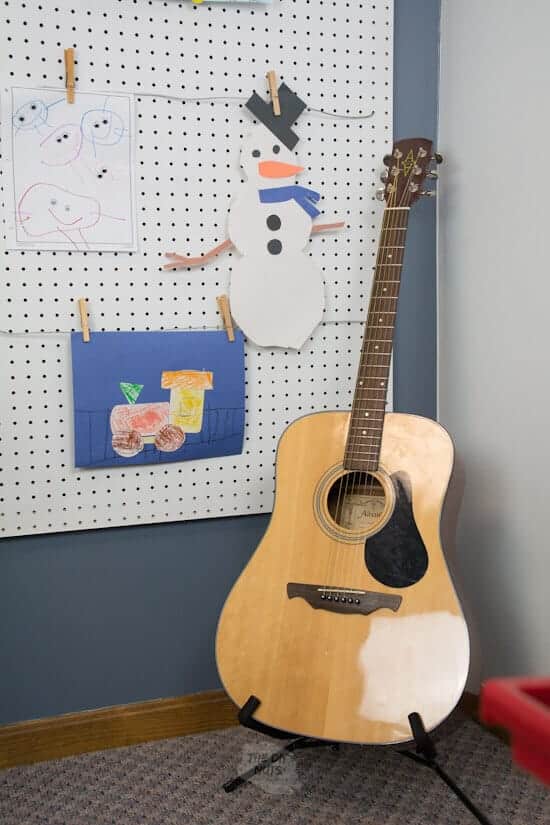
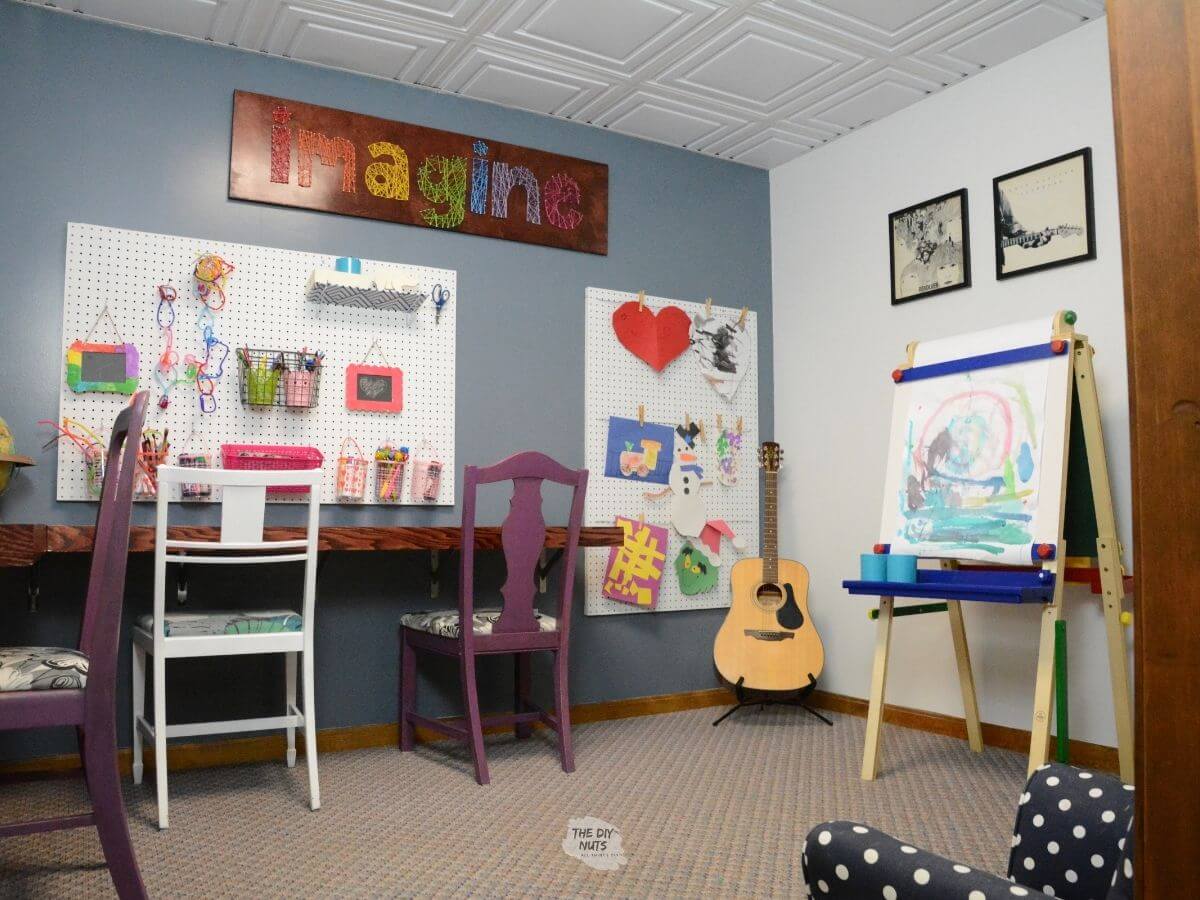
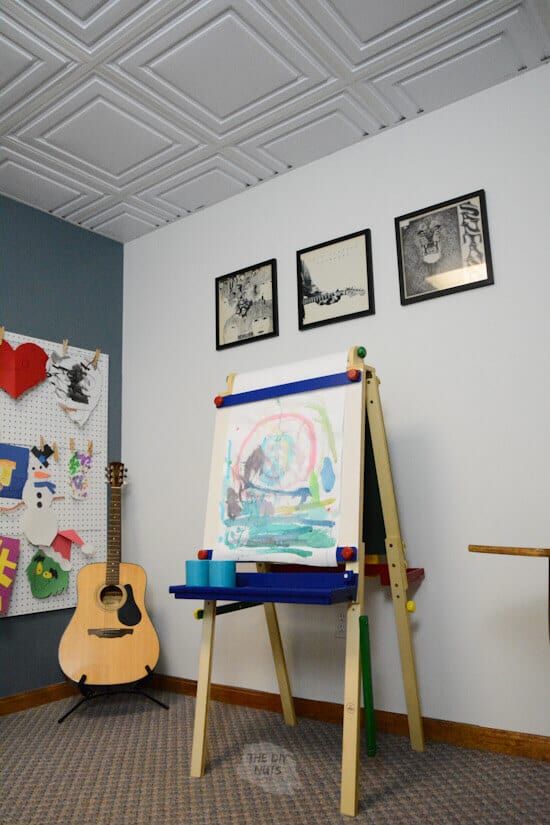
We love to encourage all the arts in our children. Musical instruments make great decor items as well as encourage creativity! A simple guitar stand is a great way to store and display this guitar.
#3 Make Art & Craft Supplies Easy To Reach
Before we could utilize this closet, we needed to waterproof the cinderblock. Here’s what the closet looked like before we did that.
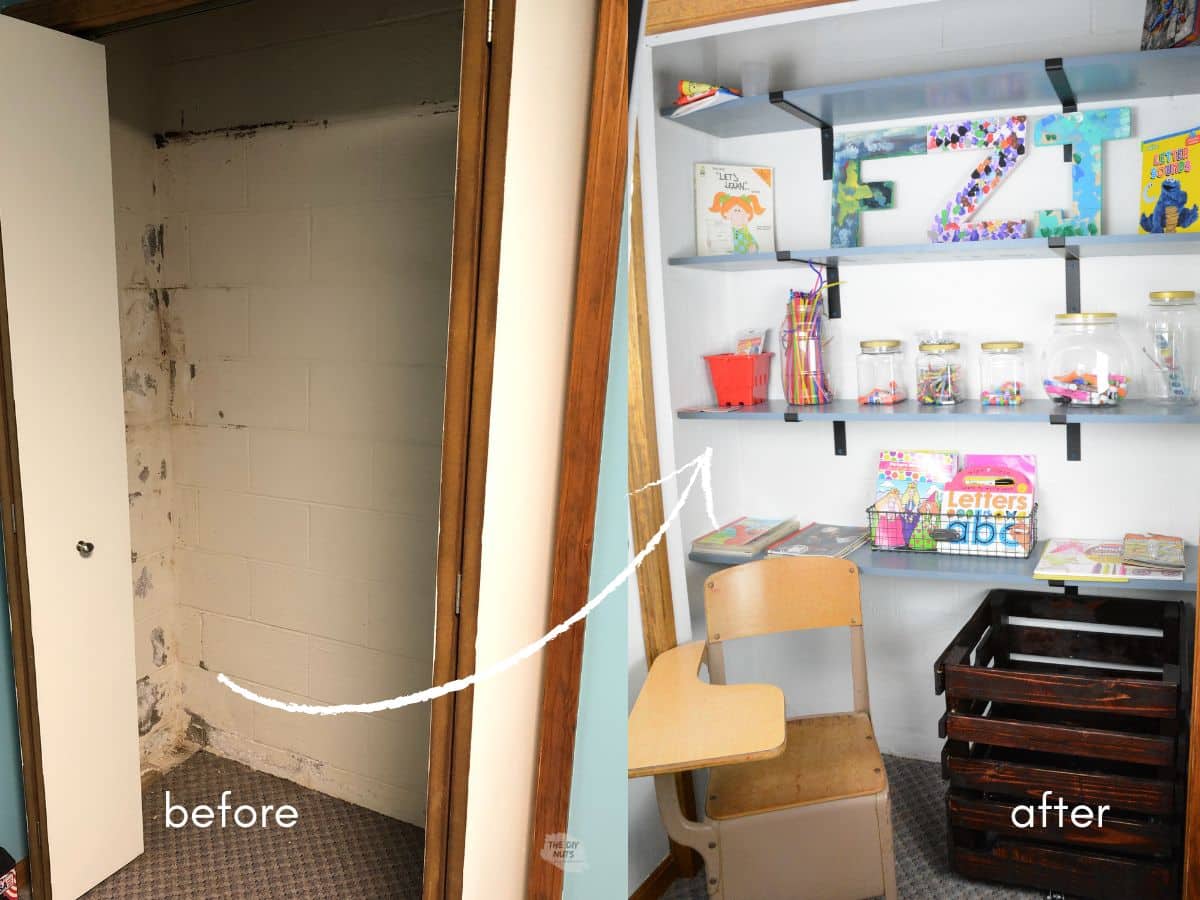
Currently, this small craft room holds all the wonderful crafts and art supplies our children love to use. It is so nice to have a designated space for all these items.

The craft closet holds most of our art and craft supplies. From glue sticks to anything our children may need to color that quick worksheet.
This room will still work for older kids, but books, calculators, and ipads may be on the shelves instead of fuzzy pom poms.
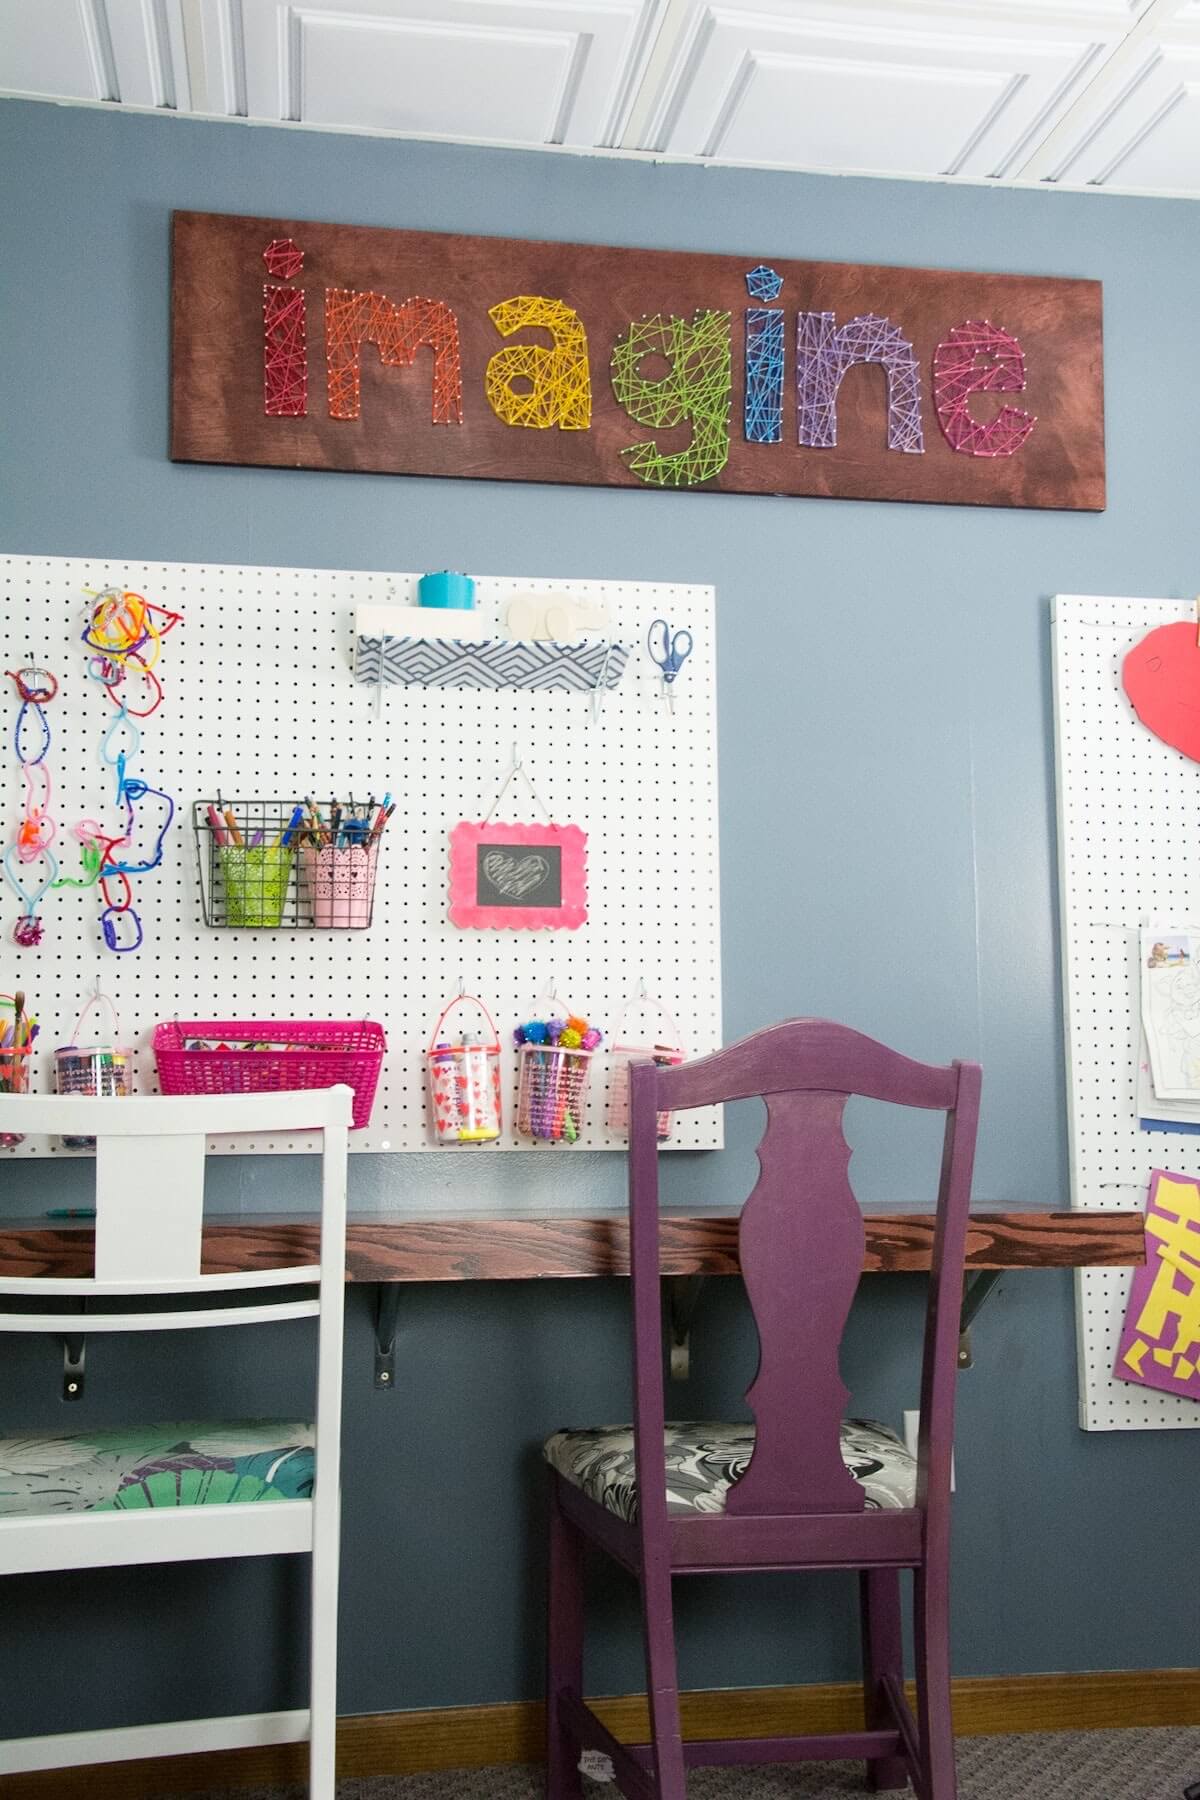
#4 Add Pegboards To Easily Store Supplies
Instead of adding just artwork on the walls, we decided to add more DIY storage and organization by creating DIY pegboards. Each child can have their own workspace while having their own storage space.
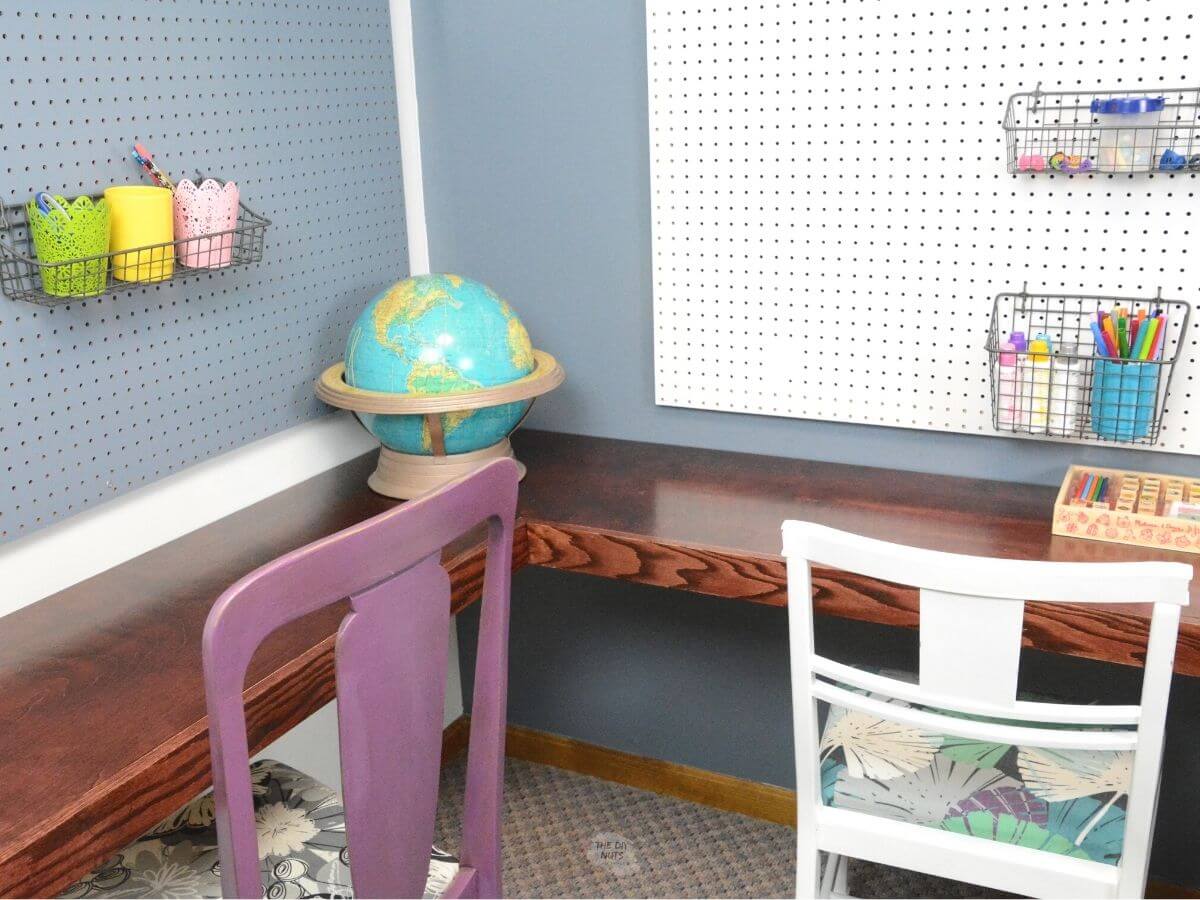
These painted chairs were the perfect addition to our space. Not to mention we didn’t have to spend any money to buy more furniture because these were sitting in our attic.
#5 Utilize Space With a Corner Desk or Table
The L-shaped desk really utilized the wall space. Building a corner desk is a great option if you have a small space to work with.
#6 Add An Art Easel
This art easel finally has a home; we know creative messes will be contained in this room. You could even store dress-up clothes are other imaginative toys in this space.
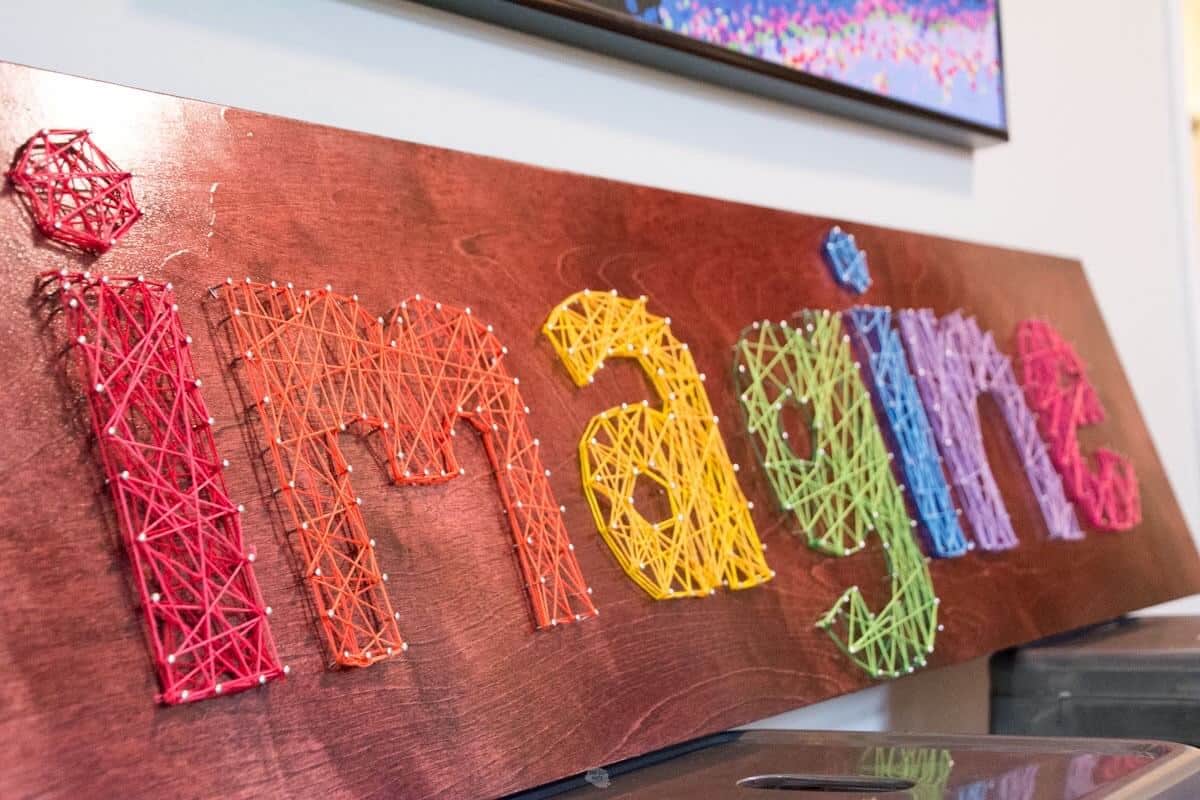
#7 Create Unique Wall Art
The favorite DIY project that we added to this space was the DIY string art with the words IMAGINE. We went back and forth about what message we wanted to send to our children and we are so happy that we chose “imagine”.
Tips
- Repurposing plastic containers is a brilliant idea because it is eco-friendly and free. You can also get containers in different sizes depending on what art and paint supplies you want to store. Win, win in our book!
- Have places for children to put things and use the containers as decorations. Include them in the making and organizing.
- Add fun colors to your accessories, even if it means letting your children paint fun Dollar Store pots, chalkboards, or figurines. The more they take ownership of the space, the more they will want to take care of it.
Follow us on Pinterest, YouTube or Facebook for more DIY inspiration!
Follow us on Pinterest, YouTube or Facebook for more DIY inspiration!
Related Reading
- DIY Dress-Up Clothes Storage Solutions
- DIY Painted Chalkboard Idea: This would be an awesome addition to any craft room.
Our kid’s craft room has really given our children a space to be creative!