Painting Cabinet Hardware For An Easy Upgrade


Painting cabinet hardware is a simple and cost-effective DIY anyone can do! Our step-by-step process will show you exactly how to paint cabinet hardware with a lasting finish to give your home decor a fresh look on a budget.
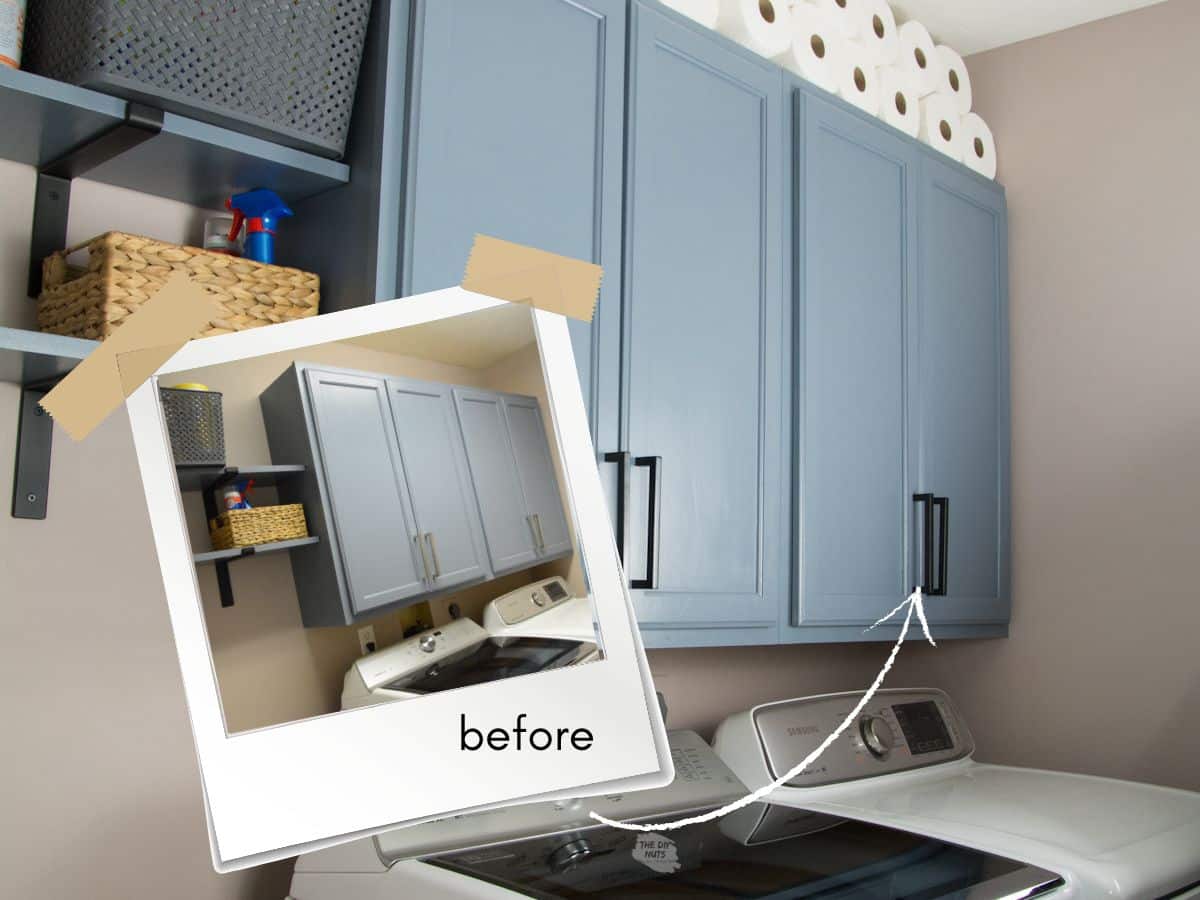
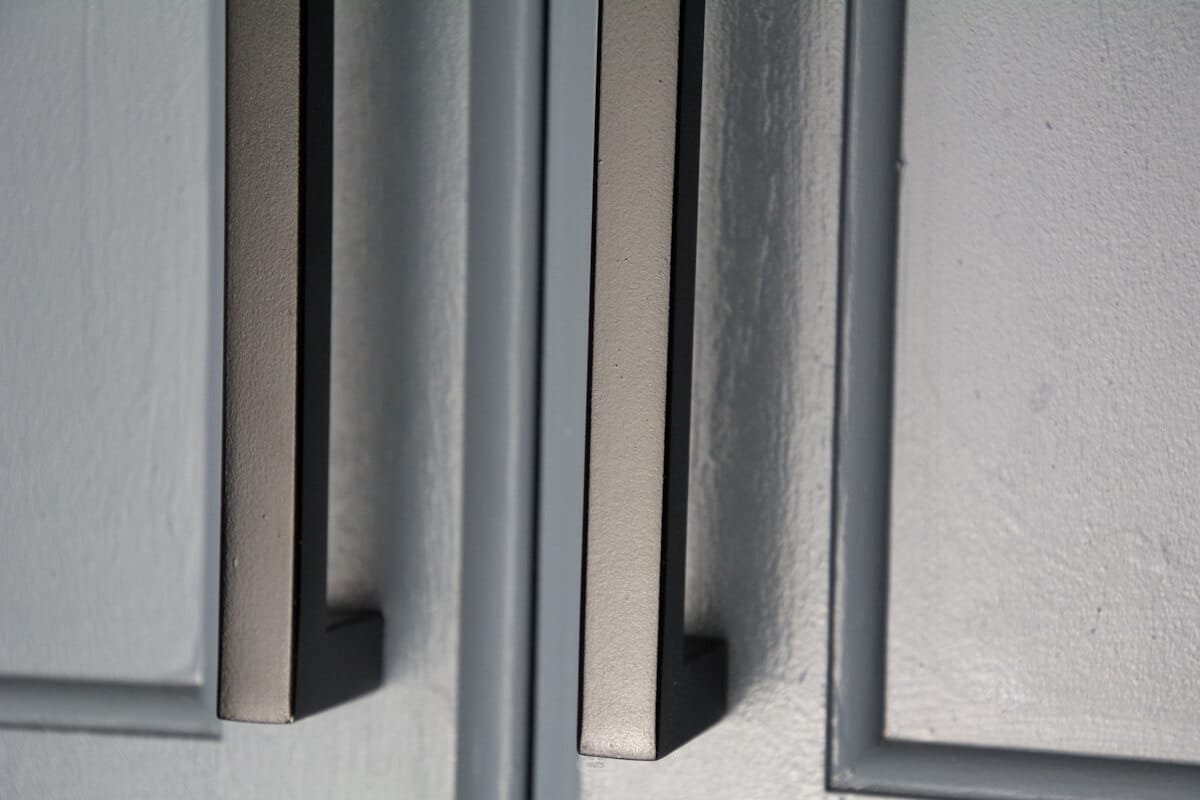
We love new trendy matte black cabinet hardware, but we didn’t want to buy entirely new for our laundry room. Our old handles were in good condition, so we sprayed the hardware matte black to match our DIY bracket shelves.
Key Takeaways For This DIY
What is the best paint for painting hardware?
A quality spray paint, bonding primer, or automotive fillable primer beforehand will help your painted cabinet pulls last.
RELATED READING – See how to use similar supplies to spray paint a faucet, too!
Supplies You’ll Need
*Disclosure: This post may contain affiliate links that at no additional cost to you, may earn a small commission. Read our full privacy policy.

Before You Begin
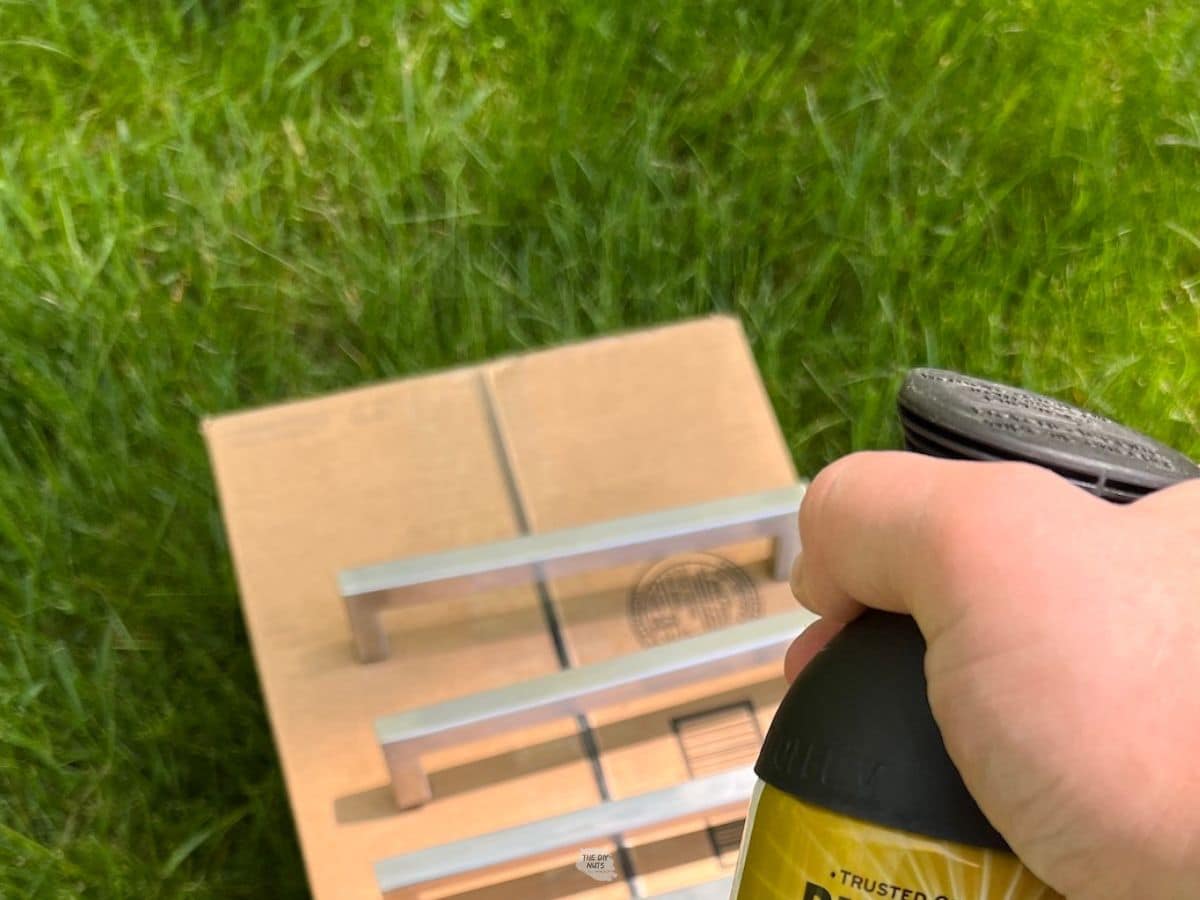
Sometimes, spray-painted items get a little stuck on the extra residue. Setting up a paint station with cardboard or a drop cloth outside can help you paint hardware easily.
Set-Up A Paint Station
Screw a hole in a piece of cardboard and put it through it to help elevate your hardware.

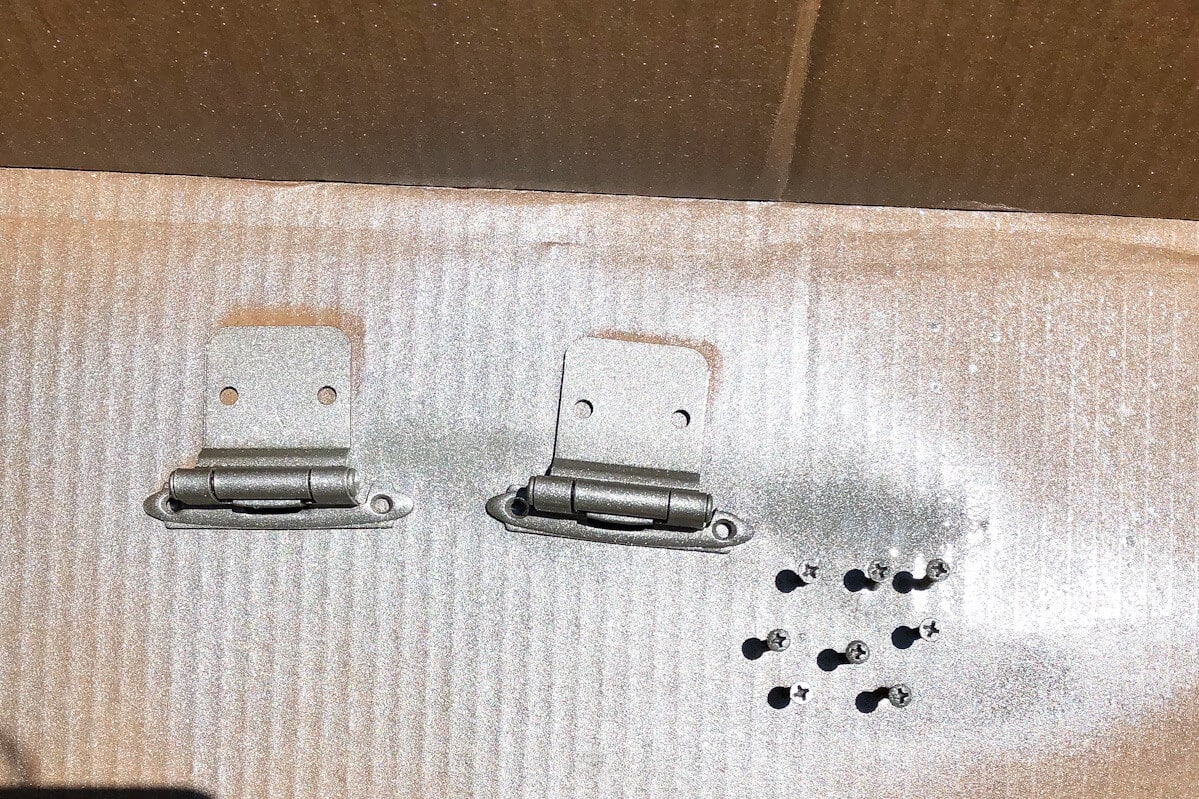
Stick Screws Upright For Hinges
If doing old hinges, you can even stick the screws in cardboard so they are easier to spray the same color. We did that with the hinges when we painted our bathroom vanity.
Use Craft Sticks
You can put craft sticks into foam or cardboard to elevate your cabinet handles to help them get full coverage. This will ensure the paint can reach them from multiple angles.
How To Spray Paint Cabinet Hardware
Step 1: Remove Hardware Completely
Remove the hardware from your cabinets. If you are only spraying handles or knobs, you can leave the screws in the cabinets so you don’t misplace them. If spraying hinges, then you need to take the screws out to spray them.

Step 2: Clean & Prep
The best way to clean it is with Dawn dish soap and clean water. You can also use a green Scothbrite pad to roughen the surface so the primer will adhere better.
Wipe down with a deglosser. No matter what we are painting, we always prep the surface by putting Krud Kutter on it. Let the hardware fully dry.
Step 3: Use Bonding Primer
Cover all surfaces of your hardware with the spray bonding primer. Let dry. Before adding color, put a fresh piece of cardboard down.
Step 4: Use A Light Coat Of Spray Paint
Use a light, fresh coat of paint. The first coat will not completely cover the handles. Allow for proper dry time in between (at least 30 minutes).
Step 5: Repeat
Repeat for three coats, making sure you fully cover the hardware. You may get away with only two coats, but three should make your painted handles last longer.

Step 6: Let Paint Cure
Let your handles and hardware cure as long as possible. We like to let them dry overnight before returning them to the cabinets.
Finish Tips
- Use thin coats of spray paint.
- Be patient in between coats.
- Make sure your handles and cabinet knobs are completely dust-free before spraying.
- Hold the spray nozzle at different angles to help fully paint the hardware.
- Most likely, at least three coats of spray paint will be needed.
- Don’t try to spray paint on a humid or windy day.
- Use large sweeping motions when spraying. It is best to start spraying right before the item and stop past it. This will prevent large droplets from landing on your hardware.
Follow us on Pinterest, YouTube or Facebook for more DIY inspiration!
FAQs
If you want your cabinet hardware to last, we recommend using a light coat of spray bonding primer. Proper cleaning and prep are the most critical steps. If these handles aren’t touched that often, spray paint with primer should work.
Hammered spray paint gives your hardware a textured look. This is perfect if you have imperfections and want to hide them.
A bonding primer is a good idea. Not only will it stick better than spray paint, but it will also help create a level and rust-free surface. Allow the primer to dry fully for at least 30 minutes before applying your hardware color.
Yes, you can use a similar painting technique to spray your hinges. You may also need to spray the screws if they are external hinges.


Related Projects
- FOR THE KITCHEN: 12 Tips For Decorating With Oak Kitchen Cabinets
- BUDGET DECOR IDEAS: Beginner-Friendly Spray Painting DIY Projects
- OUR FAV SPRAY PAINTING PROJECT: Faux Marble Terracotta Flower Pot Tutorial (seriously, you can make these for less than $5)
Painting cabinet hardware is a great and inexpensive way to get the look you want in your home! You can tackle this DIY project this afternoon with the right supplies and patience!