How To Paint Laminate Countertops (Not Using A Kit)
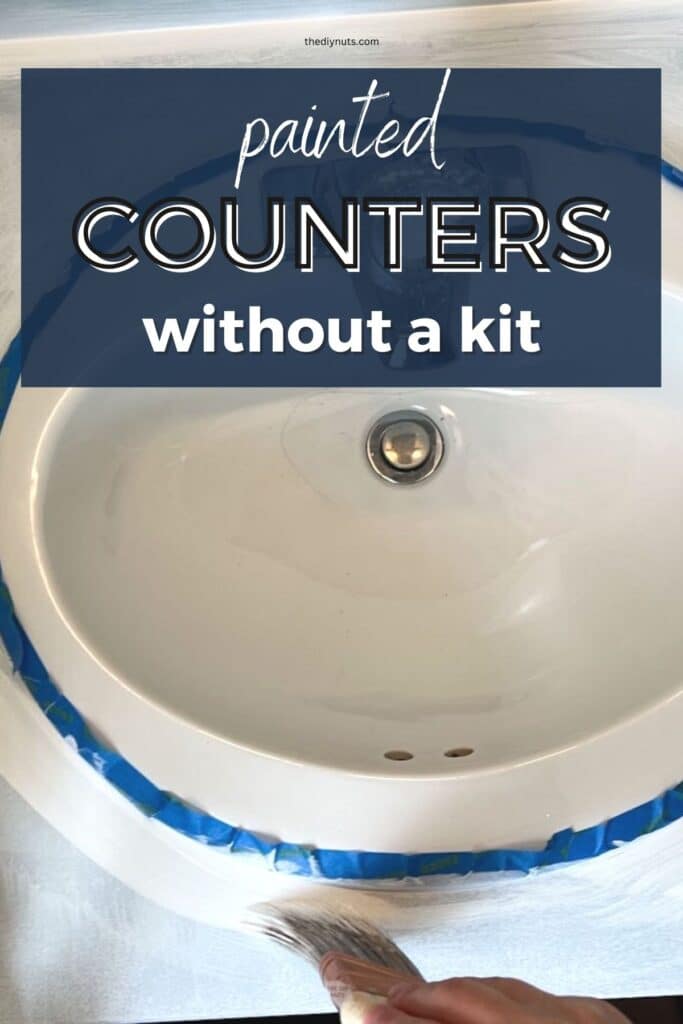
Are you looking for an easy way to update your countertops? Use our step-by-step tutorial to paint your laminate countertops to look like marble without an expensive kit.
*Disclosure: I only recommend products I would use myself and all opinions expressed here are our own. This post may contain affiliate links that at no additional cost to you, I may earn a small commission. Read our full privacy policy.
Can you paint countertops?
Yes, you can. It is actually a pretty simple and straightforward DIY painting project. With the right tools and supplies, you can change the look of your counters in just a few days.
Factors To Consider
Before You Begin
It would help if you decided what materials you will use, the design and color and how you will accomplish this without using your kitchen or bathroom.
Remember that you need to allow for proper dry time in between each coat of primer, paint and topcoat.
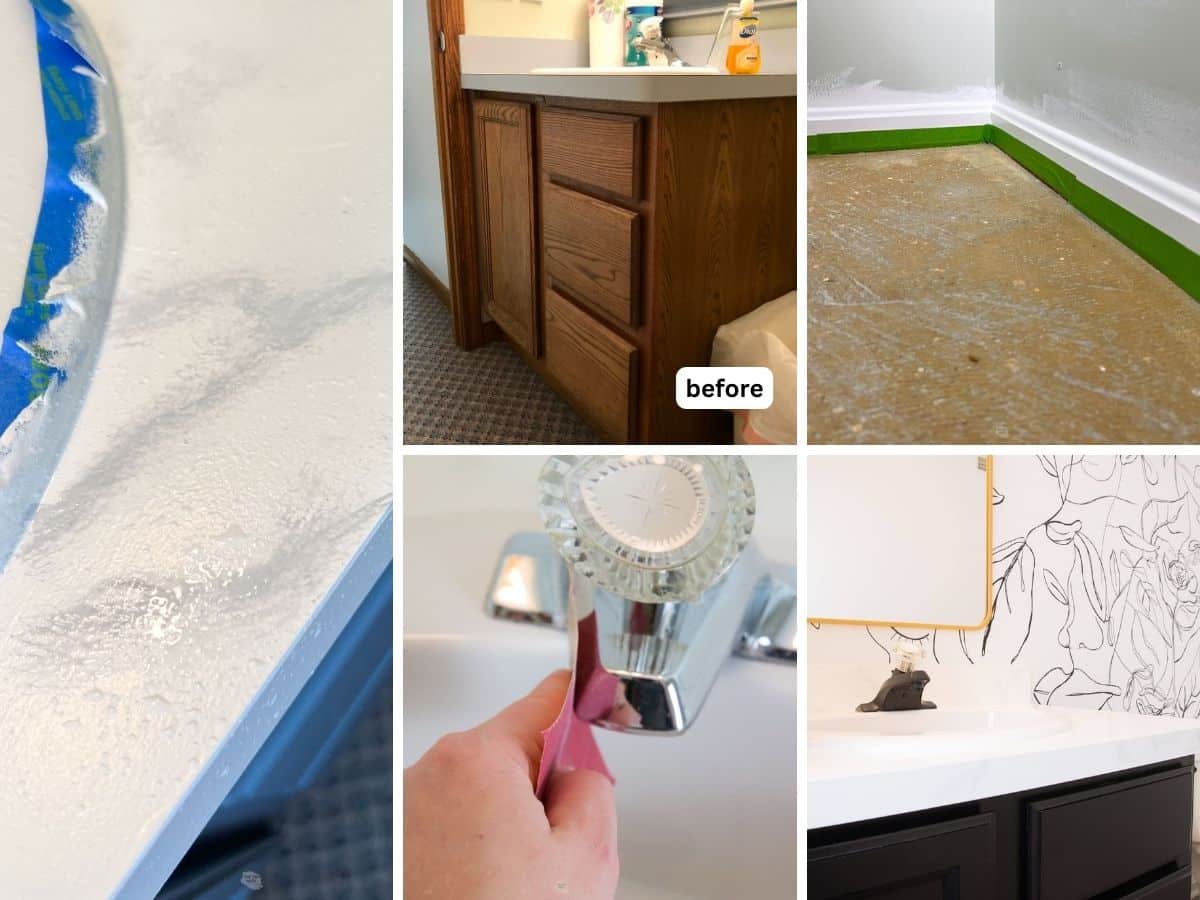
Also, you should decide if you are keeping your current faucet and possibly painting other bathroom fixtures. We made a mistake and spray-painted the faucet after painting the countertop.
Time and Difficulty Level
Our small bathroom counter was able to be completed in 2 days. We tried to limit using the space for 14 days after to let the acrylic topcoat fully cure.
This is honestly a relatively easy DIY project. The hardest part is waiting for each layer to dry and having confidence when painting the marble veins. Just do it! It is only paint and can be painted over if it doesn’t look right.
Cons Of Painted Countertops
- Wait Time: The biggest con to painting your countertops is that you had to let them fully cure. You don’t want to ruin your work by rushing to use your kitchen or bathroom counters.
- Takes some DIY skills: While this is a pretty simple DIY painting project, you still need the confidence to go for it. Try this in a small bathroom (like we did) before you tear out the old counters. You may surprise yourself with the outcome.
- Time: Do not rush the dry time and try to limit the contact people have with your countertops during this DIY project.
- Hard To Remove Paint Once Painted: Once you follow these steps, removing the paint will be pretty hard if you do not like them. Therefore you should be committed to painted counters or know you may remove them in the future.
Reasons To Paint Your Counters
- Budget-friendly: Need we say any more? This project really only cost us the price of ordering the top coat because we had everything else from past DIY painting projects.
- Control Over The Design: We wanted a more simple vein design on our painted counters, but you can also create a more textured granite look by using different layers of paints with sponges.
- Endless Color Options: Since there are tons of different paint colors out there, you can choose to go completely bold or more neutral.
- Demo-Free: just tape out the areas you don’t want to be painted and go for it. There is no need to rip out the old counters to get replaced.
Our Decision
Honestly, this pros list is the reason we went for it and painted the counters in the bathroom vanity. We had already painted the vanity cabinet and wish we would have taken on this counter project sooner.
We chose to paint our counters in this bathroom because it does not get a lot of use and it was super-budget-friendly. We always love trying to save what is there first before replacing it. In a few years if the paint hasn’t held up then we will replace the counters.
📌 Featured Comment
Excellent instructions. Results are beautiful.
Deborah
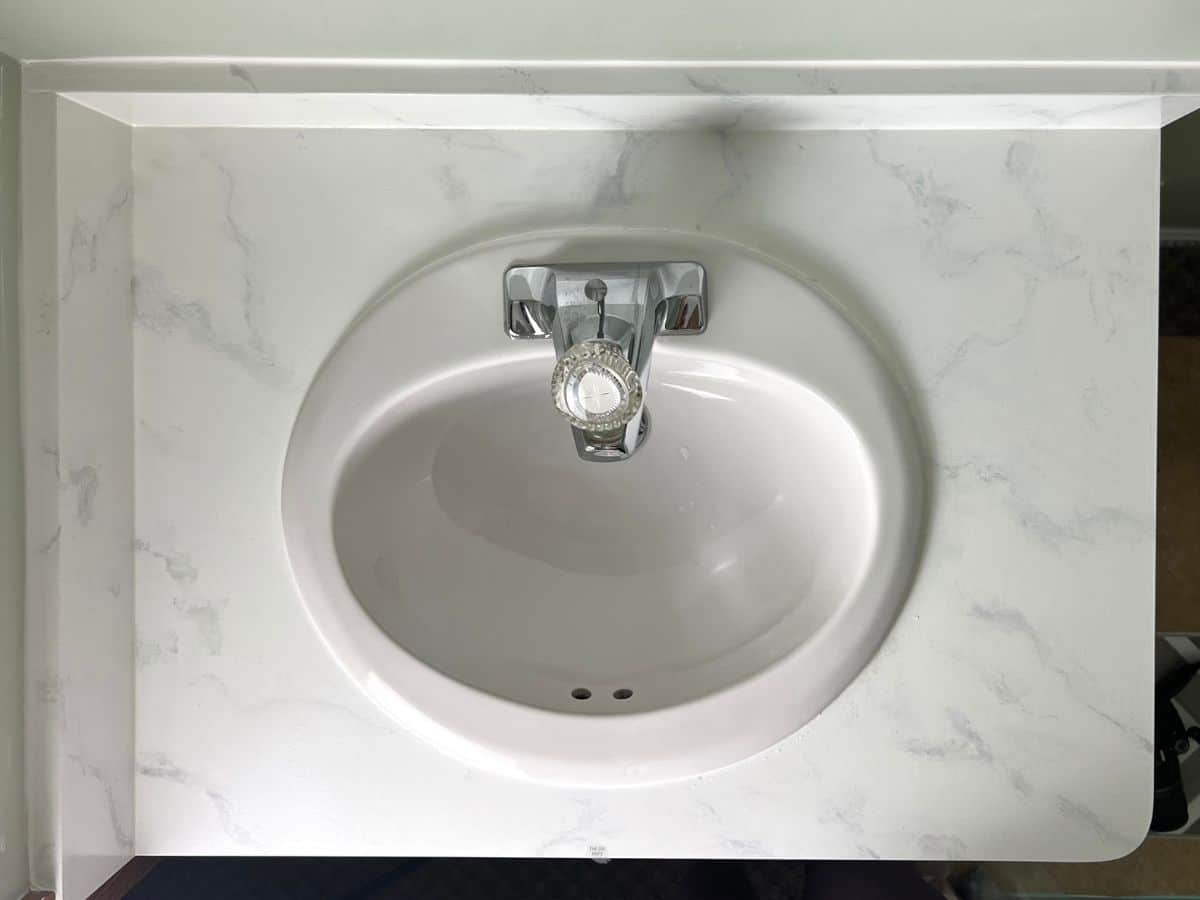
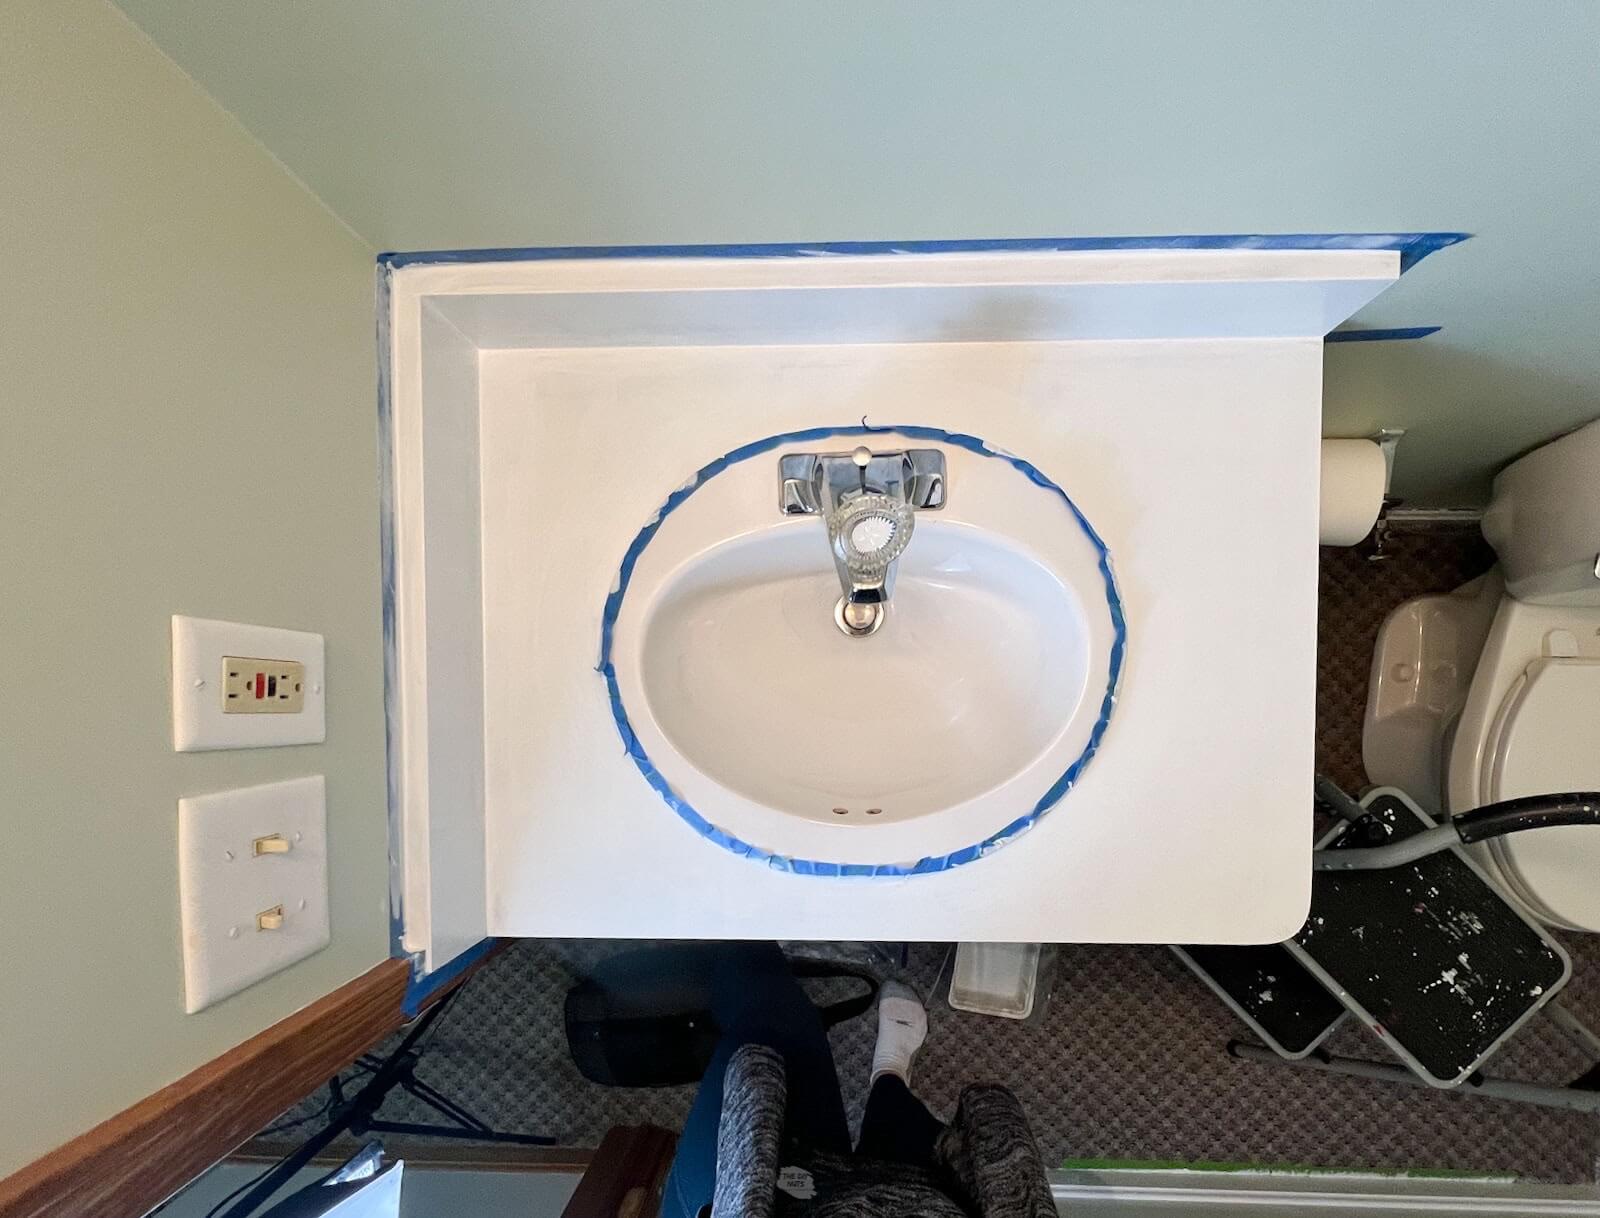
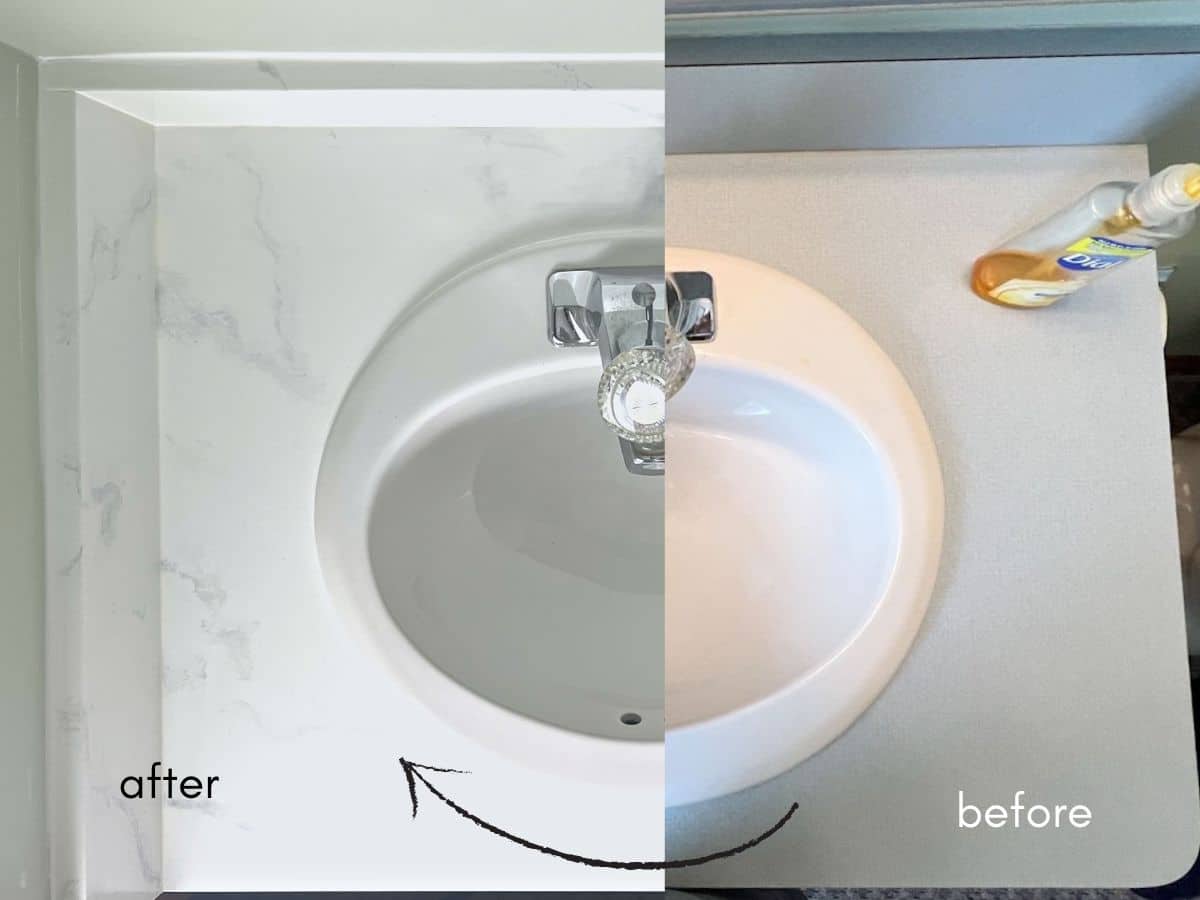
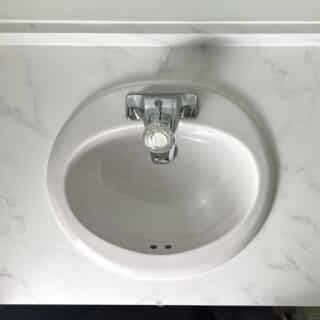
The “Before” Bathroom Vanity
This bathroom counter was a light blue laminate on an oak vanity cabinet when we moved in. We painted this bathroom cabinet when we did our cheap bathroom makeover upstairs.
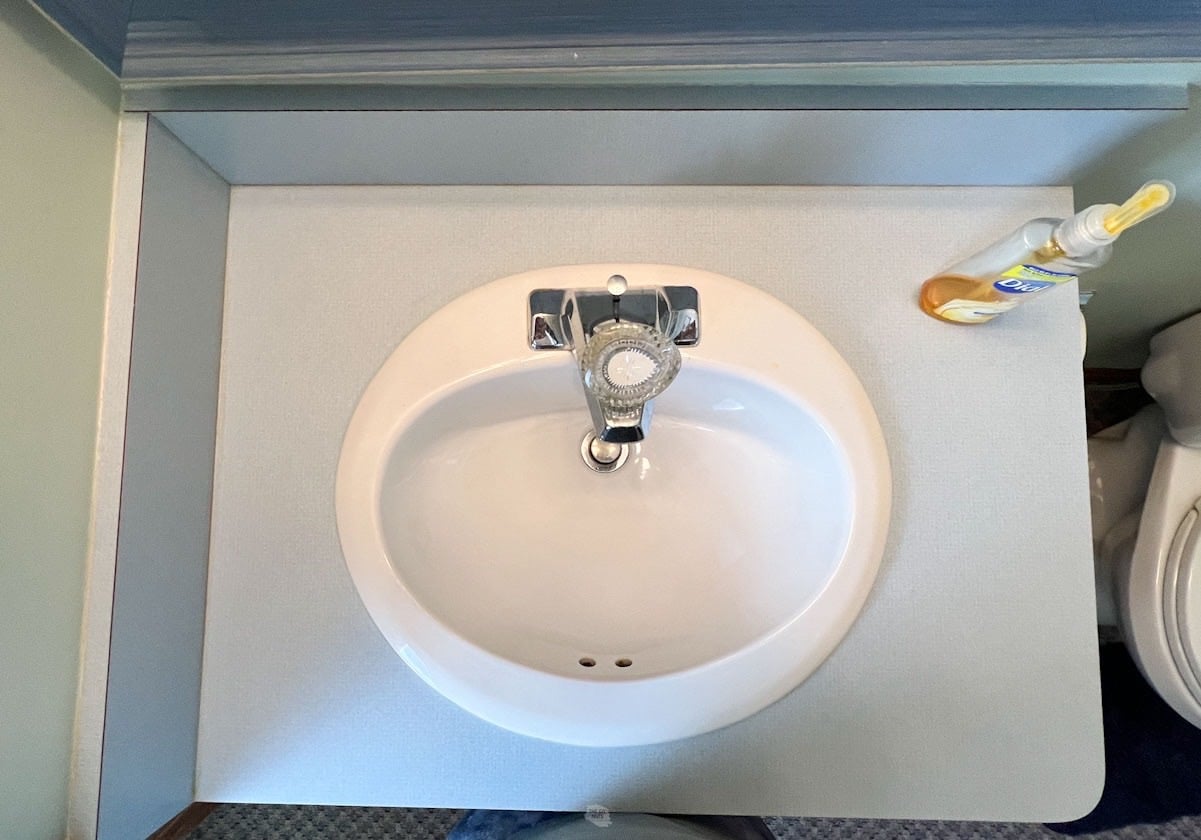
Luckily this laminate counter was in pretty good shape but just needed a little updating to fit our current design style.
Recommended Supplies
- Bonding Primer: we used the leftover primer we had from when we painted the glass tile backsplash in our kitchen.
- Sherwin Williams Emerald Urethane Trim Enamel: from our repainted kitchen island to painting molding this paint is our go-to with its self-leveling capabilities.
- (3) Small Foam Rollers with Handle: Since you can buy these in bulk, we chose to throw out the primer one when we were finished. You could wash, dry, and reuse them, but we prefer to start with a fresh roller for each step.
- 2.5″ Angled Synthetic Brush or Small Foam Brush
- Large Ziploc Gallon Bags: These can store your paintbrush and roller in between coats of paint.
- Small Paint Trays: our favorite small tray, we use for a lot of our painting projects.
- Painter’s Tape: Since we were caulking after the project was done, we didn’t care what type of tape we used.
- Bathroom Caulk
- 220 Fine Sandpaper
- Deglosser and Rag
- Small Paint Brush
- Spray Bottle with water
- Gray Paint
- Dry Paint Brush
- Acrylic Top Coat or Epoxy Top Coat
If your countertop is in poor condition, has chips, or needs repairs, you will want to complete those repairs before painting.
Step-By-Step Instructions
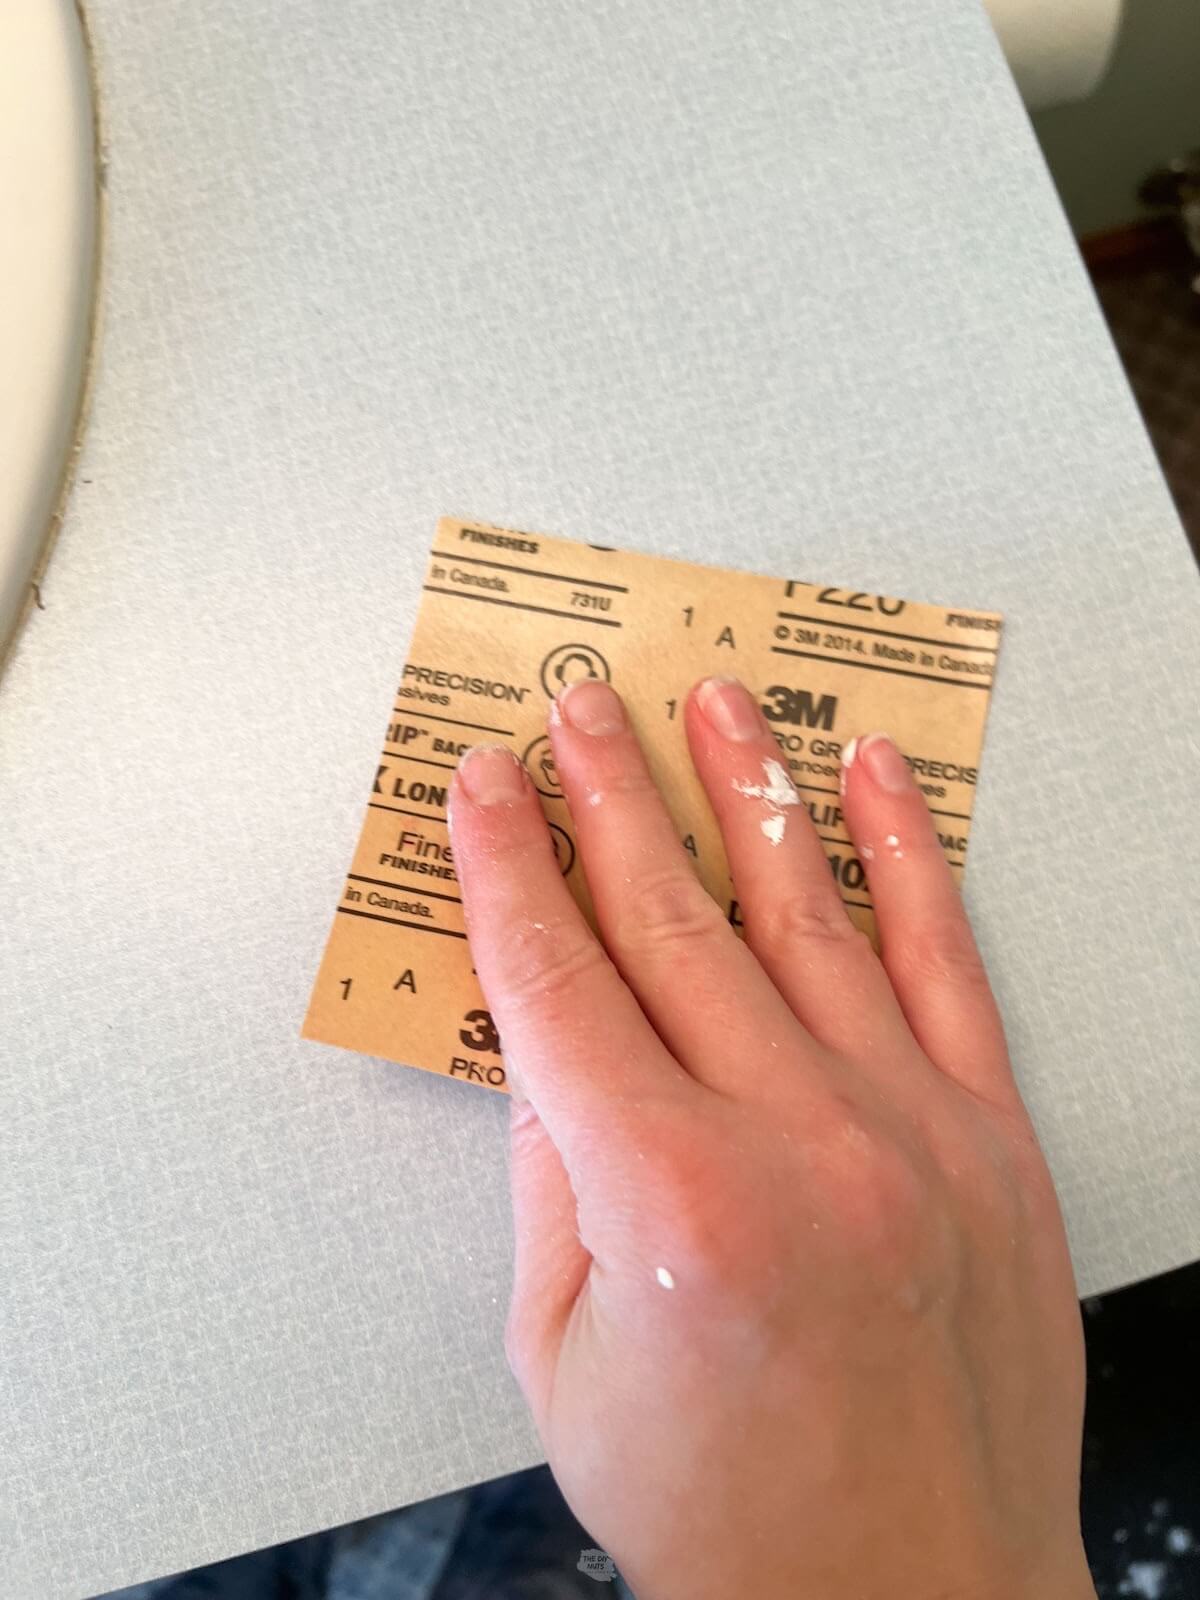
Step 1: Lightly Scuff Up The Laminate Surface
Use 220 sandpaper to lightly scuff up the counter surface. Wipe down counters to remove dust before taping them out.
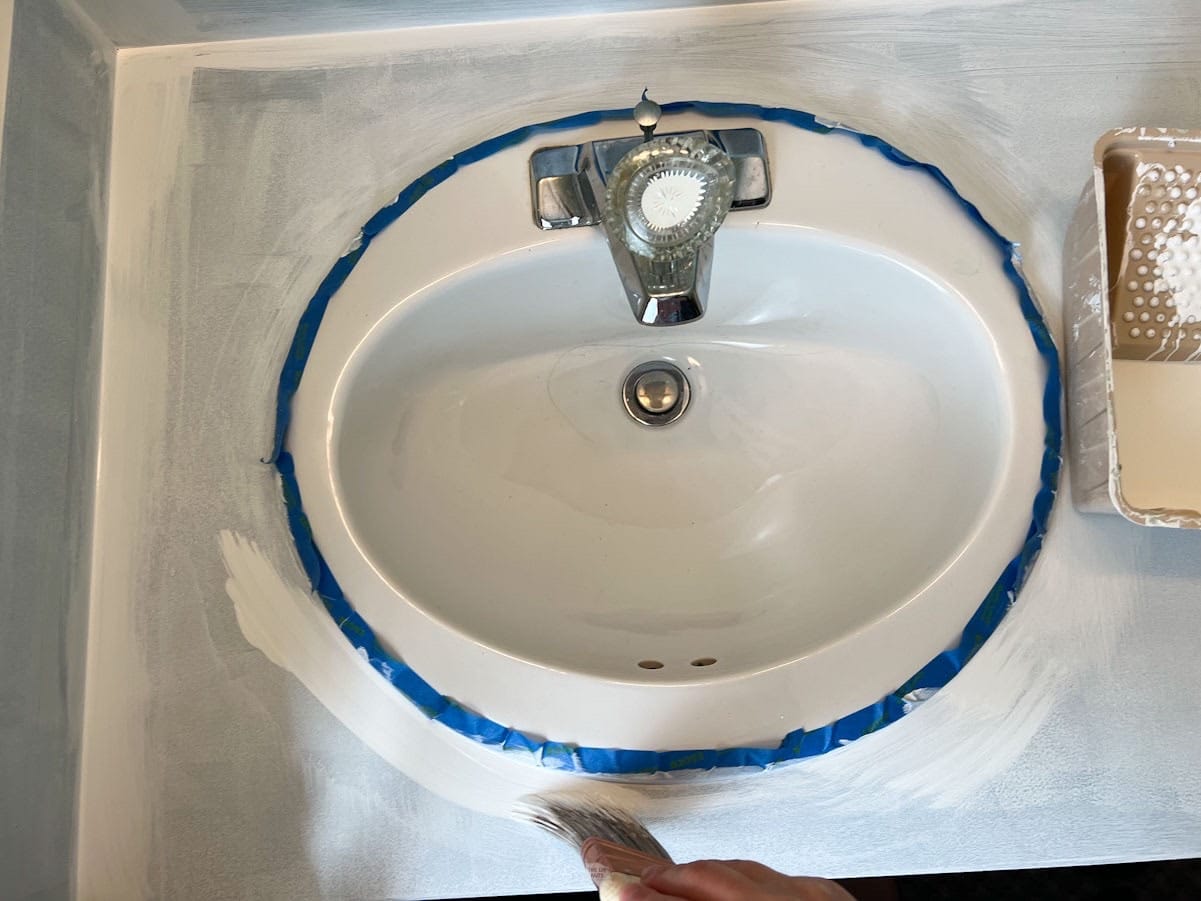
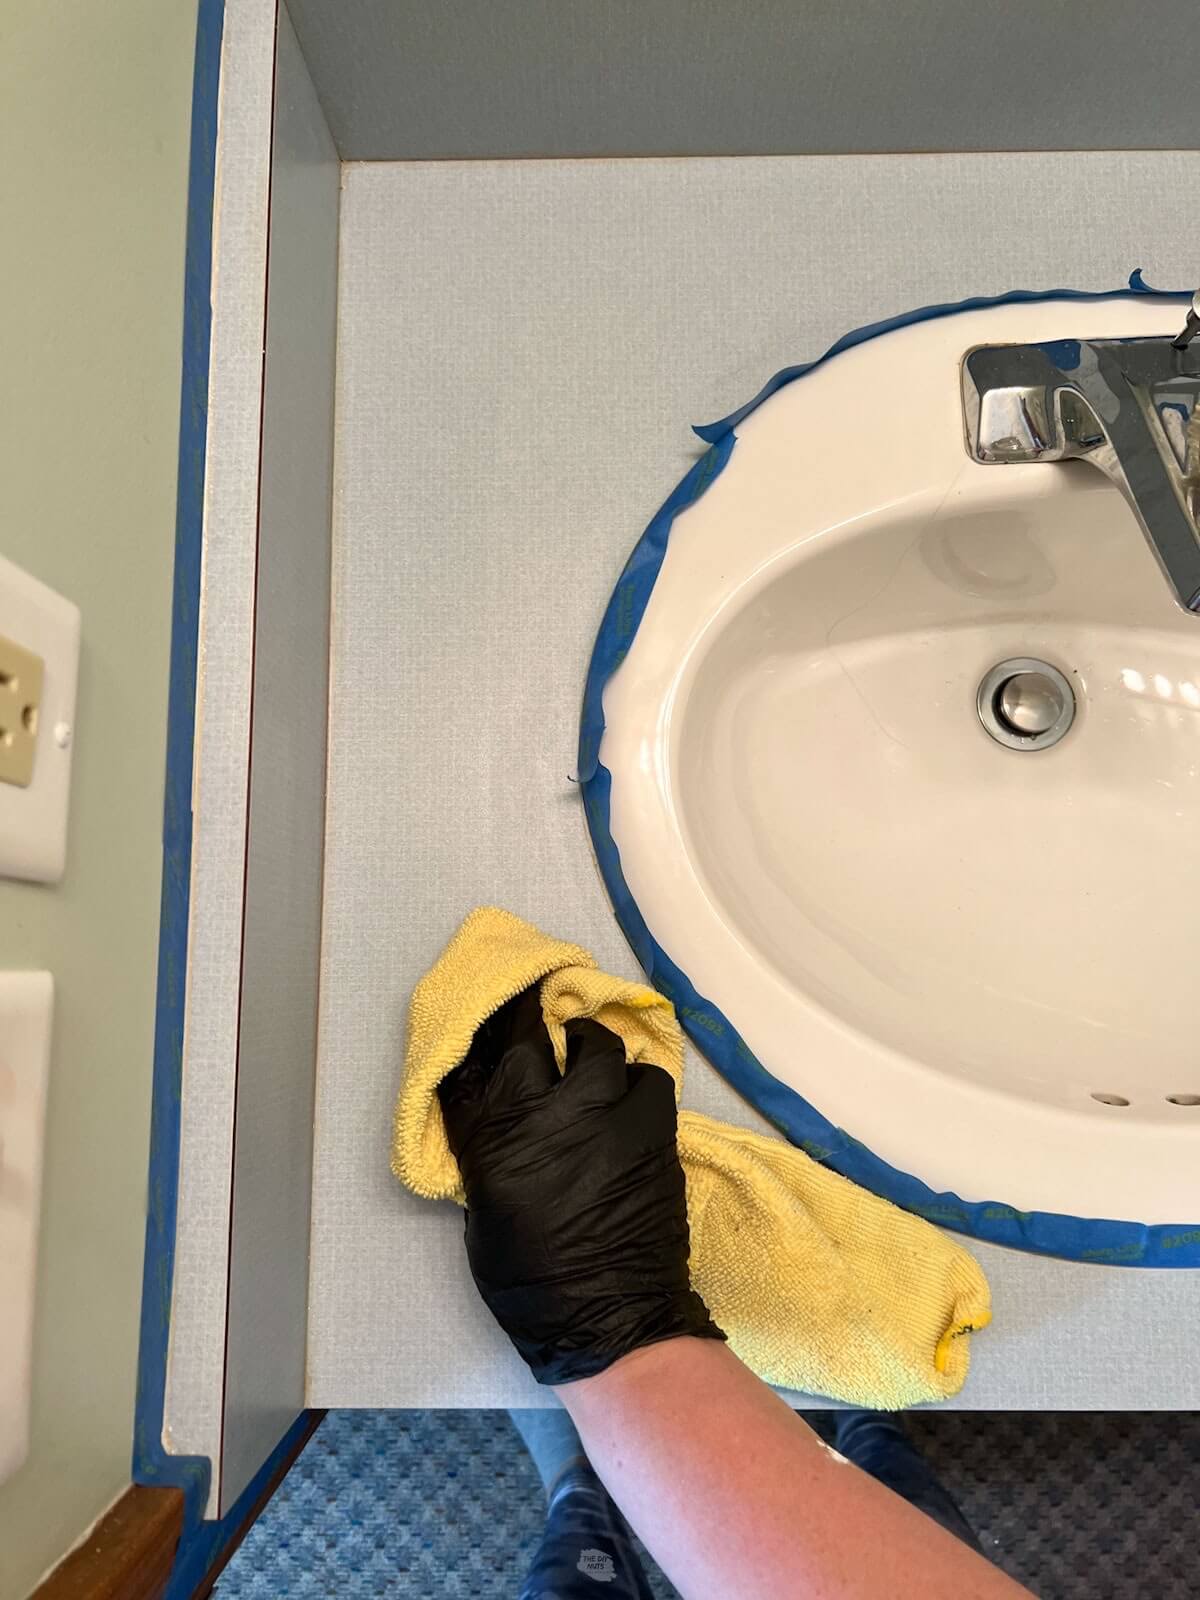
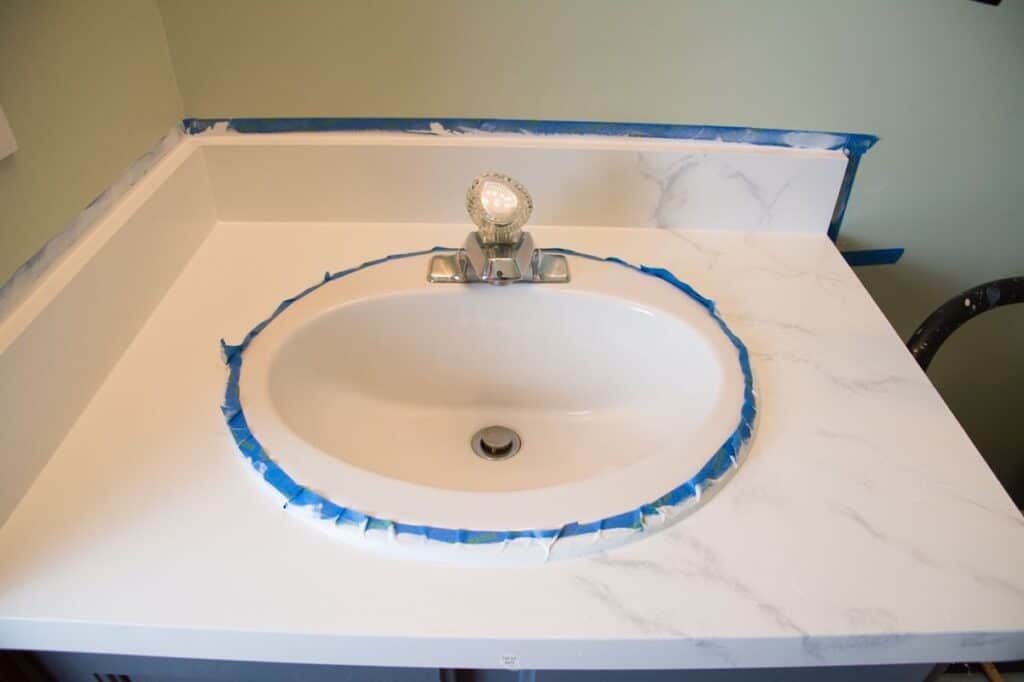
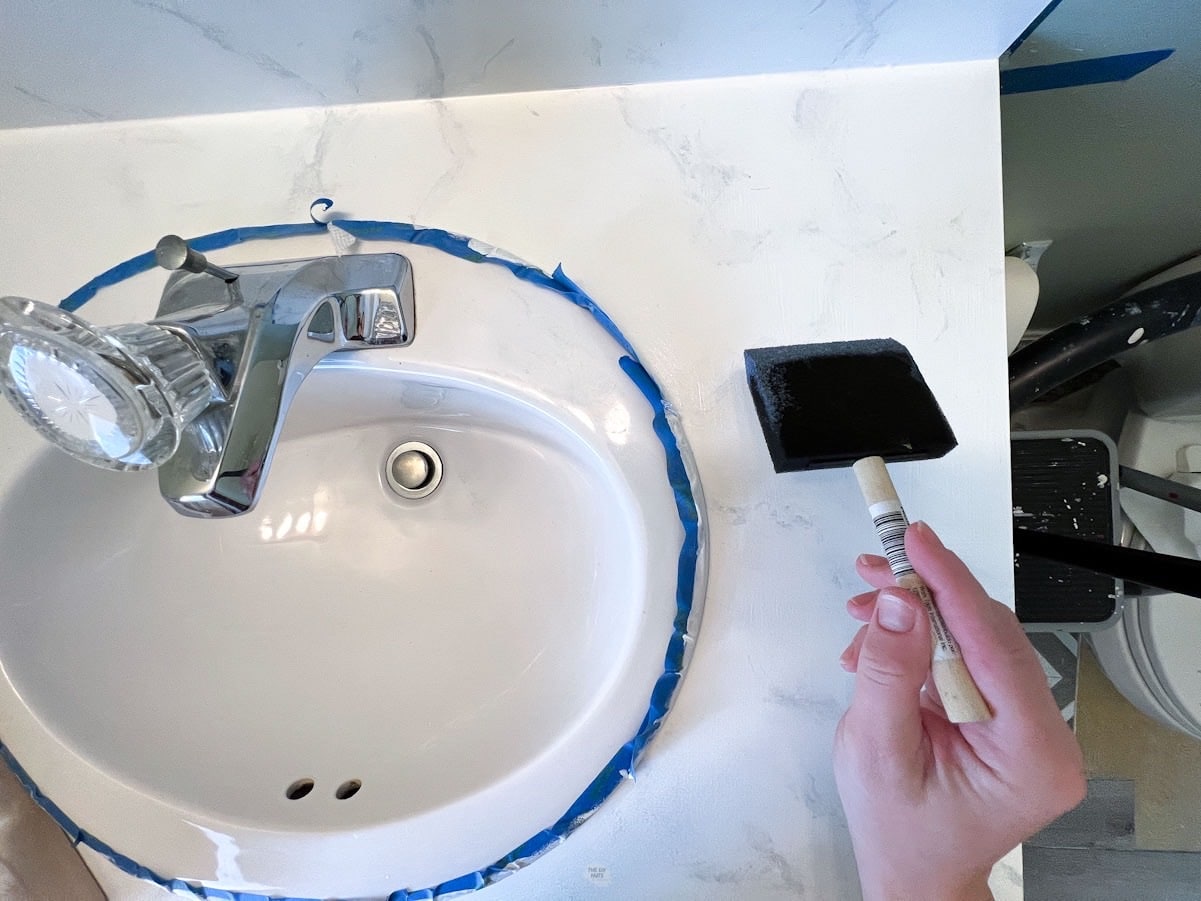
Step 2: Tape Out Surrounding Areas
Use painter’s tape to block any areas you don’t want to get painted such as around the sink and along the walls.

Step 3: Wipe Down With A Deglosser
Use a rag and a deglosser to wipe down all surfaces needing to be painted. Make sure your counters are completely dust-free and grime-free.
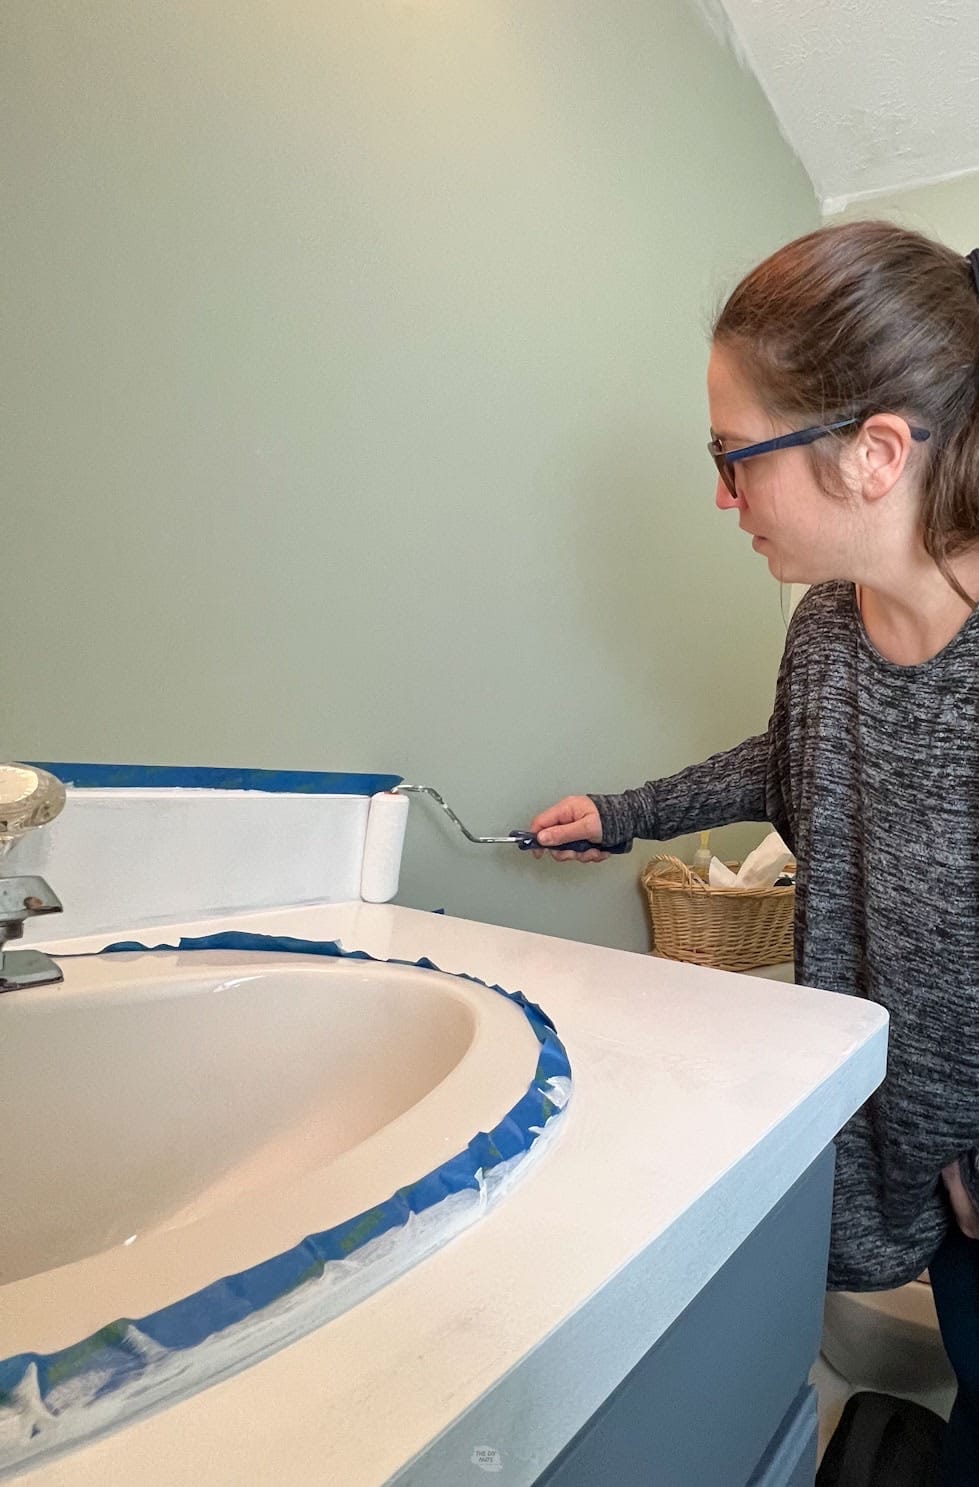
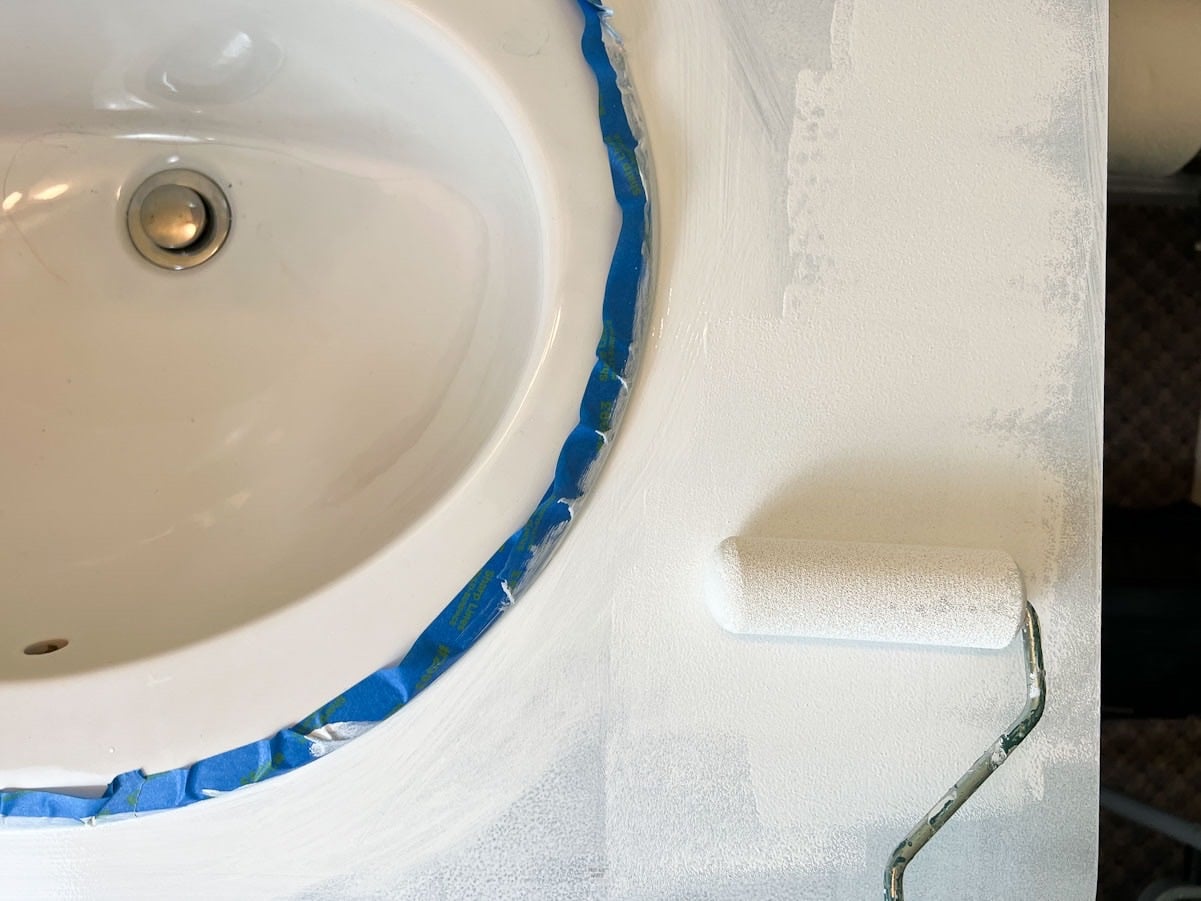
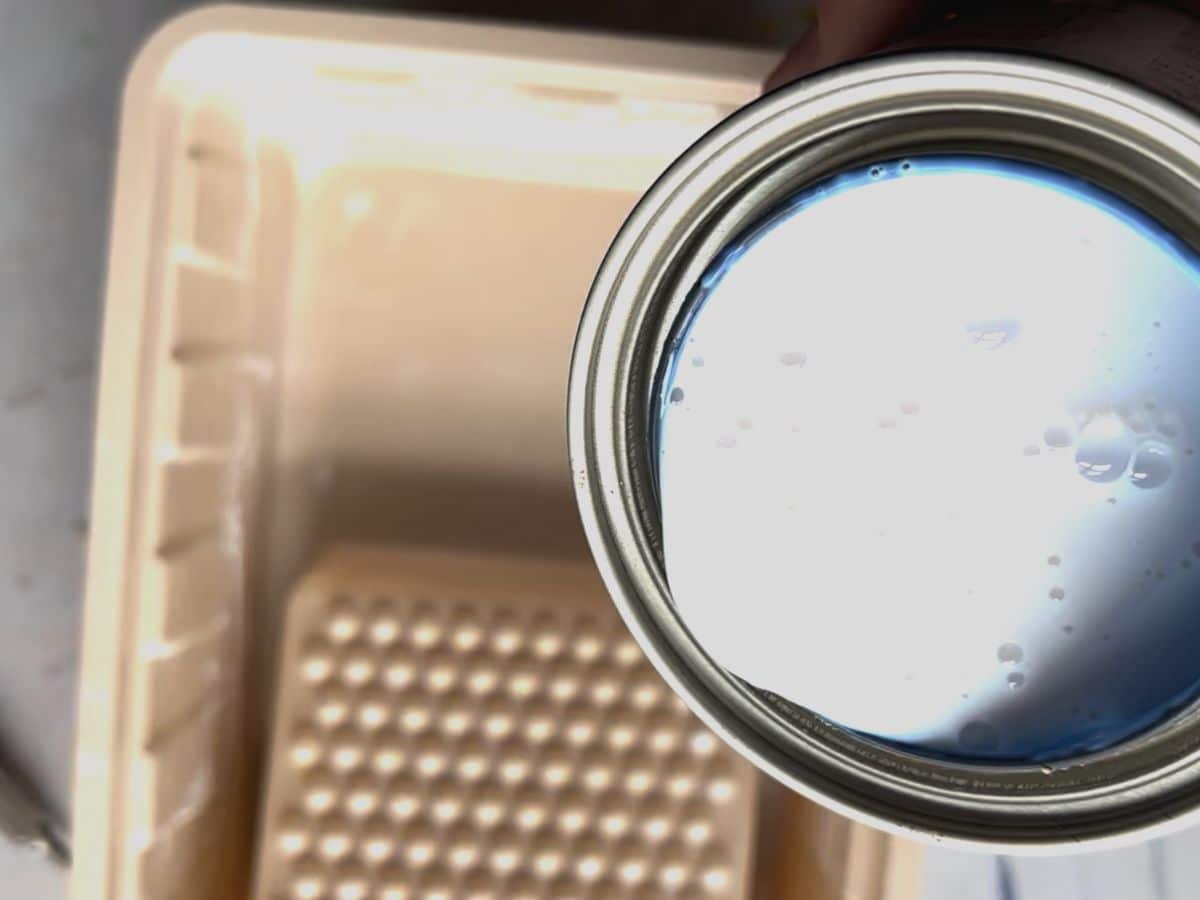
Step 4: Start To Prime
Use a brush to trim and a small foam roller to paint flat areas with primer.
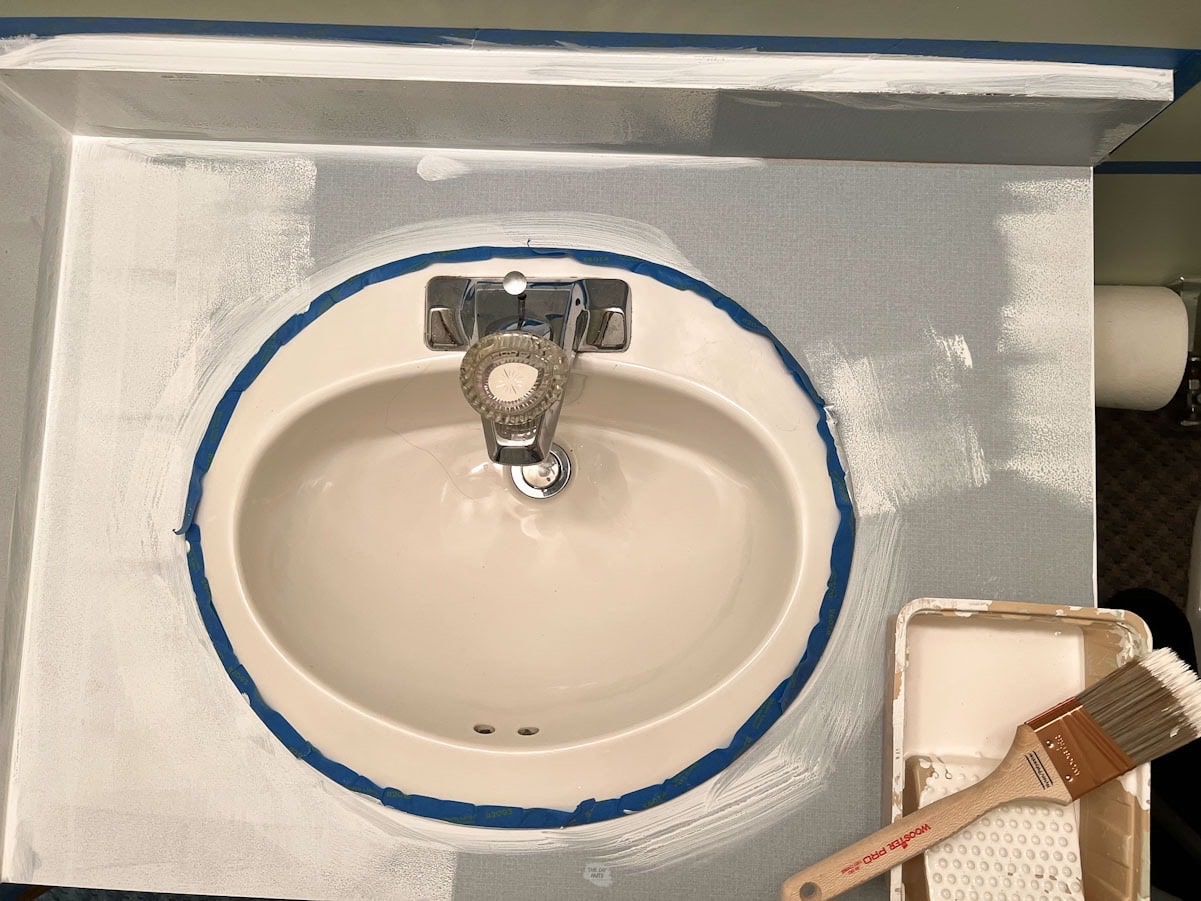
Step 5: Let Primer Completely Dry
Let each layer dry completely before repeating the painting steps.

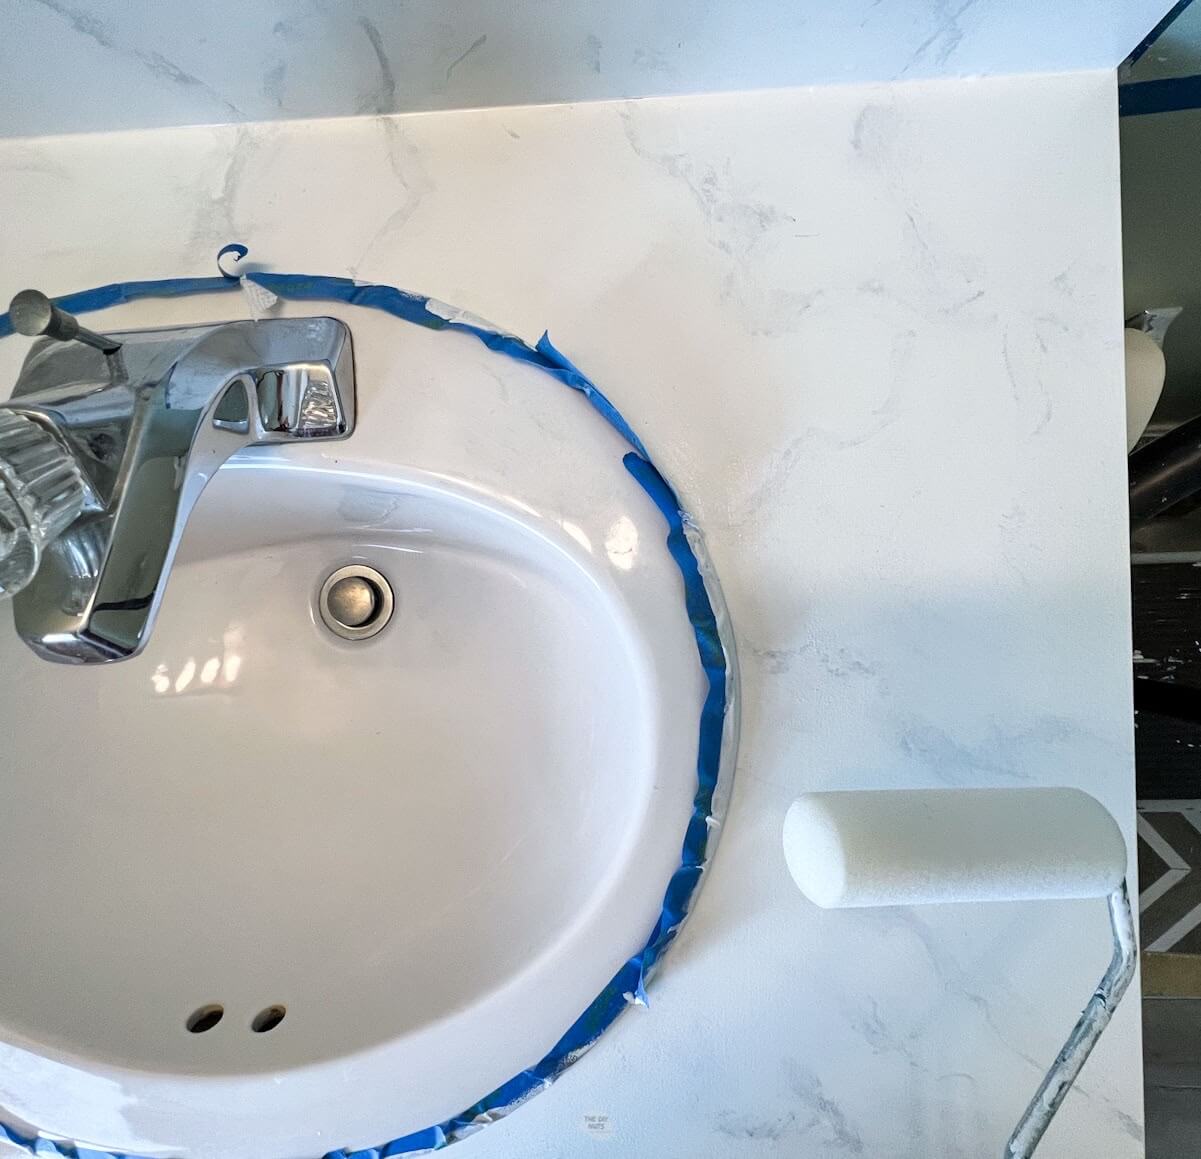
Step 6: Add The First Layer Of Paint
Use a small foam roller, brush, and mini paint trays to apply a thin layer of hybrid acrylic paint such as Sherwin Williams Emerald Urethane Trim Paint in semi-gloss.
Step 7: Work To Paint 3 Layers With Proper Dry Time
Paint 3 coats of white paint. Let the paint fully dry for at least 4 hours in between each layer of paint.
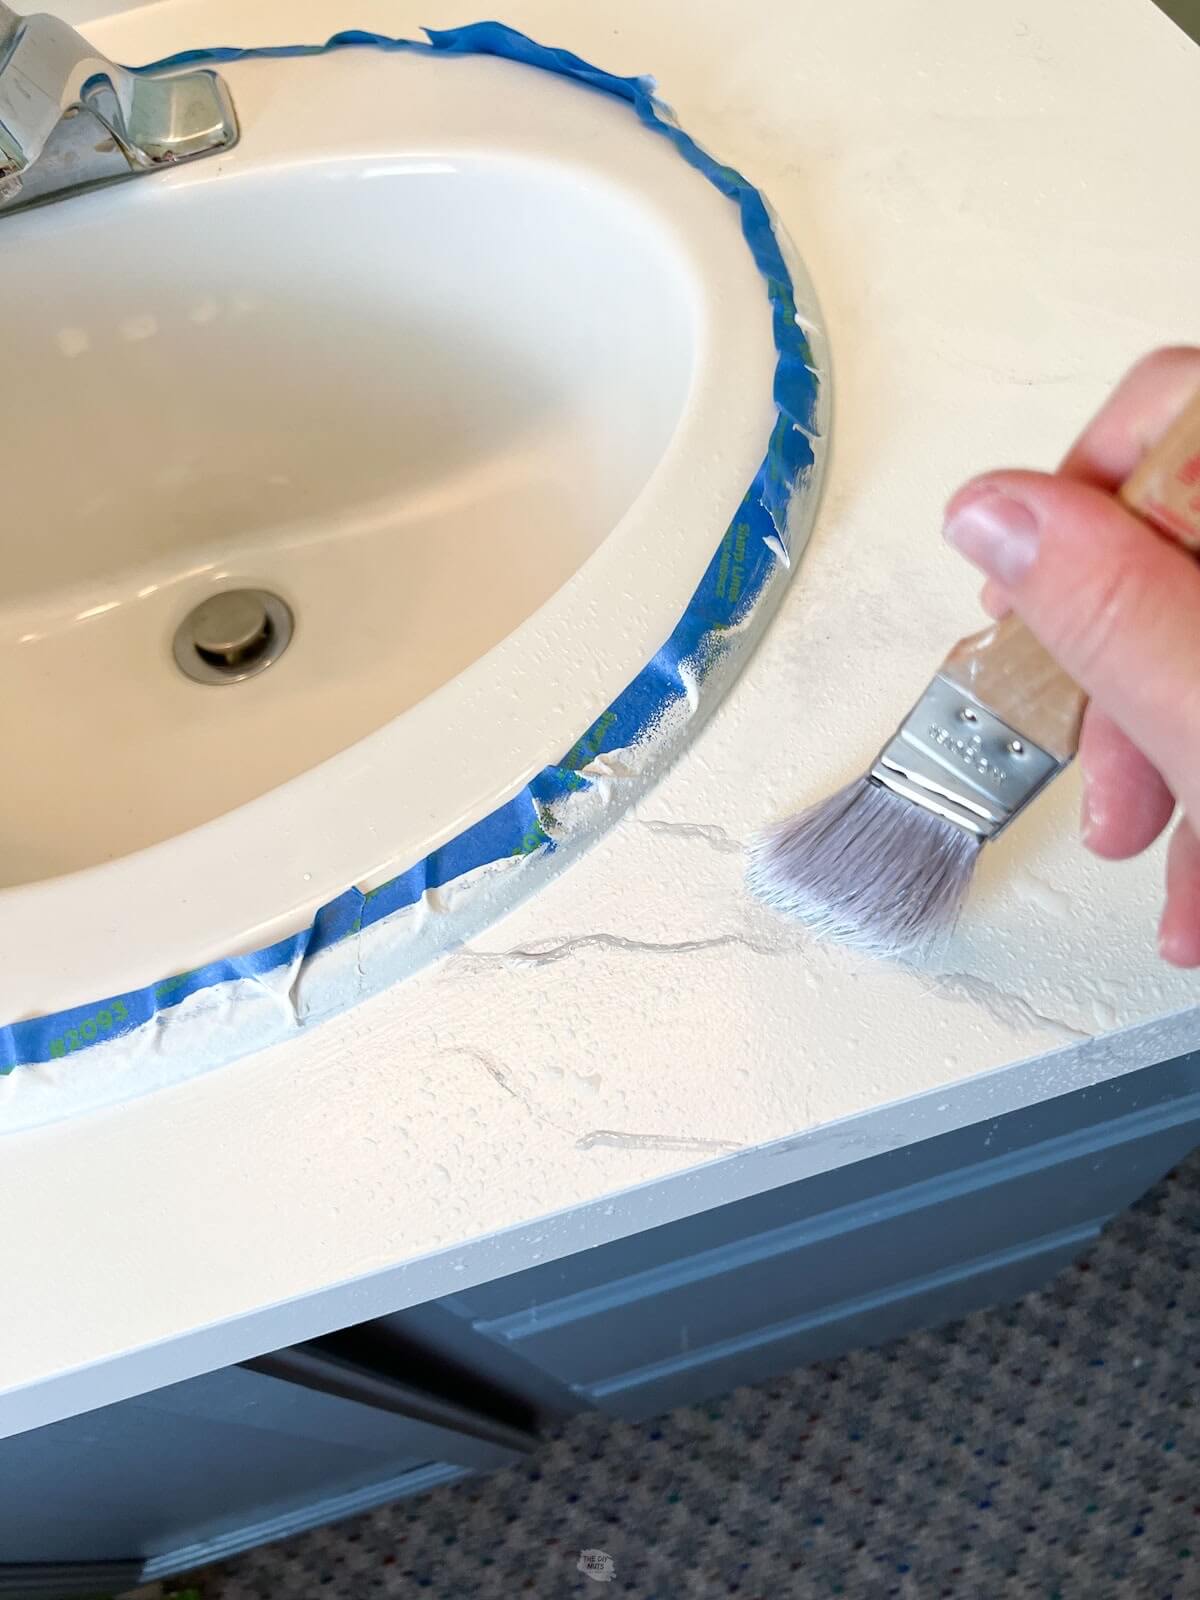
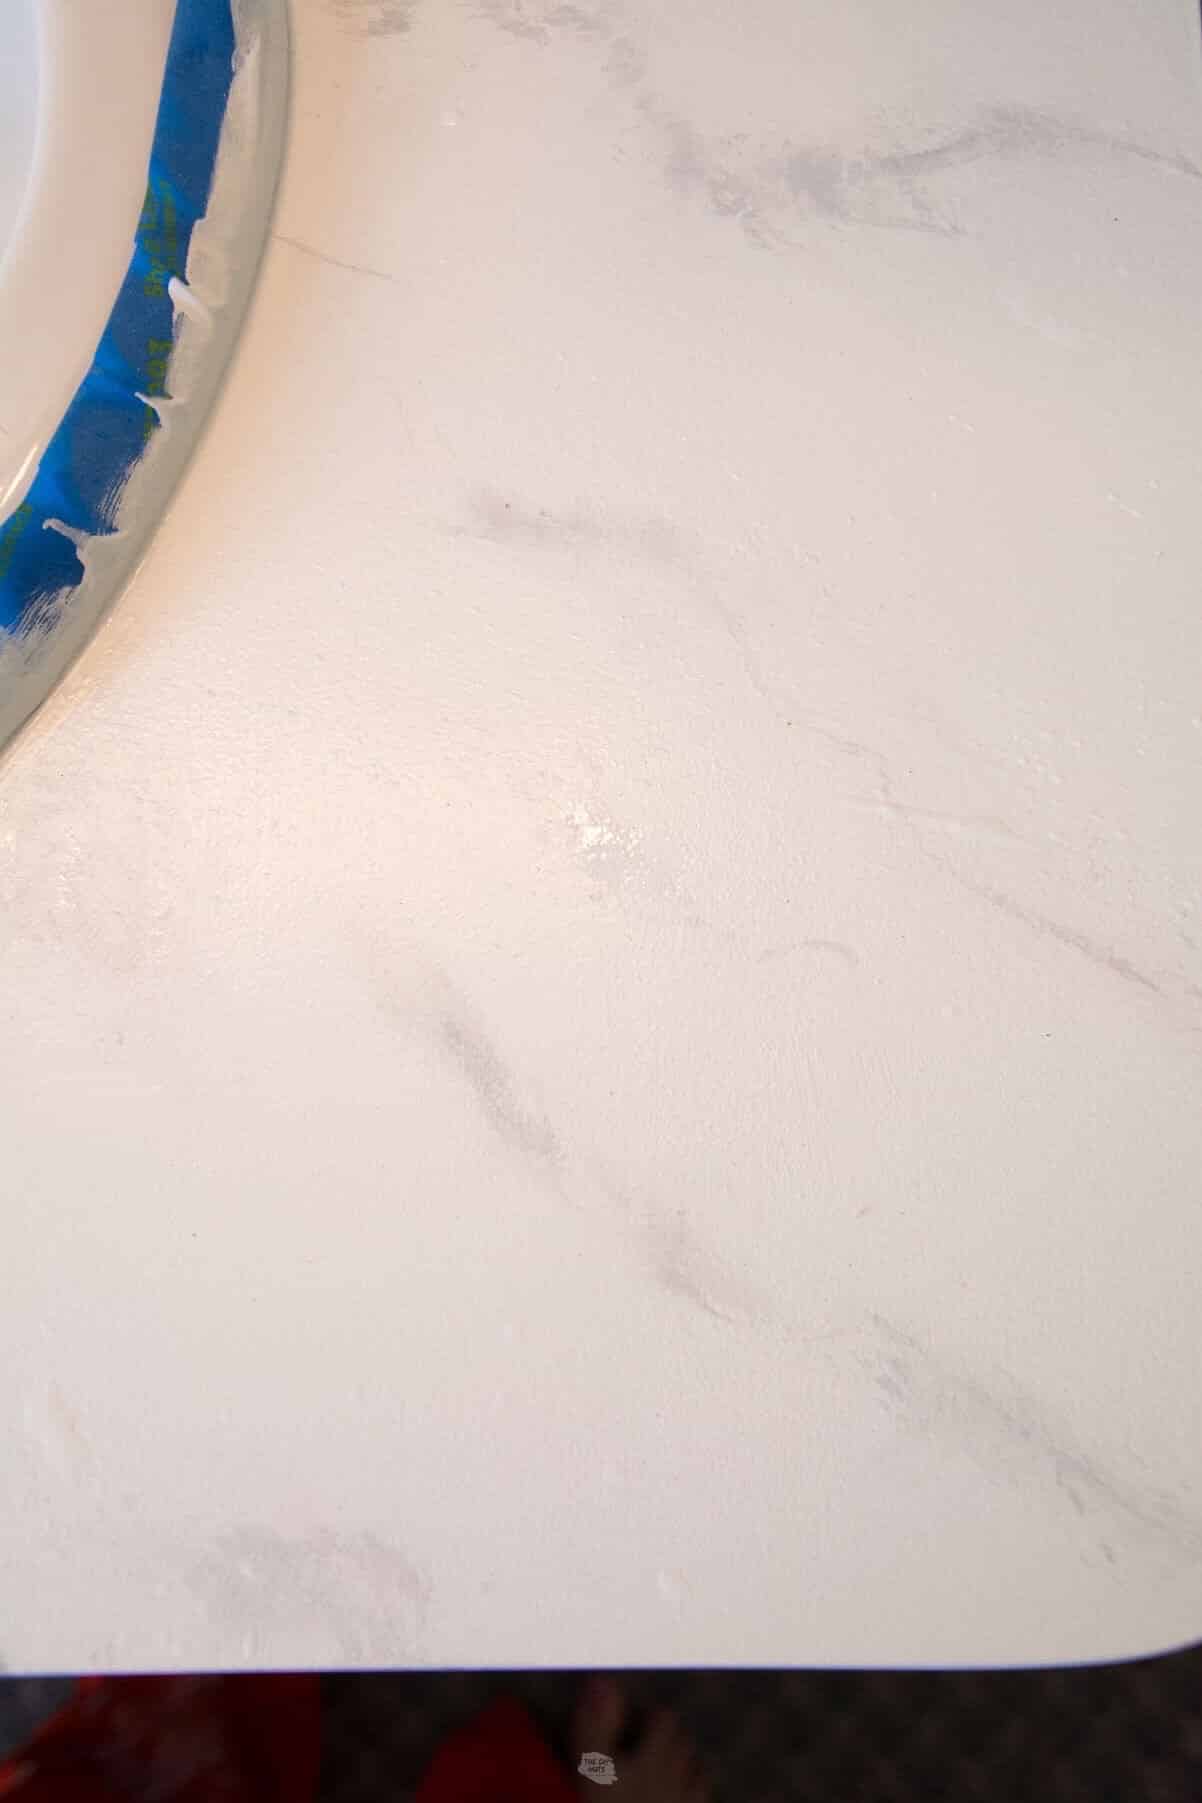
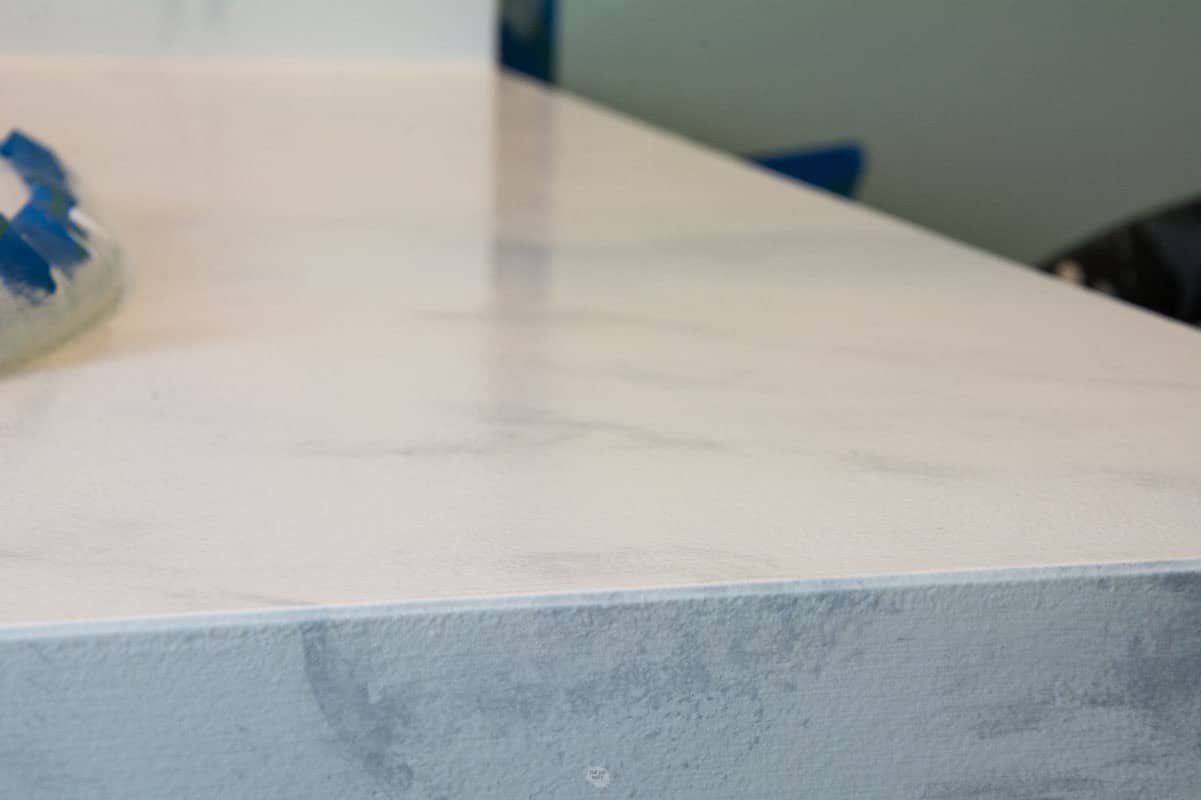
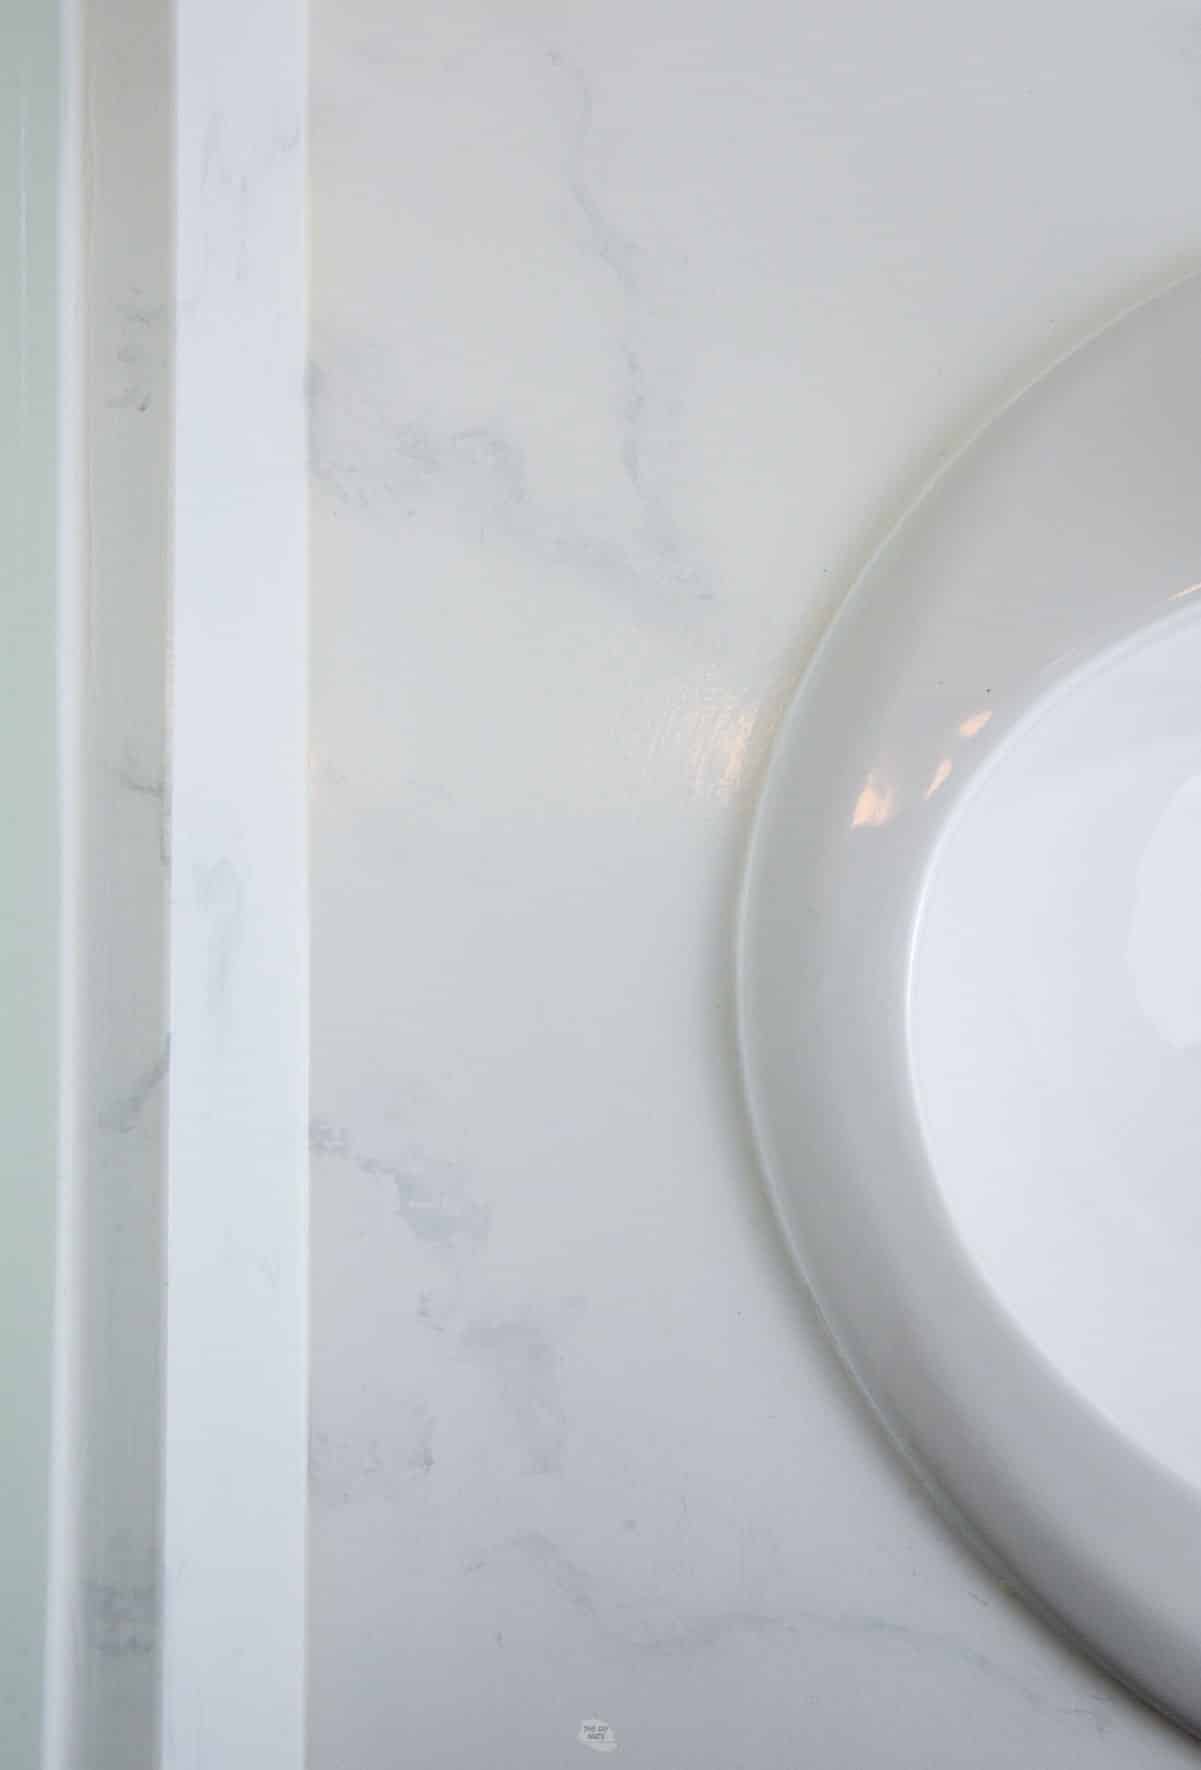
Step 8: Paint Marble Veins
Use a darker-colored gray paint and a small brush to create a vein pattern.
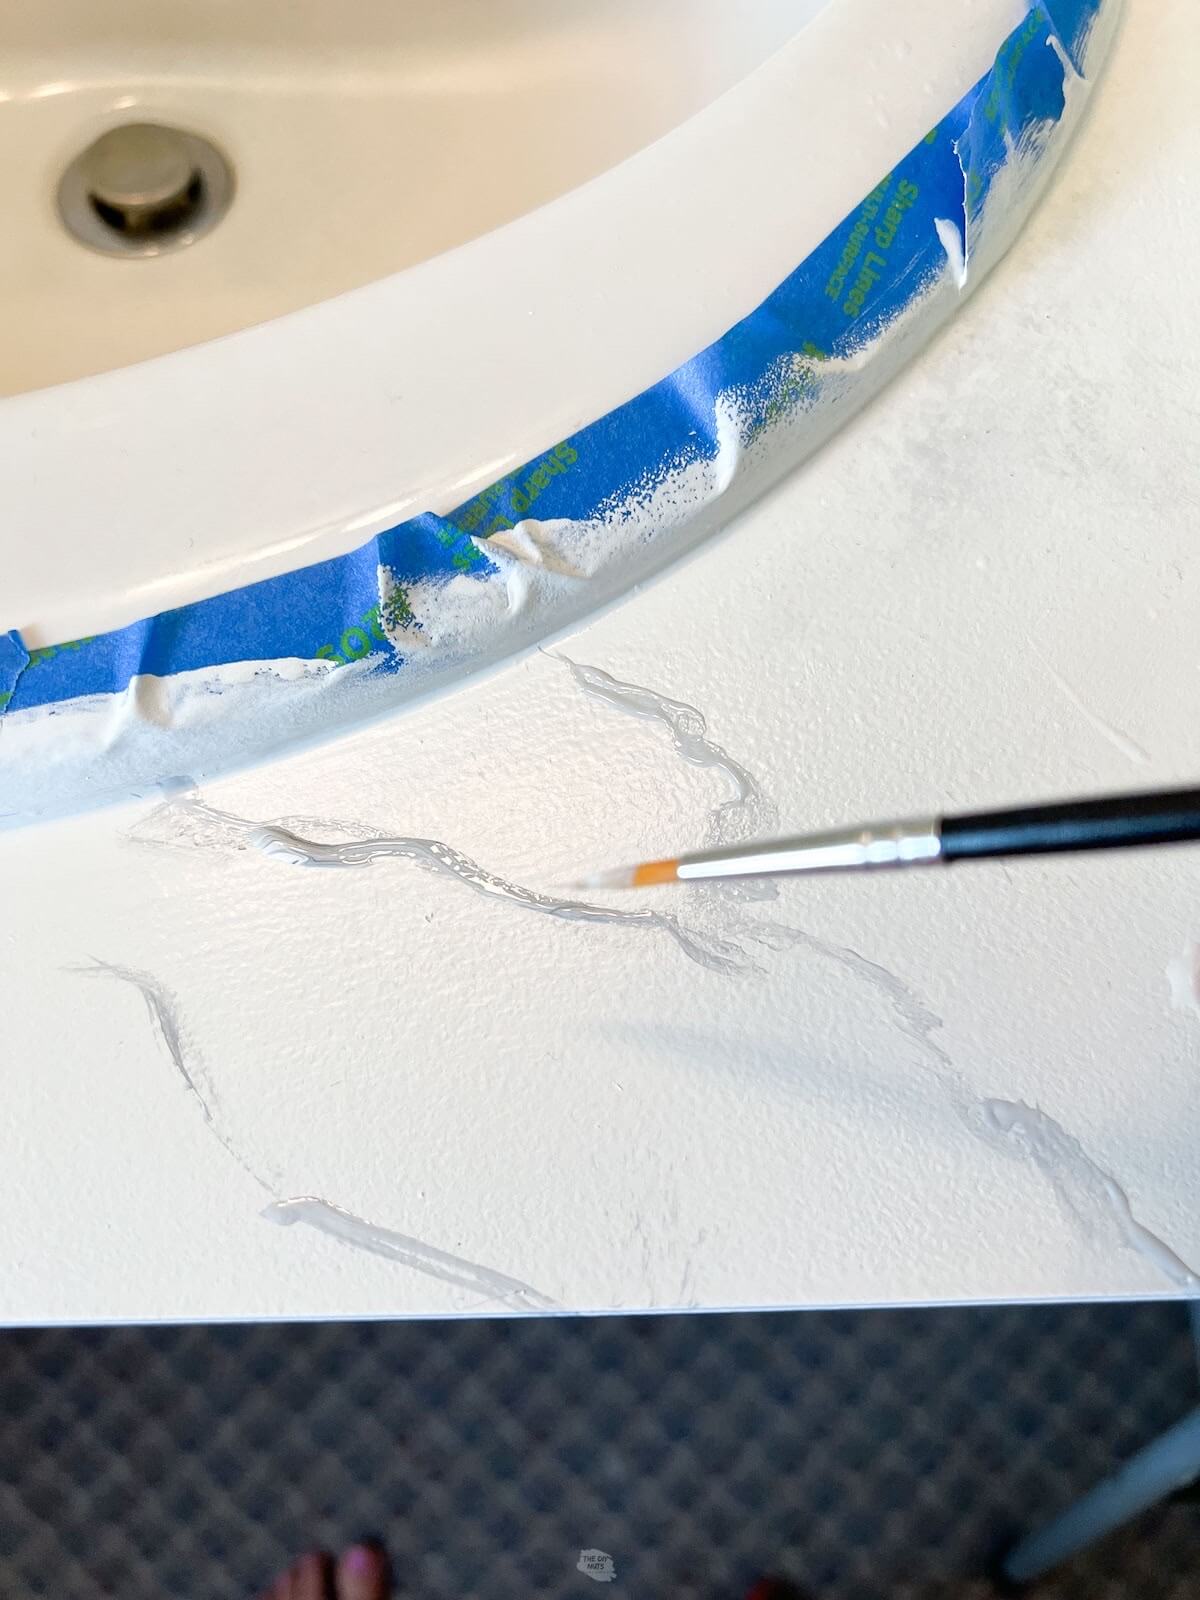
Work in small sections. Once you have painted a few veins, spray lightly with water.
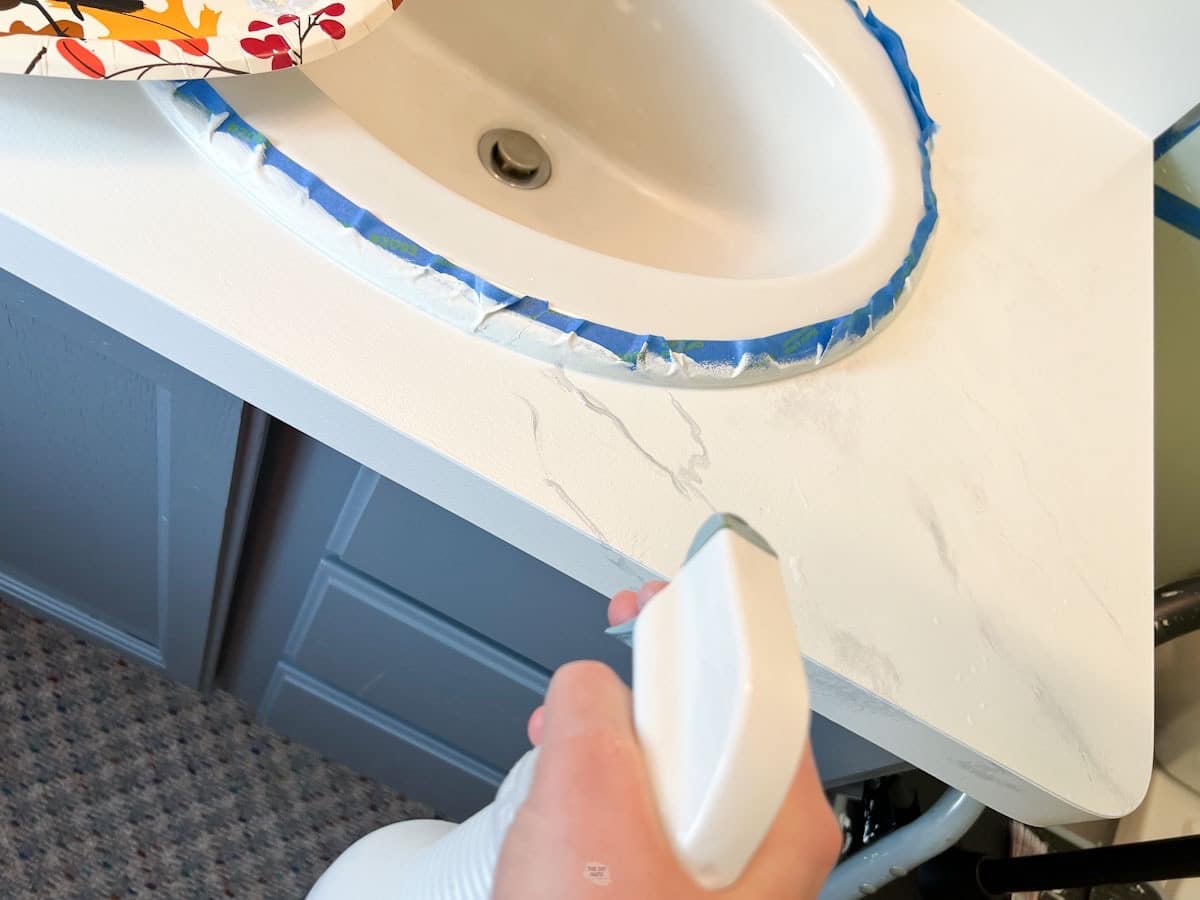
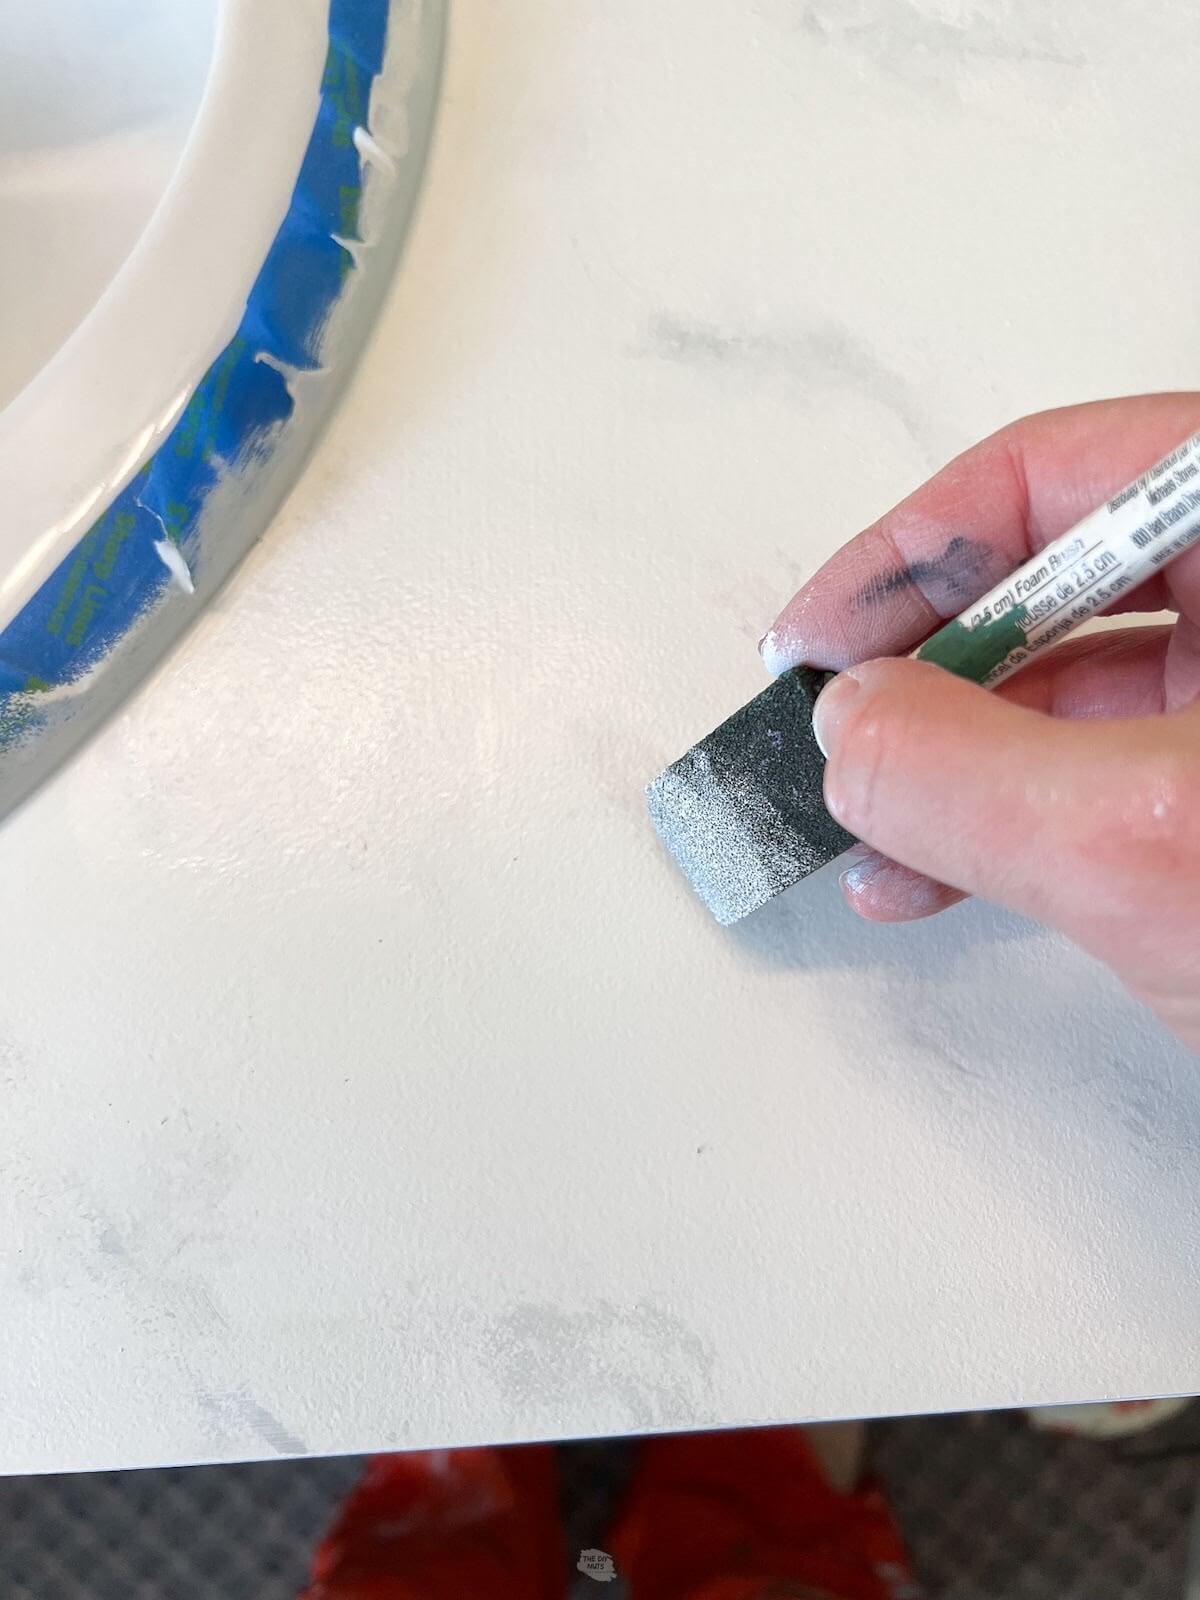
Take a dry brush and dab to make a muted more marble appearance.
If an area appears too dark, you can also use a small foam brush with the original white color to add extra texture on top of the vein patterns.
Step 9: Let The Paint Fully Dry
We waited 24 hours before applying our topcoat.
Step 10: Acrylic or Epoxy Top Coat
Use a small foam brush or a clean small foam roller to apply the top coat.
We applied the clear coat with the large foam brush on all areas first.
We had difficulty getting the clear coat to texture to look right with the foam roller. I didn’t want to chance it being bubbly.
We found that you can smooth out the foam paint strokes with the foam roller after applying.
Step 11: Coat With Layers With Proper Dry Time In Between
Let dry in between layers.
Add at least 3 coats for extra protection. Note that this top coat is very glossy. If you are going for a more honed granite look, you may want to consider using polyacrylic as your finish.
Step 12: Let Top Coat Fully Cure
Remove the tape and let the countertops cure for 14 days before heavy use.
Optional: Caulk Around Fixtures and Backsplash Pieces
Let the top coat fully dry. Caulk around the bathroom sink and backsplash for a clean, finished look.
Tips For Painting
- You want natural lines when painting veins. Don’t try to be perfect.
- Twisting your small brush and holding it loosely will help you get that feeling.
- Look at real marble or the finish you want to get your design inspiration.
- Paint in light layers when doing your base coats to limit bubbling.
- If nervous to paint, use a very light gray color to start. There is no need to buy a new color if you already have some gray or black. Just mix a little with your white base on a plate to use. You need very little dark paint.
Before and After Painted Counters
Tutorial FAQs
Water-based acrylic or epoxy paints are what you want to use to paint your countertops. To ensure your paint job lasts, cleaning, prep, priming, and your topcoat are equally important.
Acrylic is water-based and hardens as water evaporates, while epoxy hardens through a chemical reaction. According to Giani, the only real noticeable difference is the full time it takes each coat to
Both Polyacrylic and the brand of top coat we used are meant to have a non-yellowing effect. We decided to use a specific topcoat meant for counters even if we did not use the whole recommended kit.
It was cheaper to use the primer and paint we already had to paint our countertops. Since this laminate bathroom countertop was super small, it made sense to save money by using supplies we had.
We would consider paying for the full counter kit if we were taking on a larger project. However, for our small bathroom counter painting project, we would not change any of the steps we took.
We will update you about how our painted counters are holding up in a year.
Follow us on Pinterest, YouTube or Facebook for more DIY inspiration!
More Budget Bathroom DIY Projects
These cheap bathroom remodel projects helped us cheaply makeover this space. Seriously, we could not believe that we were able to get this done for under $150!
Get These Tutorials!
- How To Repaint A Bathroom Cabinet: Get our tried-and-true method for repainting painted cabinets. We just love the modern feel of adding classic black to the vanity.
- Create A DIY Paint Marker Accent Wall: No need to buy expensive wallpaper. This step-by-step tutorial will show you exactly how you can use a paint marker to create a fun mural.
- Bathroom Vanity Paint Color Ideas: See these 14 other amazing bathroom cabinet makeovers for more budget-friendly inspiration.
- How To Remove Old Carpet & Glue: This is not the most glamorous DIY but is a necessity if you plan on removing carpet from concrete to add new budget-friendly flooring.
8 months later, the painted counter still looks the same as the day we finished it! That is a DIY win in our book!
If you like this tutorial, please give it 5 stars below 🤩🤩🤩🤩🤩. Your support helps us continue to provide unique and budget-friendly DIYs.
How To Paint Countertops
Equipment
- Paint Brush or Foam Brush
Supplies
- Bonding Primer
- Deglosser
- 220 Sandpaper
- Small Paint Tray
- Emerald Urethane Trim Enamel Paint in the finish of your choice
- Acrylic Topcoat or Epoxy Topcoat
Instructions
- Use 220 sandpaper to lightly scuff up the counter surface.
- Remove dust and dirt with a handheld vacuum.
- Use a rag and a deglosser to wipe down all surfaces needing to be painted.
- Tape out any areas you don't want to get painted such as around the sink and along the walls.
- Use a brush to trim and a small foam roller to paint flat areas with primer.
- Let each layer dry completely before repeating the painting steps.
- Use a small foam roller, brush and mini paint trays to apply a thin layer of the Emerald paint in semi-gloss.
- Paint 3 coats of white paint. Let the paint fully dry.
- Use a darker colored paint and a small brush to create vein pattern.
- Use a small foam brush and clean small foam roller to apply top coat.
- Let dry in between layers.
- Add at least 3 coats for extra protection.
- Let cure for 14 days before heavy use.
- Caulk around the bathroom sink and backsplash pieces for a complete clean look.
Video
Notes
Tips To Create The Vein Pattern
- Use a small brush and make irregular lines with gray paint urethane trim enamel paint.
- Spray with a little water and then use a larger dry brush to tab on top to make the line fuzzy
- Practice on a different painted surface if you are nervous
Excellent instructions. Results are beautiful.
Hi Deborah. Thanks for the kind words. We are glad you liked our countertop painting tutorial!
What is the brand of top coat? and mine is about 60″ wide 22″ deep. Will a pint of paint do, or a quart?
Hi Michael. The topcoat is linked in the above recommended product list. As for the paint, I don’t think you can buy it in a pint size (you want to make sure you use high quality paint and not a sample). A quart would definitely be plenty.