Easy DIY Bathroom Remodel Project Ideas On A Budget
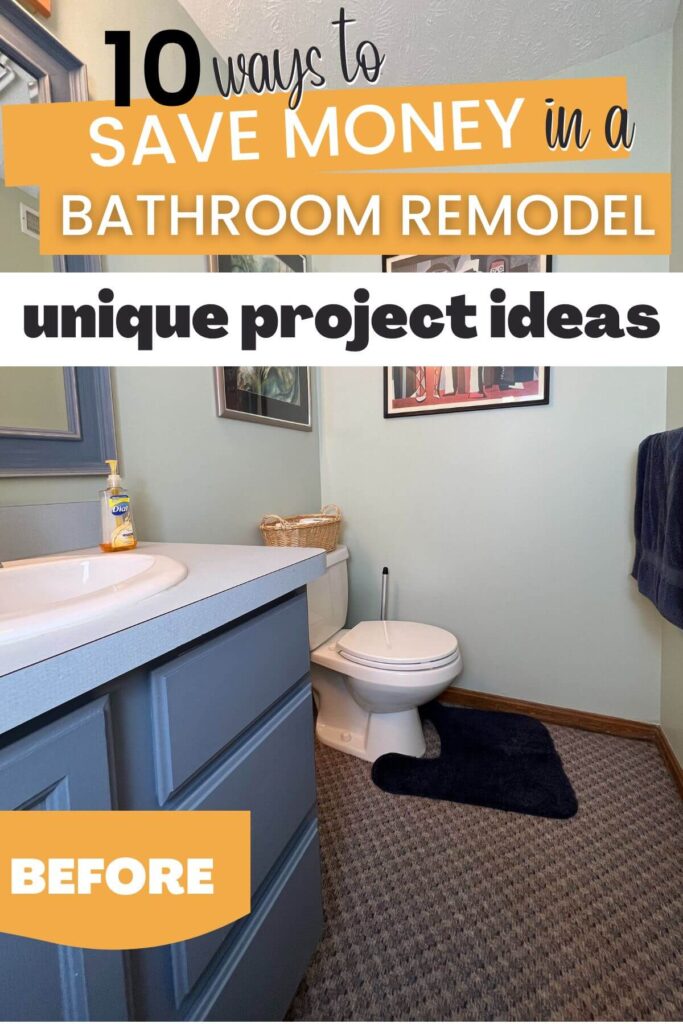
Do you know that a full bathroom renovation can cost thousands of dollars? This budget bathroom remodel was done for under $300 and with limited demo. Get our tips to see how you can easily makeover your bathroom.

*Disclosure: I only recommend products I would use myself and all opinions expressed here are our own. This post may contain affiliate links that at no additional cost to you, I may earn a small commission. Read our full privacy policy.
Tips For Saving Money
- Work with what you already have: the only thing that was taken out of this bathroom was the carpet flooring. I am sure we can all agree that was a good move!
- Paint, paint and paint: Painting projects are literally one of the best ways to makeover your entire bathroom and they don’t require a ton of DIY skills. Besides the floor, we painted every surface in this DIY bathroom remodel.
- Add A Few New Accessories: mixing new with existing materials and decor will give your bathroom a fresh look while keeping it on budget.
- Replace Only Some Things: No need to replace your whole vanity if the cabinet is in good condition. Adding new hardware, paint or stain may be all you need. You can see how we painted the same bathroom cabinet but added a premade counter for a different look in this bathroom.
- Take Your Time In Planning: Don’t rush the design process of your bathroom. If you are taking on a larger bathroom remodel, this step will be very important as you don’t want to have to double do the work.
- Consider Hiring A Professional For Some Work: while this may seem counterintuitive, it may help you save money in the long run. Plumbing, electrical work, structural changes and tiling are jobs that might save you money by getting it done correctly the first time. We have done DIY tiling, just make sure you know what you are getting into before starting.
- Search For Used Accessories You Can Makeover: You would be shocked at what you can find at thrift stores or on Facebook marketplace to help decorate your space.
The “Before” Bathroom

This small space desperately needed a DIY bathroom renovation. However, because it was in our basement we didn’t want to spend a lot of money.
You can also see other DIY projects we did to cheaply update a different full bath in our house.
DIY Bathroom Updates
Some of these DIY bathroom ideas have buttons for full tutorials. We will be adding the other ones soon!
Bathroom Cabinet Projects
By using the existing features, we were able to makeover this bathroom cabinet for very little money.
The Before Baseboards

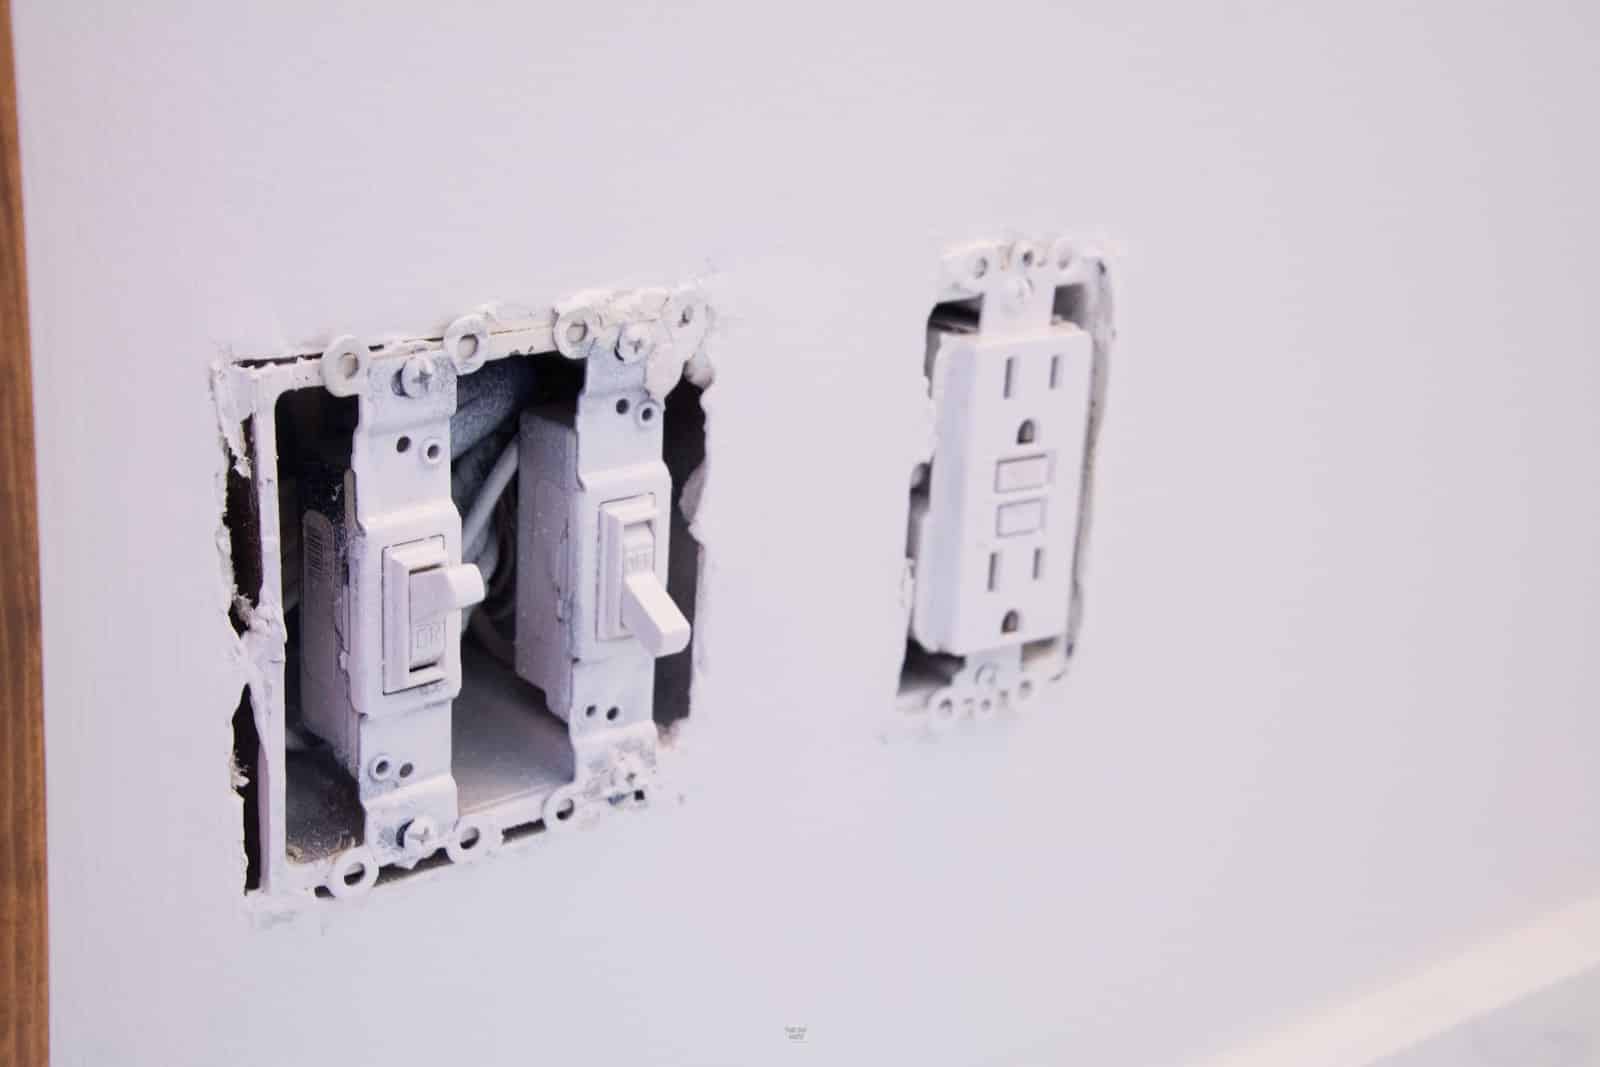
#10 Spray Painted Outlets & Switches
You can carefully spray paint your beige or almond-colored light switches. Use an enamel spray paint and try not to spray directly into the electrical sockets.
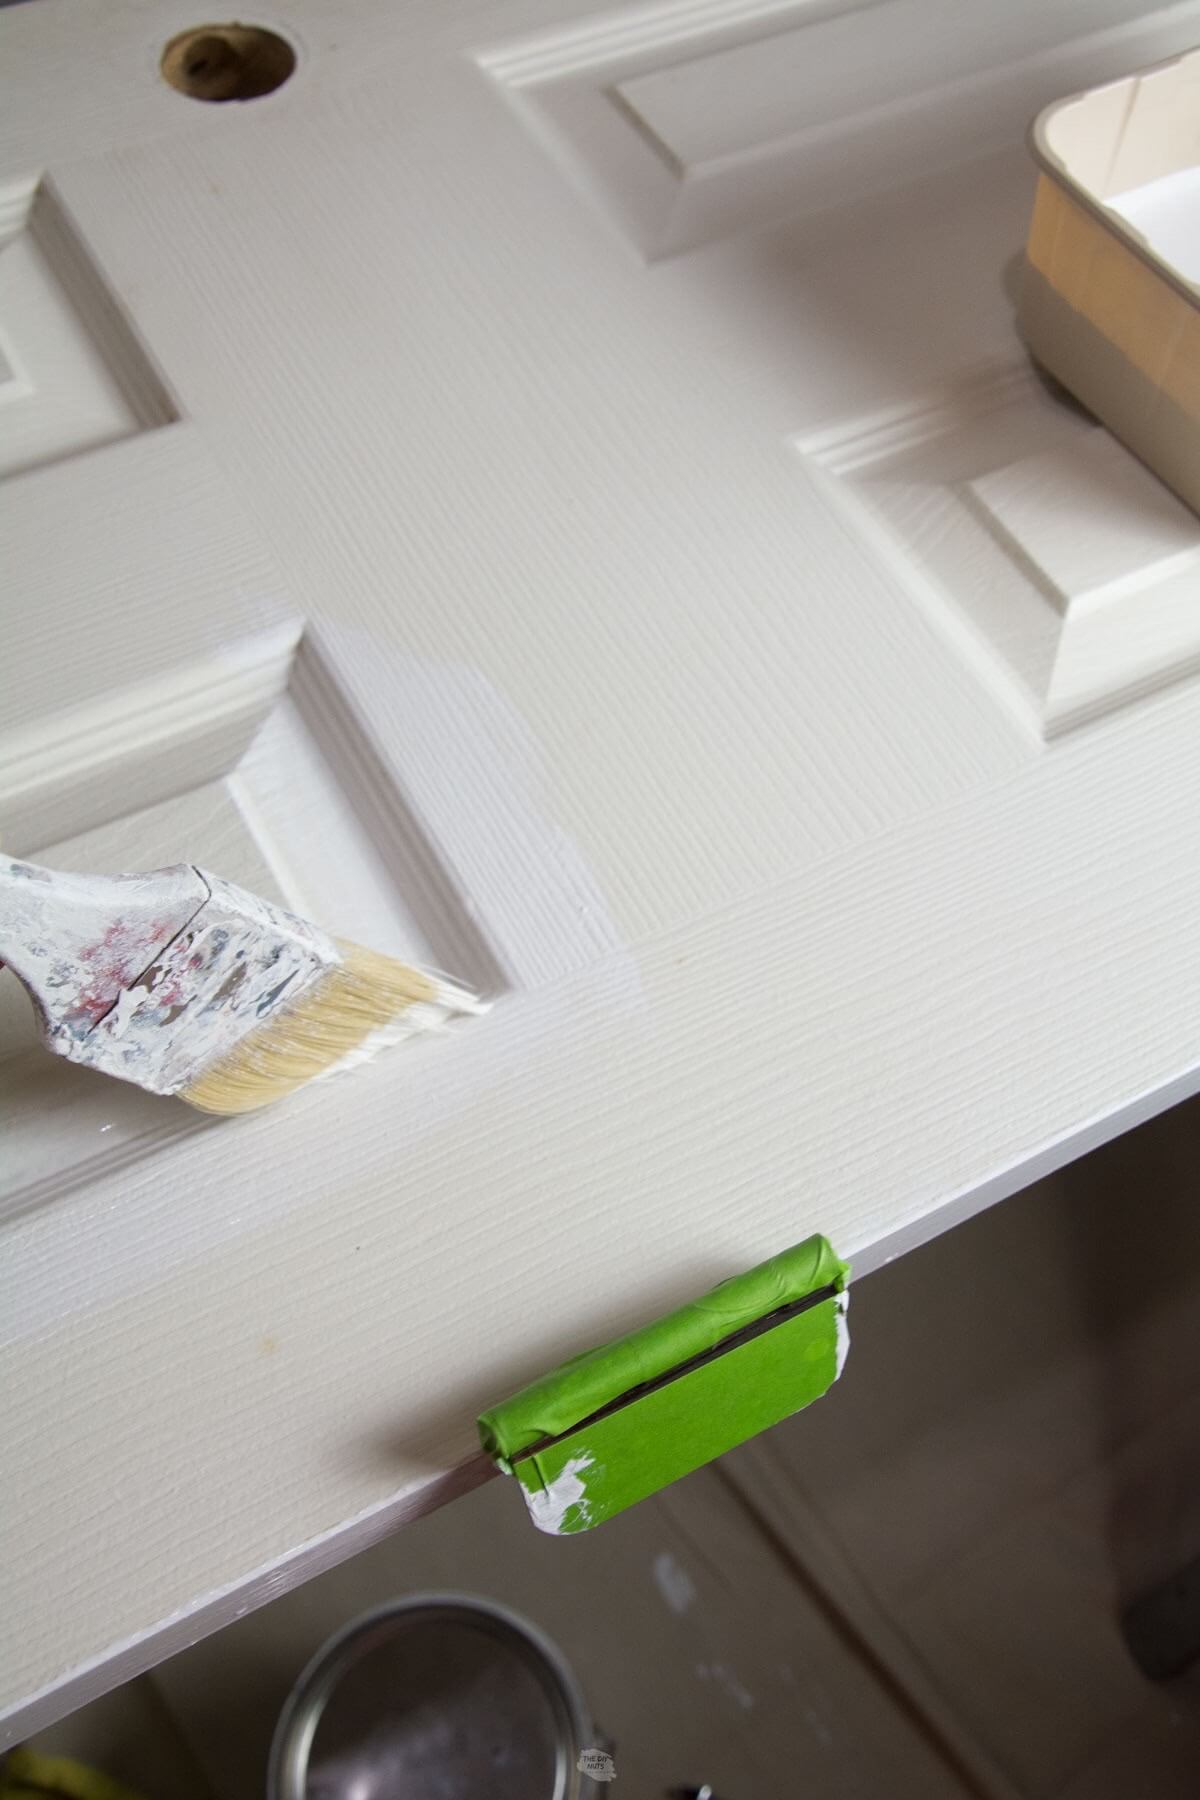
#11 Paint The Walls, Ceiling & Door
A fresh coat of paint was a great way to get a new look and brighten the bathroom. By using SW Pure White on the bathroom walls, the tiny space immediately felt larger. White can really add a clean look to the space. By painting the door, walls and ceiling we were instantly able to make a huge difference.
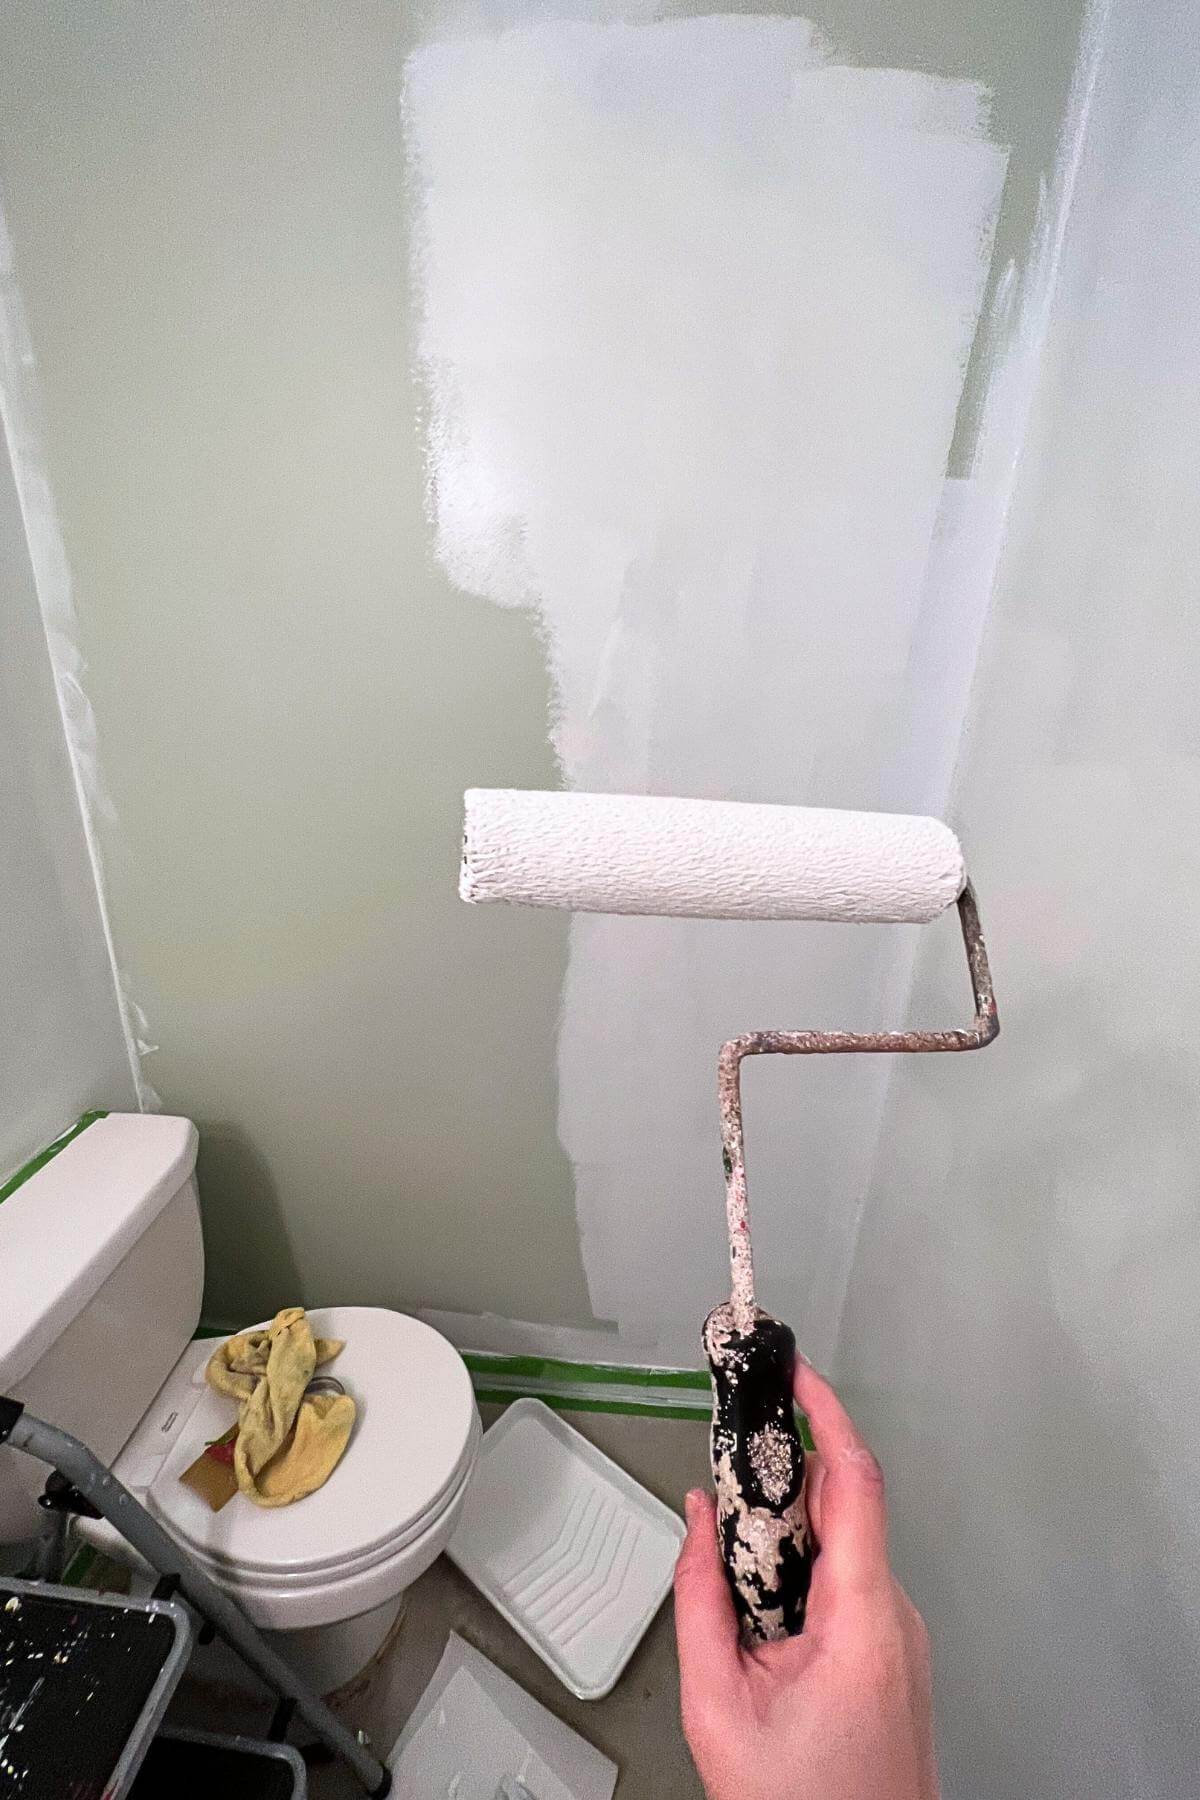
The best part about all the painting projects is that we used supplies we already had. The only paint we had to purchase was SW Pure White wall paint and we bought that at 40% off.
Need Help Picking Paint Colors?
We recently just tried Samplize, which beats having to buy individual paint samples. These 9″ x 14.75″ samples will be shipped directly to you and save the hassle of clean-up (we loved that). See our full review here.
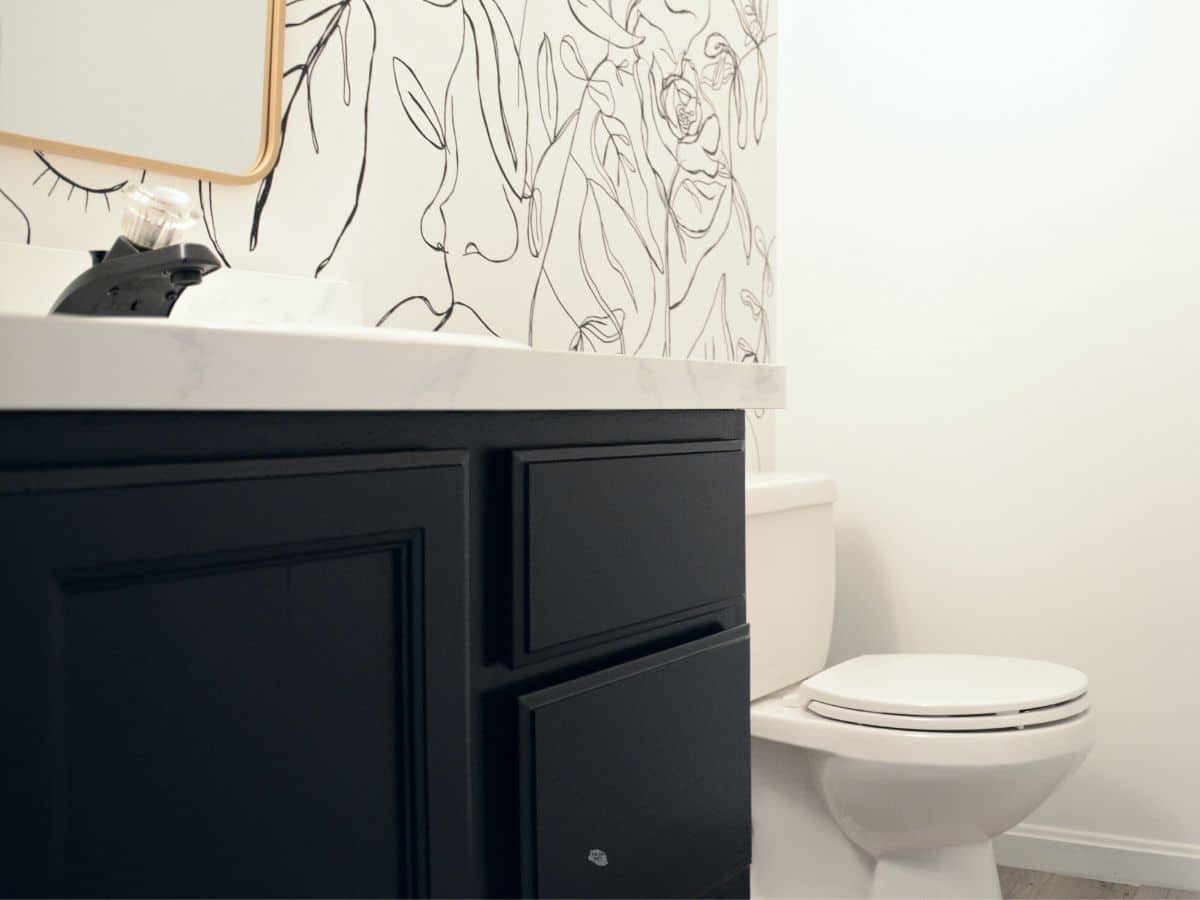
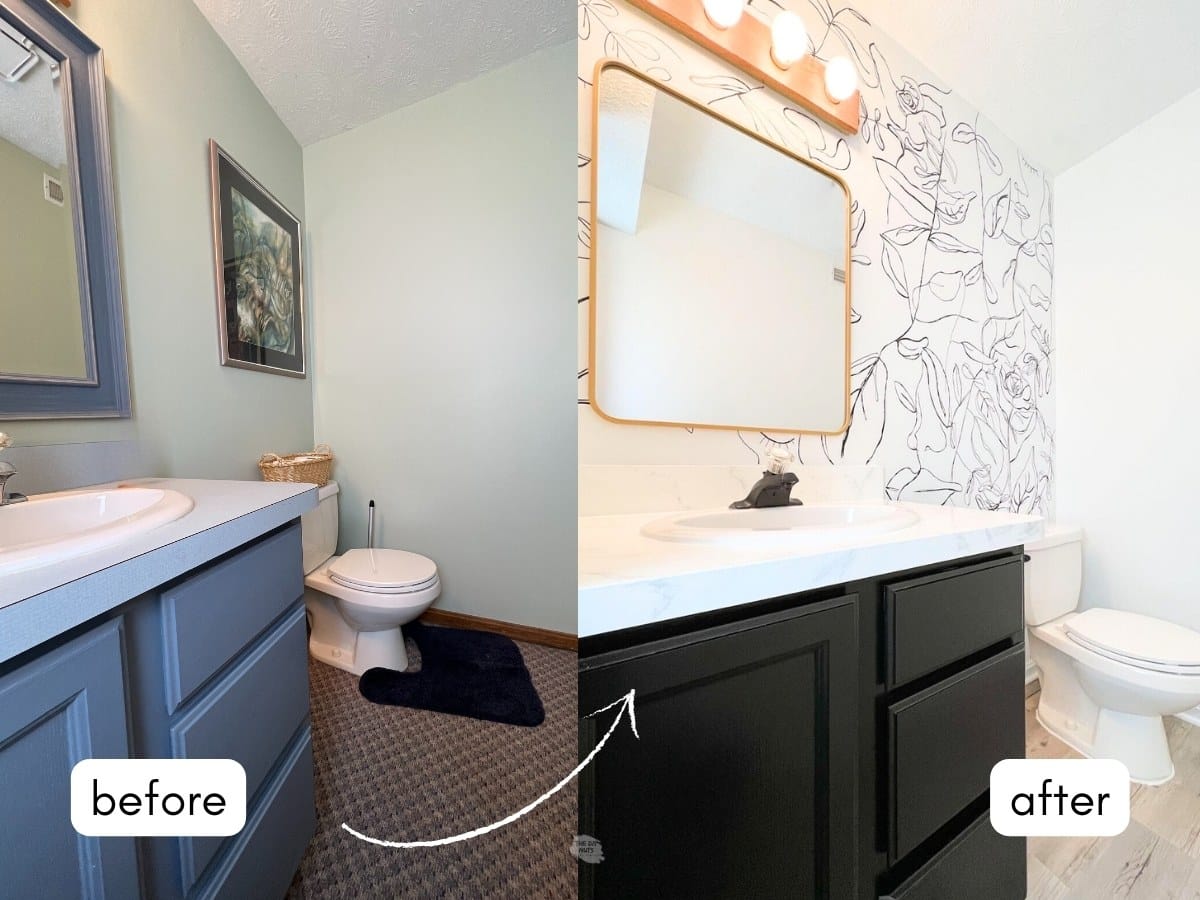
The Before and After Bathroom Makeover
We just love how cheaply we were able to remodel this small bathroom.
How Much Did Each Project Cost?
These are approximations of the totals rounded to the nearest number. Make sure to always shop for sales in order to get the best prices on supplies and accessories.
- Paint: because we had rollers, primer and brushes from previous jobs the only new paint we purchased was SW Pure White for the walls in Emerald at 40%.
- Cabinet Paint: At the same time, we purchased only a quart of Emerald Urethane Trim Enamel paint in Tricorn Black for our cabinet repainting. $30
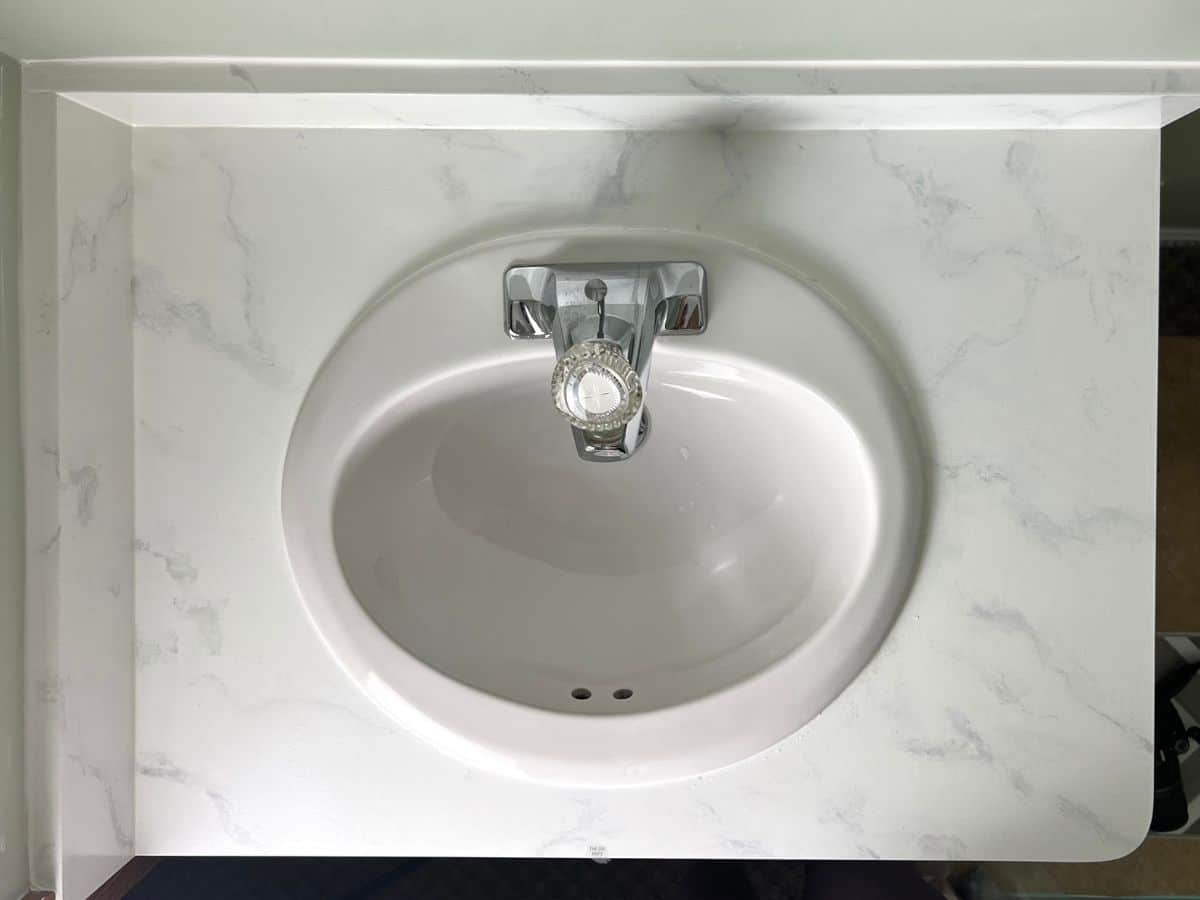
- Top Coat Countertops: Again, the countertop project used all the same supplies as the other painting projects. The primer was leftover from our tile painting in our kitchen. The only new DIY item that needed to be purchased was the topcoat was under $35.
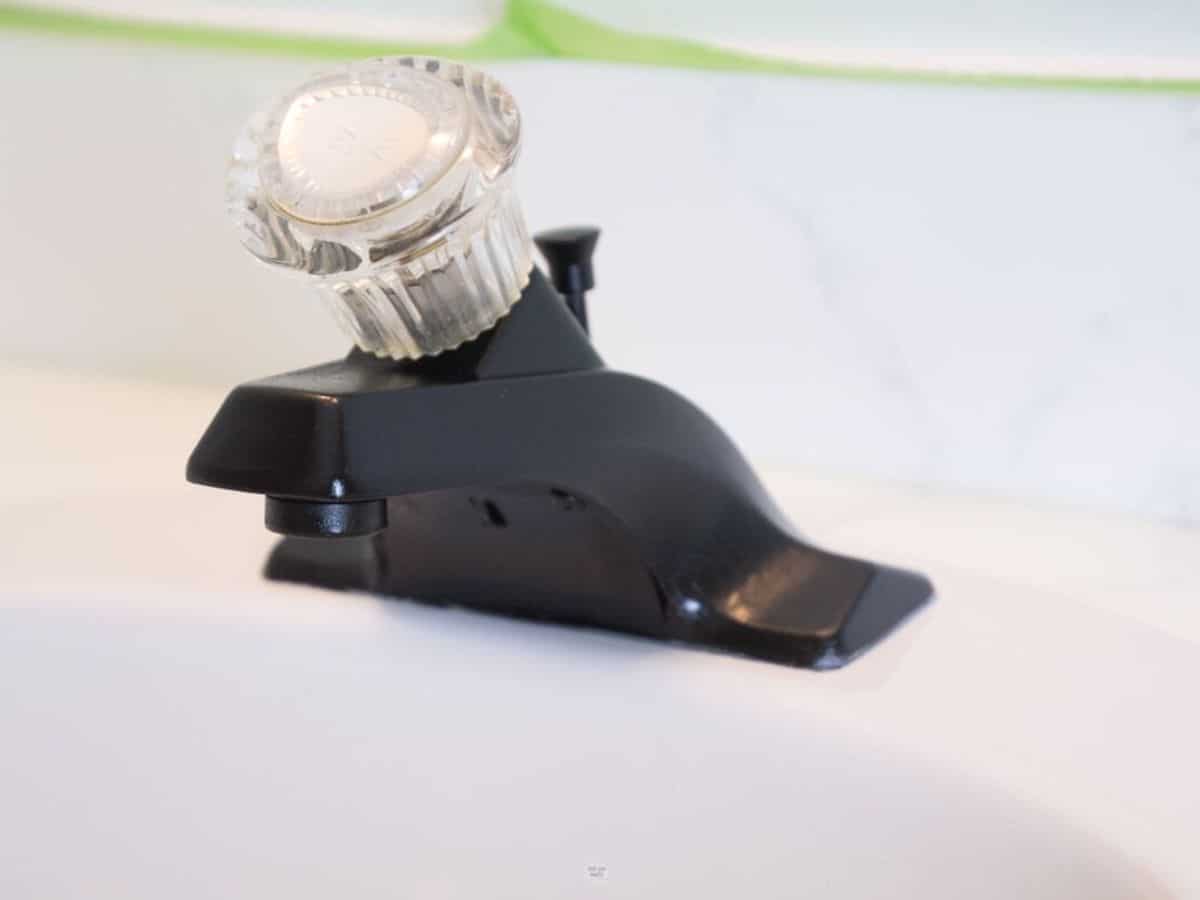
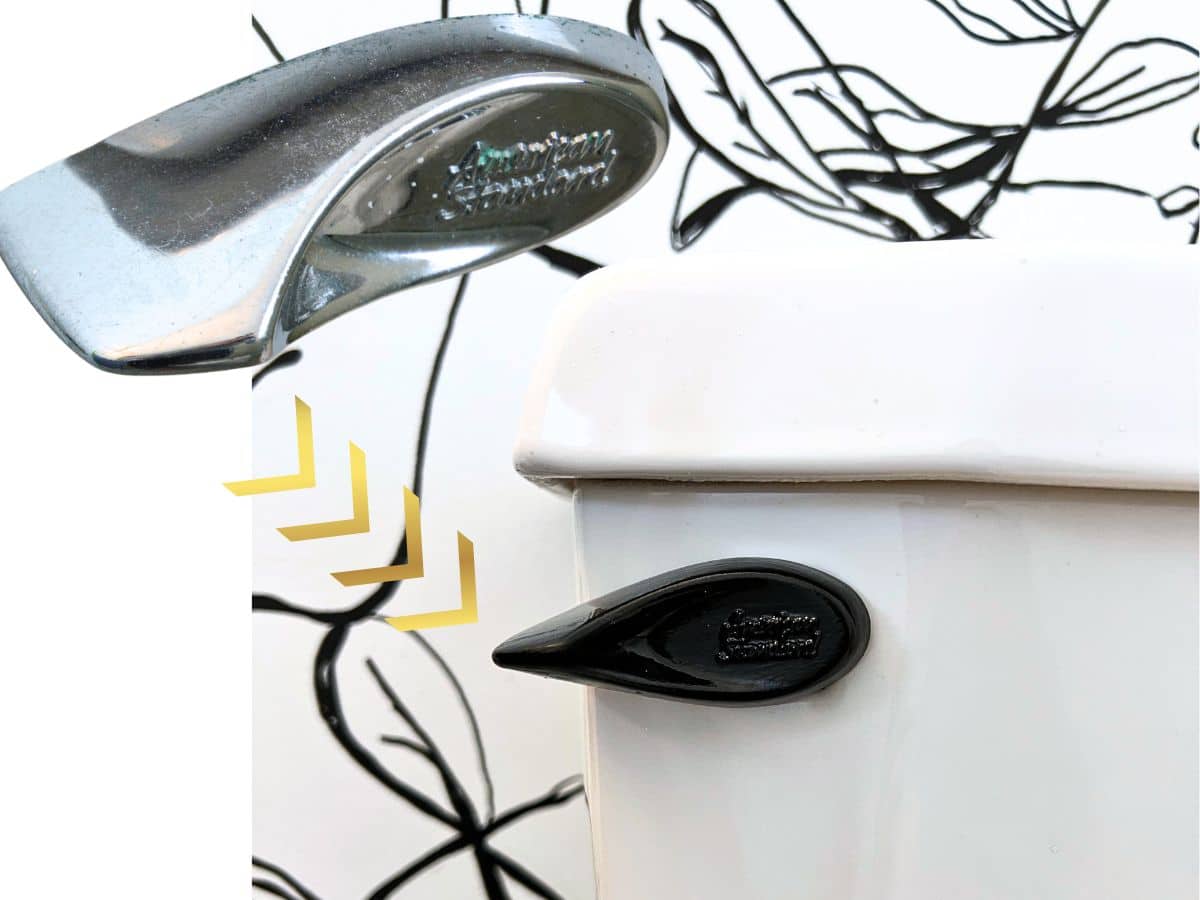
- Spray Paints: the automotive primer and matte black paint for the faucet cost around $17.
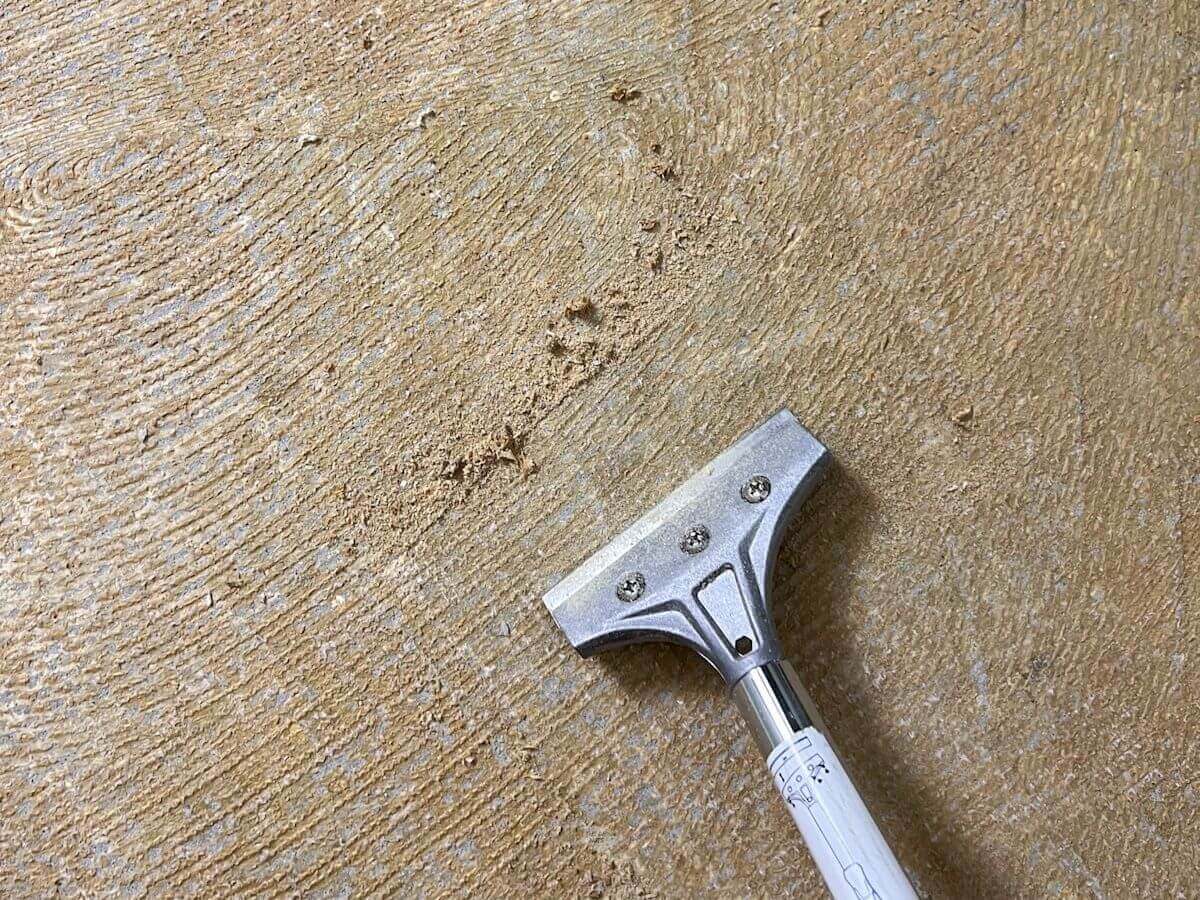
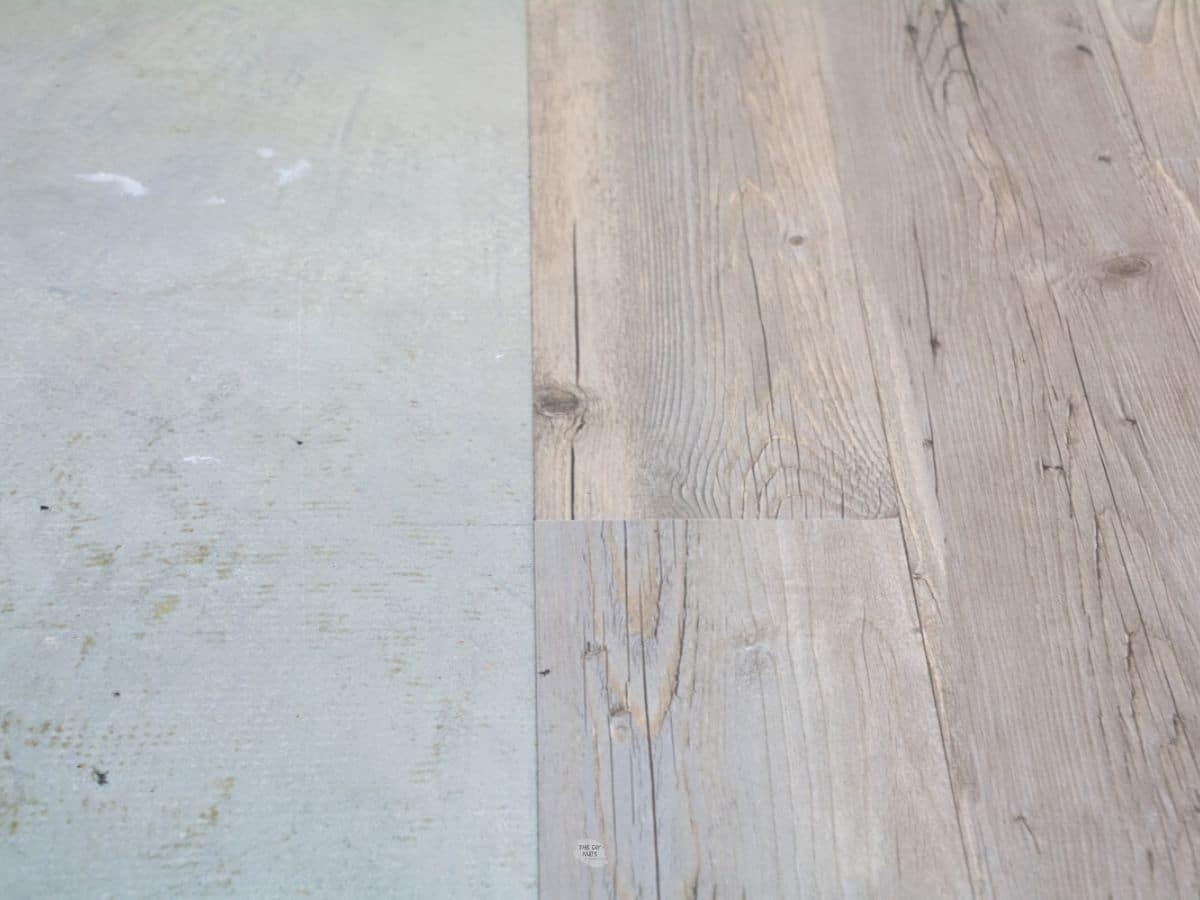
- Peel and Stick Bathroom Flooring: We used around $40 for this faux wooden floor. Before installing we needed to remove the carpet glue and had to purchase mastic remover for $25.
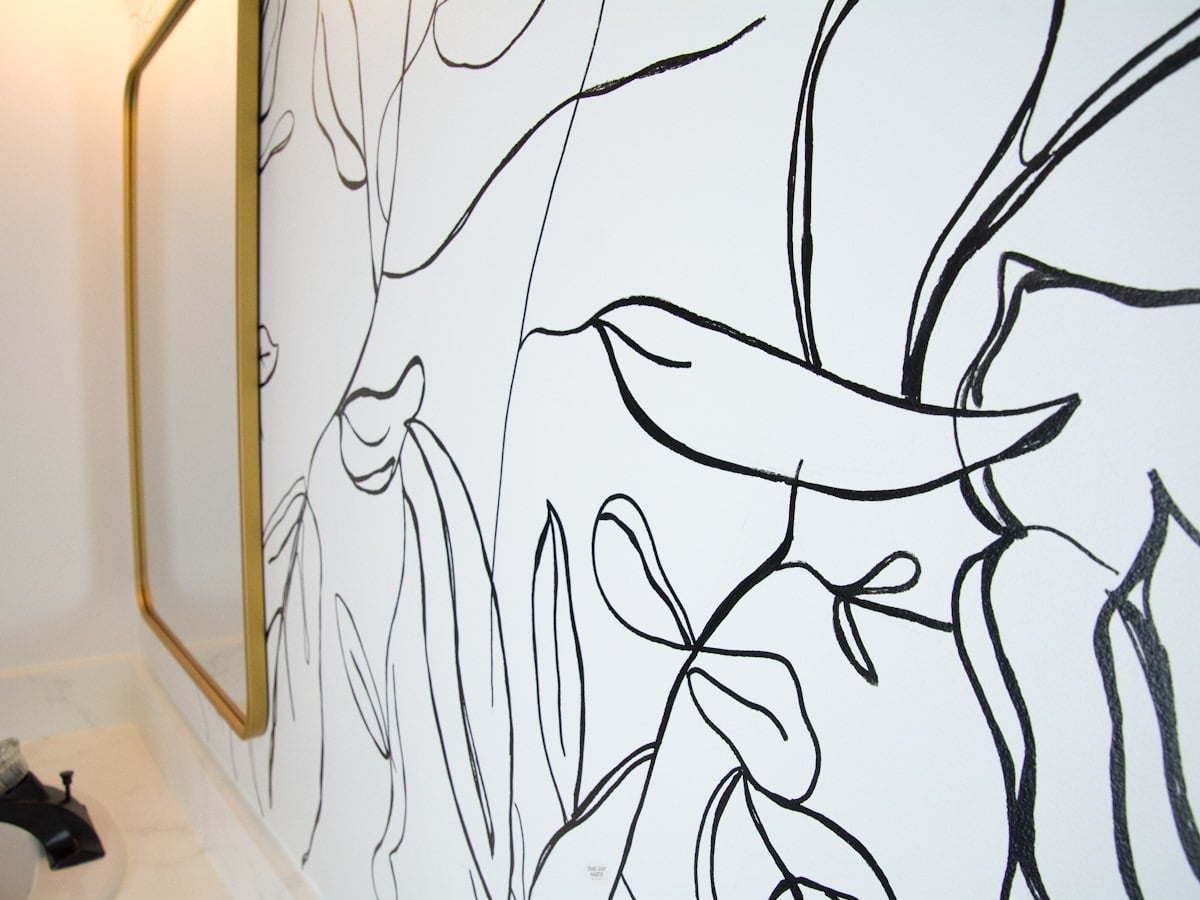
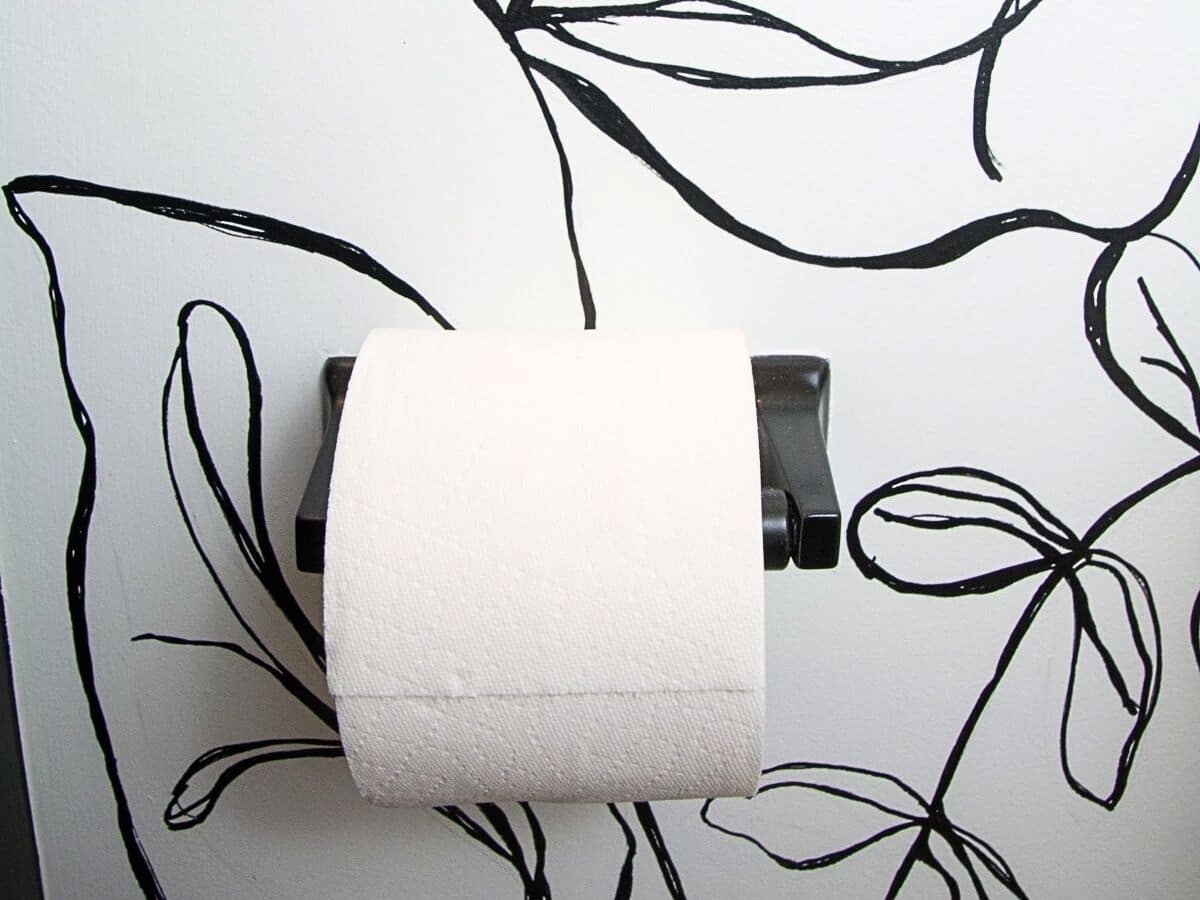
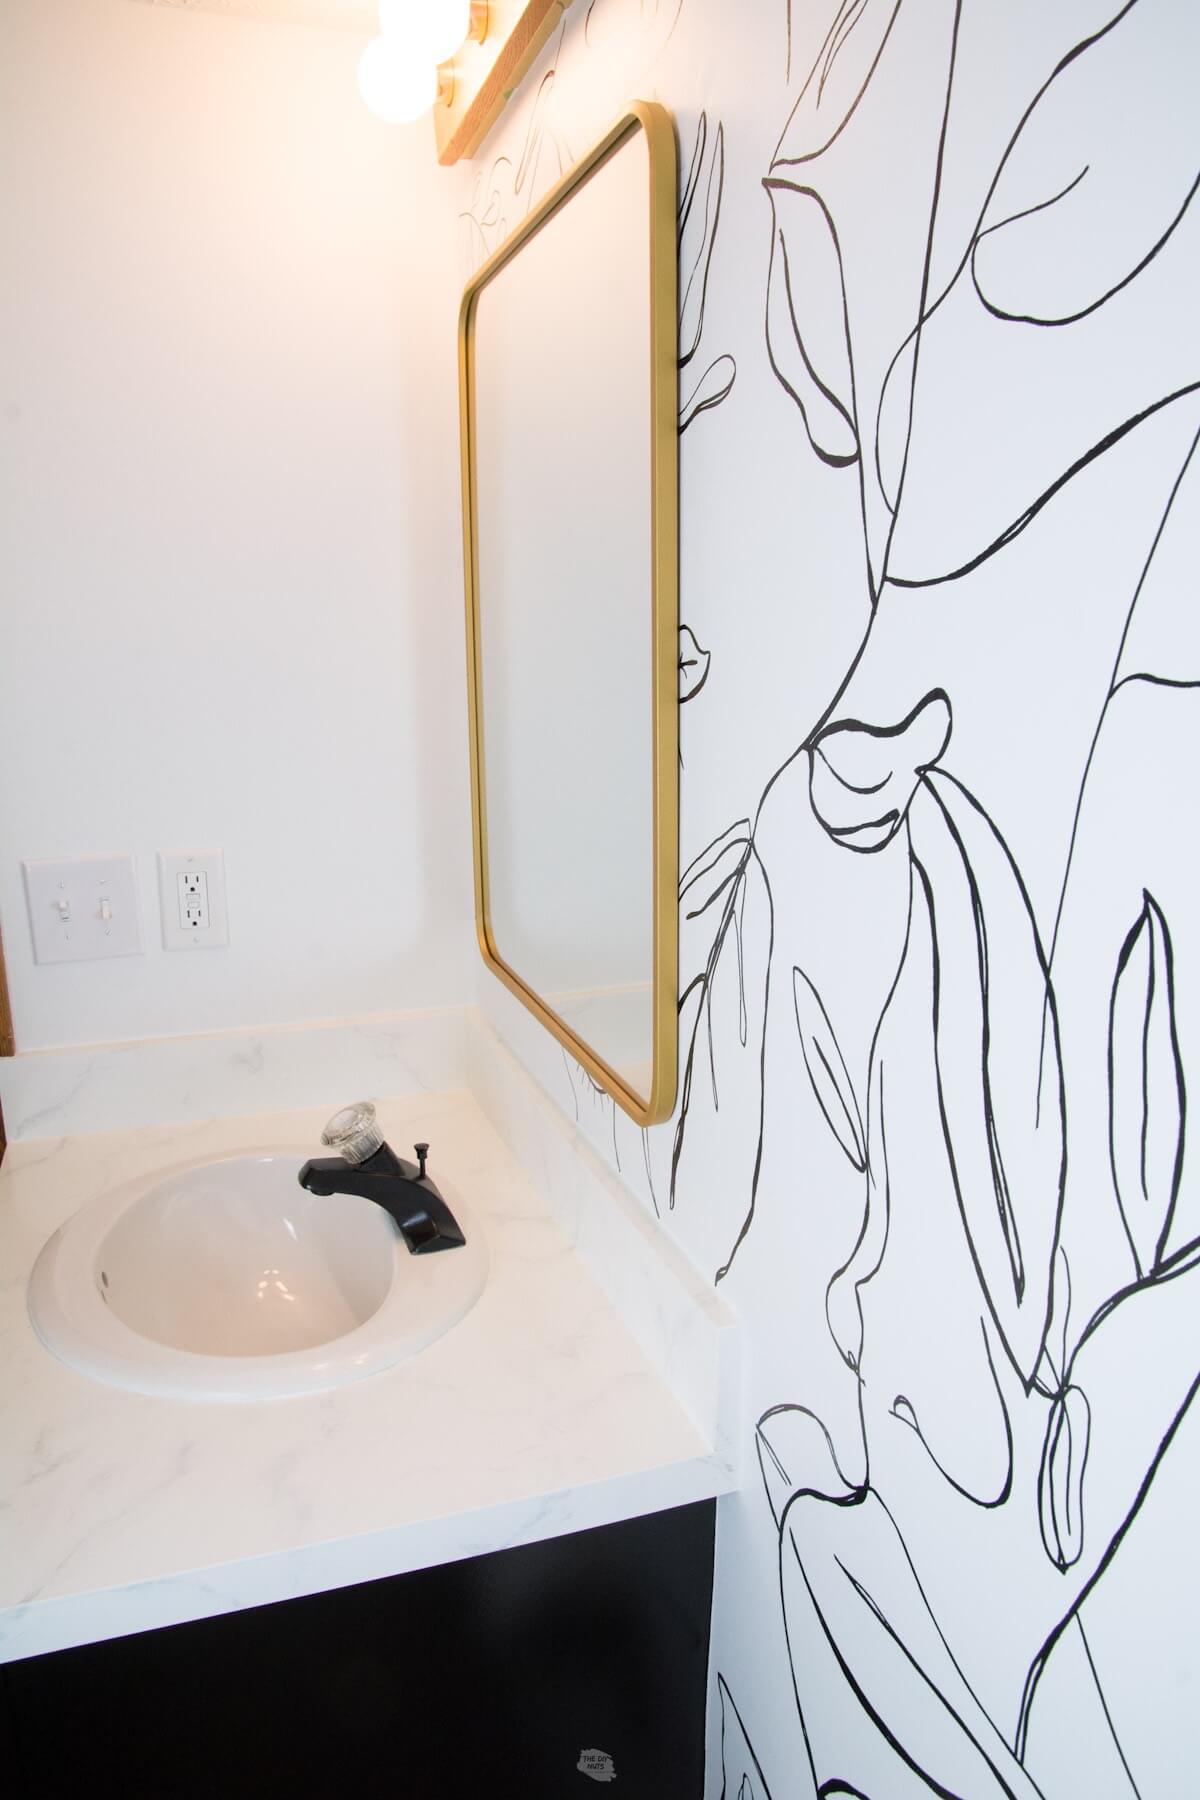
- New Accessories: The only 2 new accessories we purchased for this space were the gold-framed mirror and black matte towel ring. We were able to get both on sale for around $60.
- Paint Pens: The accent wall was completed with a 3-pack of paint pens. They cost under $10 and they were essential in our bathroom makeover.
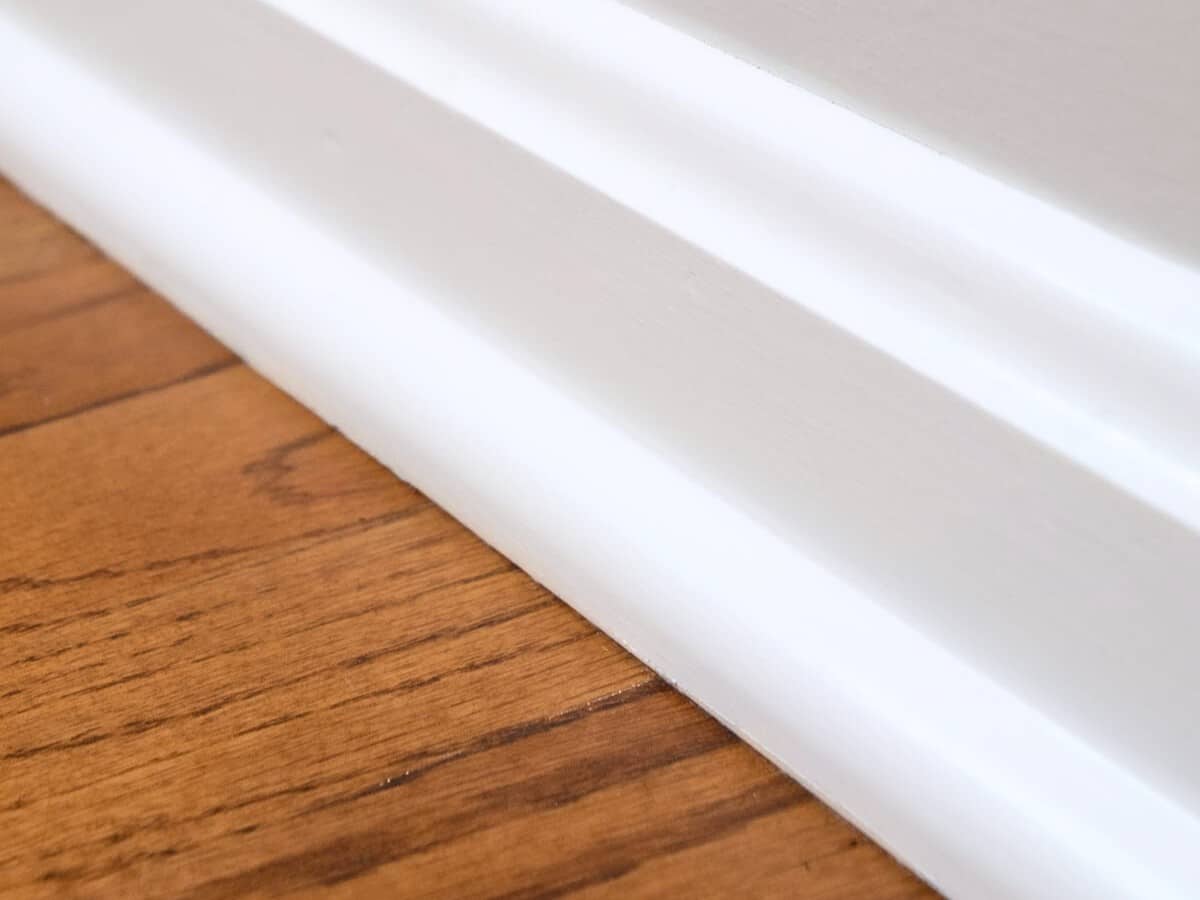
- Shoe Molding: Instead of pulling the baseboards off, we chose to just add shoe molding on top of the peel and stick flooring for easy use.
Total Cost: $285
- Paints, Spray Paints, Top Coat: $128
- Paint Pens: $10
- Flooring (mastic remover, extra molding and peel and stick): $87
- Accessories (mirror & towel ring): $60
What did we keep?
The light fixture is the same. While we could have switched it out, we didn’t think it was necessary and actually liked having a wood element in there. By modernizing everything else, not replacing the light fixutre totally worked for us.
Follow us on Pinterest, YouTube or Facebook for more DIY inspiration!
Related Reading
- 27+ Cheap DIY Bathroom Projects: get inspired by our DIY friends’ ideas.
- 20+ Unique Bathroom Shelves: get organized and add extra style and function to your bathroom with these ideas.
- How To Create An Accent Wall With Painter’s Tape: you can see our herringbone accent wall idea here.
A bathroom remodel doesn’t have to be a daunting and expensive task. You can give your bathroom a whole new look with a few simple changes and projects.
If you found this post helpful, make sure to pin it and save it for future use. We love being able to continue to share our DIY ideas with you.
Thanks so much for sharing your tips! We are having some water damage restoration done in our home & I want to make a few design changes with our bathroom when we do! Totally using this as inspo!
Now that it’s been a year or so, how’s the durability of your redo? Anything you’d do differently? I’m especially wondering about your flooring.
Hi. Great question. This half-bath is in our basement and isn’t used as often is others in our home. Honestly, everything has held up better than I would have thought. The only thing I would have done differently is used an oil-based marker on the wall instead of the water-based one. I have to be careful when using certain cleaning products. Right now the only reason we will change out the flooring will be when we decide to redo all the flooring in the basement. Good luck with your budget bathroom reno!
Do keep in mind, some of what you did will likely not last long. Which is fine if you’re just looking to buy more time before you have to do a more expensive re-do. Spray painting the light fixtures and adding new plates WILL last. I did that with mine, and they look fine five years later. If the paint and an oft-used switch does wear, another squirt of spray paint will renew it.
I don’t expect the spray painting of the faucets to last long. That I’d expect to start popping off in a year or two.
The peel-and-stick flooring will likely look tacky in a few years.
If you’ve got concrete under it, tile with ceramic tiles in a few years.
The labor is what is expensive. Tiles can be very cheap. You can skip a step since the floor is already concrete and then your new floor will likely outlive you.
Using a paint pen instead of peel-and-stick wallpaper is a great idea. One of my bathrooms that greatly needs a re-do has wallpaper, which is falling off the walls. I haven’t used peel-and-stick, so I don’t know if that resists steam better, but it’s much more expensive.
It may be a real bear removing the conventional wallpaper in my bathroom, taking it off can readily scar up the drywall, limiting your choices in paint — definitely nothing glossy, an issue in a bathroom where people usually choose a satin or semi-gloss. I’ve been doing DIY for fifty years and know from experience how important durability is. Unless you’re ready to DIY it all again in a few years. I’ve learned the hard way that it’s best to do extensive research and not use the cheapest alternatives. Your sweat equity is very valuable. Don’t squander it on materials not as valuable.
Hi Linda! All great points on DIY projects. Since this was a bathroom in our basement we were definitely willing to experiment and see how long everything lasts. Eventually we will replace the whole flooring in the basement (including the peel and stick) but at least for the past two years we haven’t had carpet in the bathroom like what was originally there. And to note, our painted surfaces are a budget DIY, but they still look good and haven’t chipped or peeled at all. I am sure this has to be with the fact the bathroom isn’t used daily. You are spot on with always doing research before tackling any DIY. Prep, cleaning and time should all be considered!