How To Easily Paint A Toilet Flush Handle
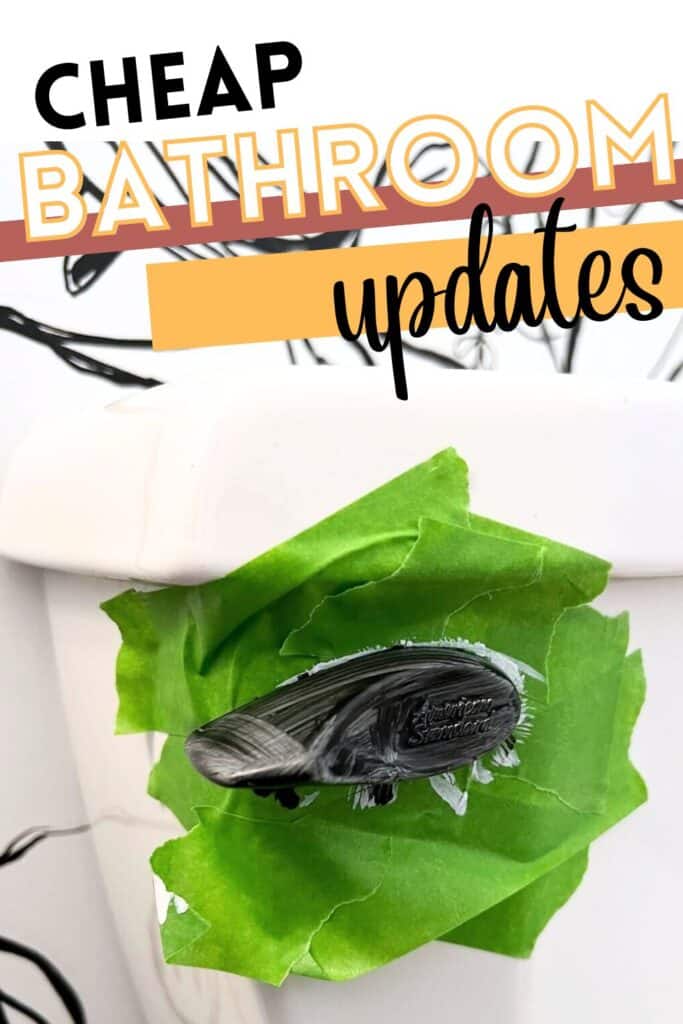
Are you looking for a quick DIY bathroom win? When updating your bathroom decor, you may notice that some of your bathroom fixtures do not match your style. Learn how you can paint your toilet flush handle to match your current decor. It’s a simple way to update your bathroom without spending a lot of time or money.
*Disclosure: I only recommend products I would use myself and all opinions expressed here are our own. This post may contain affiliate links that at no additional cost to you, I may earn a small commission. Read our full privacy policy.
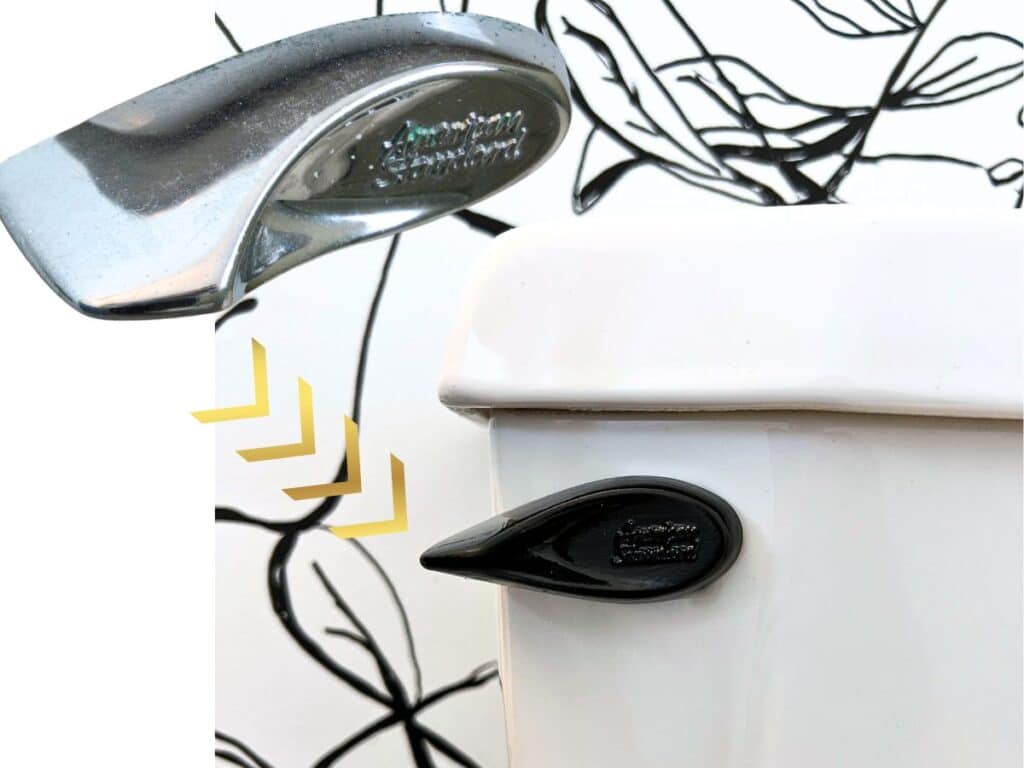
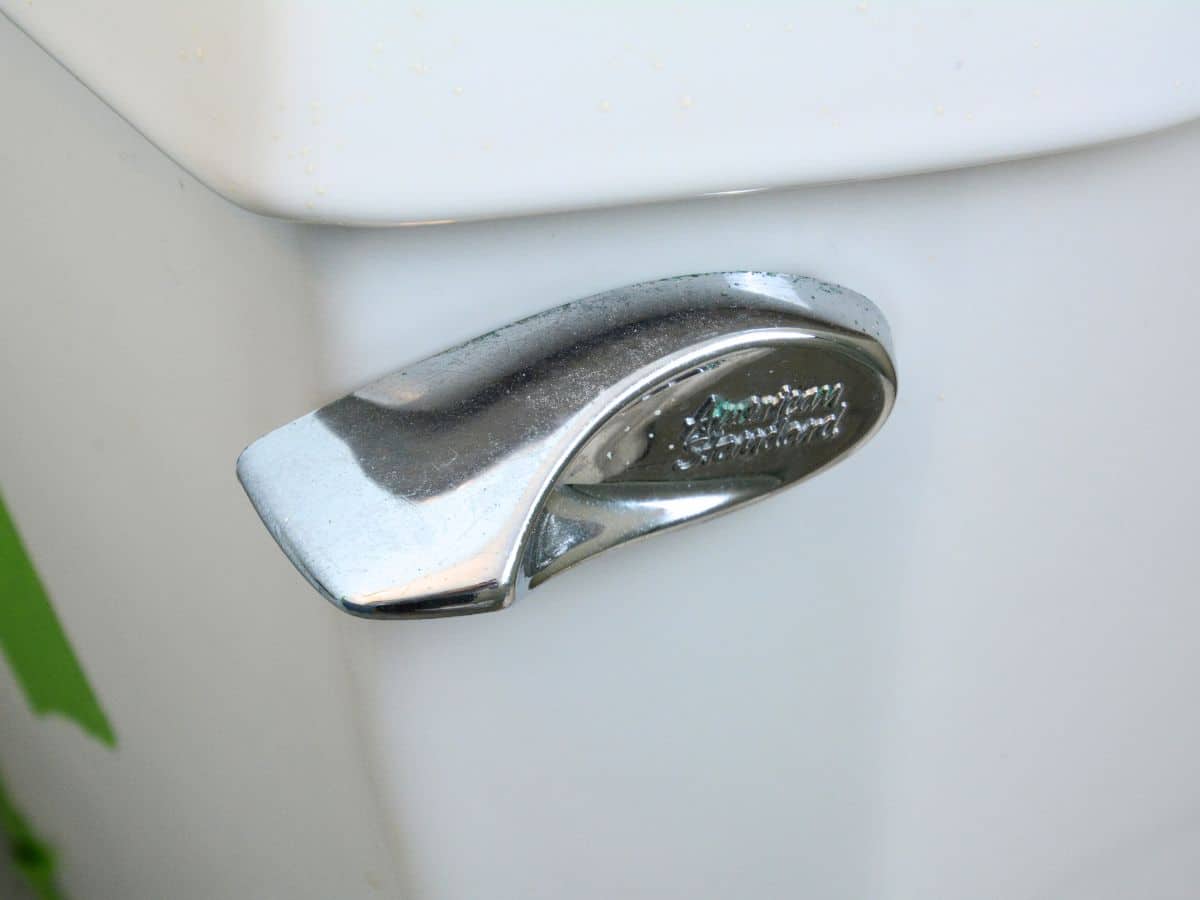
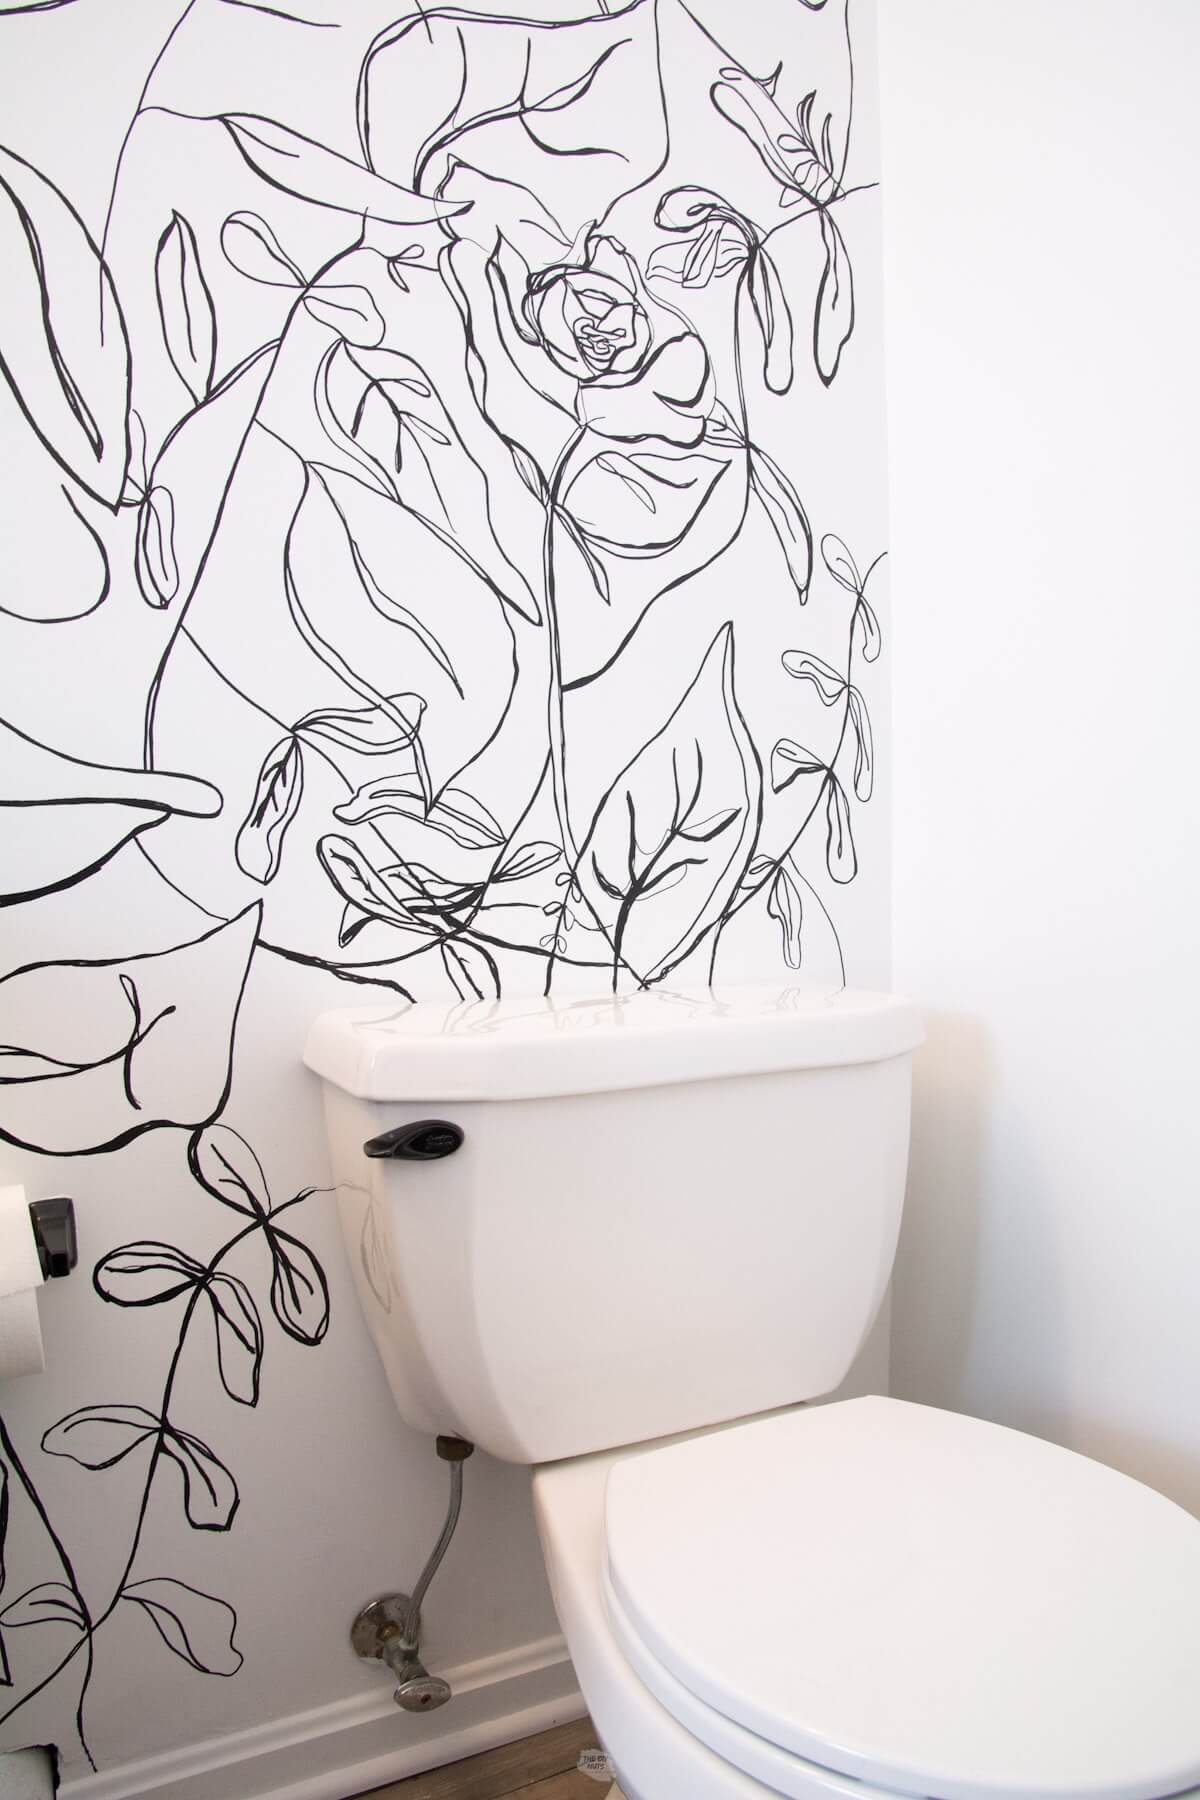
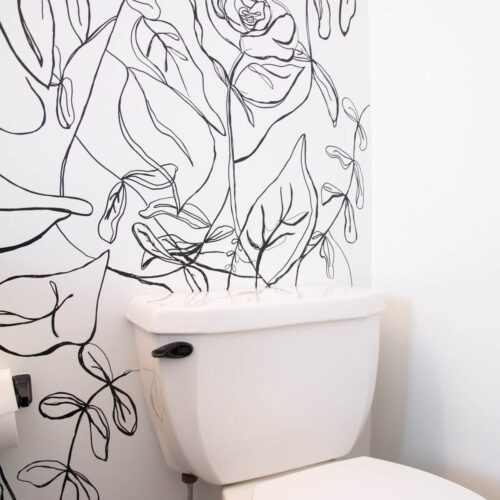
During our budget bathroom remodel, we had already spray-painted the other bathroom accessories and added a fun accent wall. After all our makeover DIYs, we had one sore thumb sticking out. The silver toilet handle flush no longer match the gold mirror and black-and-white look we had going.
Why did we not spray paint the handle?
While you could use automotive primer and spray paint like we did when painting the bathroom faucet, it may be difficult to paint the flush handle without removing it. If you choose to leave it in place, you’ll need to take extra care to protect the surrounding area from overspray.
We experimented with using the same materials we used to repaint the cabinets black and our faux marble laminate counters.
Cons
- It is also wise to note that you will not get completely the same factory finish when painting an old material.
- Over time, painted surfaces can chip. Additionally, painted surfaces can wear down over time, so be sure to use high-quality paint and properly clean and prep the surface before painting.
- Cleaning brushes or foam brushes.
Pros
- Money: this DIY bathroom project didn’t cost anything because we used all the same materials we already had.
- Time: our simple steps were faster than removing and replacing and took less time than having to cover the surrounding areas if using paint.
- Priming, painting, and sealing the handle can help prevent chipping and extend the life of your paint job.
- If the DIY doesn’t work out, you can always replace the flush handle without spending a lot of money or time.
Remember that with all paint DIYs proper cleaning and prep are important and will help your finish last longer.
Recommended Supplies
Because this is such a budget project, you can try to use leftover supplies you may already have. Make sure you get a primer that is meant to stick to metals and that does not scrape off once it dries.
- Primer: We used the same leftover primer we used to paint our backsplash tile.
- Clear Coat: This clear coat was used to protect our painted counters. A good polyacrylic could also be used.
- High-Quality Paint: SW Emerald Urethane Trim Enamel in Tricorn Black was used because it was leftover from painting our cabinets.
- Deglosser
- Green Scotchbrite Pad or Extra Fine Sandpaper
- Foam Brush and/or Regular Brush
- Painter’s Tape
How To Paint A Toilet Flush
Before You Begin
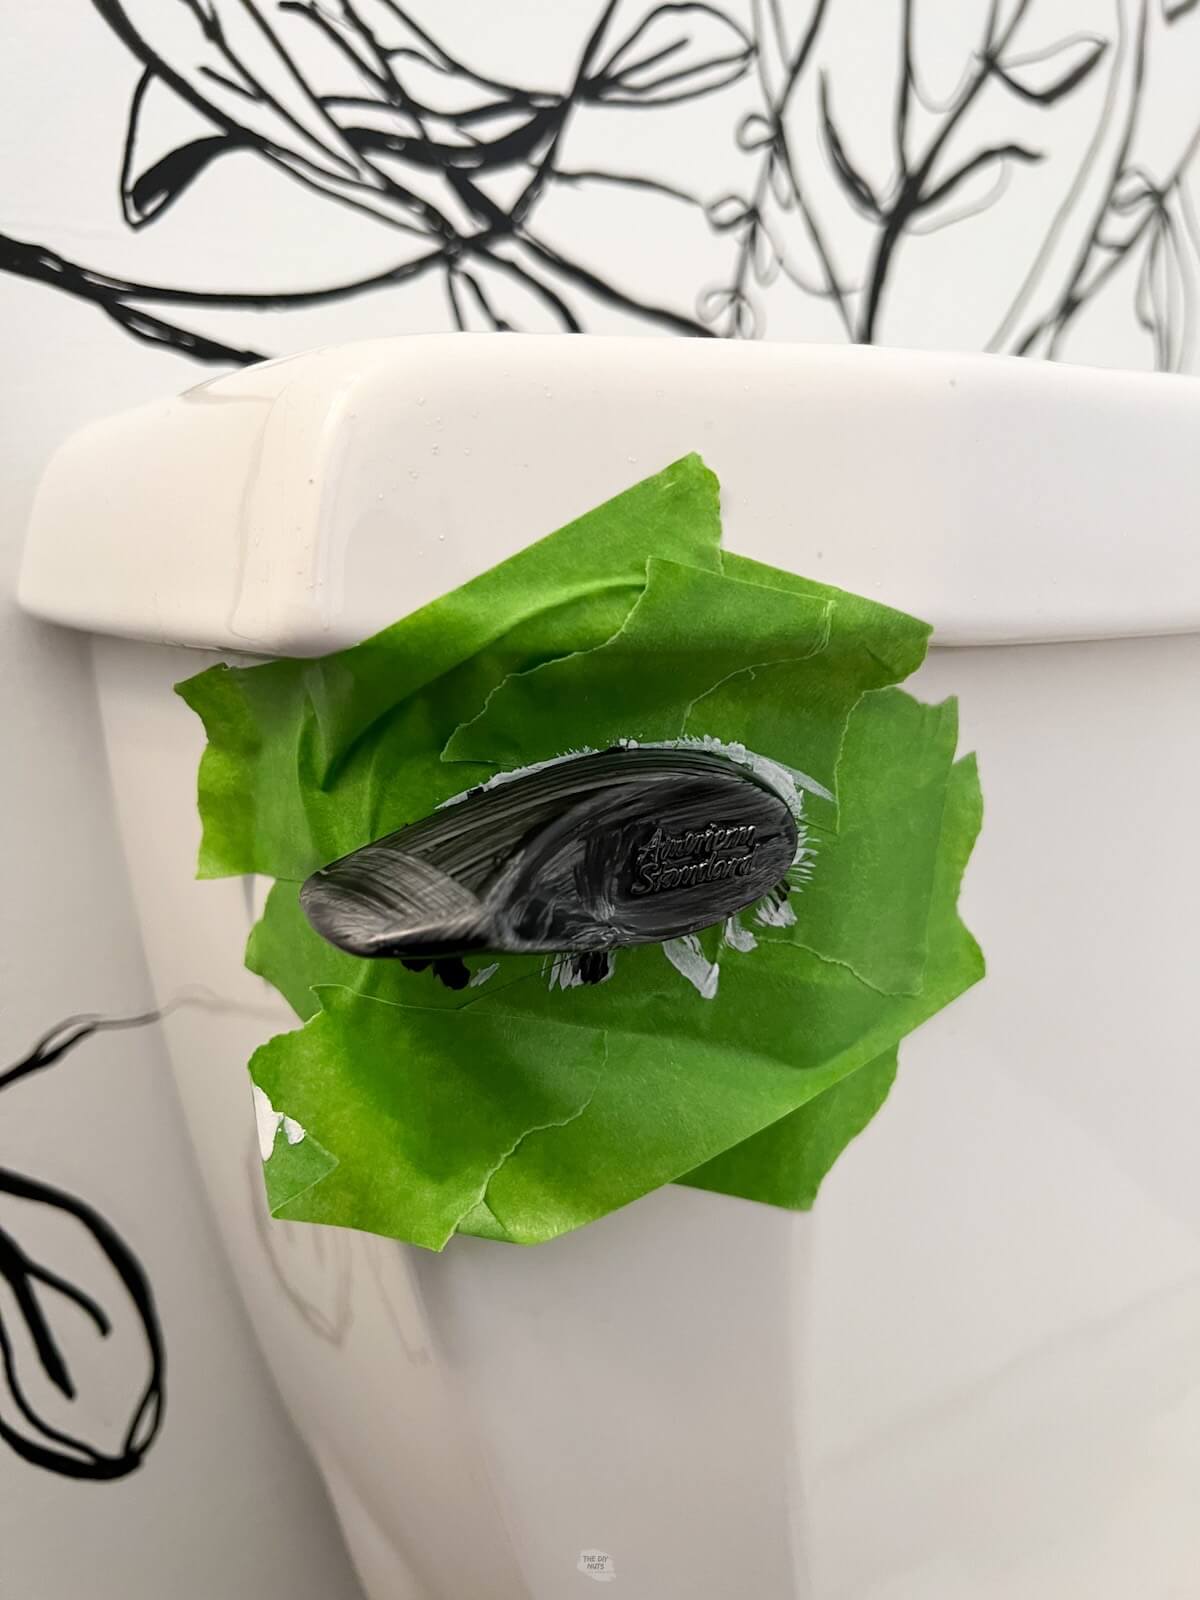
Tape the area behind the flush to protect it from any excess paint.
Step 1: Clean The Handle
You may notice gunk on your handle. You want your surface to be as clean and grime free as possible before applying primer and paint.
Step 2: Light Scuff & Degloss The Surface
Use extra fine sandpaper or a green Scotchbrite pad to scuff the surface. Wipe down the handle with a deglossser on a rag. You will want to wear gloves for this step.
Make sure to let the handle completely dry before adding primer.
Step 3: Prime Your Handle
You can use a regular brush or foam brush to apply primer to your toilet flush. The most important part is to make sure that you have completely covered the metal surface.
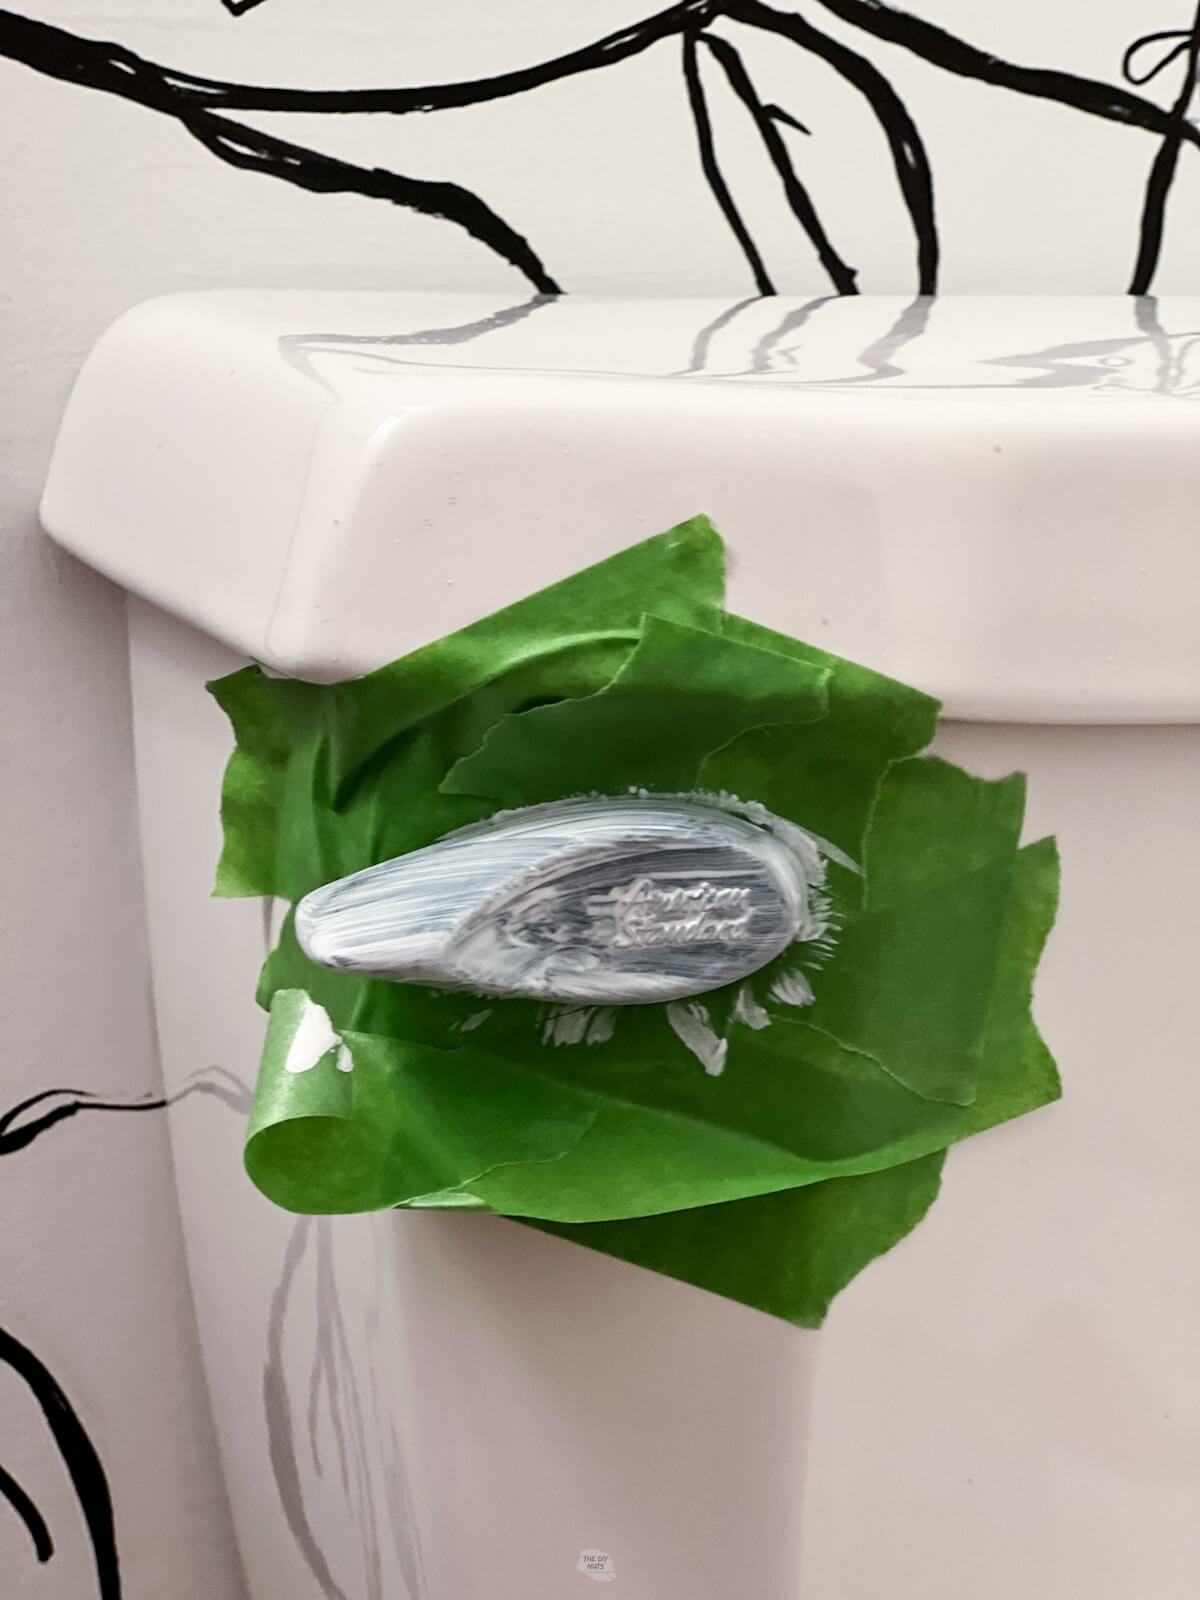
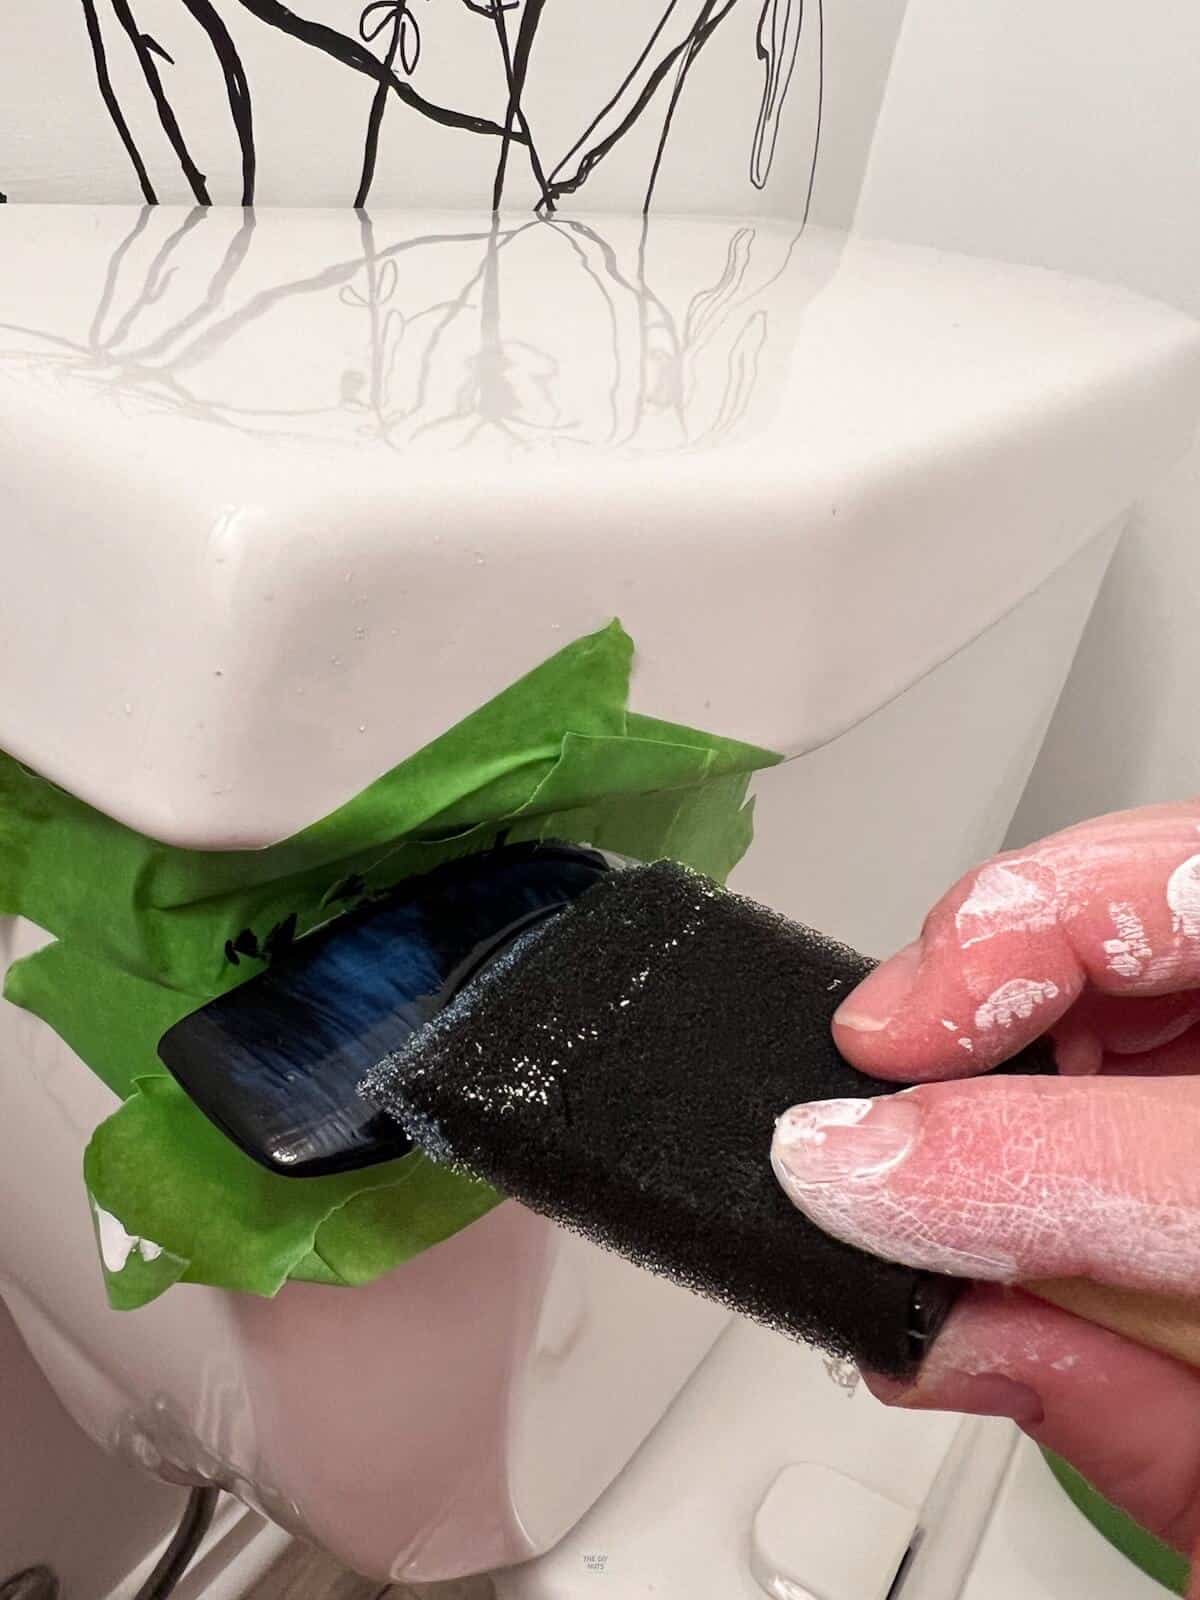
Step 4: Paint 2-3 Coats of Paint
Once the primer is dry, you can add your first layer of paint. Let dry and continue to paint 3 coats of paint.
Step 5: Add Topcoat
Let the paint fully dry. Add at least 1 coat of topcoat. We did two coats to help better protect our handle.
Tips
- Check for paint drips, especially around wording or other places paint could get caught.
- Apply the paint in different directions for each layer.
How-To FAQs
It’s usually easiest to remove the accessory so that you can paint it more easily and thoroughly. However, if you can’t remove it, you can try taping around the edges to protect surrounding surfaces and painting it in place.
Yes, as long as the handle is made of a paintable material, such as metal or plastic.
We only did this project 3 months ago and it looks exactly the same as when we finished.
Follow us on Pinterest, YouTube or Facebook for more DIY inspiration!
Related DIYs
- How To Spray Paint Cabinet Hardware
- 27+ Cheap Bathroom DIY Projects
- 10 Stunning Bathroom Accent Wall Ideas
If you like this tutorial, please give it 5 stars below 🤩🤩🤩🤩🤩. Your support helps us continue to provide unique and budget-friendly DIYs.
How to Paint a Toilet Flush Handle for a Quick Bathroom Update
Equipment
- Paint Brush or Foam Brush
Supplies
- Deglosser
- Extra Fine Sandpaper or Green ScotchBrite Pad
- Primer
- Sherwin Williams Emerald Urethane Trim Enamel Paint
- Topcoat
Instructions
- Clean the handle to remove any grime or dirt.
- Lightly scuff the surface with sandpaper or a Scotchbrite pad.
- Wipe down the surface with a deglosser.
- Apply a primer that is meant to stick to metal surfaces.
- Paint the handle with a high-quality paint in 2-3 coats.
- Add a clear topcoat to protect the paint and give it a glossy finish.
Notes
- Use painter’s tape to protect surrounding areas.
- Apply the paint in different directions for each layer to avoid drips.
- Check for paint drips, especially around wording or other places paint could get caught.
- A good polyacrylic will also work as a protective coat.