How To Paint A Door (Easy DIY Tutorial)

A fresh coat of paint on those doors can do wonders to help any space or hallway feel fresh again. Your doors are probably dirtier and dingier than you think. Use our tutorial to learn how to easily paint doors using a roller and brush.

*Disclosure: I only recommend products I would use myself and all opinions expressed here are our own. This post may contain affiliate links that at no additional cost to you, I may earn a small commission. Read our full privacy policy.
Our Doors
For interior doors, a high-quality, self-leveling paint like Benjamin Moore Pro Advance, Sw Proclassic or Sherwin Willaims Urethane Trim Enamel paint will work well.
For reference, we are painting the interior door with Proclassic in Pure White. If we did not have the leftover paint, we would use the Emerald Urethane Trim Enamel paint for its self-leveling capabilities. But no need to buy new paint when you have some sitting in your stash!
We are using Proclassic because that is the paint we had leftover from other projects. Pure White matches the painted molding & doors when we did our basement makeover.
Recommended Supplies

- 220 Sandpaper
- Painter’s Tape
- Deglosser
- Old Rag
- Latex Enamel Paint such as Sherwin Willams Urethane Trim Enamel Paint or Benjamin Moore Pro Advance
- Small Foam Roller & Handle (here is why we think a small foam roller is best for cabinet painting and more)
- Synthetic Paintbrush
- Small paint tray
- Optional: Wood filler and/or
Note that any time you are painting a previously painted surface your old paint may contain lead. Please take proper safety precautions when working on your particular situation. You can always buy a test kit before sanding the surface.
Before You Begin
There are two ways to paint a door. You can paint it while on the hinges and propped open or take it off and place it on sawhorses.
In this post, we will show images of painting our interior door from our basement bathroom remodel. We chose to place this door on sawhorses since we needed to remove it due to the other DIY bathroom projects like installing peel-and-stick flooring.

If you are painting a door without removing make sure to properly cover the floor and other areas. You also want to make sure you have the door propped open so that it can dry properly.
Other Ways To Prep The Door & Area
- Use painter’s tape to cover areas such as hinges you don’t want to be painted. You can tape them and then use an X-acto knife to cut a precise shape.
- Place the door on sawhorses or prop open. If propping open, cover the floor with a drop cloth or cardboard.
We think it is the easiest to take the door off the hinges and place it on sawhorses for painting interior doors. For exterior doors, propping and painting on the hinges is best.

Cover Areas
No matter which methods you will want to remove or tape out anything you don’t want to be painted. That could include door knobs, handles, hinges, or a peephole.
Step-by-Step Instructions
Step 1: Sand The Surface
Lightly sand the surface using fine or extra fine sandpaper (220 worked well for us). If needed you may also need to fill spots with wood filler and sand those smooth.

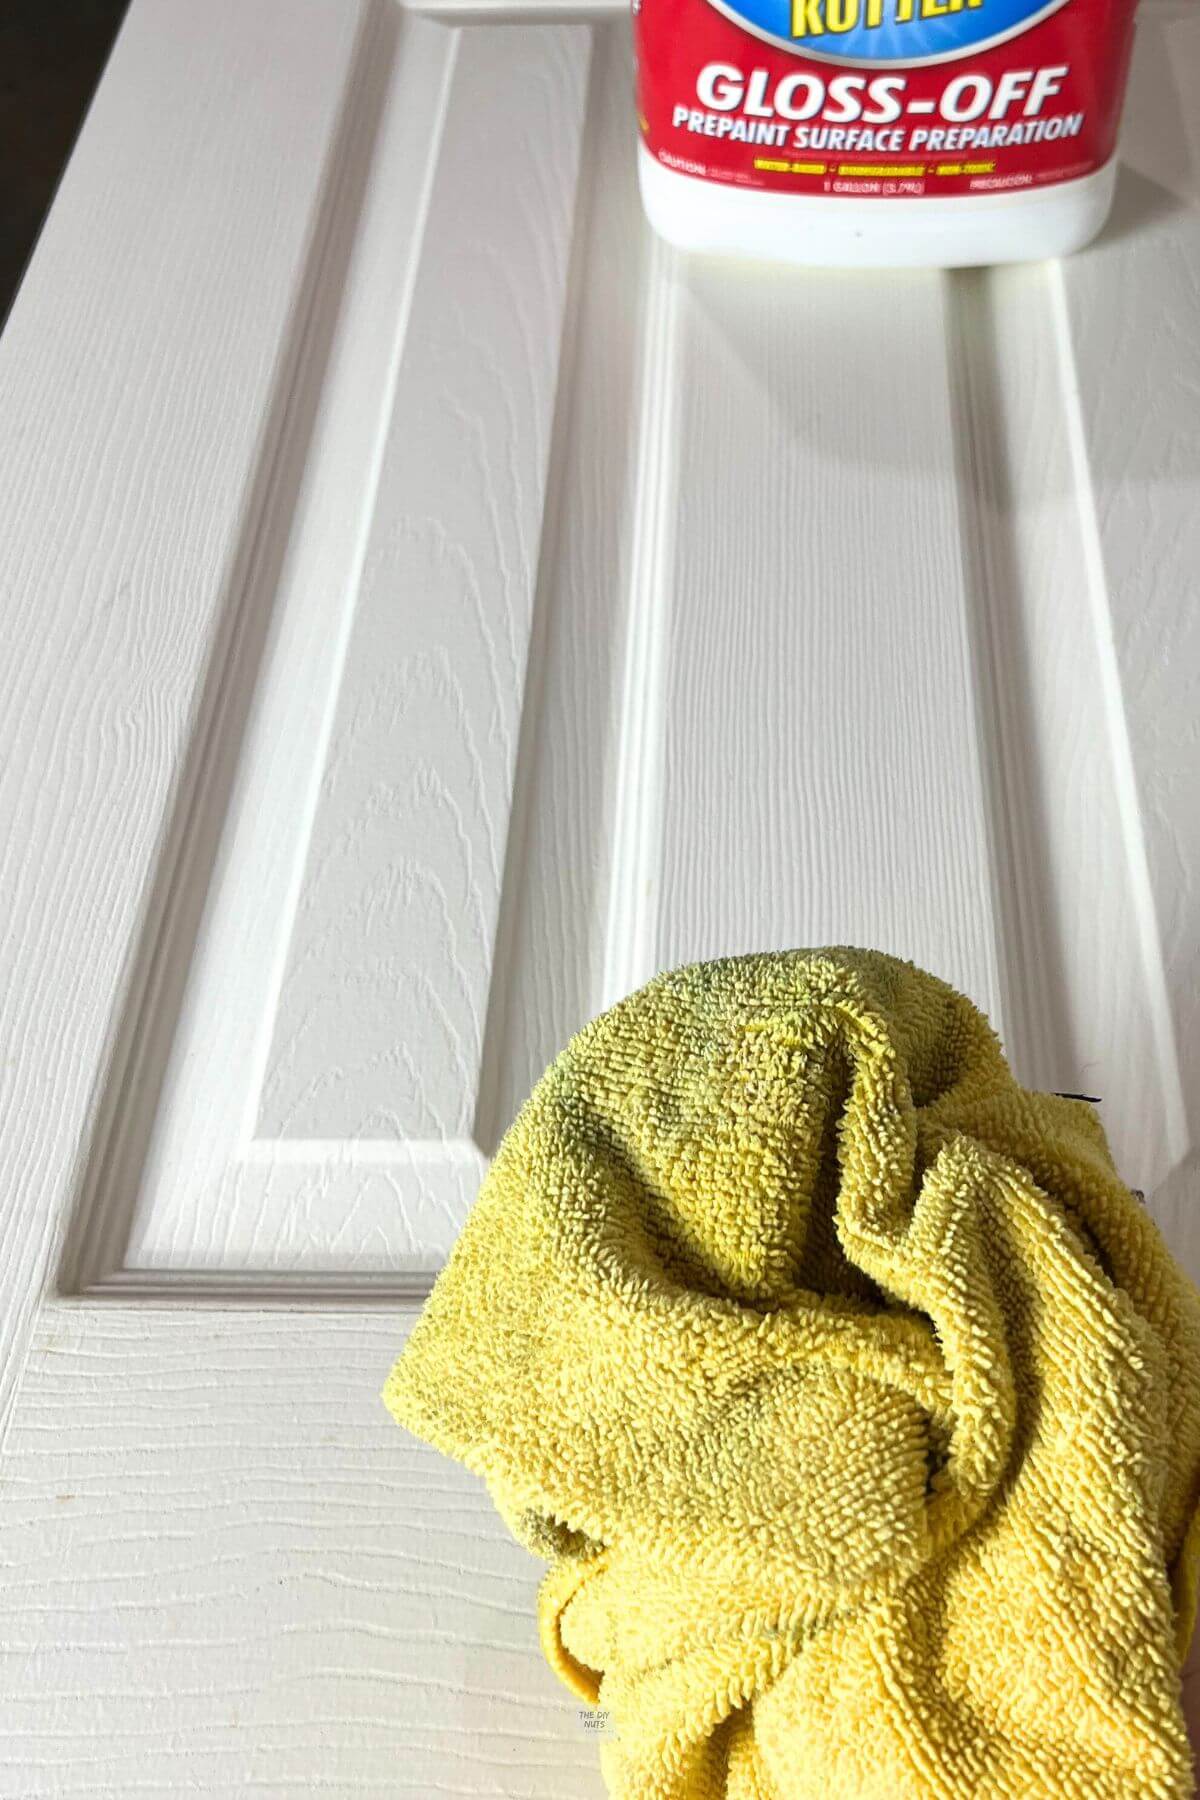
Step 2: Wipe Down With Deglosser
Wipe down with a deglosser. Make sure to wear gloves and use a rag to help ensure that your door is dust and grime free. Let the deglosser fully dry before starting to paint.
Optional: Prime Your Door
Our doors were already painted and in decent shape so we did not have to prime them. Just like when repainting any wood or metal, you may or may not need to prime. Use the list below to find out if you need to prime yours first.
You only need to prime your door if:
- You are painting over oil-based paint with a water-based one. You can test a small area of the paint by rubbing denatured alcohol on a cotton ball to see if the paint comes off.
- The original surface is too glossy.
- The quality of the original paint job is sloppy.
- Going from a dark color to a very light one-priming may save you on the coats of paint you need
- The new paint does not seem to adhere to the surface.
- Your door is new or stained wood.
If you do need to prime, you can follow the same order as the paint steps listed below. Make sure to allow proper dry time before starting to paint and start with a clean brush and roller when you switch materials.
You don’t need to prime your door if:
- Your door is pre-primed. The white doors in our house are the basic premade doors you can buy with a layer of primer on them.
- You are using latex paint on top of latex paint. In our case, you are seeing Proclassic over pre-primed door.

- Paint Outside Edge
- Paint inside panels
- Paint the vertical panel in the middle
- Paint across horizontal panels on your door
- Paint outside vertical panels
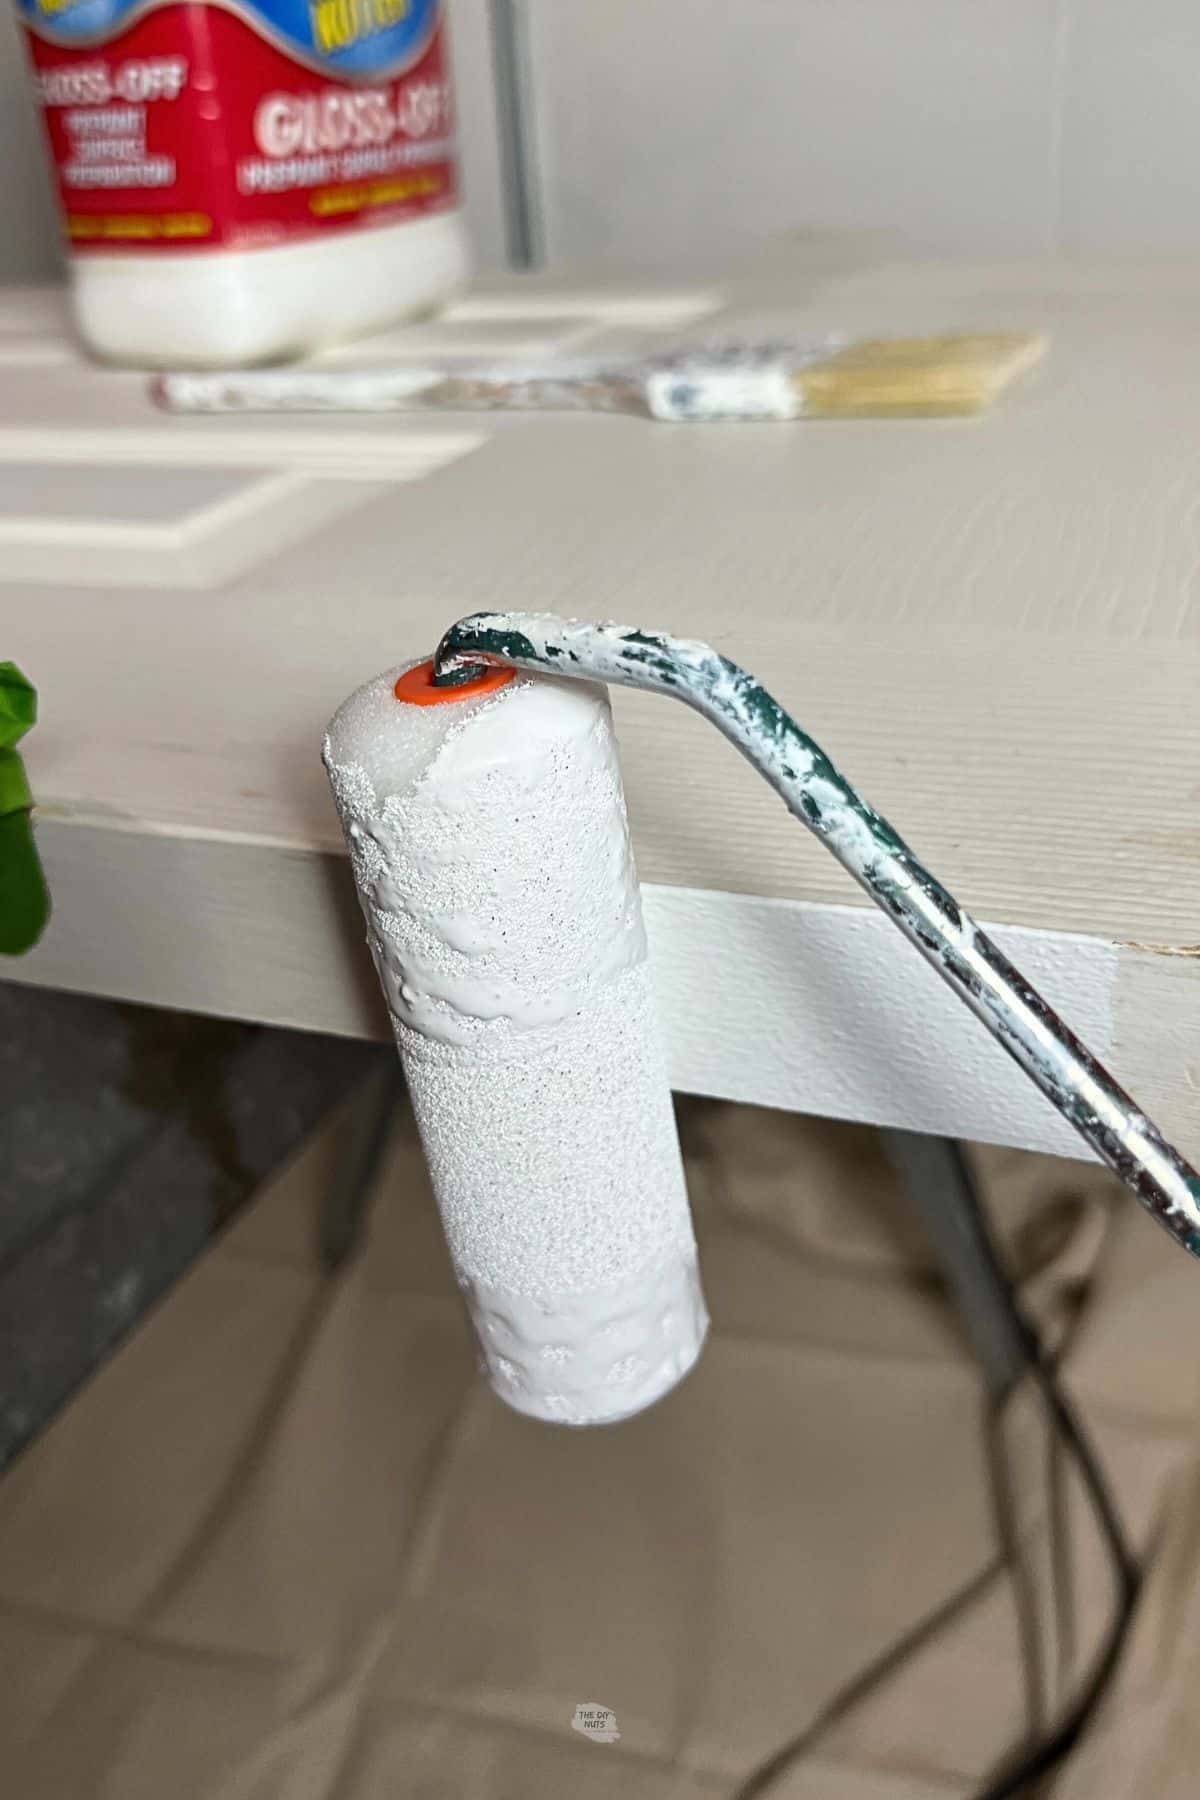
Step 3: Paint The Edges Of The Door
Most likely if you are painting both sides of the door you are going to paint the edges. If painting the edges of your doors, use a roller there first.
If you are only painting one side, like our black door, then you may not need to paint the edges. It is a personal preference on what color the edges or your door are when you have a different color on the front and the back.
Step 4: Paint Interior Panels
Use a brush to do interior ridges in panels.

Then smooth it out with a small foam roller.

Make sure to paint in a thin layer and not apply the paint too heavily.
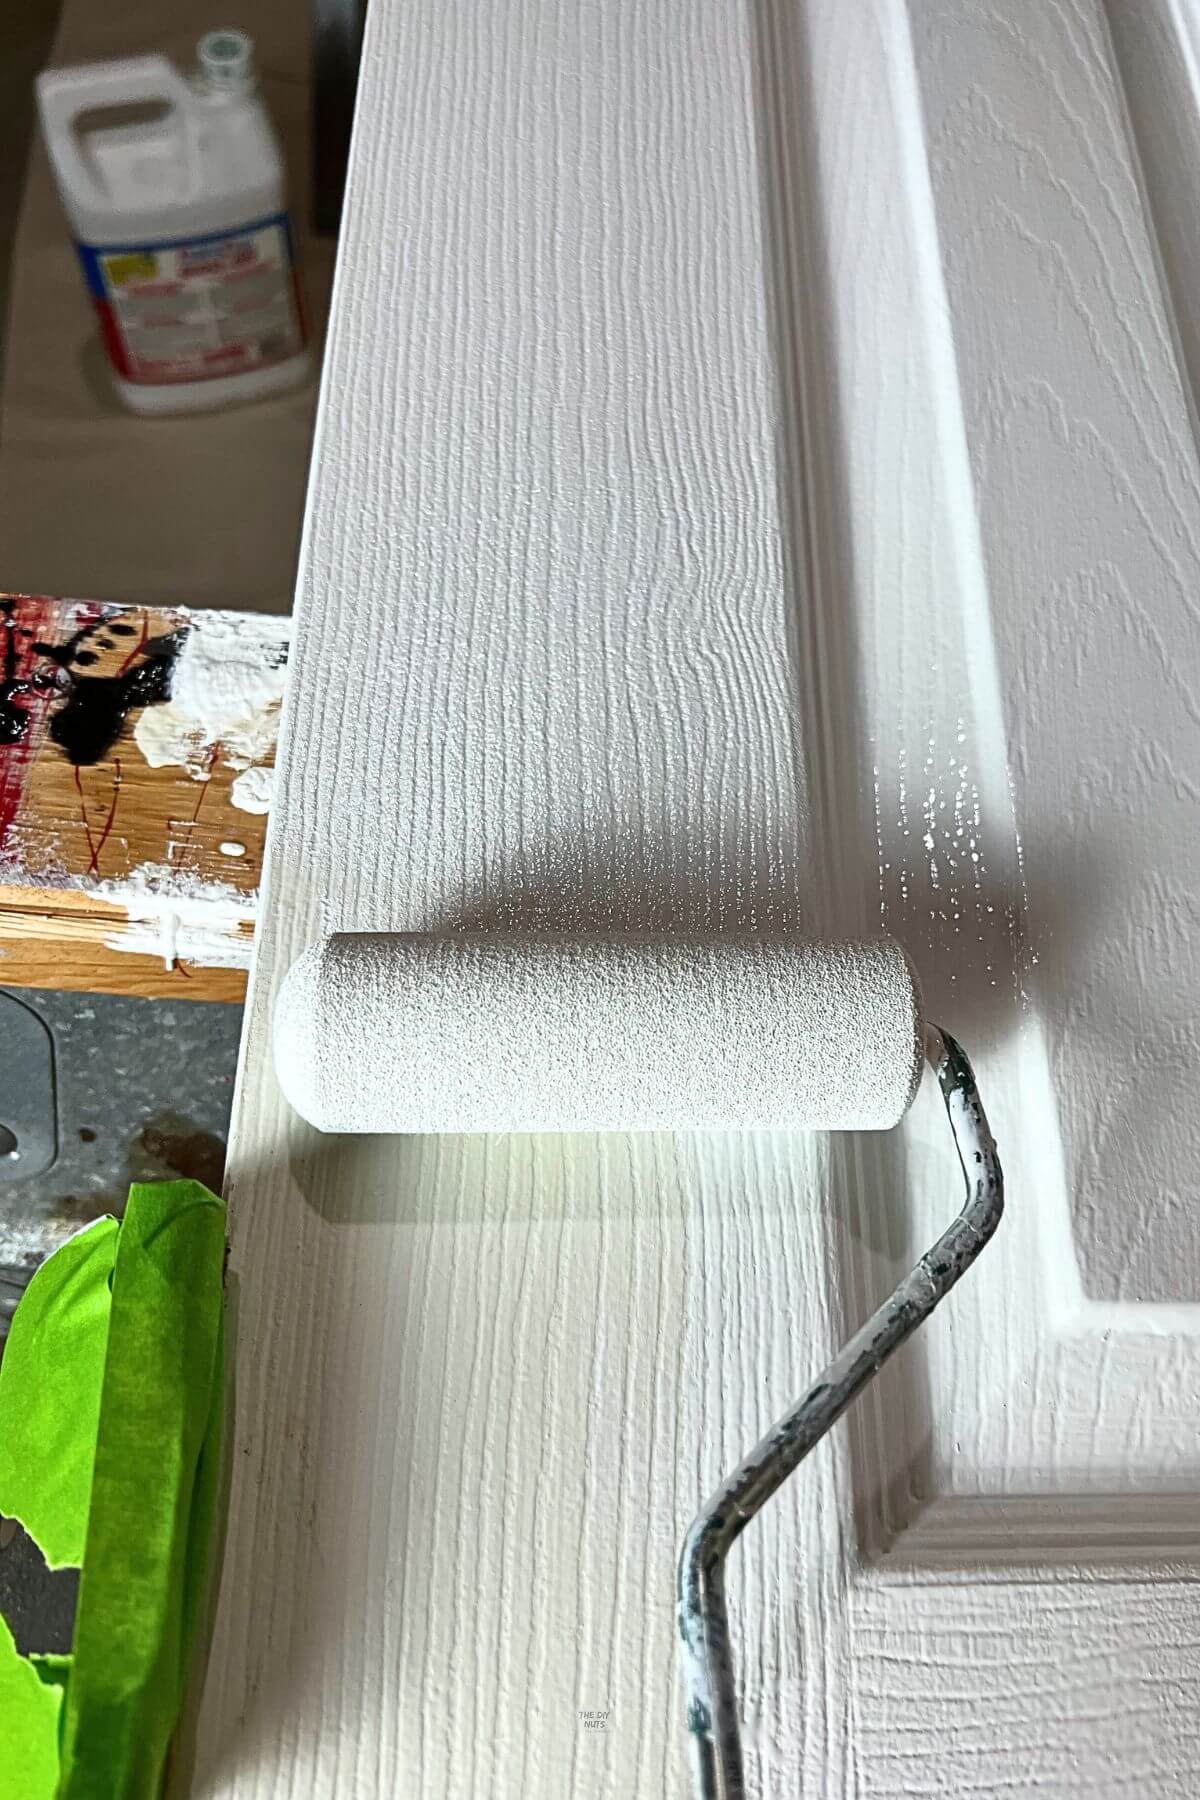
Step 5: Paint Vertical Middle Panel

Step 6: Paint The Horizontal Panels

Step 7: Paint Outside Vertical Panels
Step 8: Let Thin Layer Dry
Step 9: Paint 2-3 More Coats
Depending on what colors you are using, you may need to repeat steps 4-8 for 1-2 more layers.
Step 10: Let Dry
Step 11: Remove The Tape
Remove the tape carefully. If any areas didn’t come out perfectly you can always take a small brush and clean up the paint lines.
Step 12: Install Door and Hardware
If you removed the door, reinstall on hinges and put the doorknob back on if removed.

Tips For A Smooth Finish
- Paint in thin layers.
- Check for drips as your paint is drying. If you do have any drips a light sanding in between layers can help get a smoother finish.
Follow us on Pinterest, YouTube or Facebook for more DIY inspiration!
How-To FAQs
You may need to prime the door if the previous paint job was done with oil paint, going from a dark to light color, the previous paint job was sloppy, and the new paint seems to not adhere or work with new or stained wood. Depending on your specific situation priming may ensure better adhesion, a smoother finish, and reduces the number of paint coats needed.
No, you can carefully paint interior doors while on the hinges. While it may seem easier you will have to be extra careful when painting for best results. Taking the door off its hinges before painting offers a smoother process and better access, especially for larger doors. However, painting the door while hung is feasible with careful preparation using painter’s tape and wedging it open slightly. Consider convenience, space, skill level, and the number of doors. Both methods can work well, but removing the door allows for a more manageable painting experience and better results.
For interior doors, you should paint with a type of paint meant for cabinet and trim. A high-quality paint will allow your finish to last for years to come. While oil-based paints will work, there are interior acrylic enamel paint or hybrid latex and alkyd paints for easier clean-up.
Related Projects
- How To Paint Cabinets Doors: You can use some of the same materials to paint or repaint your cabinetry by hand.
- How To Paint Hardware So It Lasts
- How To Paint Your Kitchen Cabinets White
If you like this tutorial, please give it 5 stars below 🤩🤩🤩🤩🤩. Your support helps us continue to provide unique and budget-friendly DIYs.
How To Paint An Interior Door

Equipment
- Old Rag
- Synthetic Paintbrush
Supplies
- 220 Sandpaper
- Painter’s Tape
- Deglosser
- Latex Enamel Paint Sherwin Williams Urethane Trim Enamel Paint or Benjamin Moore Pro Advance
- Optional: Wood filler
Instructions
Before You Begin
- Decide if you’ll paint the door while hung or off its hinges.
- Use painter’s tape to cover hinges and other areas you don’t want to paint.
- Place the door on sawhorses or prop it open and protect the floor if you are not removing it.
Step-by-Step Instructions
- Lightly sand the surface and wipe it down with deglosser.
- Prime the door if needed (check reasons in the post).
- Paint the edges of the door first with a roller.
- Paint the interior panels using a brush and a foam roller for a smooth finish.
- Paint the vertical middle panel, then the horizontal panels, and outside vertical panels.
- Let each thin layer dry before applying 2-3 more coats if necessary.
- Remove tape carefully and touch up any imperfections with a small brush.
- Reinstall the door and hardware if removed.
Notes
- Paint in thin layers.
- Check for drips as your paint is drying. If you do have any drips a light sanding in between layers can help get a smoother finish.
- You may need to prime your door if switching from oil to water-based paint, for glossy surfaces, sloppy previous paint job, dark to light color change, or paint doesn’t adhere.