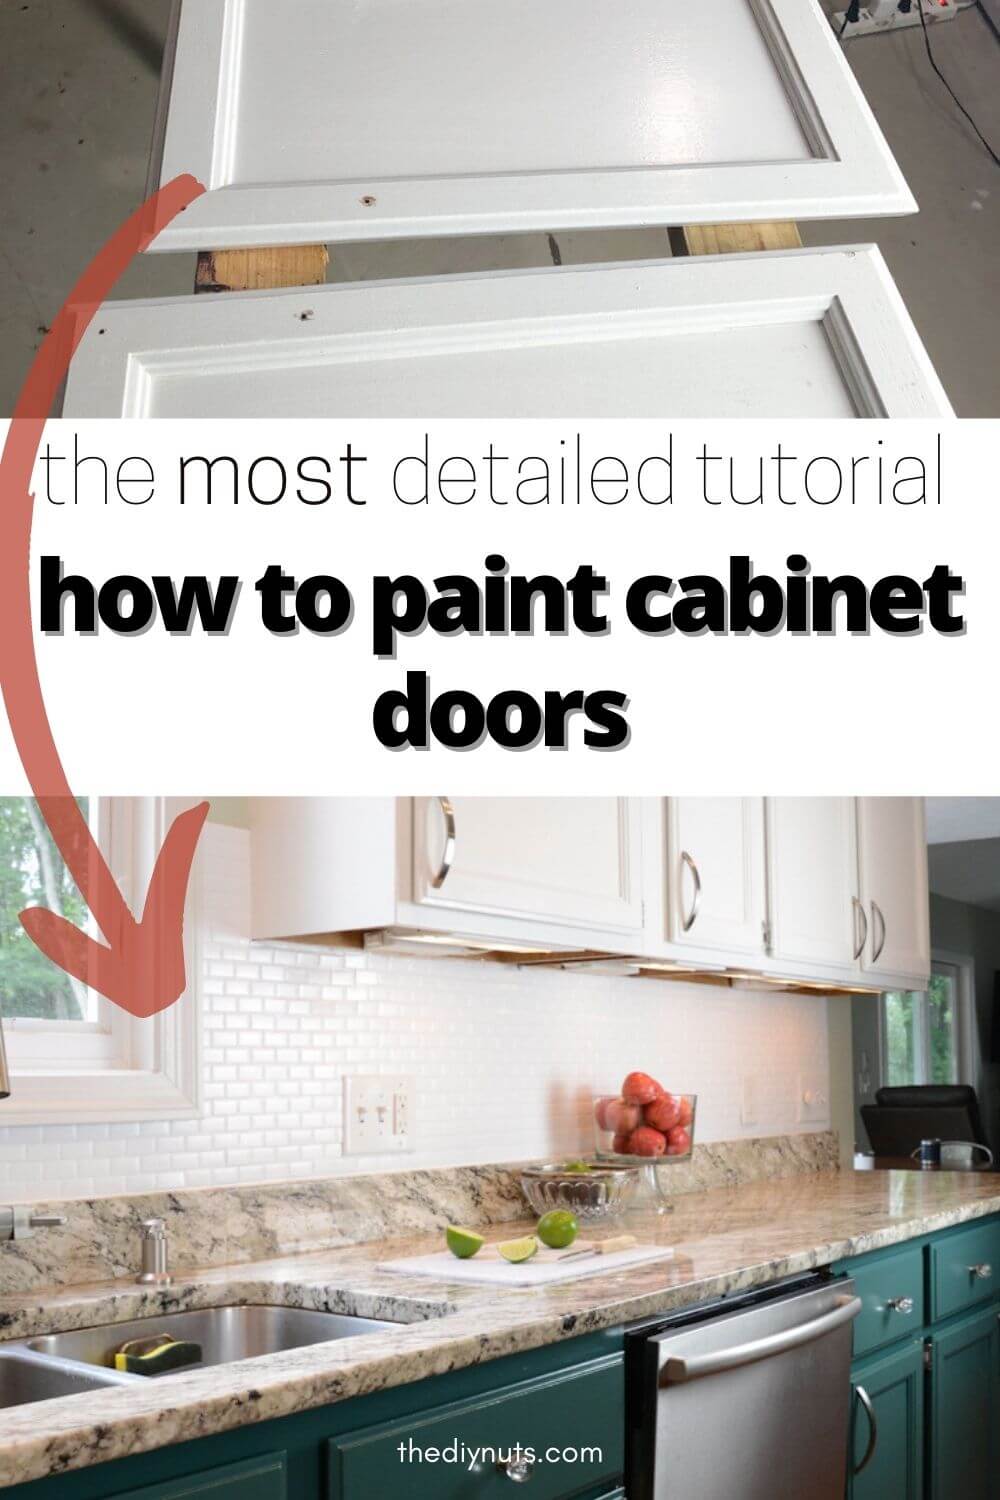
How To Easily Paint Cabinet Doors
Learn how to paint your cabinet doors successfully using a brush and a small foam roller with our easy step-by-step tutorial and video.
*Disclosure: I only recommend products I would use myself and all opinions expressed here are our own. This post may contain affiliate links that at no additional cost to you, I may earn a small commission. Read our full privacy policy.
Our DIY Cabinet Painting Projects
Recently, we have been painting or even repainting cabinets. I love the idea of adding bold colors to cabinets to help modernize your space. From our bathroom vanity makeover to now repainting our kitchen cabinets, we have a lot of experience in painting old oak cabinets.
Read More: Our Cheap DIY Kitchen Remodel Ideas
Best Paint For Cabinets
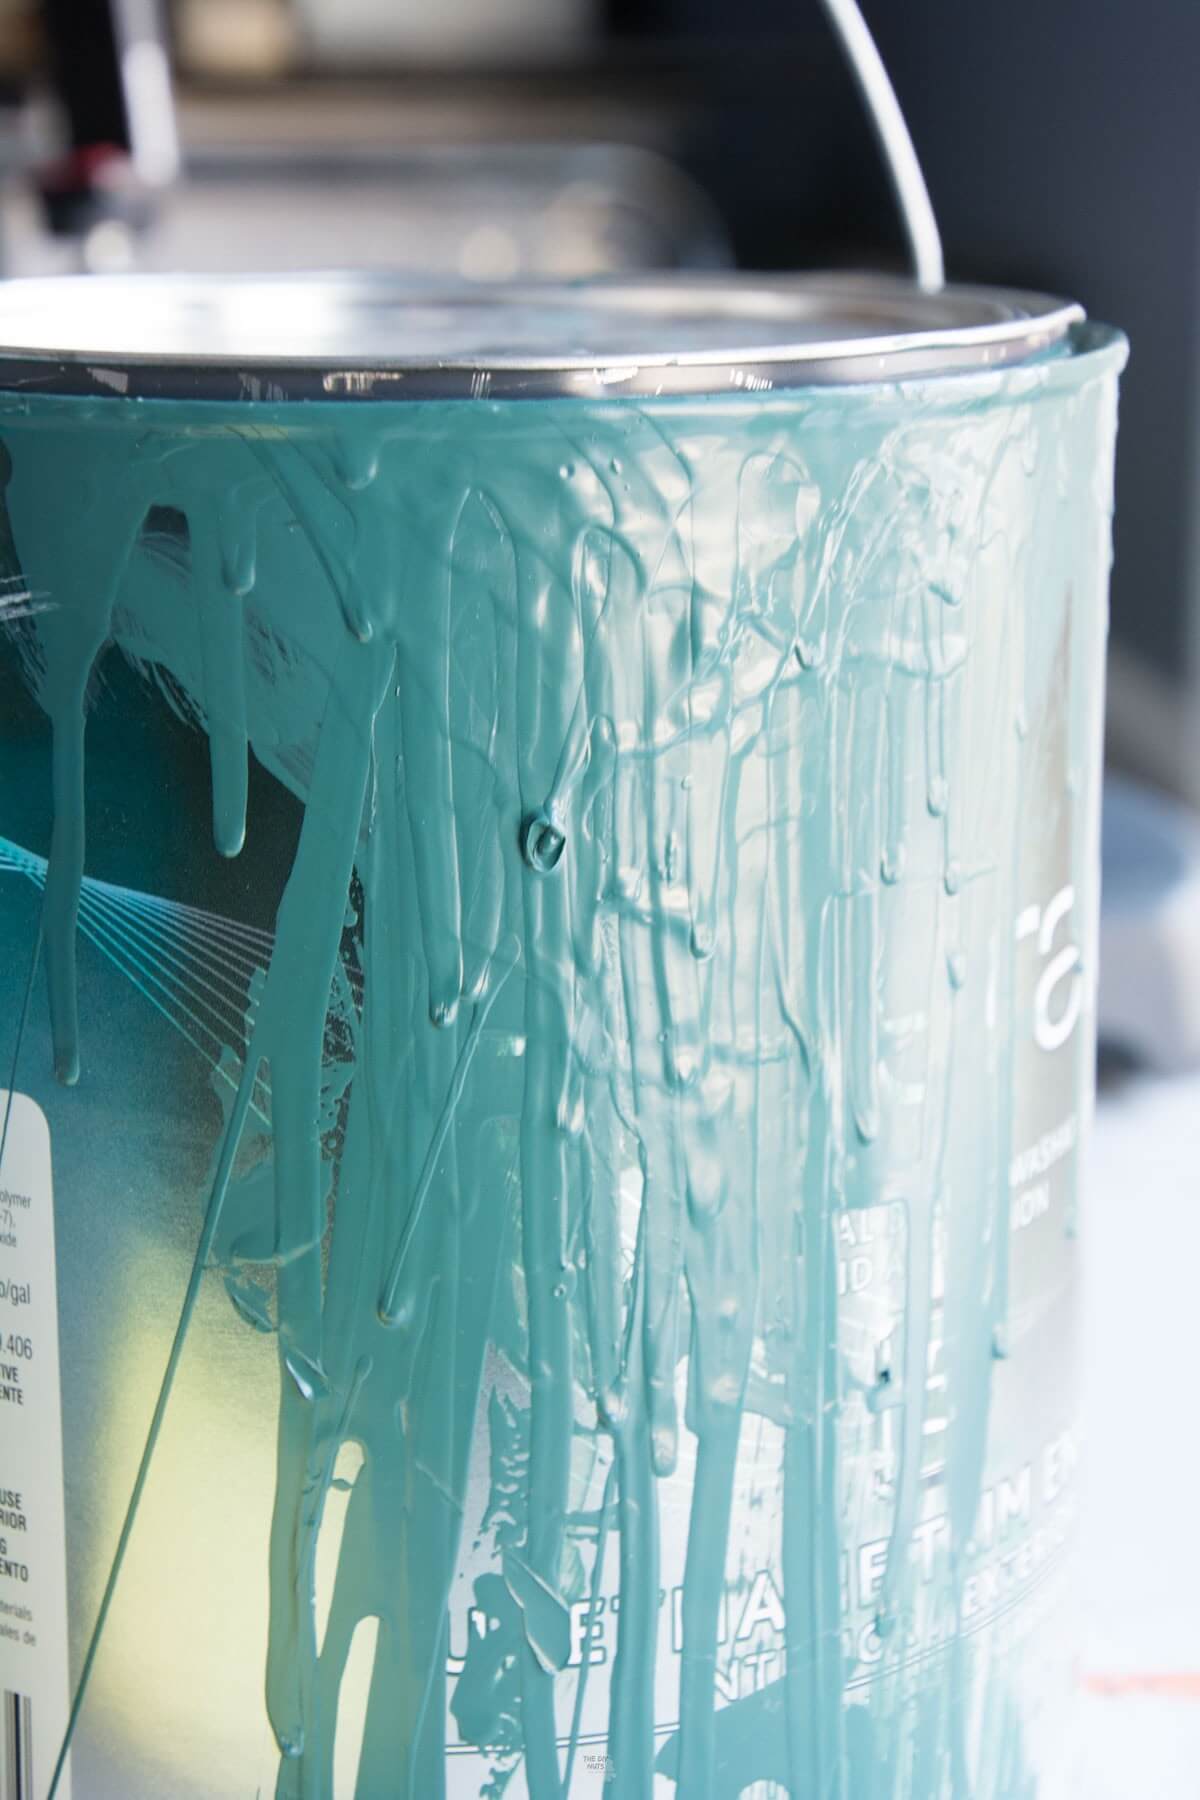
If you want more information about the types of paints to use feel free to check out this other cabinet painting post. Hands down our new favorite type of latex hybrid enamel paint is Emerald Urethane Trim Enamel from Sherwin Willaims. It will make your cabinets look brand new and the paint has self-leveling capabilities.
What finish is best?
Make sure that you get your paint in Satin, Semi-Gloss or Gloss. You want a painted surface that can be easily wiped and is durable.
Other Cabinet Paint Options
- Benjamin Moore ProAdvanced: Similar product to the SW Emerald Line
- SW Proclassic: In our opinion, does not have the same self-leveling capabilities as SW Emerald Trim Enamel
- Behr Latex Trim Enamel: This is a more economical paint but is not as thick and durable as the options above.
We have also had success with SW Proclassic Line and Behr Latex Enamel like when we painted our oak railing.
Before And Afters
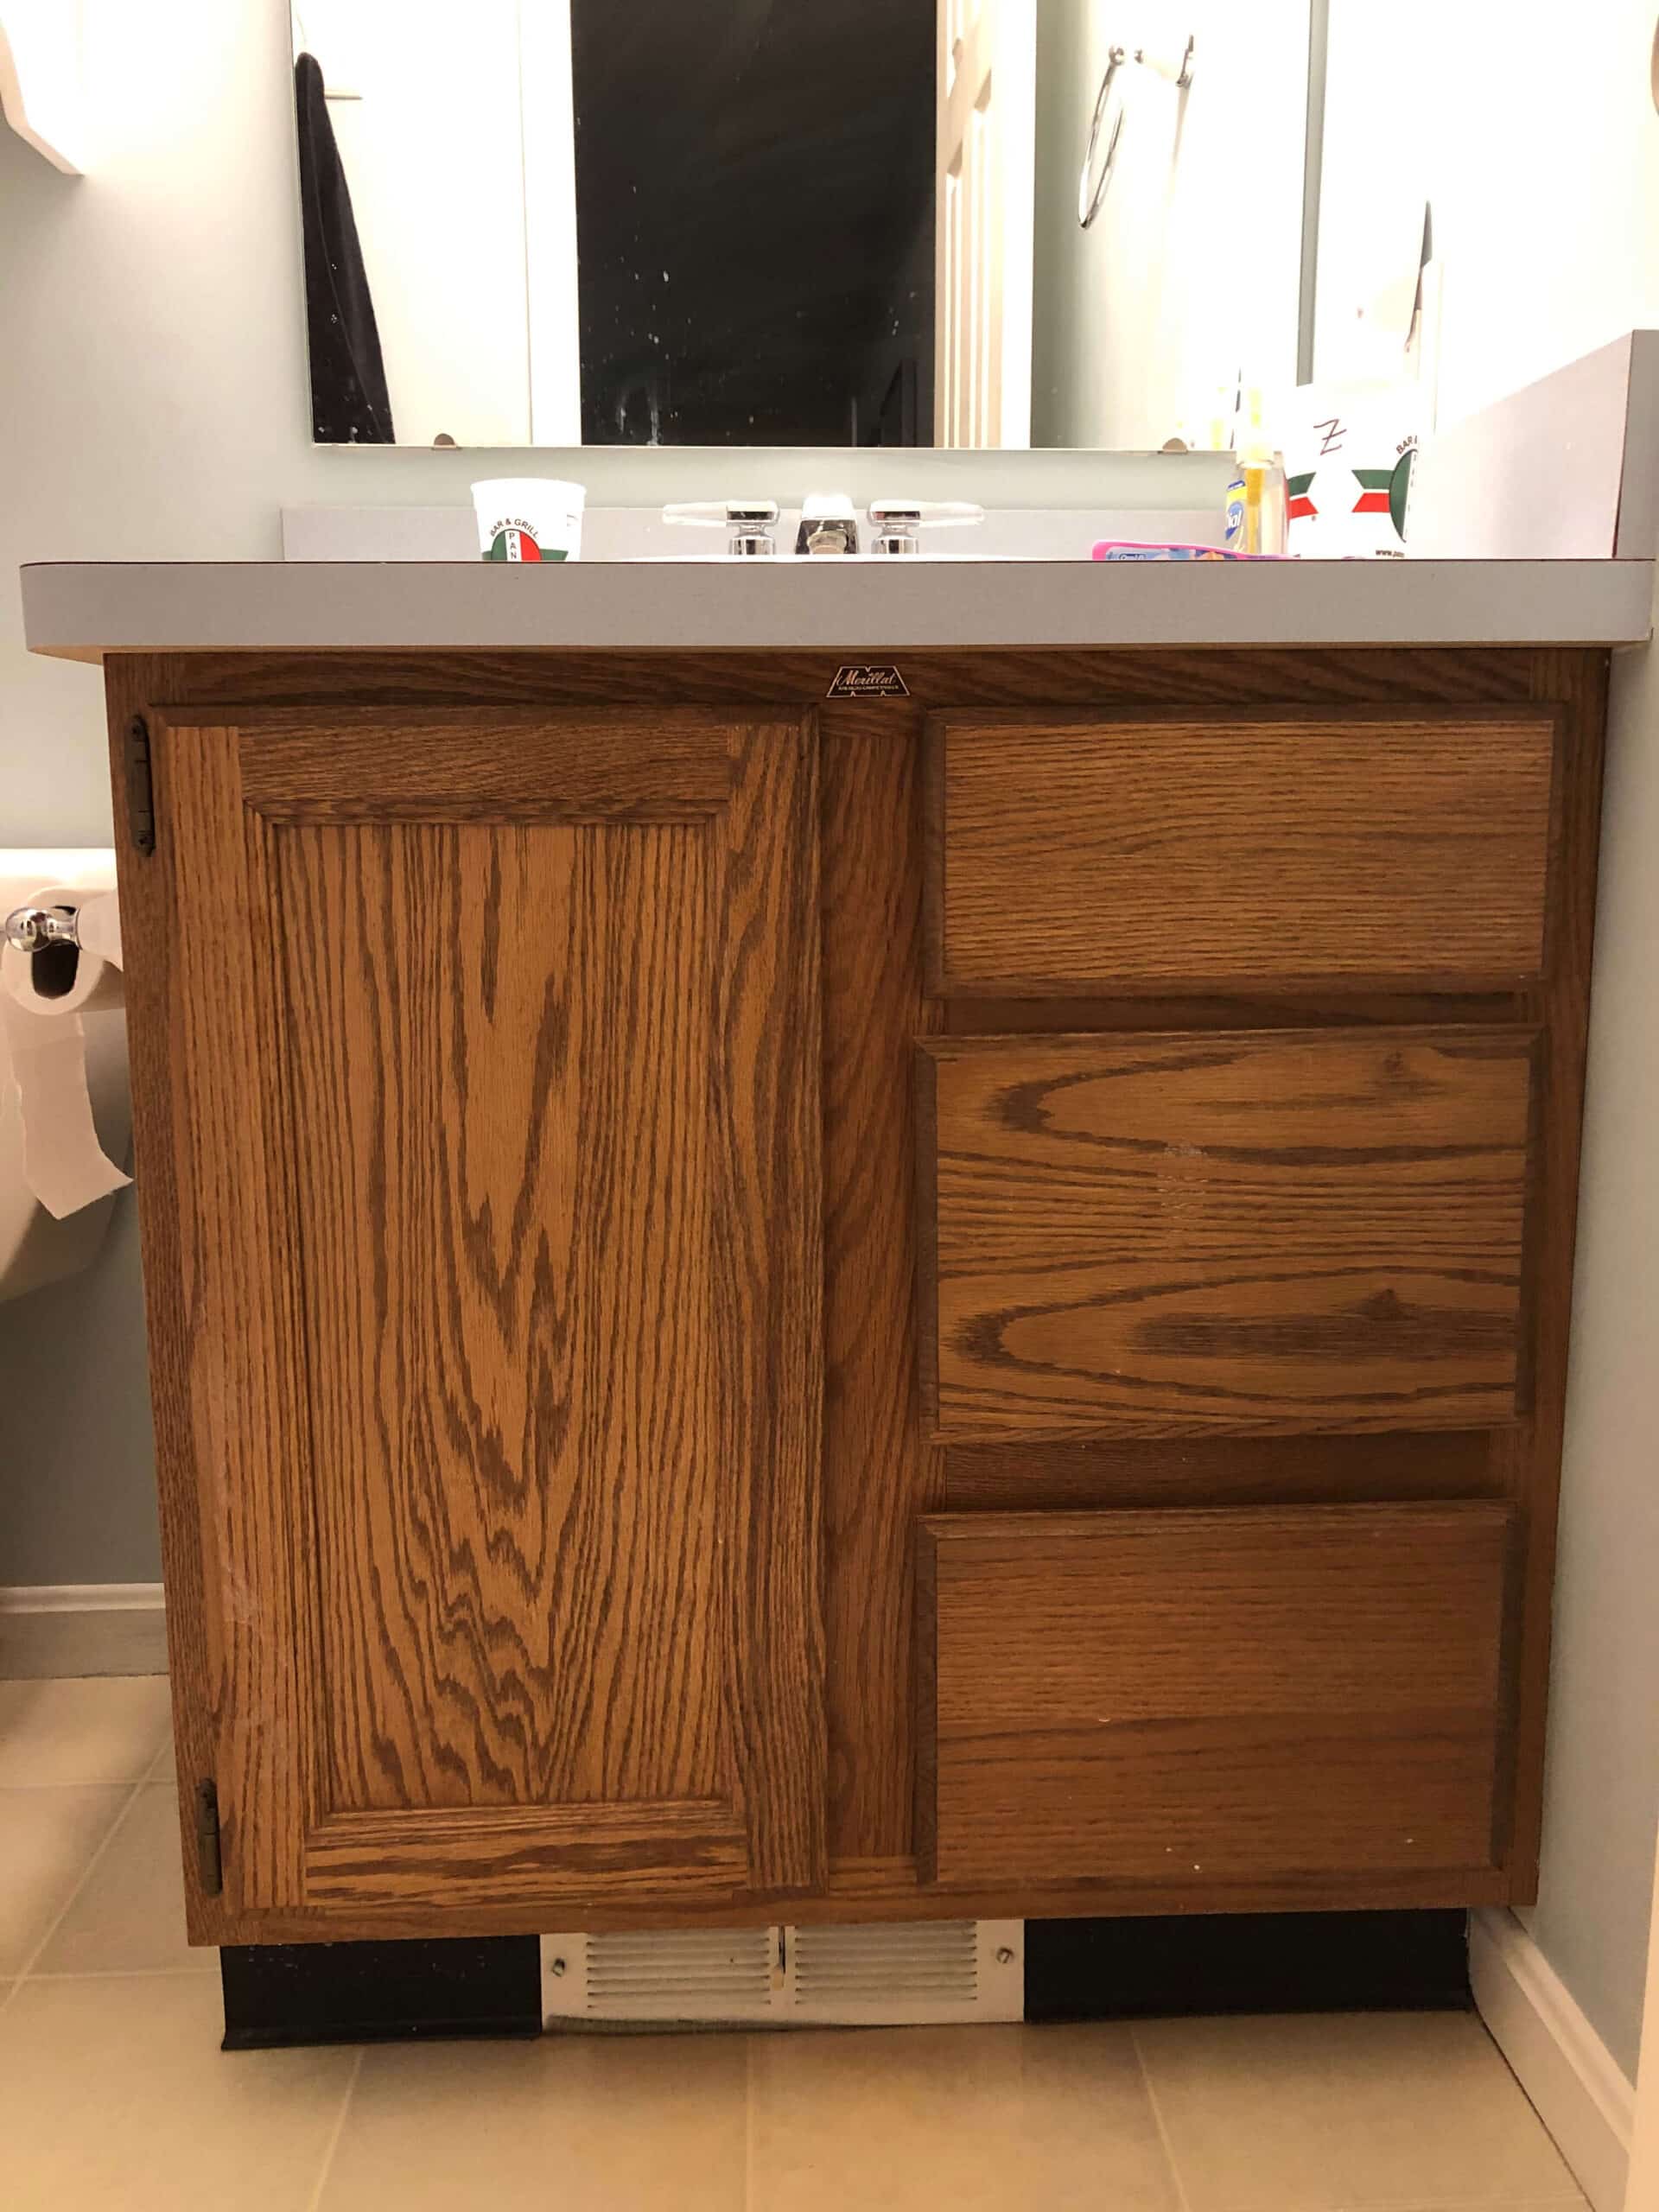
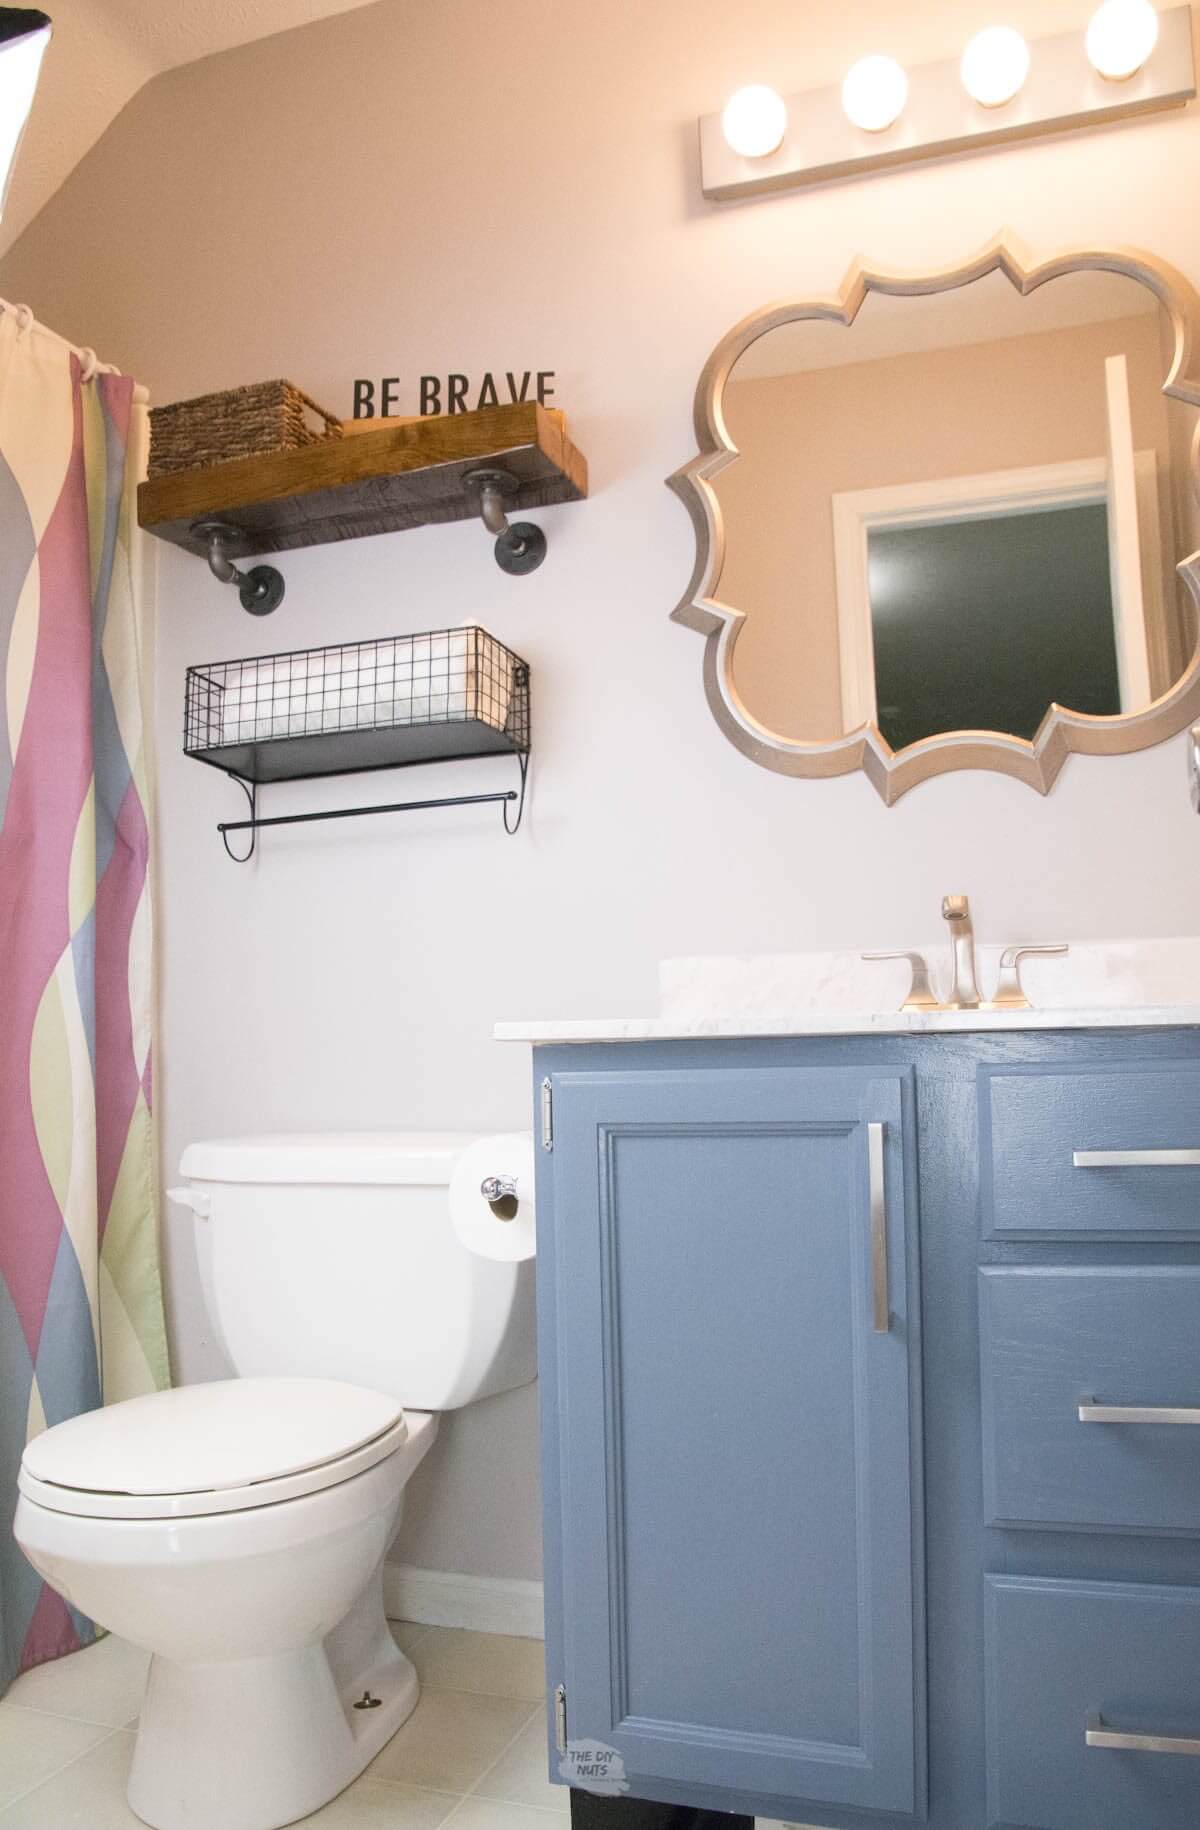
Bathroom Cabinet Doors
The after picture of this bathroom vanity was primed and painted using Behr Charcoal Blue.
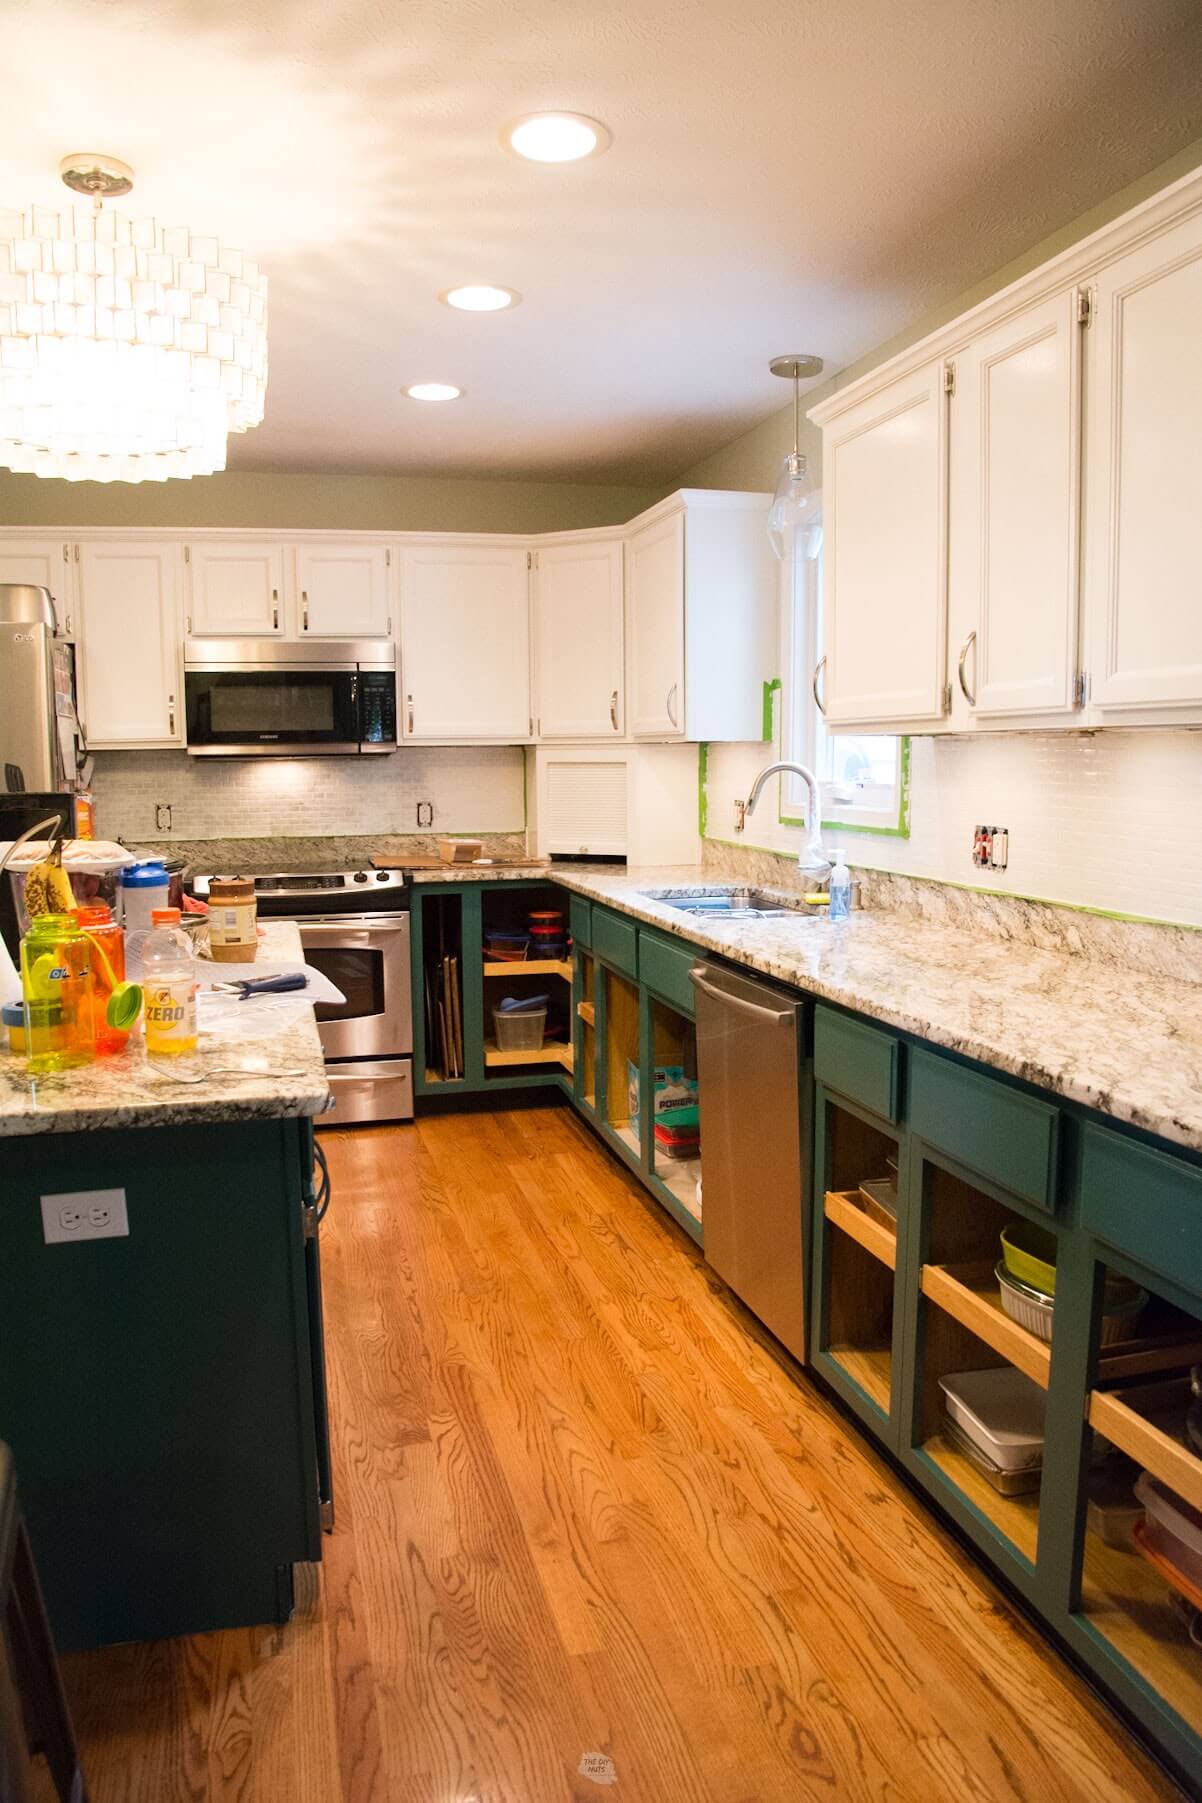
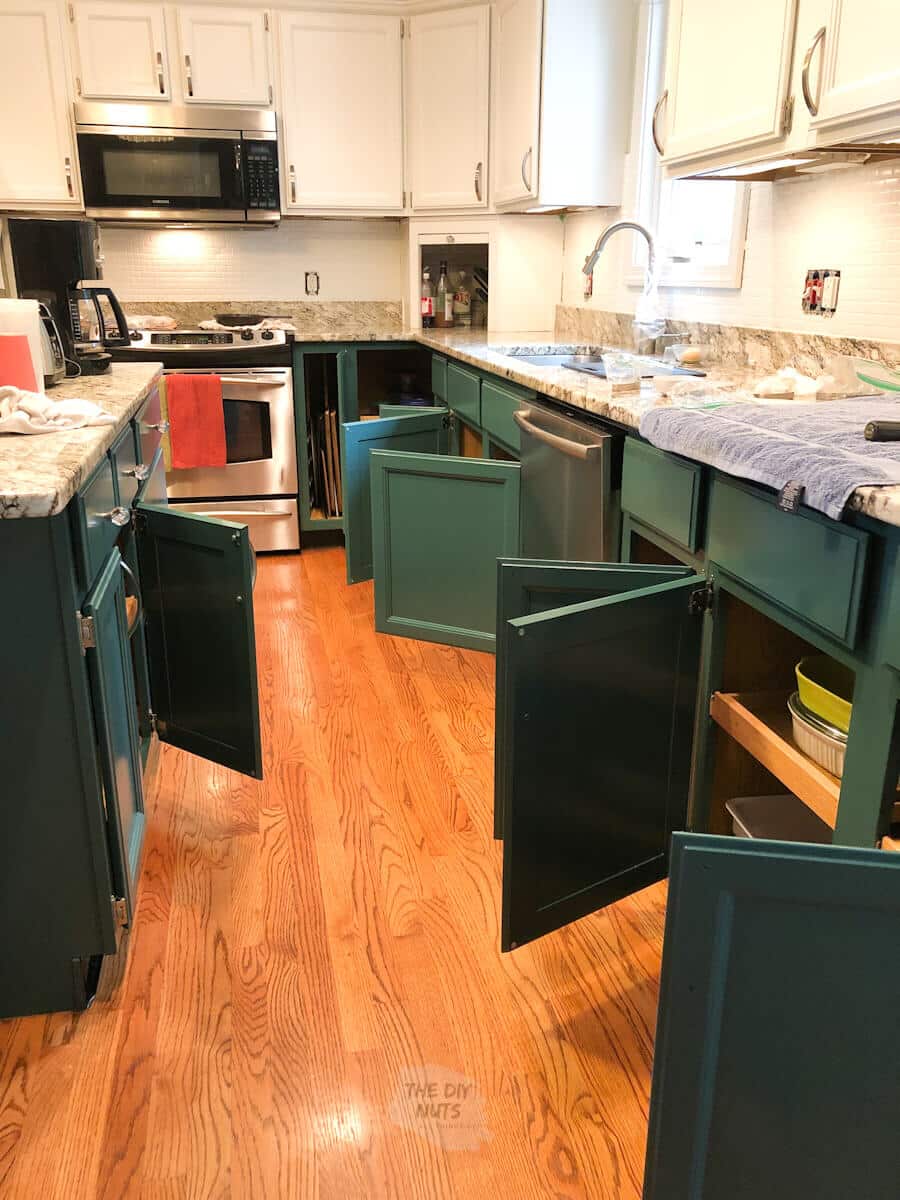
Kitchen Cabinet Doors
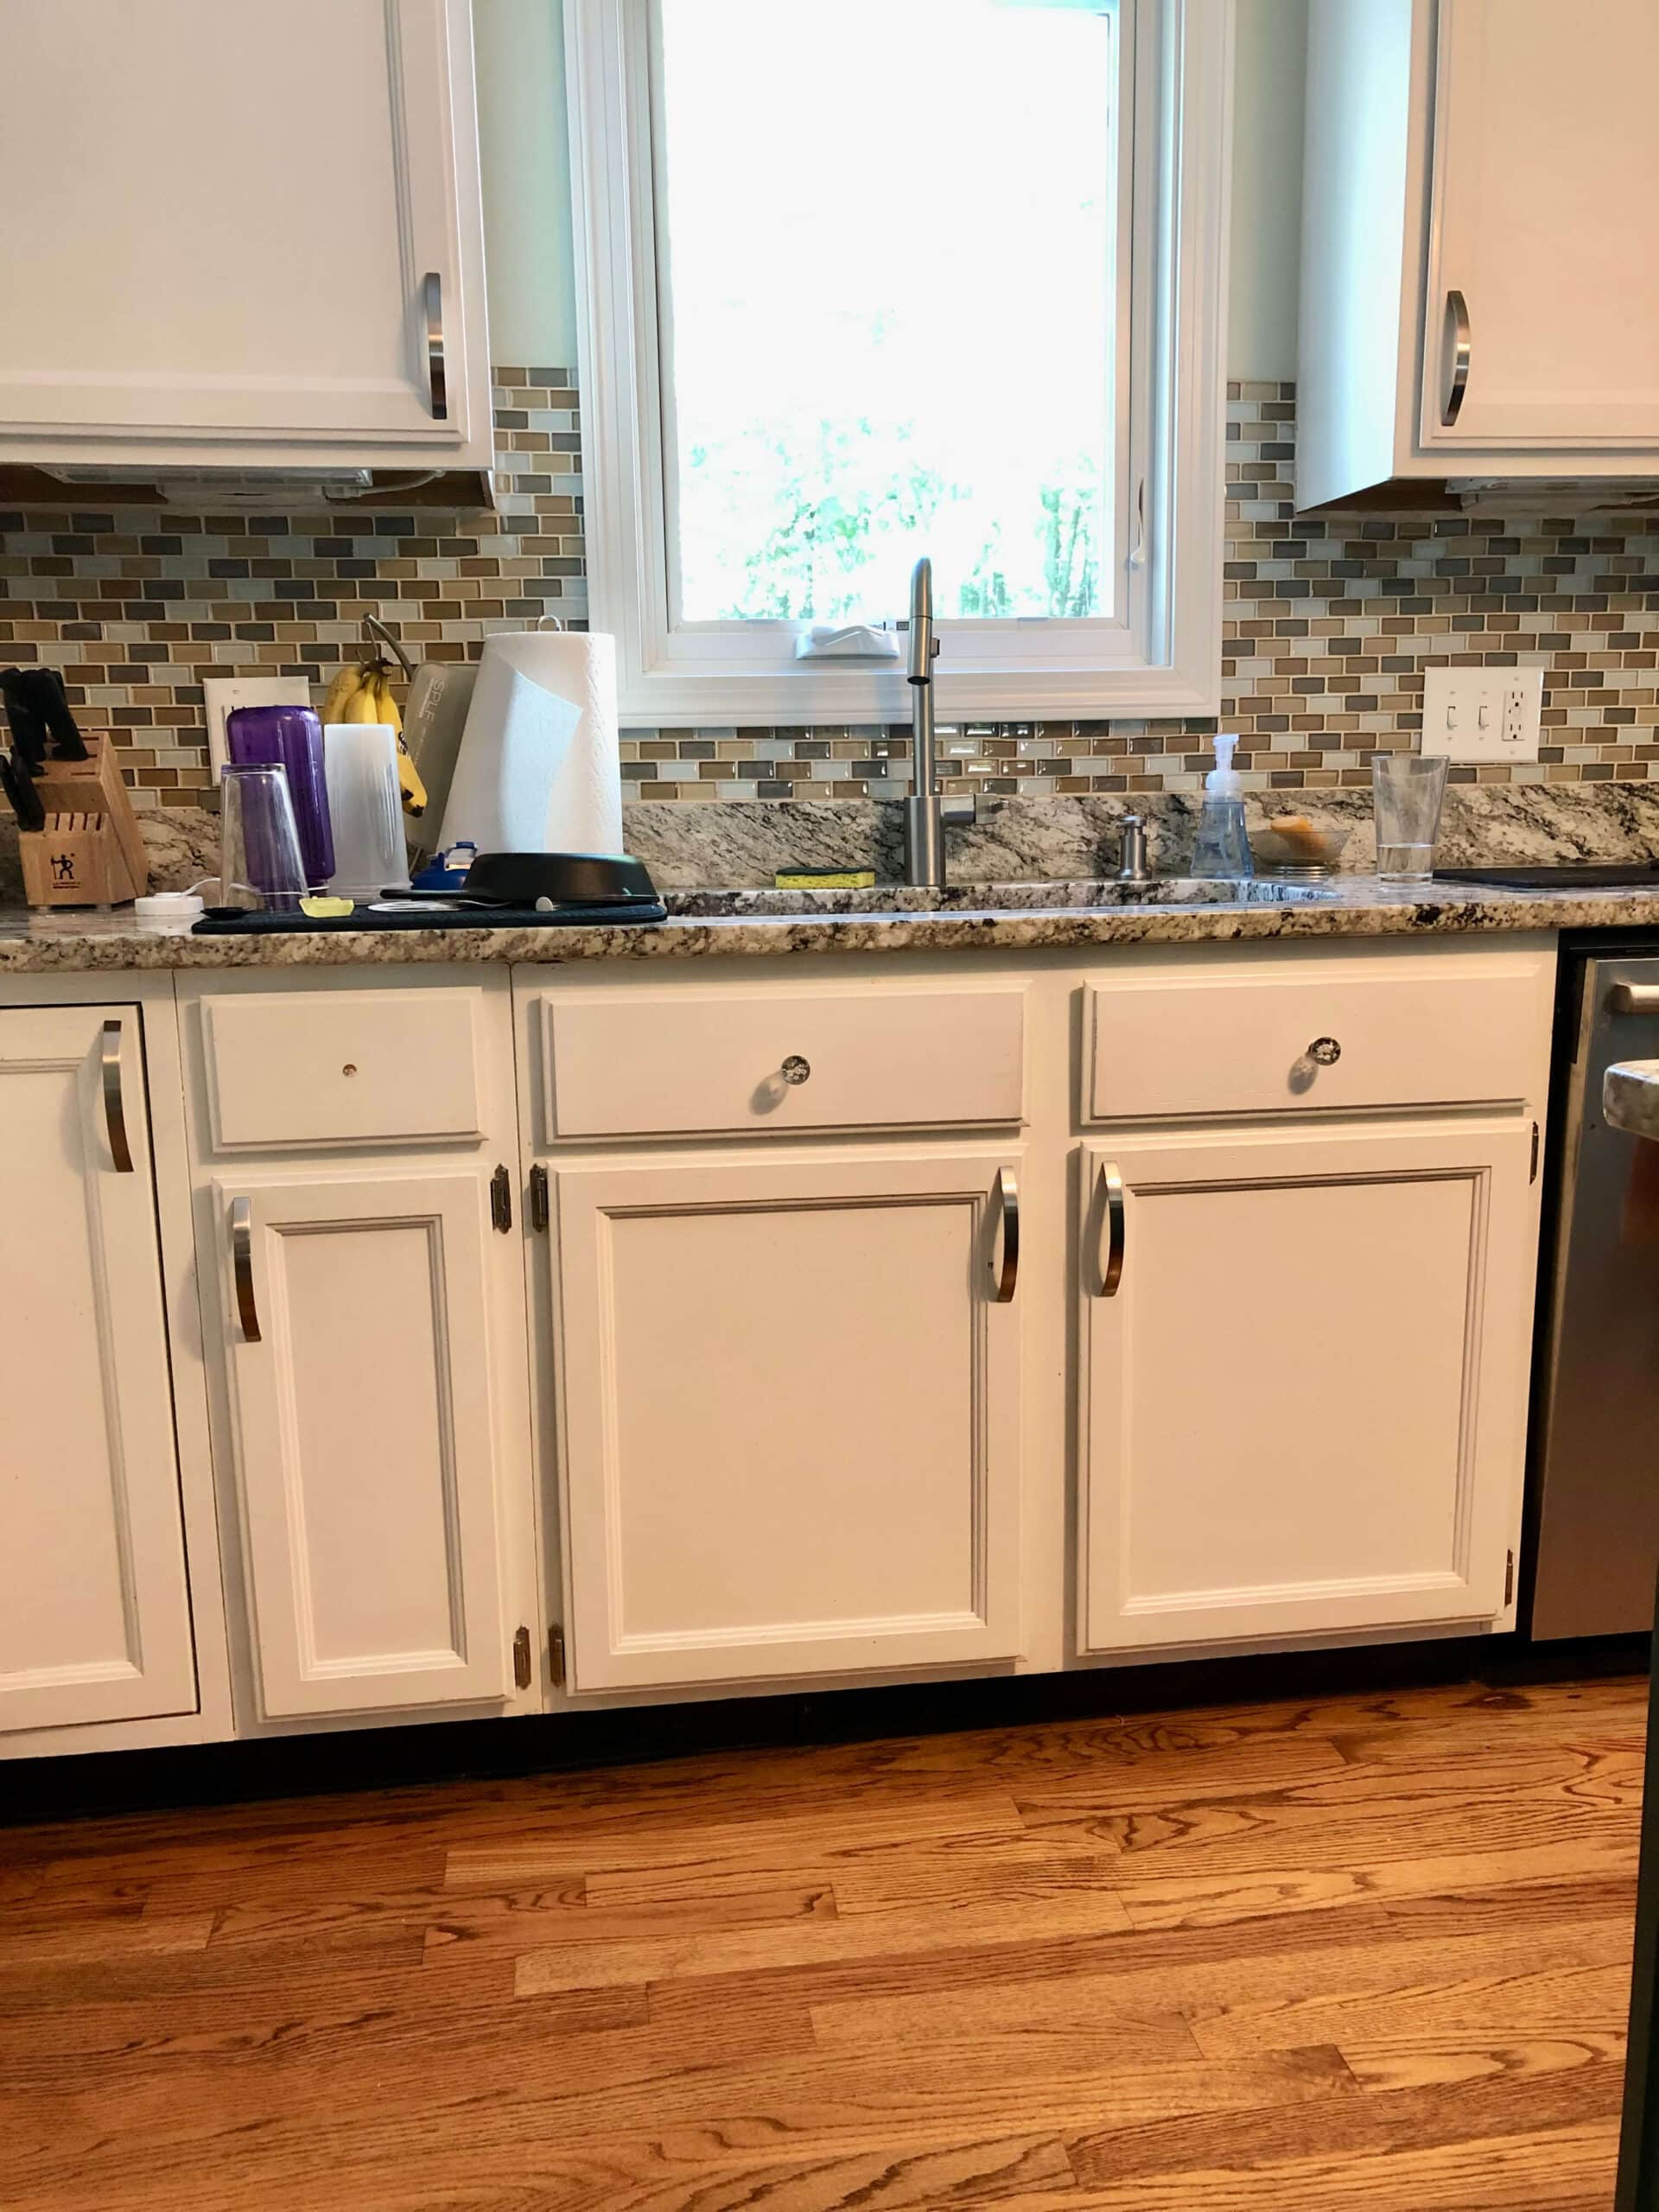
This is what our kitchen currently looks like. We even painted the glass backsplash (read all about how by clicking on the link).
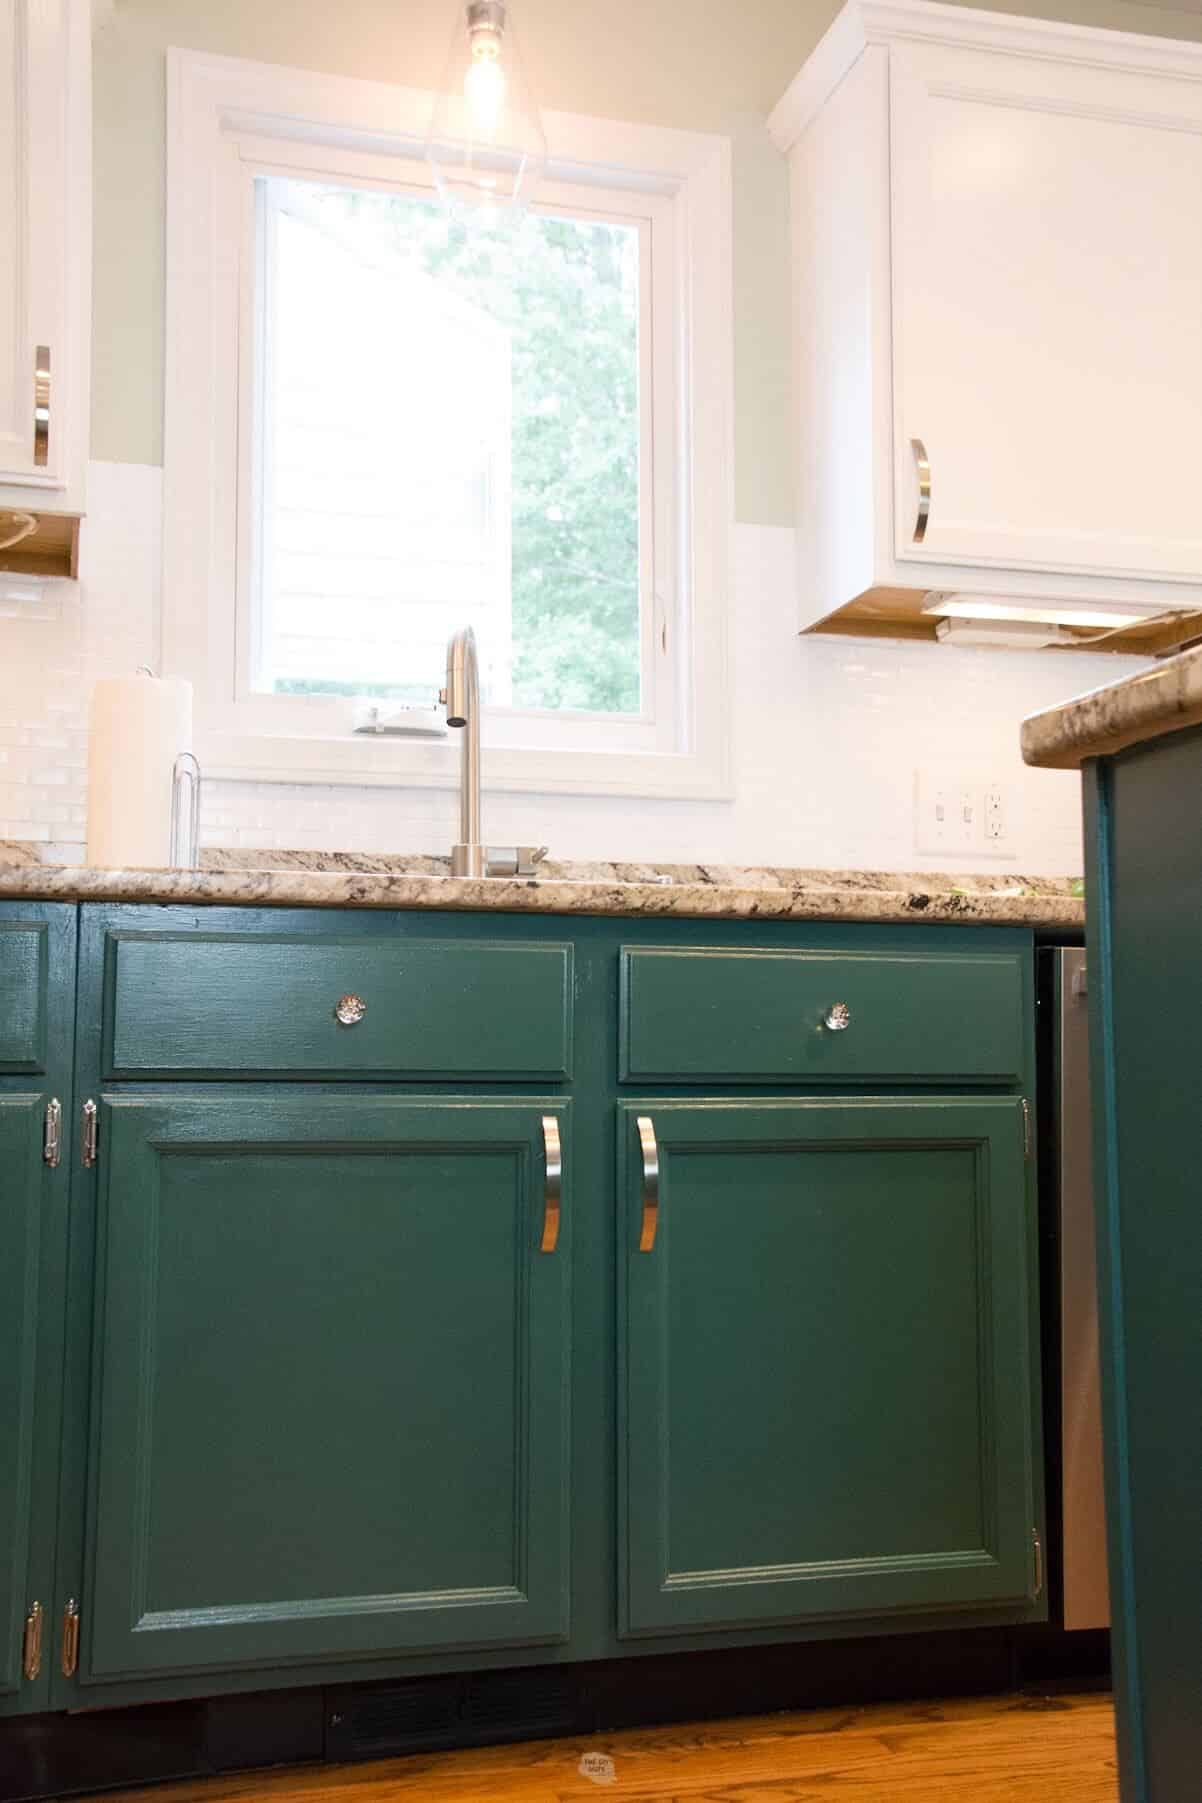
See how we chose this paint color for cabinets using Samplize. We knew we wanted a rich green color, but have large peel and stick paint samples really helped us narrow down our choice.
What green paint color did you use on the bottom doors and kitchen cabinets?
The final green paint cabinet color we decided on is Sherwin Williams Rookwood Sash Green. We are very happy with the color choice. If you are considering a bold color for your next cabinetry painting project you may want to look at this color.
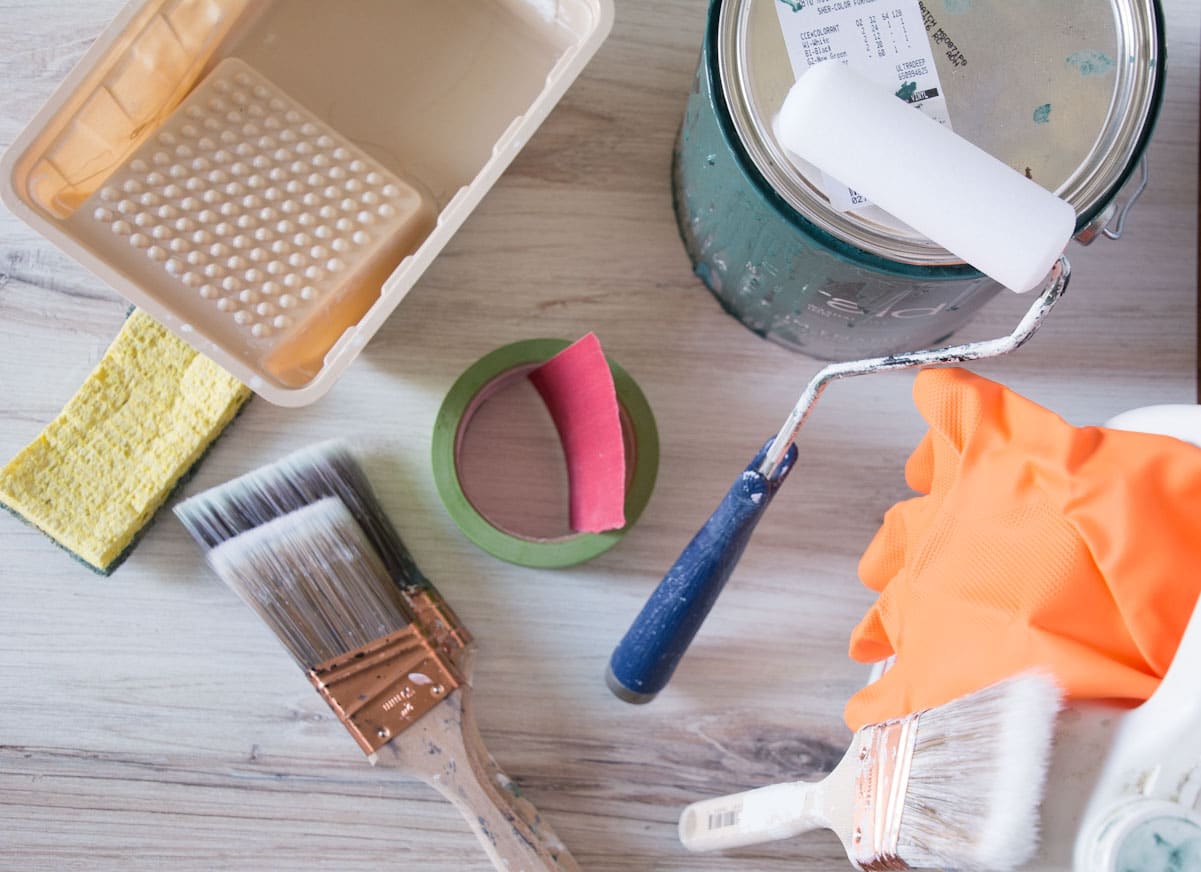
Recommended Supplies
- Deglosser (this is what we have used to prep molding and doors in our basement, bathroom vanity cabinets and oak railing)
- Painter’s Tape (this brand)
- Purdy 2.5” angled brush or Wooster 2.5″ angled brush
- Small Foam Rollers and handle
- Primer (if painted surfaces for the first time)
- 220 Sandpaper
- Caulk and Caulk gun (optional)
- SW Emerald Urethane Trim Enamel Paint (our new favorite cabinet paint)
- Screw Driver
- Ziploc Bags
- Permanent Marker
- Painting Station: 2 x 4s on sawhorses
How To Paint Cabinet Doors By Hand
Printable instructions are at the bottom of this post.
Before You Begin
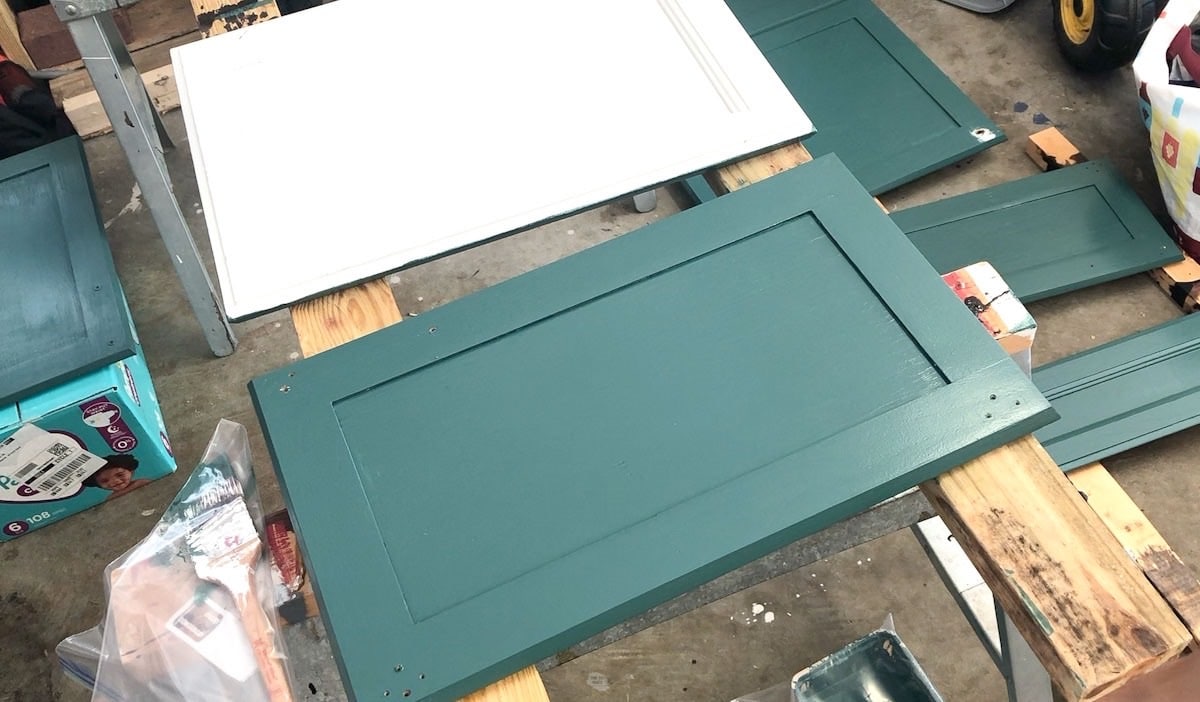
Set up a painting station where your doors will have time to dry. You can prop the doors on 2 x 4s on sawhorses in a separate location from your cabinets.
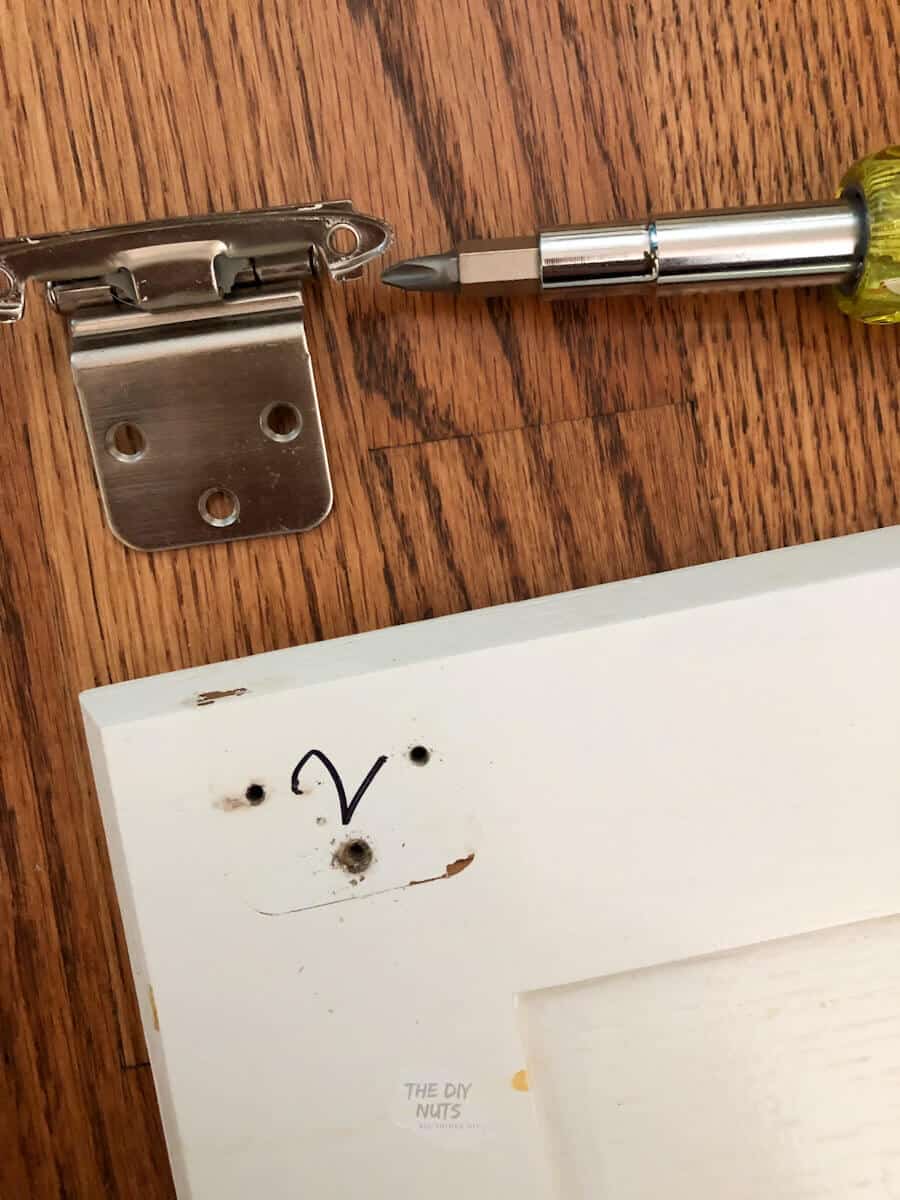
Step 1: Remove Hardware and Hinges
Take off all old hardware. Don’t be lazy and try to paint around. Trust us it rarely ever works. Create baggies and a labeling system for the doors and hardware.
Step 2: Label Doors
On the old oak Merillat cabinets, we have the hinges are large. Write a number on the door with a sharpie where the hinge would be since it will get covered up anyway. Make sure doors are smooth and clean.
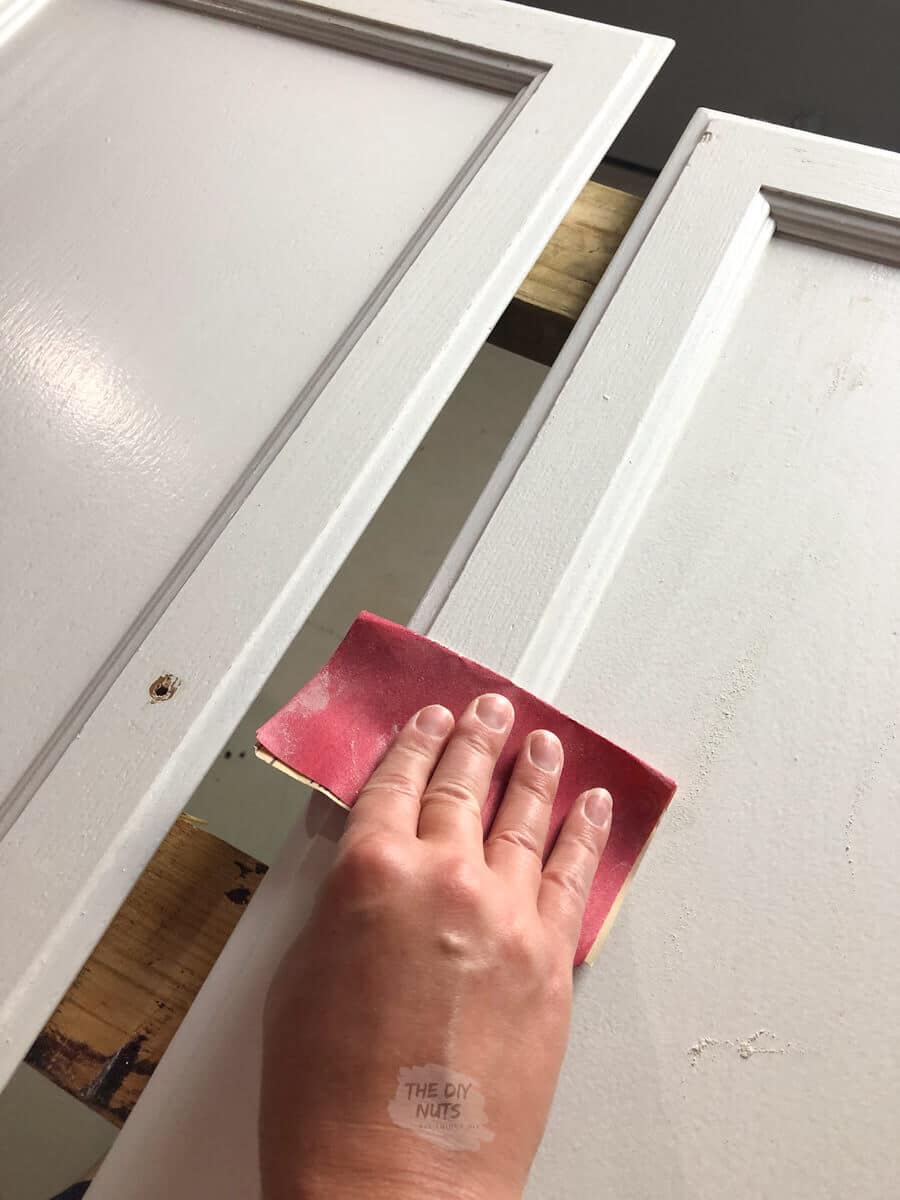
Step 3: Lightly Sand The Surface Of The Doors
Lightly sand or scuff up doors with 220 sandpaper.
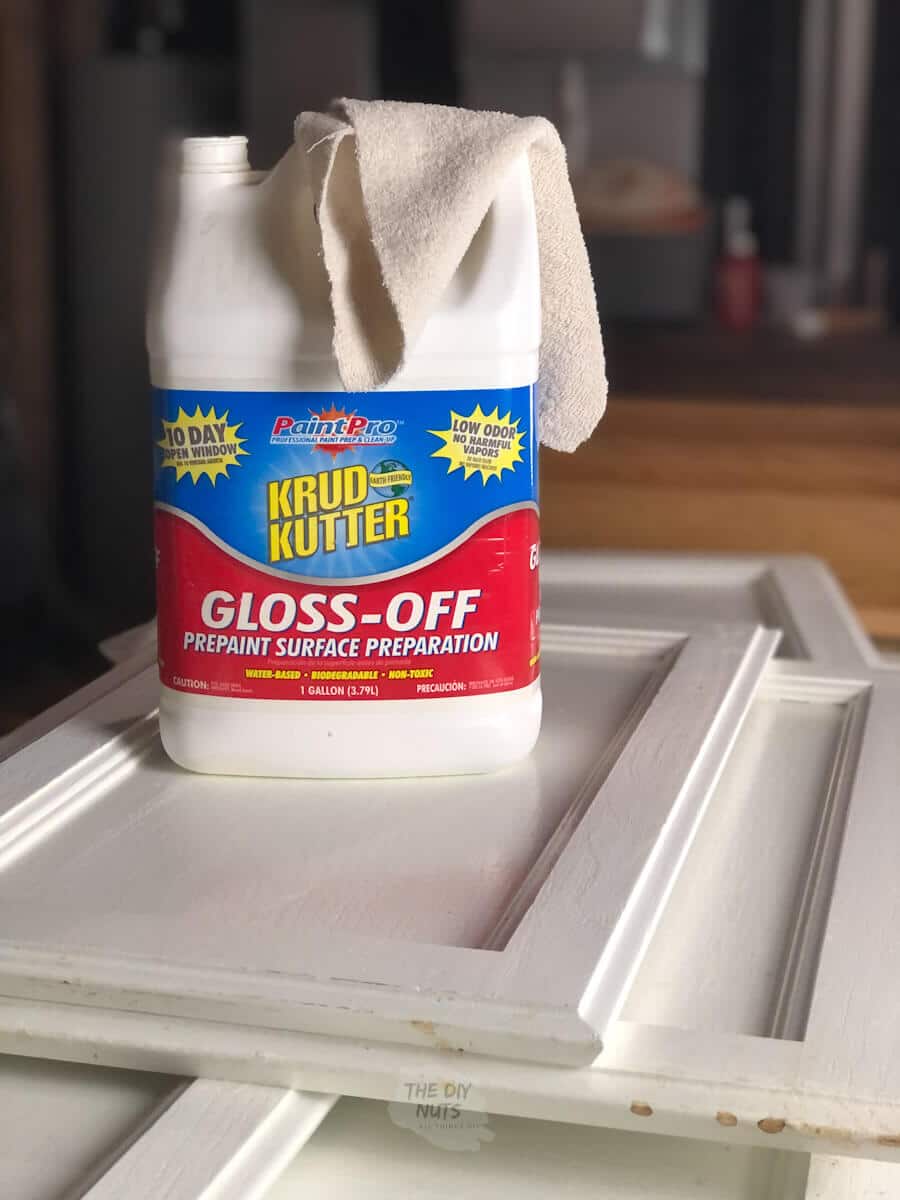
Step 4: Wipe Down With A Deglosser
Use a deglosser to wipe down doors. You want your cabinet doors to be as clean and dust-free as possible.
Step 5: Use Primer If Painting Unpainted Surfaces
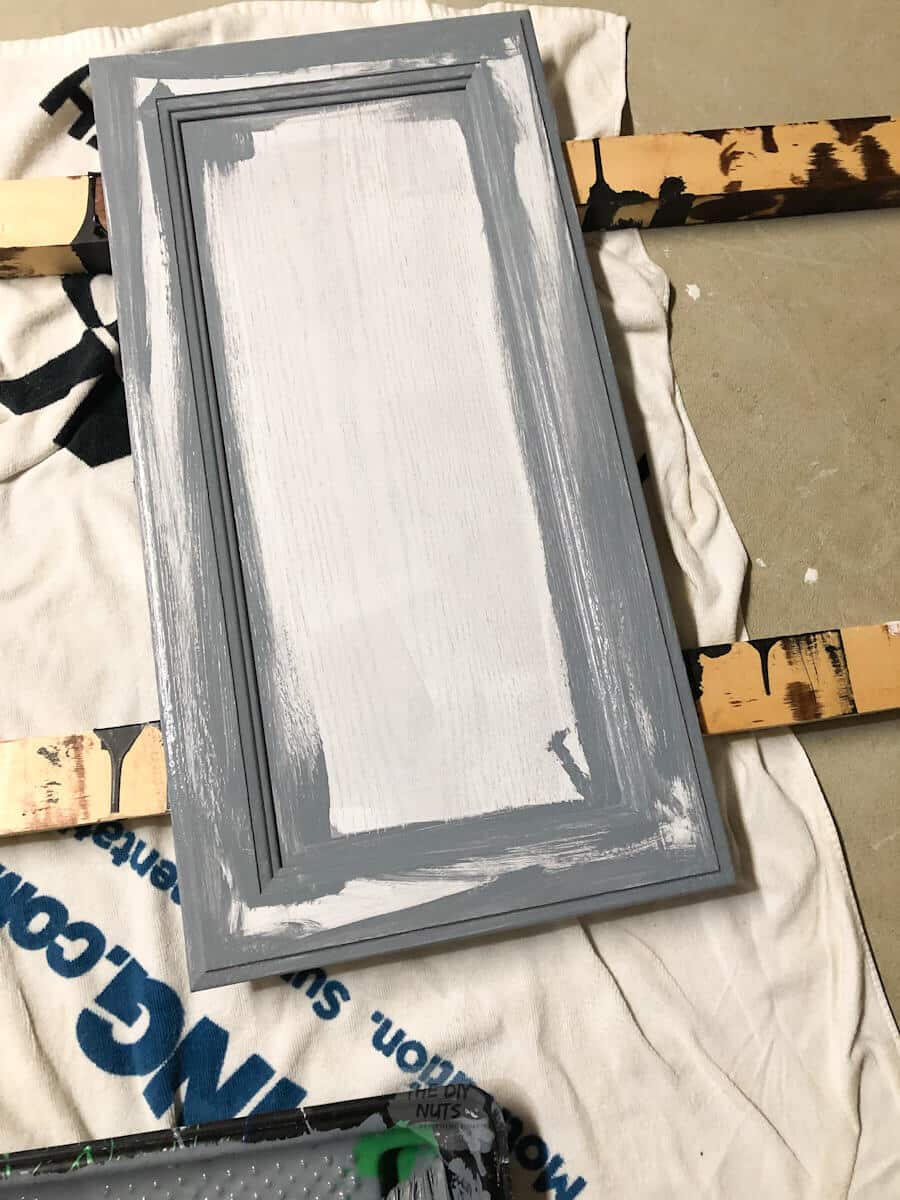
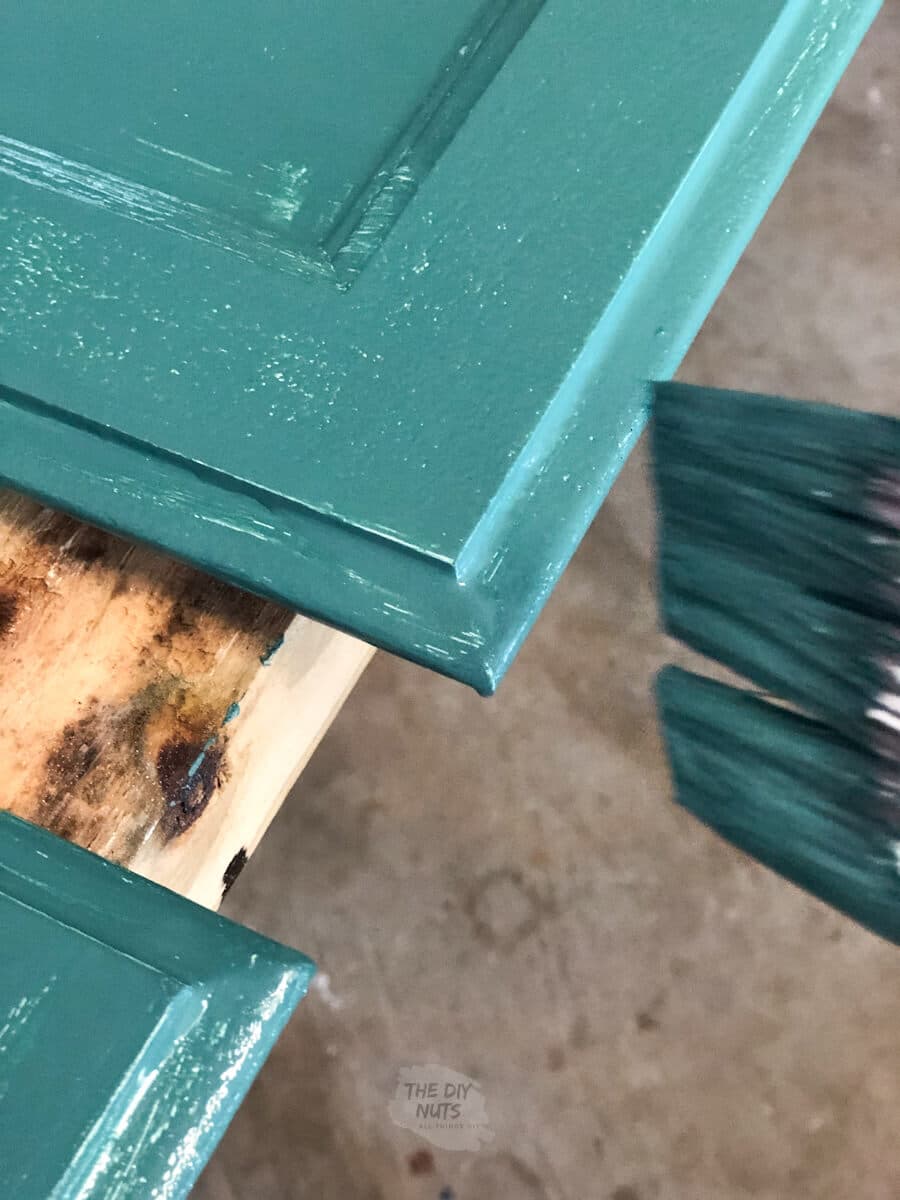
With primer or paint use the brush first to go in the ridges where a roller won’t go on the back of the door.
Here is an example of the bathroom vanity cabinet door and where the paintbrush was used before the foam roller.
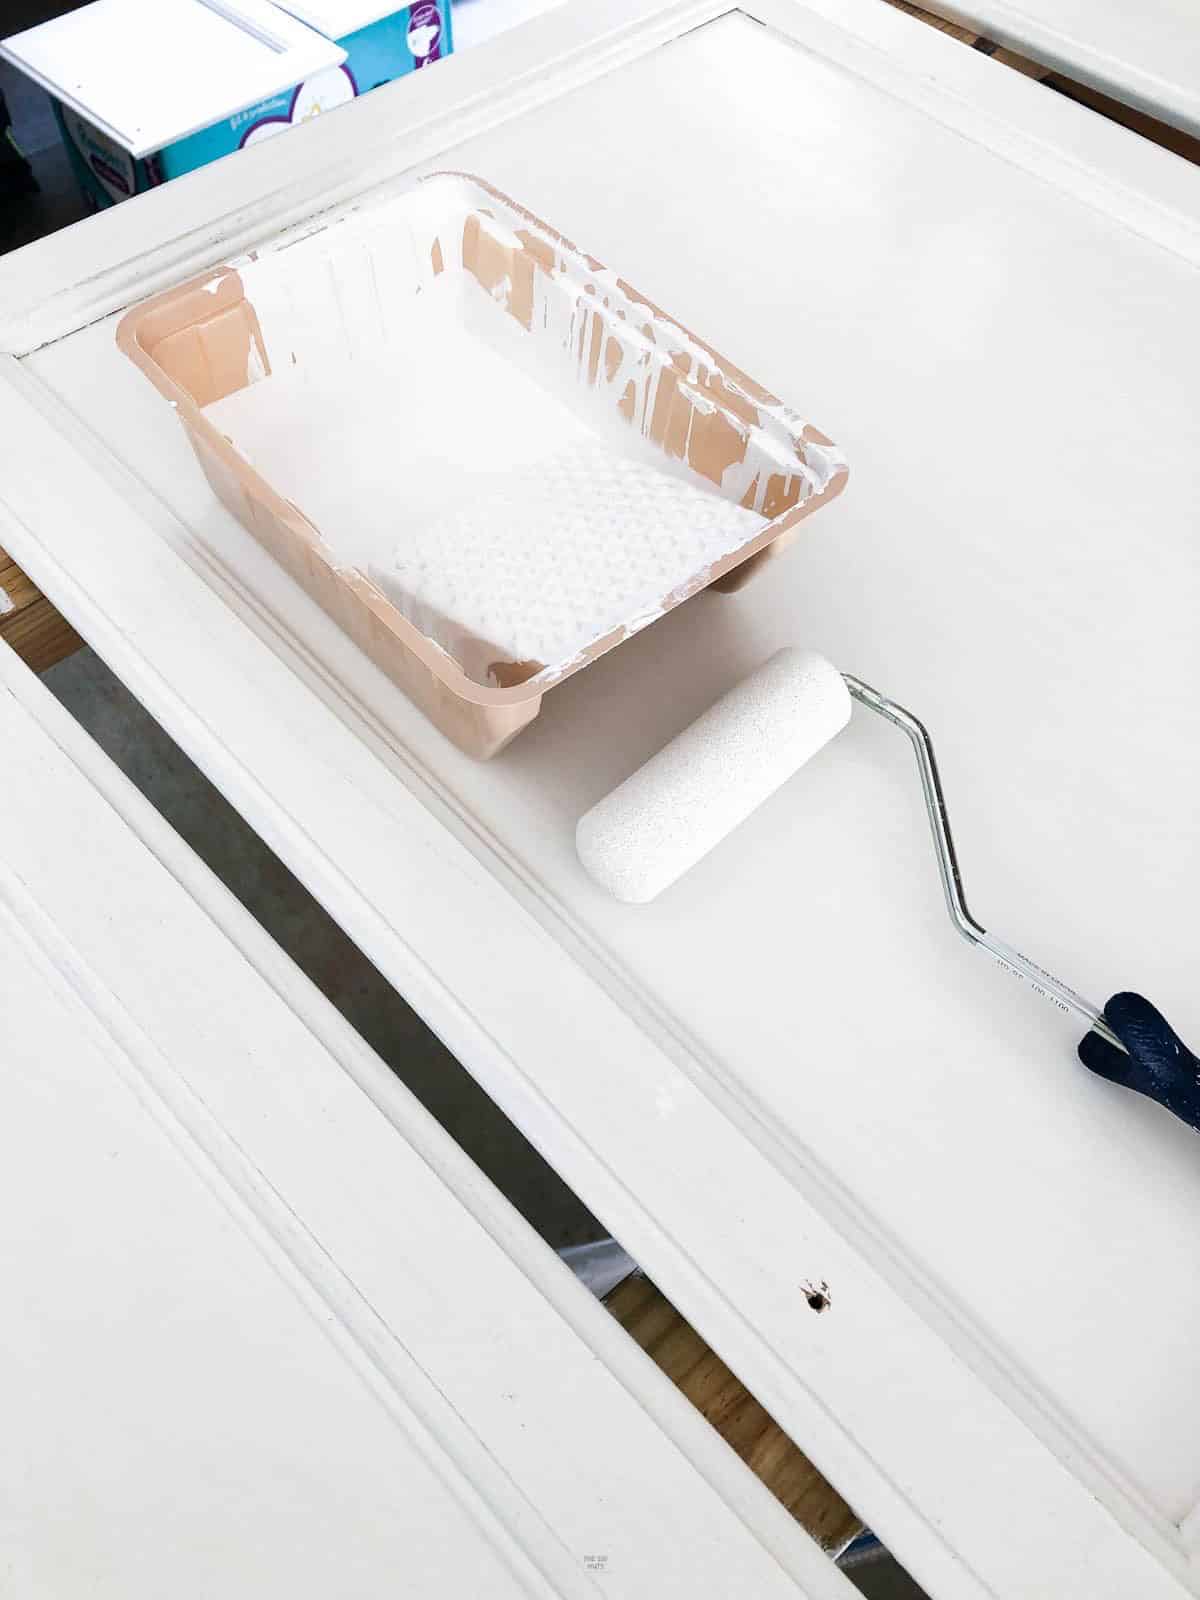
Step 6: Use Small Foam Roller For All Other Areas
Then use the small foam roller to go along the edges and the back. You can check out all of our favorite rollers to paint cabinets here.
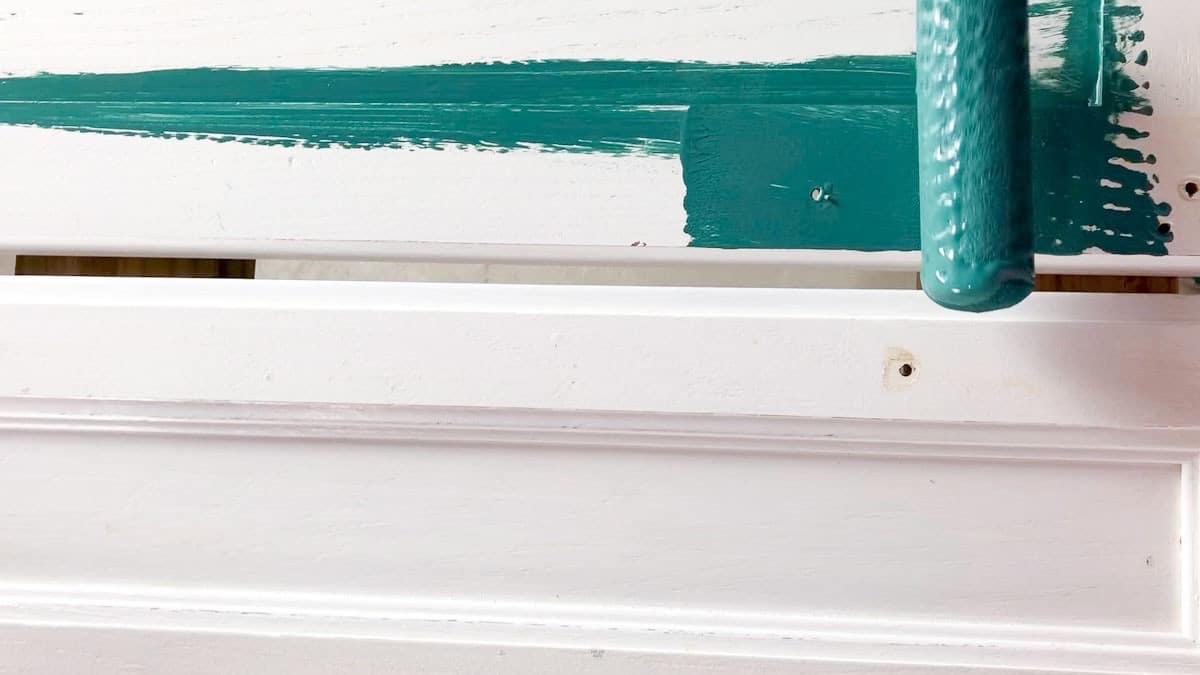
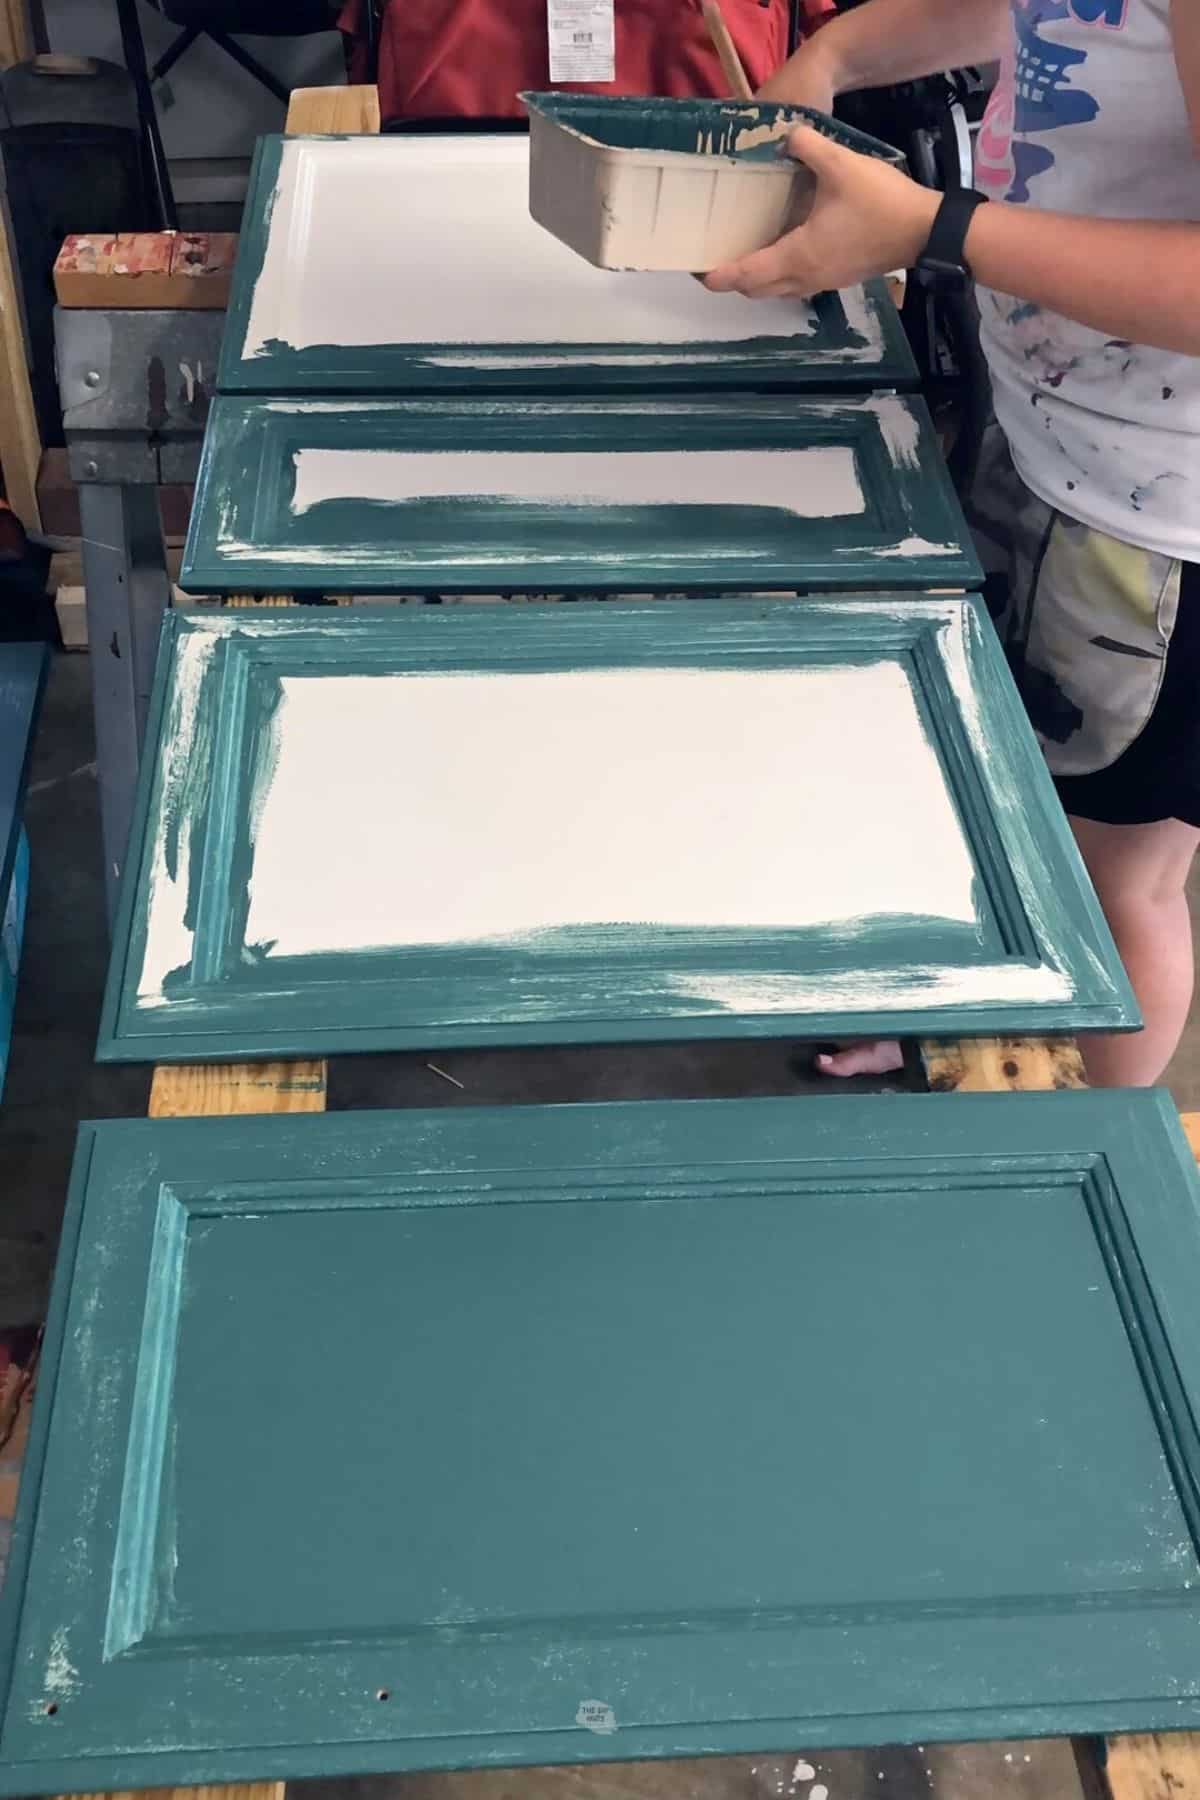
In the image below, we are painting over painted kitchen cabinets using Sherwin Williams Emerald Urethane Trim. We honestly couldn’t believe the results we were able to get with a simple gallon of paint in a fun color.
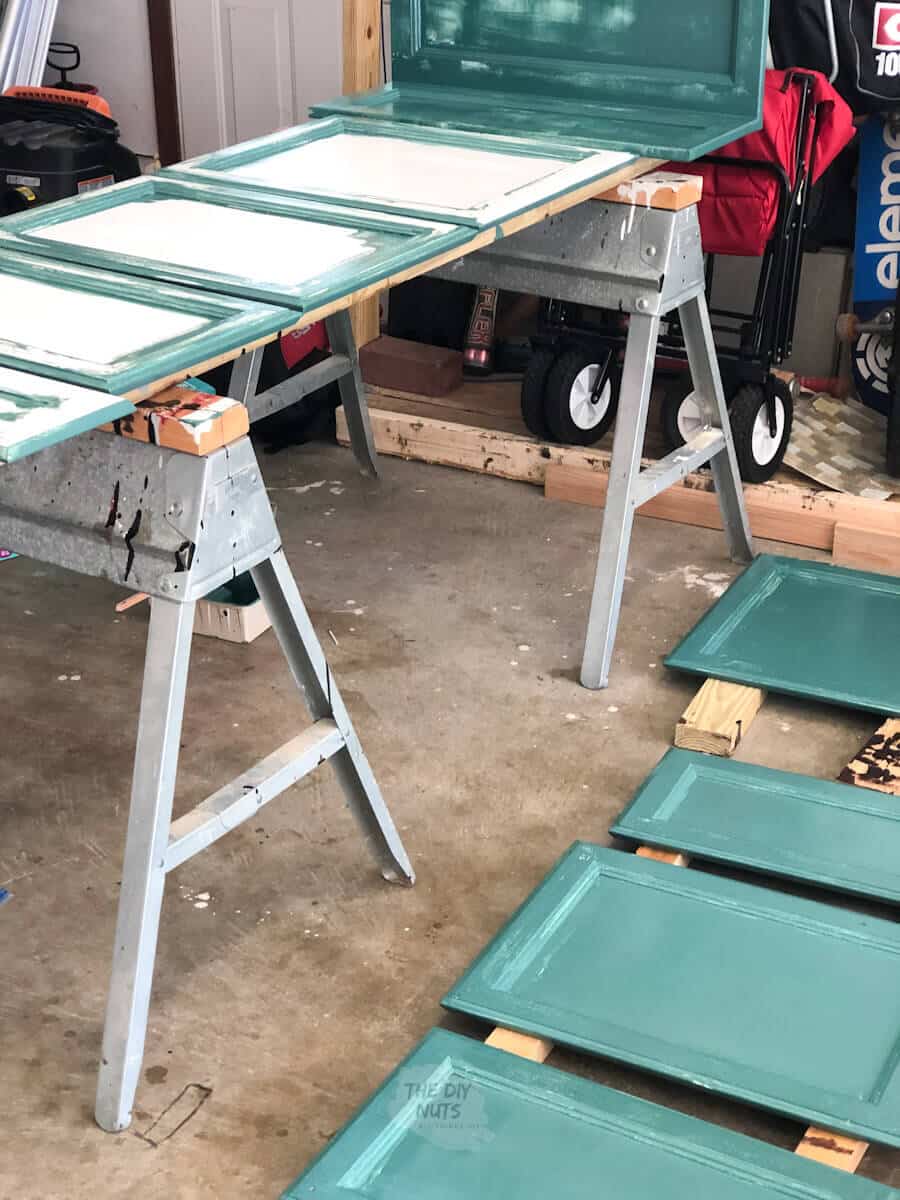
Step 7: Let Each Coat Of Paint Fully Dry
Lay flat to dry. Repeat steps 3 and 4 to get 2-3 coats of paint.
Step 8: Flip Doors Over And Paint The Fronts
Once the paint is not tacky, you can flip over the doors and begin painting those.
Step 9: Continue To Check For Drips
Use the brush in the creases and ridges. Make sure you don’t have drips.
Step 10: Continue To Use Foam Roller
Use a small roller in all places you are trying to apply a smooth and even layer.
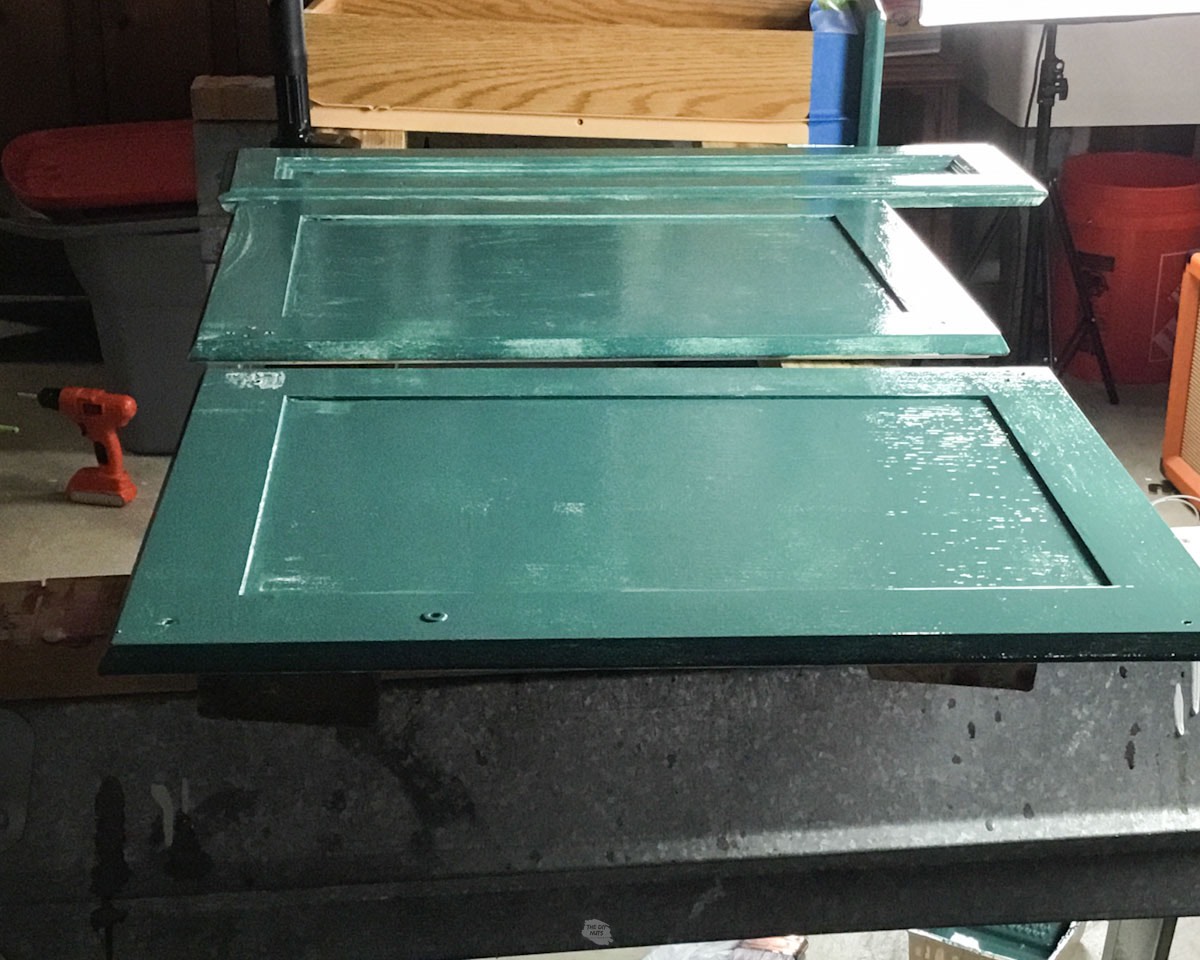
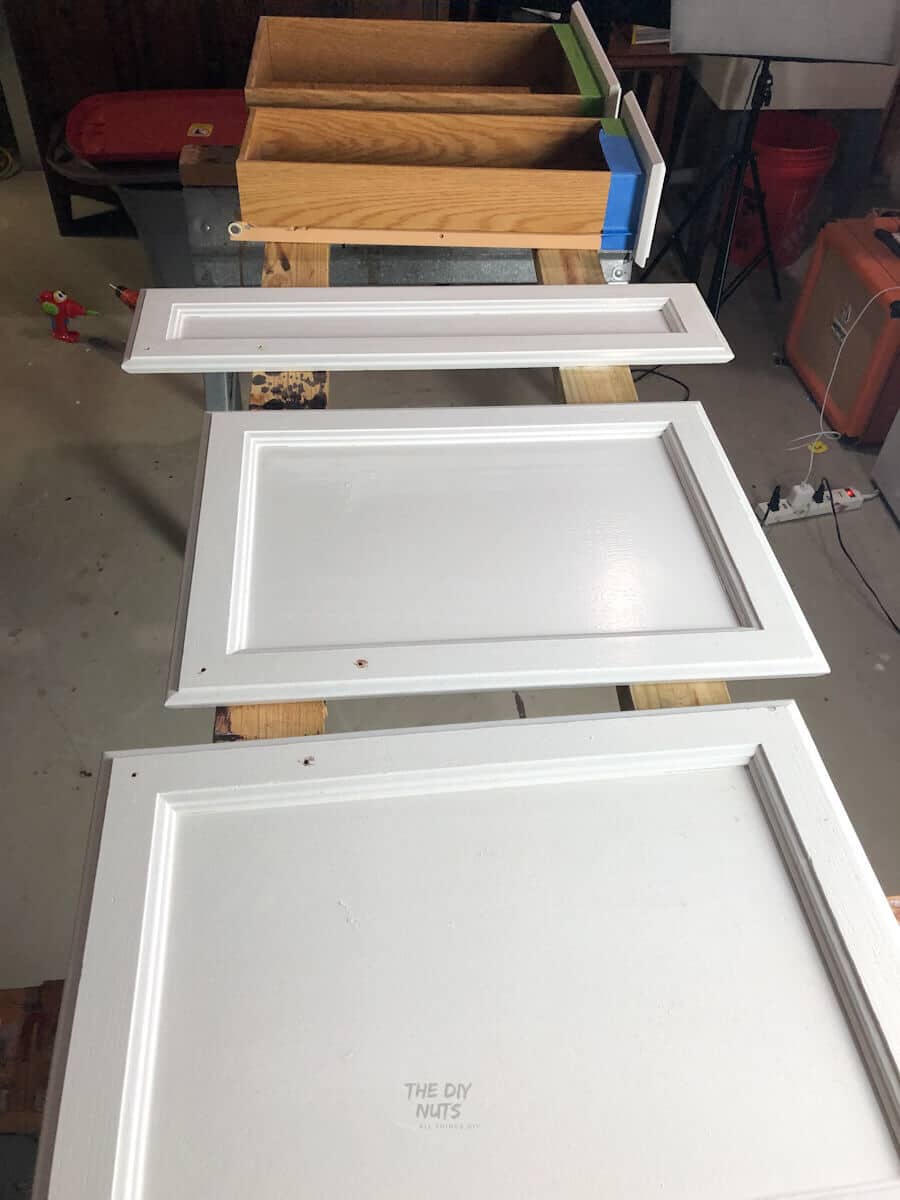
Step 11: Each Cabinet Door Should Have 3 Coats Of Paints On All Sides
Repeat the process until you do not see any white or uneven spots coming through. Even with white paint, you will want to paint 2-3 coats of paint as we did for our upper cabinet doors.
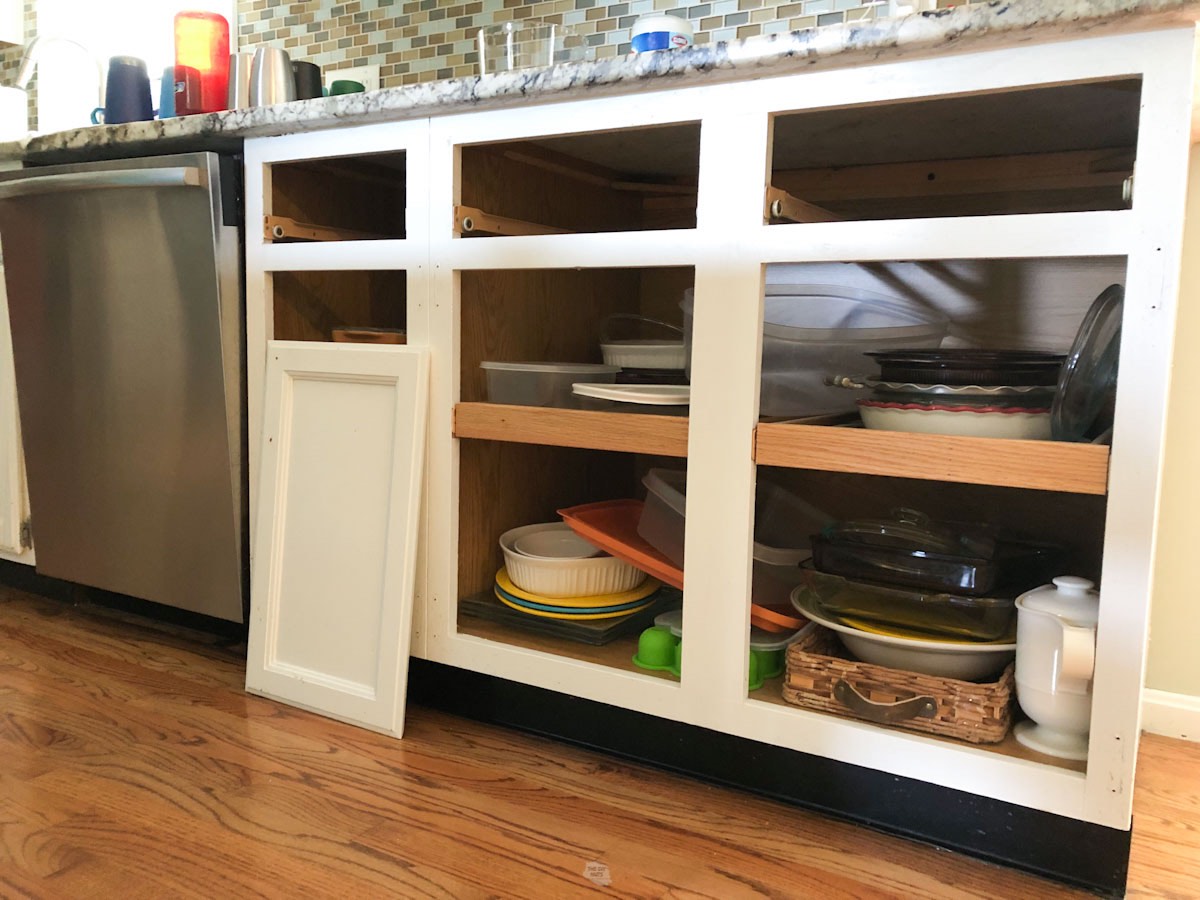
Step 12: Let Fully Dry And Attach Back On With Hardware
Attach doors back on your already painted wood cabinet boxes. Allow as much time for the paint to cure as possible.
How do you know paint is dry or doors can be put back on?
Your paint should not feel tacky. I will warn you that our favorite paint (SW Emerald Urethane Trim Enamel) does seem to take a while to cure. It is the biggest con to using this paint that we have found, but it is totally worth it for the finish.
Other Tips For Cabinet Door Painting
- Do NOT rush. I know this is hard. Our drawers and box in our cheap kitchen makeover had been in for a week before the doors went back on. It is better to wait than be mad you rushed. You increase your chances of scratching your beautiful paint job if you rush.
- Wait as long as you can for the paint to fully cure before adding back on the hardware. We will add the hinges and doors back on and then wait 2 weeks before putting on handles and knobs.
- Set up a good area to paint doors and drawers so you do not feel rushed. Simple sawhorses and 2 x 4’s always work for us.
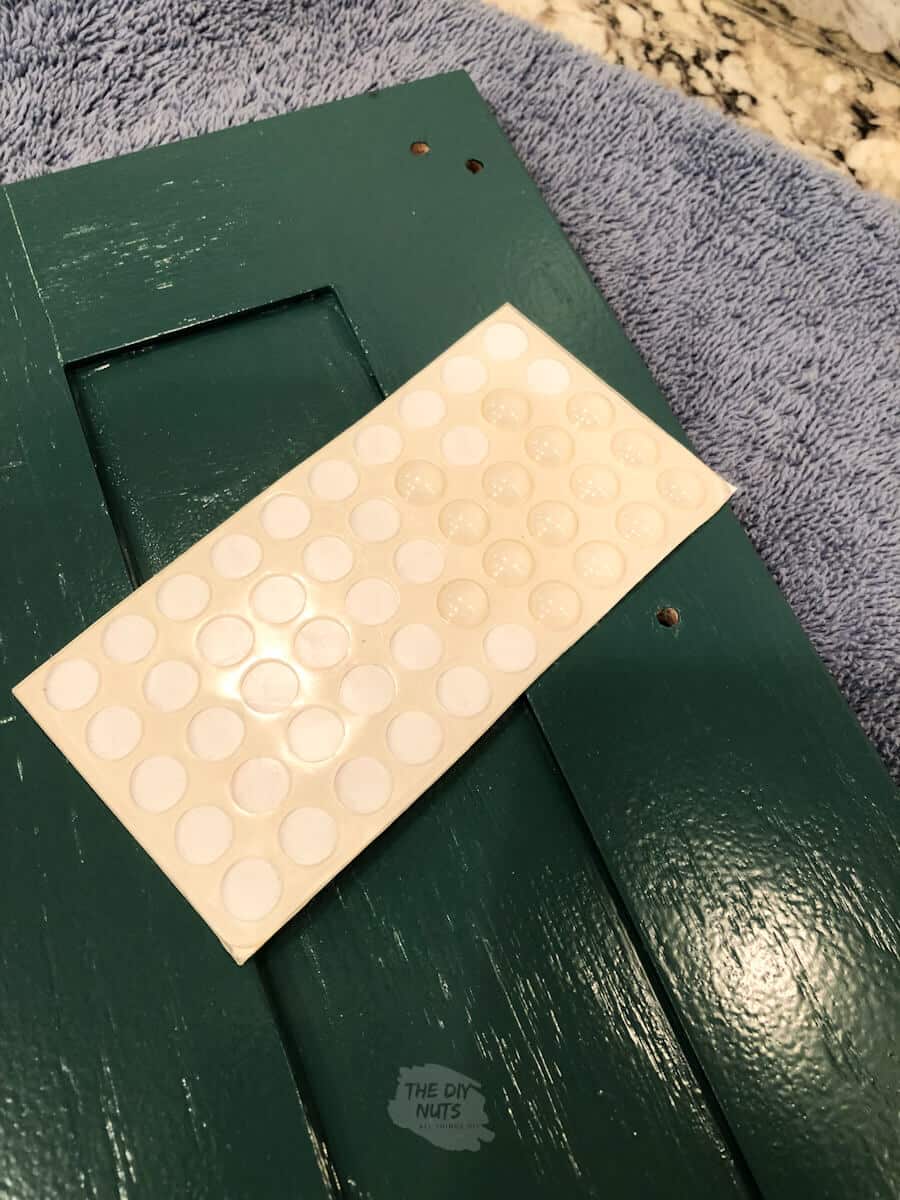
Protect The Inside
Add plastic bumpers on drawers and doors to stop the cabinet doors from banging against each other.
Spray Paint Hardware
You can always spray paint old hardware or buy new ones! If you need to spray the screws, stick them in old cardboard to help them stay up.

Tutorial FAQs
Small rollers work best as you have more control. love using a small foam roller and handle. You get a smooth finish while having a lot of control.
Yes, we even have this sprayer, but my method of using a small foam roller and brush works so well that I haven’t wanted to use it. You definitely have to spend a lot more time prepping and taping out things you don’t want to be sprayed. I think if I repaint the actual doors in my house then the paint sprayer will be what I use.
If you truly want the smoothest look, then spraying is probably your best bet. However, there are other factors you may want to consider and there is a little bit of a learning curve in understanding all the ins and outs of cabinet spraying.
We love a 2.5” angled synthetic brush from Purdy or Wooster. This brush is a universal tool that you should definitely have in your paint kit. Learn how to keep it clean with tips from one of our blogging friends.
Yes, please do. Just as we don’t want you to think you should paint the doors without taking them off. Start with the backs of the doors first.
You don’t always have to paint the inside of the cabinets, but you should paint the lip or edge of the cabinet boxes as well. Doing this as neatly as possible helps to create a finished look.
Yes, there are drying racks that allow you to flip the doors without touching the sides. You could also try to put a small thumbtack in the edges to elevate the doors. However, make sure that you are doing that on the back of the doors and not the front.
The other option would be to add a small eyelet screw to hang the door for drying.
Follow us on Pinterest, YouTube or Facebook for more DIY inspiration!

Painting cabinet doors can be an affordable way to update the look of your kitchen or bathroom. With the right tools and techniques, you can achieve a professional-looking finish that will last for years. Remember, to take your time and enjoy your DIY modern painted cabinets!
I love the beautiful green you chose! Gorgeous!!
Thanks, Libbie. We took a chance on green cabinets and are very happy that we did!
Do you mention the green that you use? It’s a great tone! Not too dark or light
Hi Andrea. It is Sherwin Williams Rookwood Sash Green. It is a great color!