How To Dye Easter Eggs With Shaving Cream
This fun Easter egg technique may be a little messy, but is so fun! You will love all the surprising ideas you can get using shaving cream or Cool Whip to dye Easter eggs.
*Disclosure: I only recommend products I would use myself and all opinions expressed here are our own. This post may contain affiliate links that at no additional cost to you, I may earn a small commission. Read our full privacy policy.
We love the idea of fun and easy marbelized Easter eggs. We love painting decor items in fun ways and our kids love getting messy.
At first, we wanted to try dying our Easter eggs using food coloring and Cool Whip (or you can make your own heavy whipping cream). I mean we have created that faux marble paint looks using spray paint on pots before, so how hard could this be…
But after looking at them later, they are still pretty cool. I am sure I will continue to experiment and update this post with other ways to create a faux marbleized egg, like some of these creative egg ideas.
Lessons Learned
- Shaving cream will result in more vibrant colors. However, you will have to decide if you need them to be food safe. Obviously eating shaving cream is a no-no.
- Eggshells are porous, again don’t eat the ones made with nonedible materials.
- Leave the cool whip or shaving cream on as long as possible (like an hour for best results).
- I am still not sure if scraping off the extra gunk or washing quickly under the sink results in better colors.
- Does red wine vinegar work the same as white vinegar soak? See my conclusion at the end.
Cons Of Using Cool Whip Or Shaving Cream
- It is messy.
- Shaving cream is not edible.
You can limit the mess by working on a cooking sheet and covering your table with some newspapers or paper towels.
Just like with any other Easter egg dyeing project, if you do not want your hands to get messy, then you may want to wear latex gloves.
How To Use Create Marble Look On Eggs
Step 1: Hardboil Eggs
We love to use the Instapot for ours.
Step 2: Soak Eggs In White Vinegar
Soak eggs in white vinegar for 5 minutes. Pat off and leave to the side to dry.
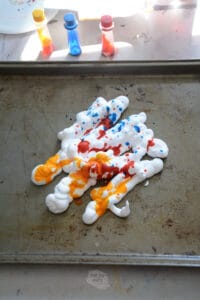
Step 3: Add Shaving Cream To Cookie Sheet
Spread Cool Whip or shaving cream out on the cookie sheet.
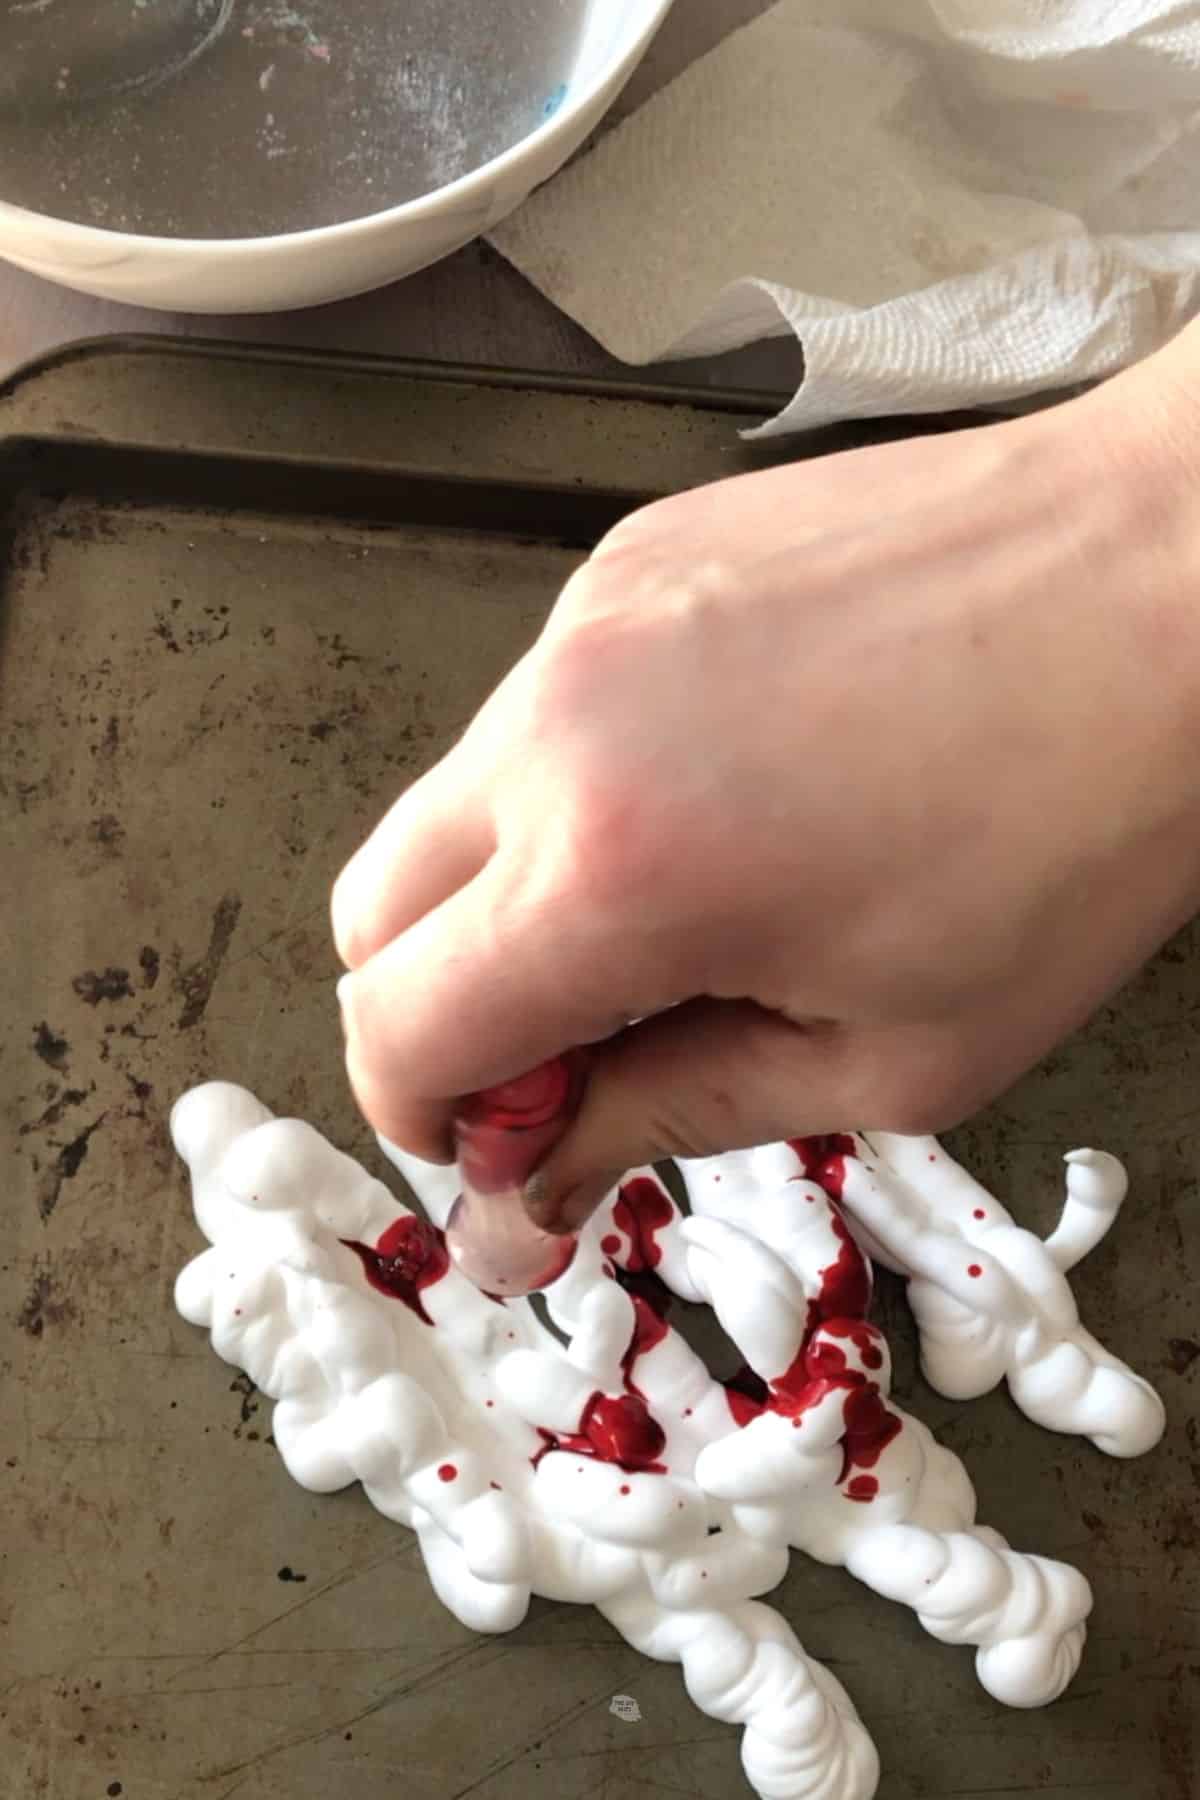
Step 4: Add Food Coloring
A few drops of food coloring is all you need. Consider using colors that you know will mix well together.
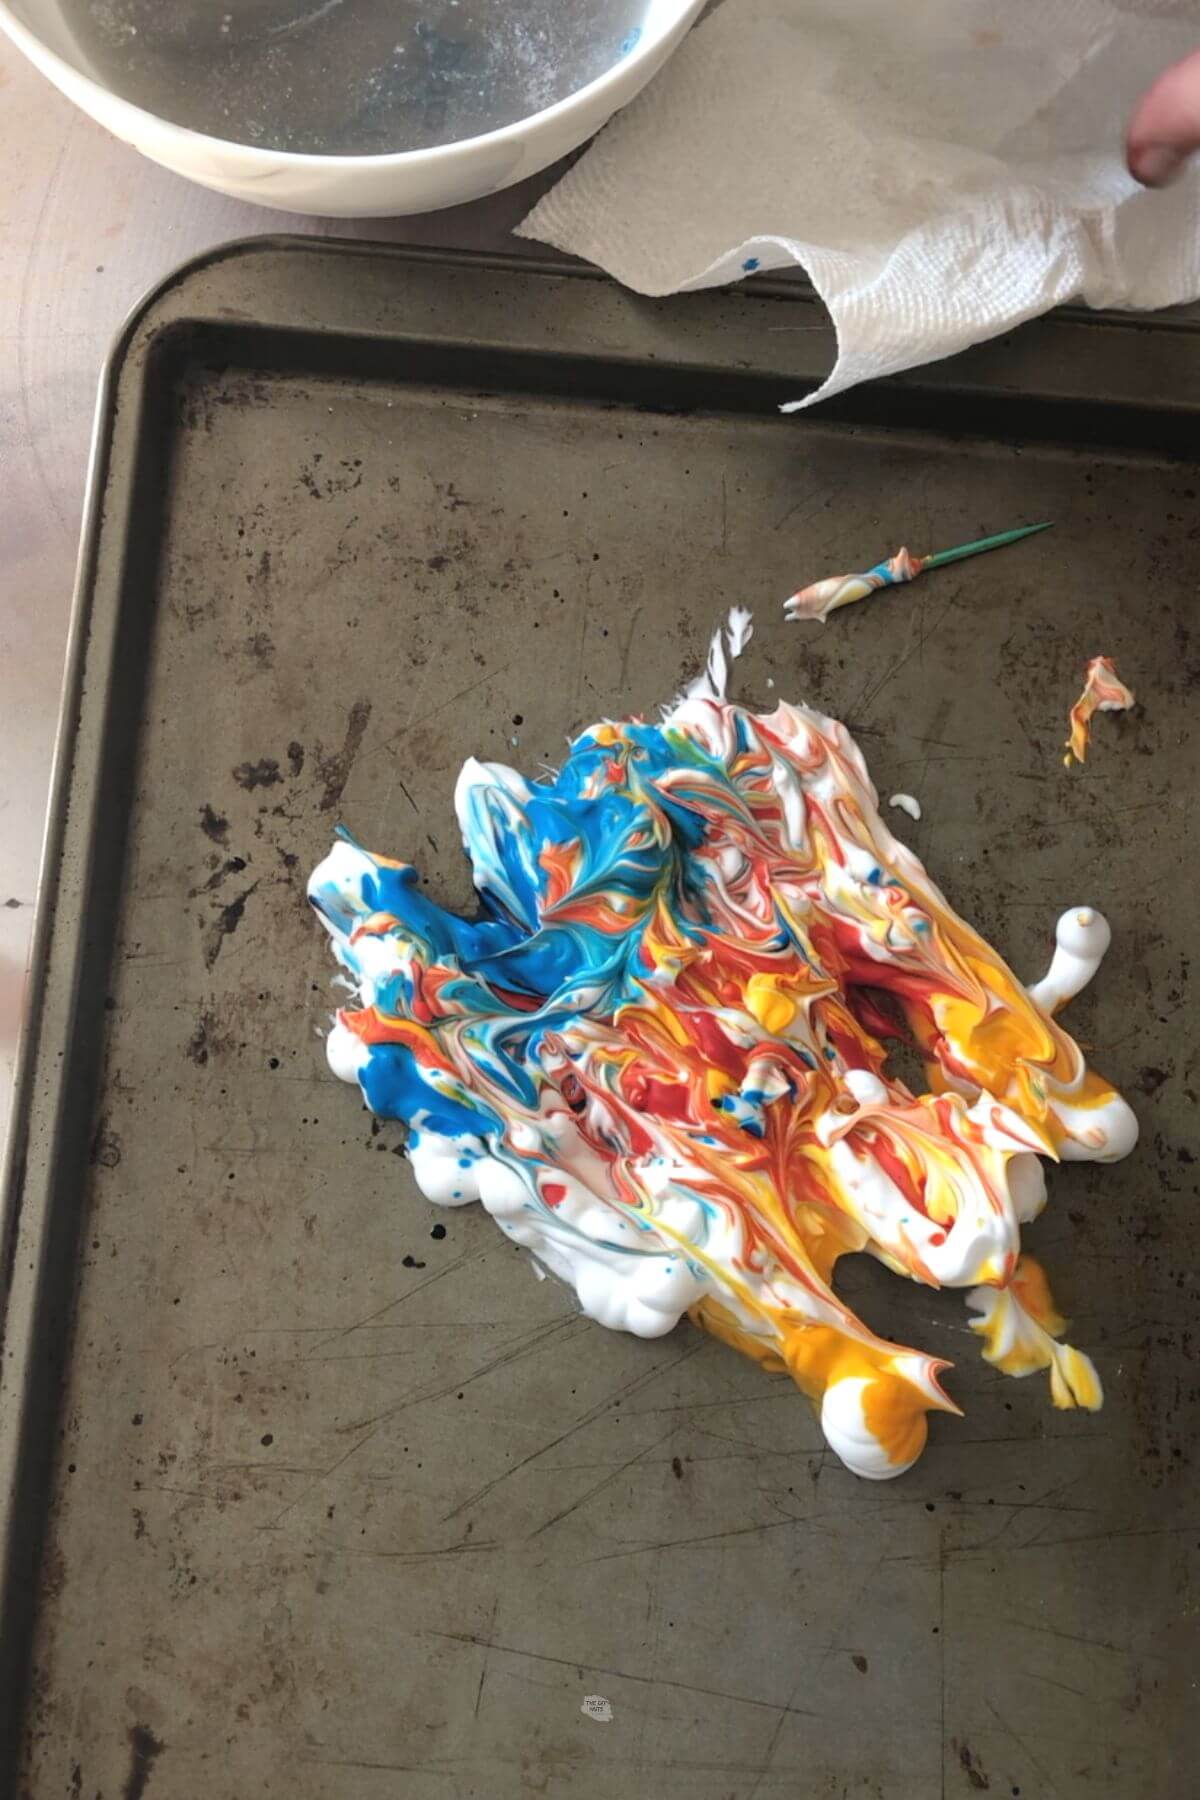
Step 5: Swirl Food Coloring With A Toothpick
Do not over-mix the colors.
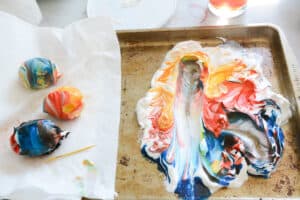
Step 6: Roll Egg
This will be a little messy. Try to get the whole egg covered.
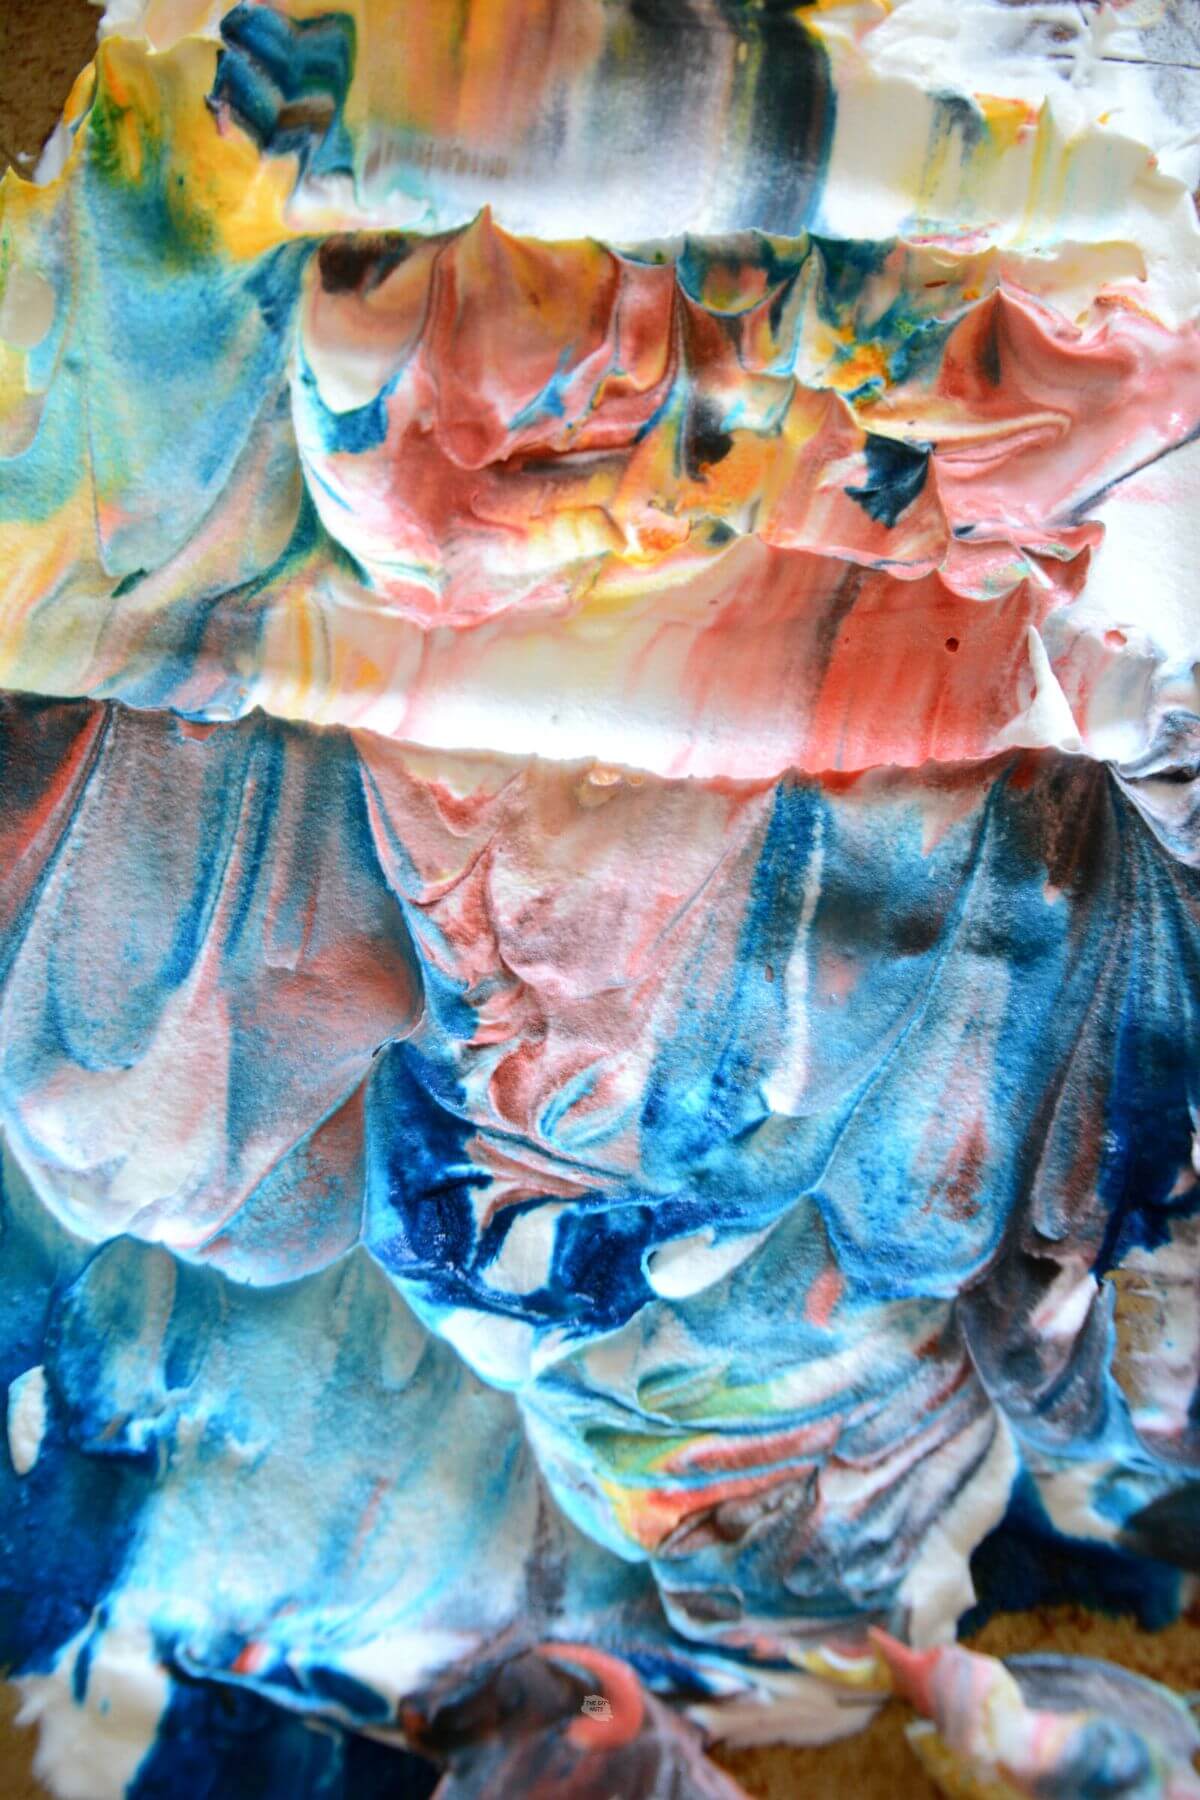
Here is what the mixture looks like after you pull the eggs off. You can keep rolling eggs on the mixture until the colors blend completely together.
Step 7: Let Mixture Sit
Leave off to the side for at least an hour. The first egg was only left for 15 minutes and barely any colored showed.

Step 8: Scrape Off Shaving Cream
You can use a paper towel or even a little piece of cardboard. Don’t rub too hard or you may take of your dye.

See how we made DIY watercolor Christmas cards with a similar shaving cream technique.
How-To FAQs
You can soak your eggs in lemon juice or lime juice if you don’t have vinegar. The red vinegar worked okay, but we wouldn’t recommend using it.
If you don’t plan on eating these eggs than liquid watercolors will give you more vibrant colors. We like this set of liquid watercolors.
Other Fun Crafts To Try
- Painted Faux Pumpkins-Learn how to create a marble effect using spray paint.
- DIY Homemade Playdough With Cornstarch and Lotion
- 42+ Rainbow Craft Ideas For Adults and Kids
Follow us on Pinterest, YouTube or Facebook for more DIY inspiration!
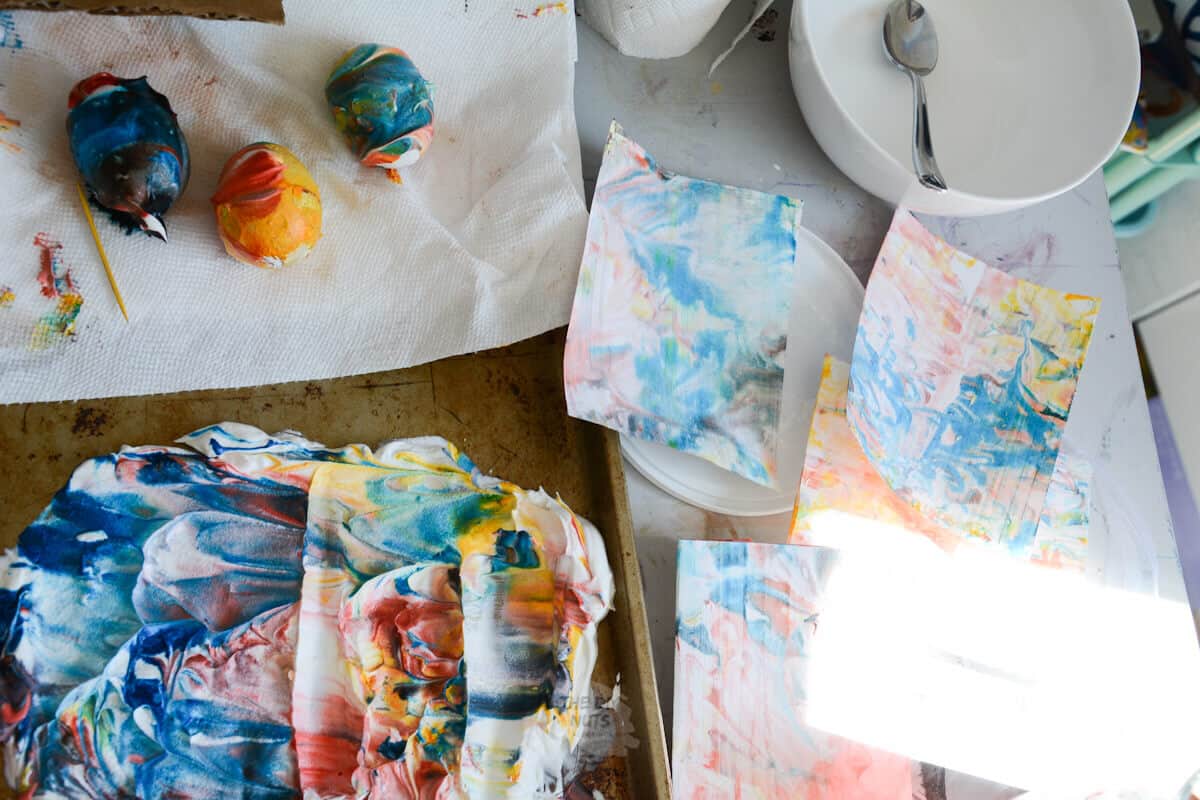
We just love when one simple project can turn into two projects. Get the whole family involved in creating these marbled papers and Easter eggs!
How To Dye Easter Eggs With Shaving Cream or Cool Whip

Equipment
- Toothpick or fork
- Cookie Sheet
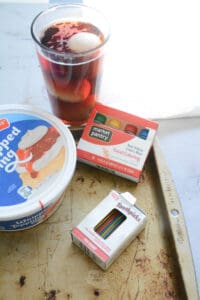
Supplies
- Eggs
- White Vinegar
- Food Coloring
- Cool Whip or Shaving Cream
- Optional: 4″ x 6″ Sturdy Paper
Instructions
- Make hardboil eggs. We love making ours in the Instant Pot (seriously life-changing if part of your regular diet includes needed hardboiled eggs in your fridge at all times)
- Soak eggs in vinegar for 5 minutes. Yes, the first time I didn’t have white vinegar, so I soak them in red wine vinegar.

- Spread Cool Whip or shaving cream out on the cookie sheet.
- Drop food coloring on top of shaving cream or Cool Whip.
- Take a toothpick or fork to swirl the dye around.
- Roll your egg in the mixture.
- Leave off to the side for at least an hour. The first egg was only left for 15 minutes and barely any colored showed.

- Either scrape off the extra or rinse quickly under the sink.
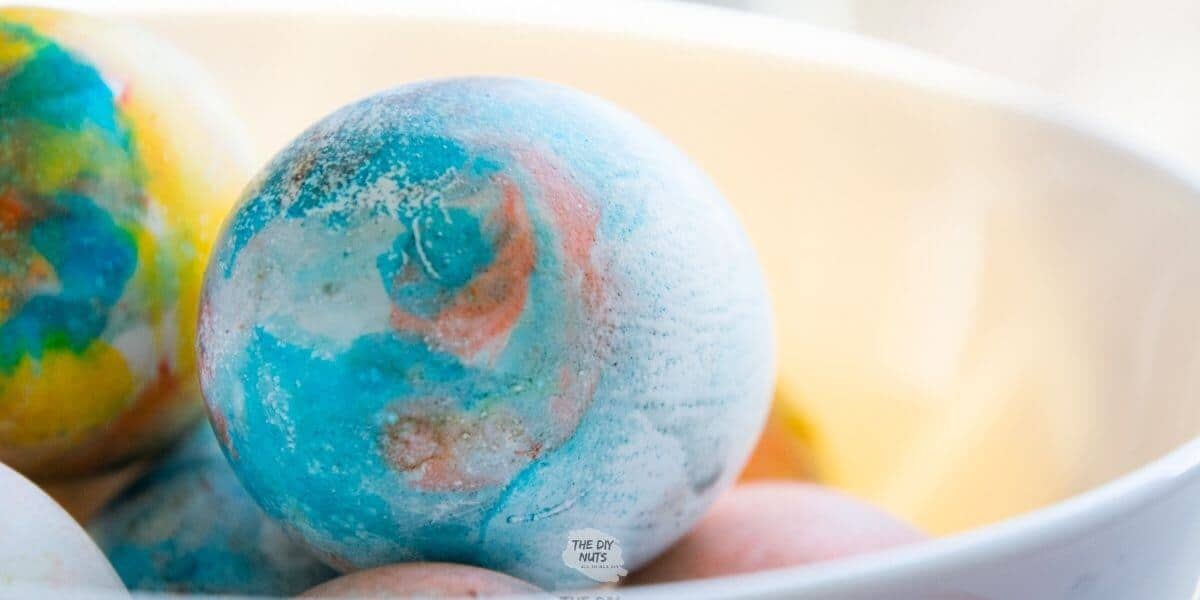
- Enjoy your marbelized dyed eggs.


What a fun idea for kids! My grandkids would love this. Very clever idea using the shaving cream. Thanks for sharing! Pinning!
Hi Linda. I seemed to get better results on the eggs with shaving cream. I will say the eggs are a little tricky, but making marbled paper is super easy and fun!