Easy Spray Paint Marbling Tutorial
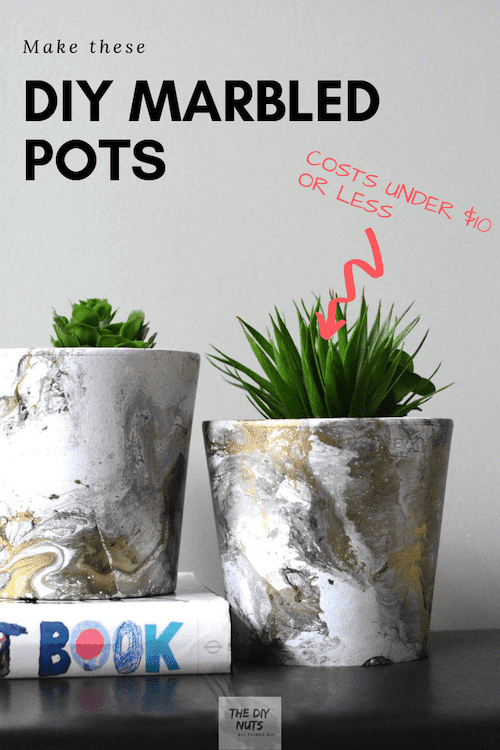
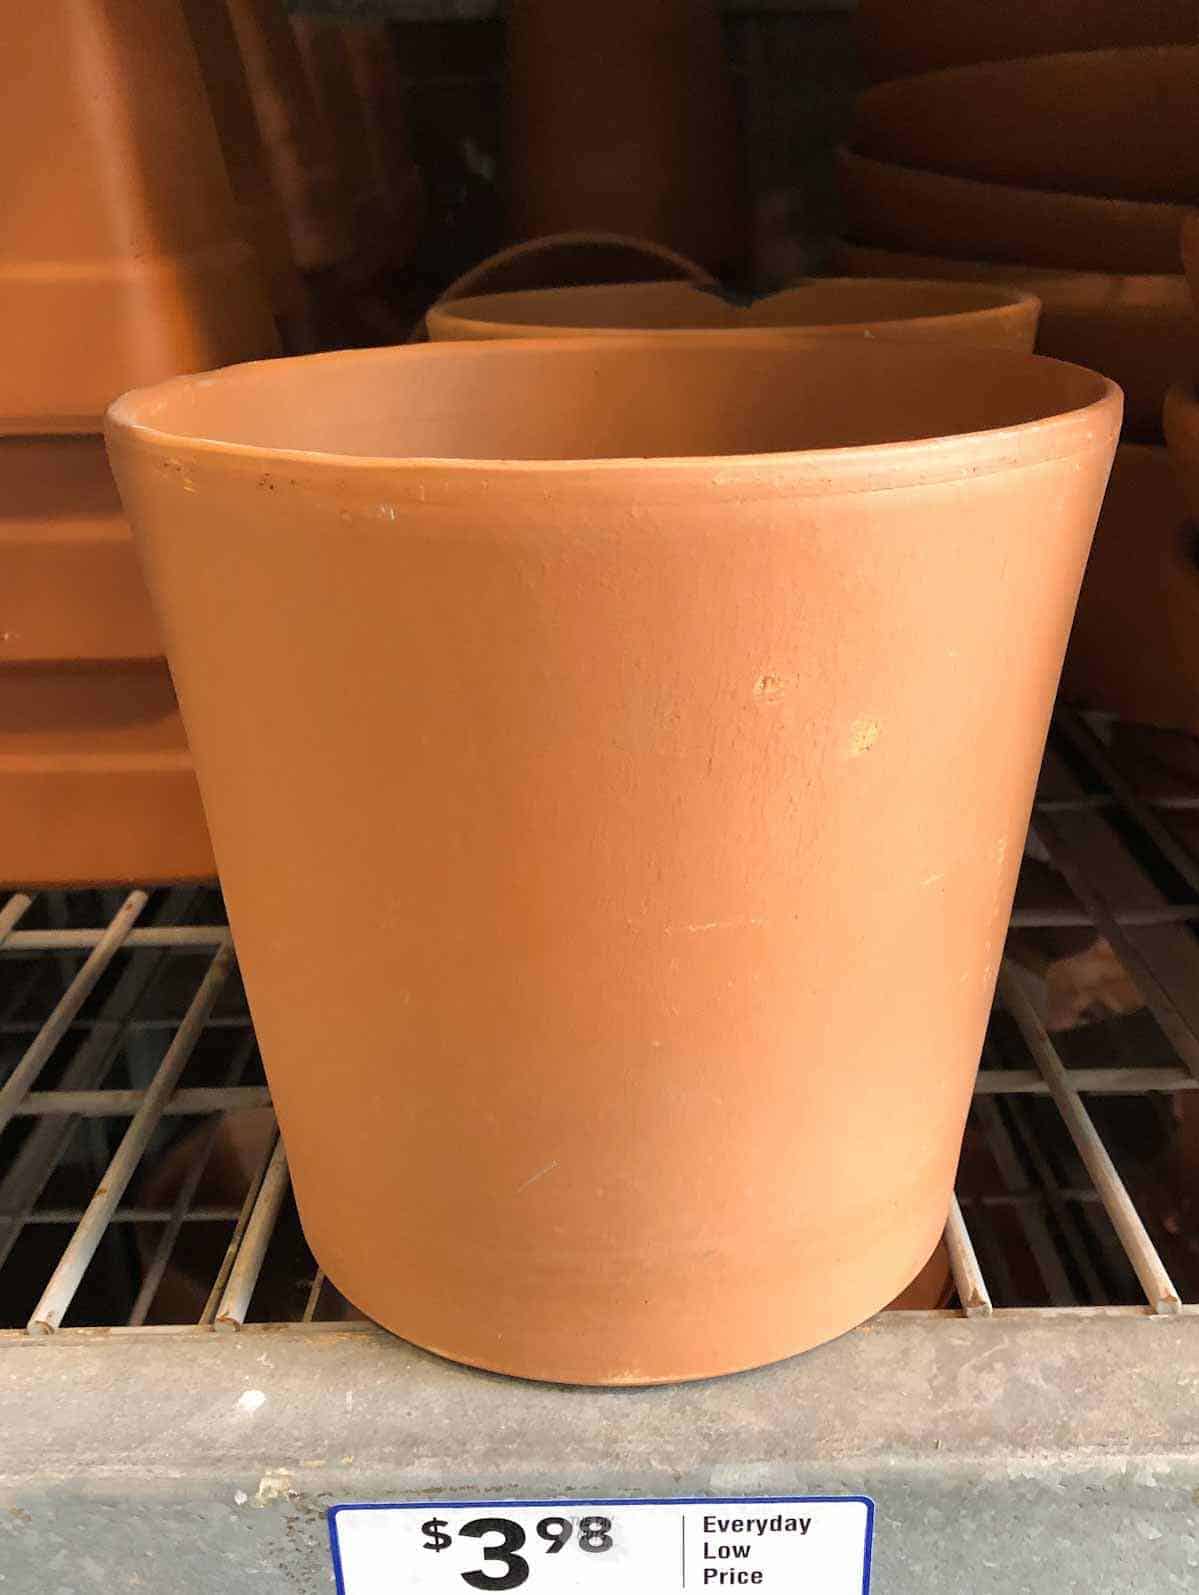
Do you have old terracotta flower pots that need updating? We hate paying the price for cool, larger, and modern pots! Use our step-by-step tutorial to get a marble effect using spray paint on flower pots in no time.
*Disclosure: I only recommend products I would use myself and all opinions expressed here are our own. This post may contain affiliate links that at no additional cost to you, I may earn a small commission. Read our full privacy policy.
We had been searching for fun DIY planter ideas for our new deck that wouldn’t break the bank. Creating DIY marble flower pots is the perfect budget-friendly DIY project.
How hard is it to do spray paint marbling?
Honestly, this was one of our fastest and easiest DIY projects to date. It is super fun to let the supplies work for you. If you are nervous, you can always experiment with different marbling techniques on smaller objects first.
SIMILAR DIYS: Check out how we got a marble effect of faux pumpkins or a similar look on nail-polished dipped mugs.
How much did this project cost?
My two terracotta marbleized pots cost only $6 each to make. We did not have to purchase new spray paint since we used leftover spray paints from previous DIY projects.
What is hydro dipping?
Technically this technique I am sharing is called hydro dipping or watermarbling. Hydro dipping is when you transfer paint from the surface of water onto an object.
In this case, we are spraying spray paint on the water to create a fun design and dipping our flower pot into it to print on the surface.

The fun part about spray paint marbling is that you can use this technique on more than just painted flower pots. We really hope to try this soon on large plastic planters and think it will really work.
Surfaces You Can Marble
You can choose many items to marble, and we have tried many of them. Consider using this painting technique on a variety of surfaces.
- Glass: old jars, cups and vases
- Ceramic: mugs, cups, decorative plates, vases and more
- Terracotta or Clay: spraying a base coat first will help as we did in this tutorial
- Metal: old trays and signs would look amazing
- Paper: decorative cards, bookmarks and more
- Plastic Containers: give those Dollar Store containers a fresh look
Just be careful if you want an item to be food-safe. I would not spray paint to be anywhere near where food or your lips would touch.
Supplies
Before You Begin
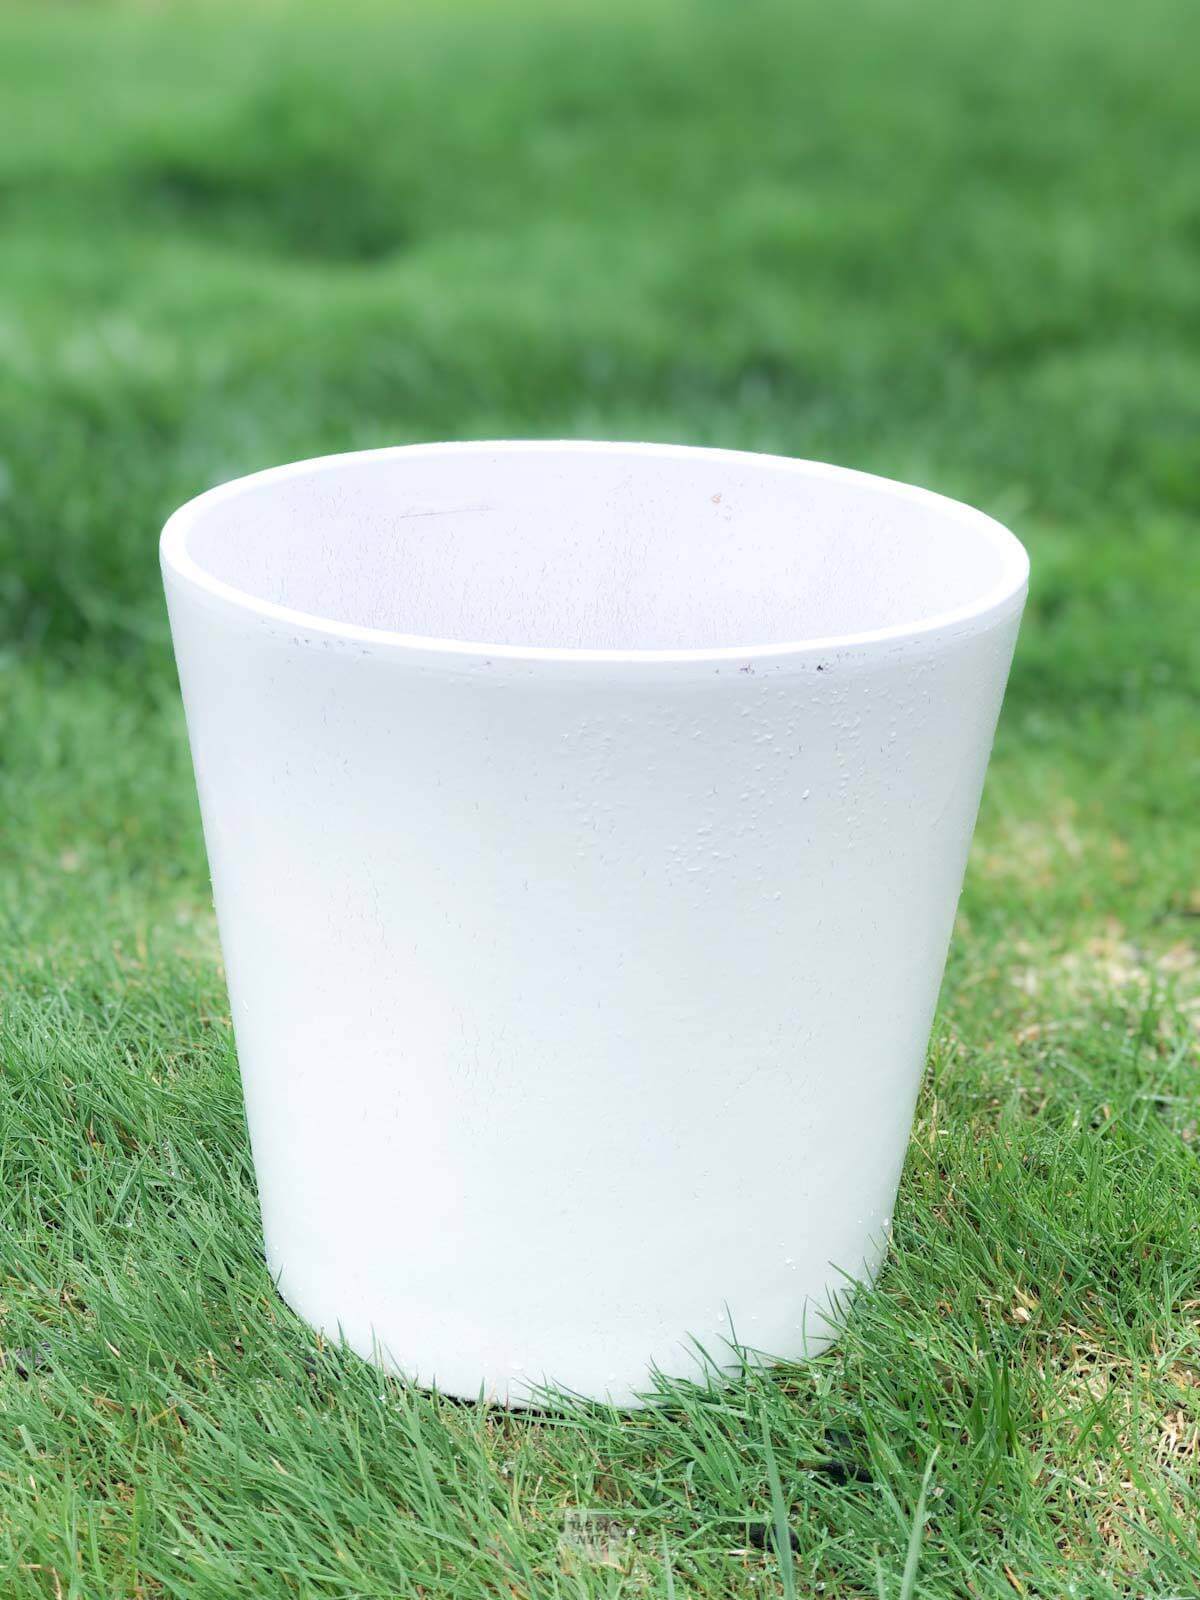
- Spray paint your terracotta pots with a base color (we used white).
- Let the pots fully dry overnight.
Your first white coat does not have to be perfect because the marble design will cover any imperfections. The terracotta pots soak up a lot of spray paint, so be prepared for this.
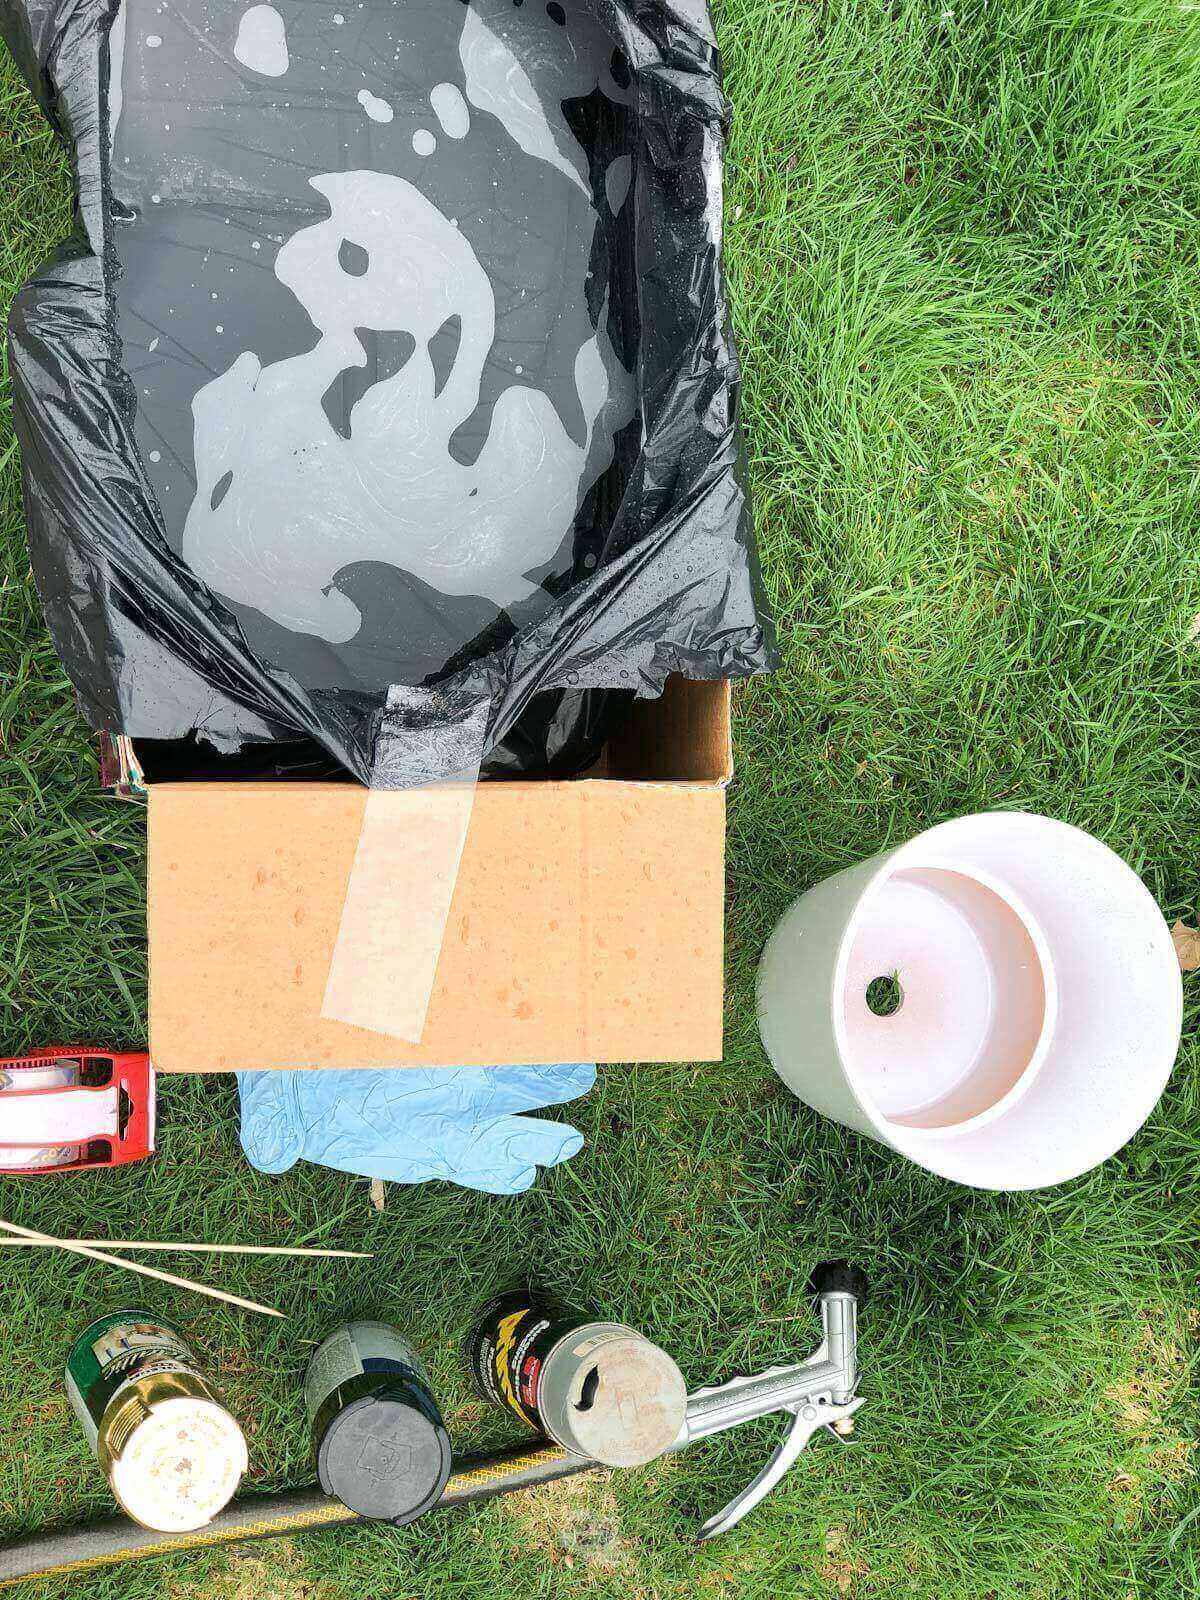
Create A Paint Dipping Station
Other DIY bloggers, will tell you to use a large plastic bin. I don’t know about you, but plastic bins can be expensive. I didn’t want to ruin a bin that would cost more than my whole project.
I came up with a better DIY solution.
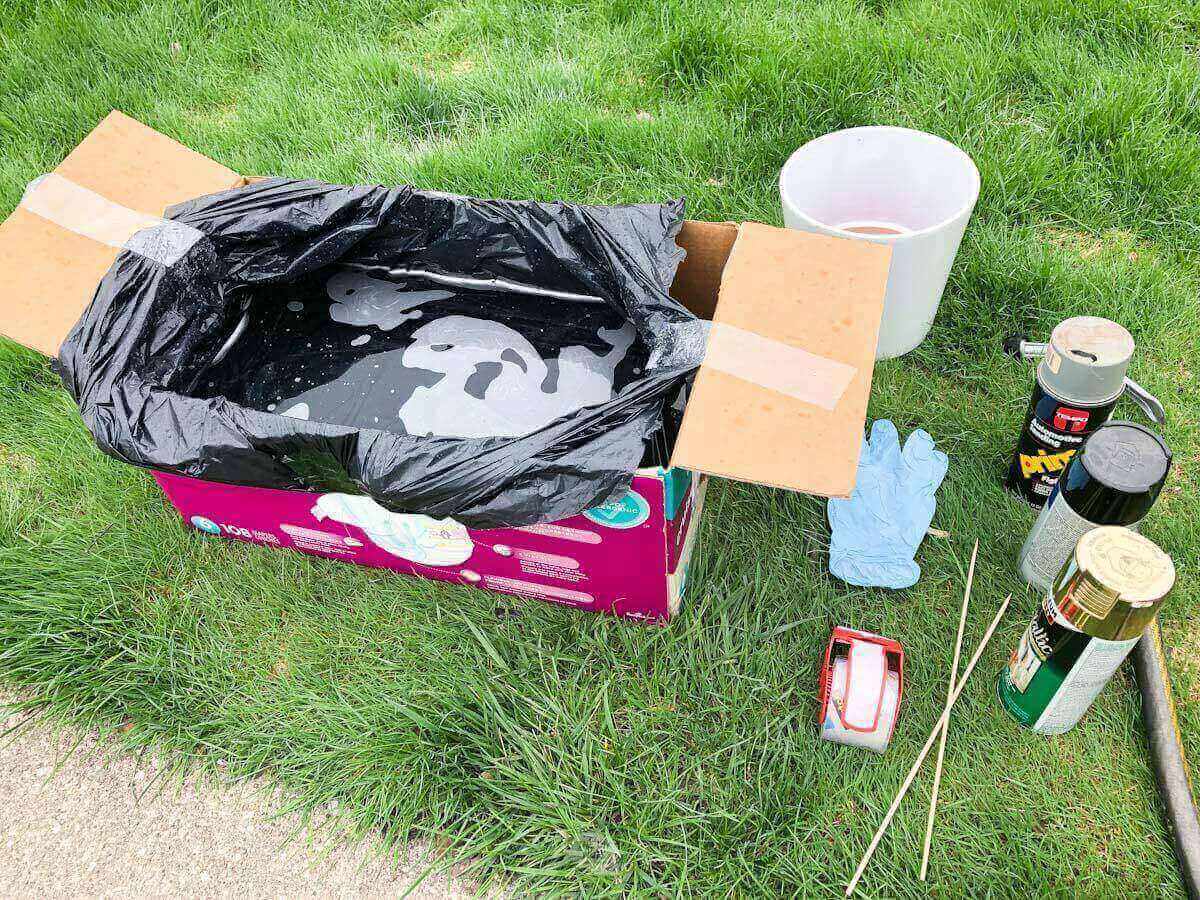
- Tape a large garbage bag inside a diaper box.
- Add water from a hose outside.
Now you have a waterproof dipping and marbling station ready to go.
Important tip: Work quickly! If you work too slowly or it is really hot out, you paint may not stick fully to the surface to give you the watercolor or marble look on your pot.
How To Marble With Spray Paint
Step 1: Fill With Water
Fill a container or homemade marbelizing station with water.
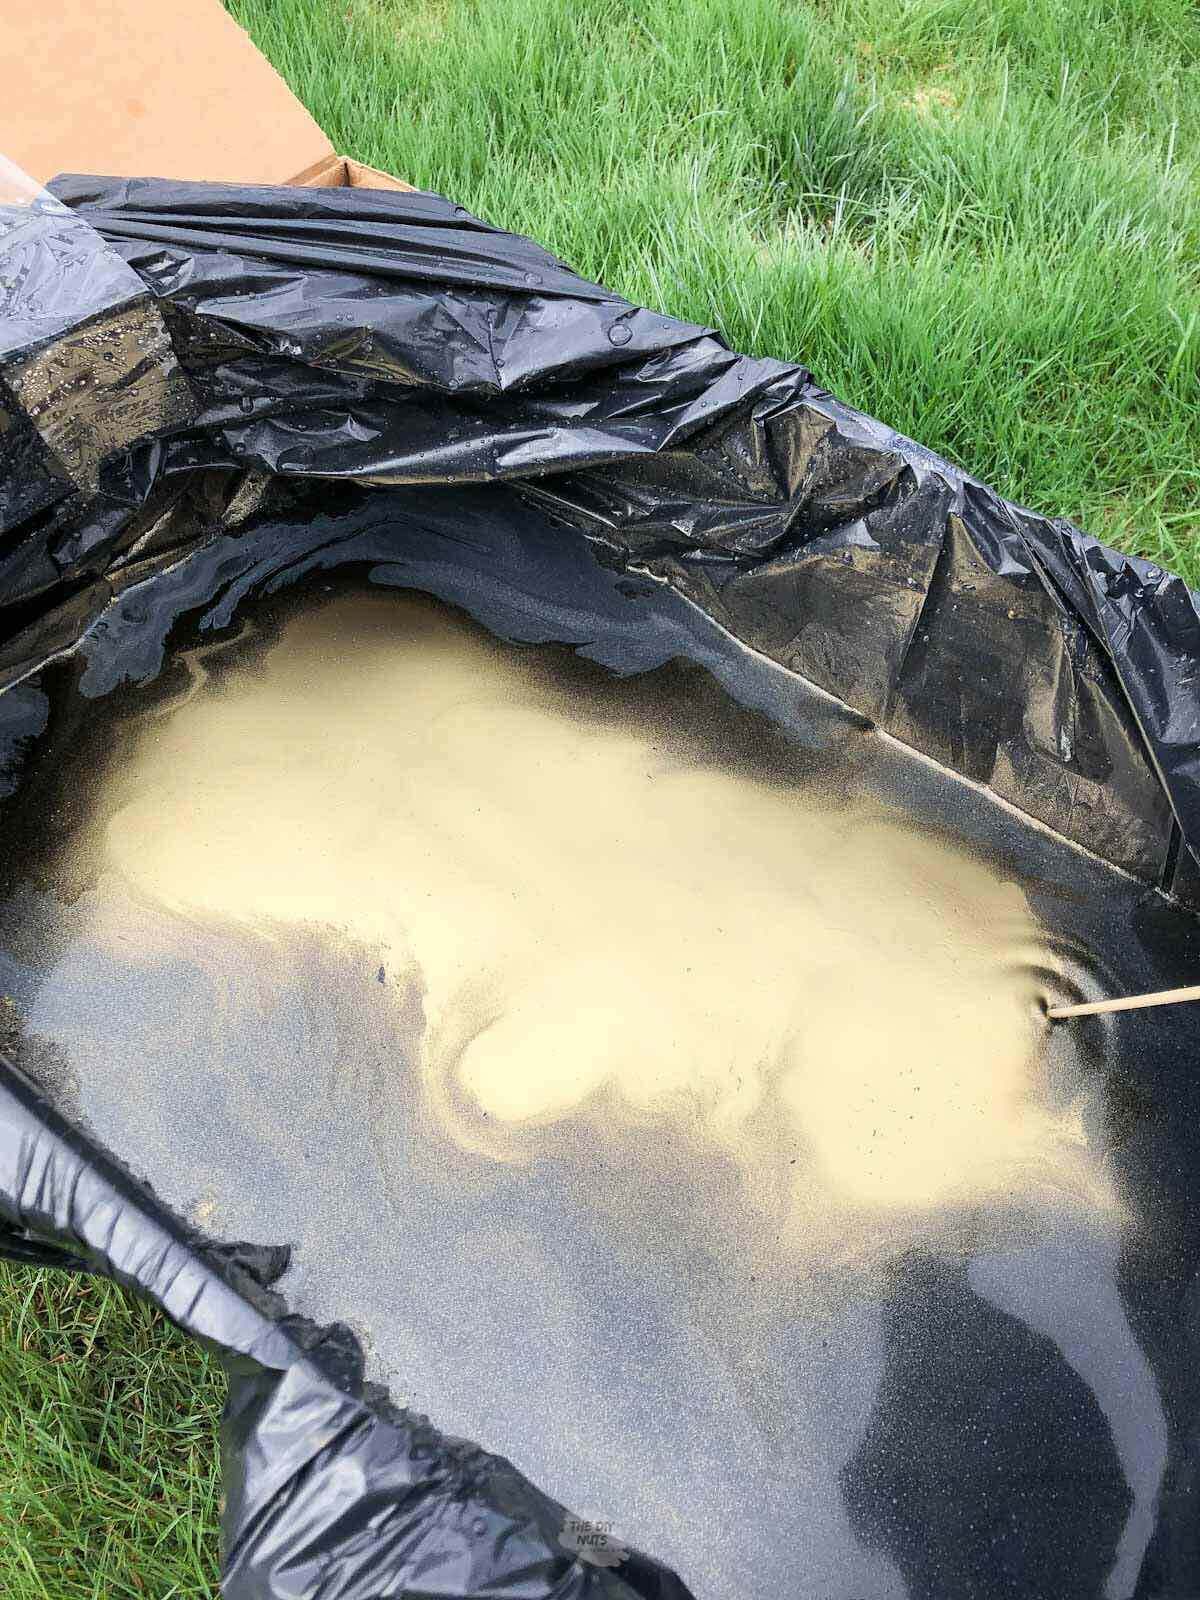
Step 2: Spray First Color In
Spray gray spray paint in water.
Step 3: Spray Second Color (Optional Third Color)
Spray black and then gold spray paint. If you feel comfortable spraying two cans at once, go for it.

Again, work quickly!
Step 4: Move Paint Around
As fast as you can, take a skewer and just move the paint around.
If the paint starts to stick to the skewer, you are moving too slowly! I used gray spray paint, but my guess is that black and gold would still give you the awesome marble design on your pots.
Step 5: Dip Pot
Dip the terracotta flower pots in the spray paint and water mixture.
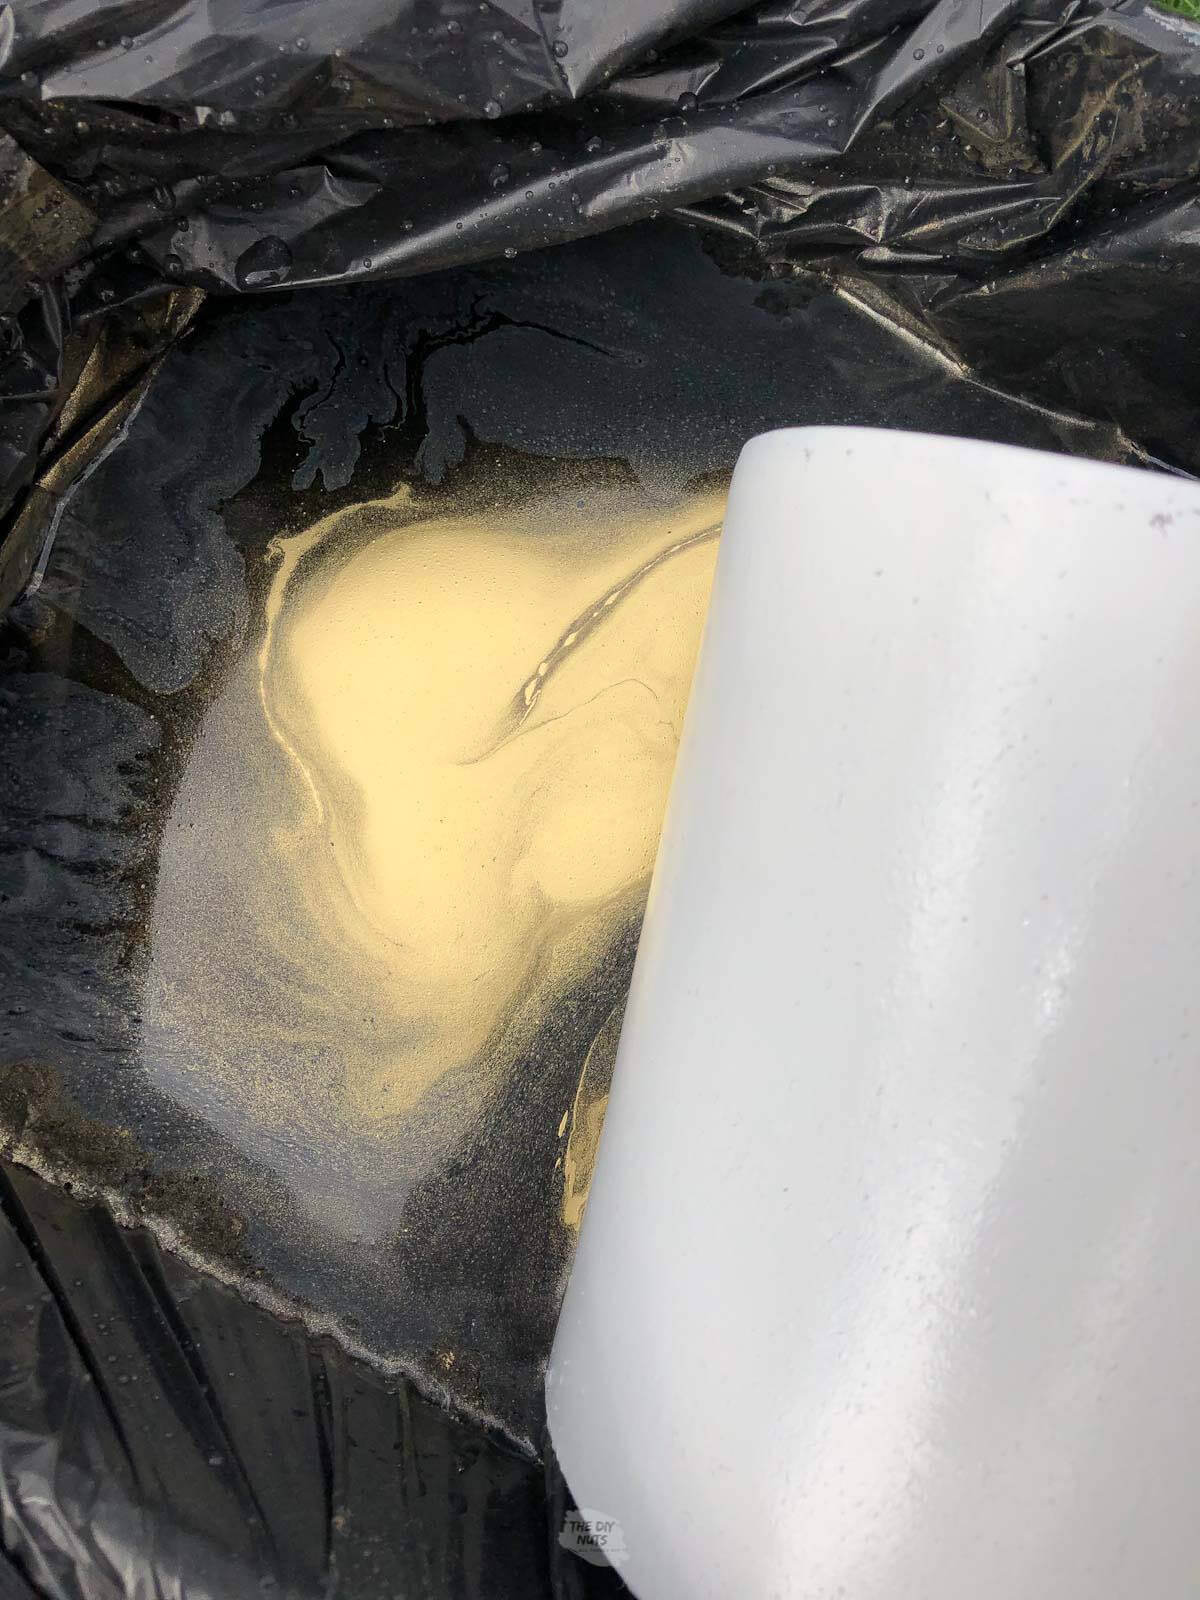
Step 6: Rotate Pot
As soon as you have all three colors in, dip your terracotta pot and rotate it to cover the areas you want.
Carefully pull out the painted flower pot when done and you have a beautiful DIY marbled pot. It is really that simple of a DIY project.
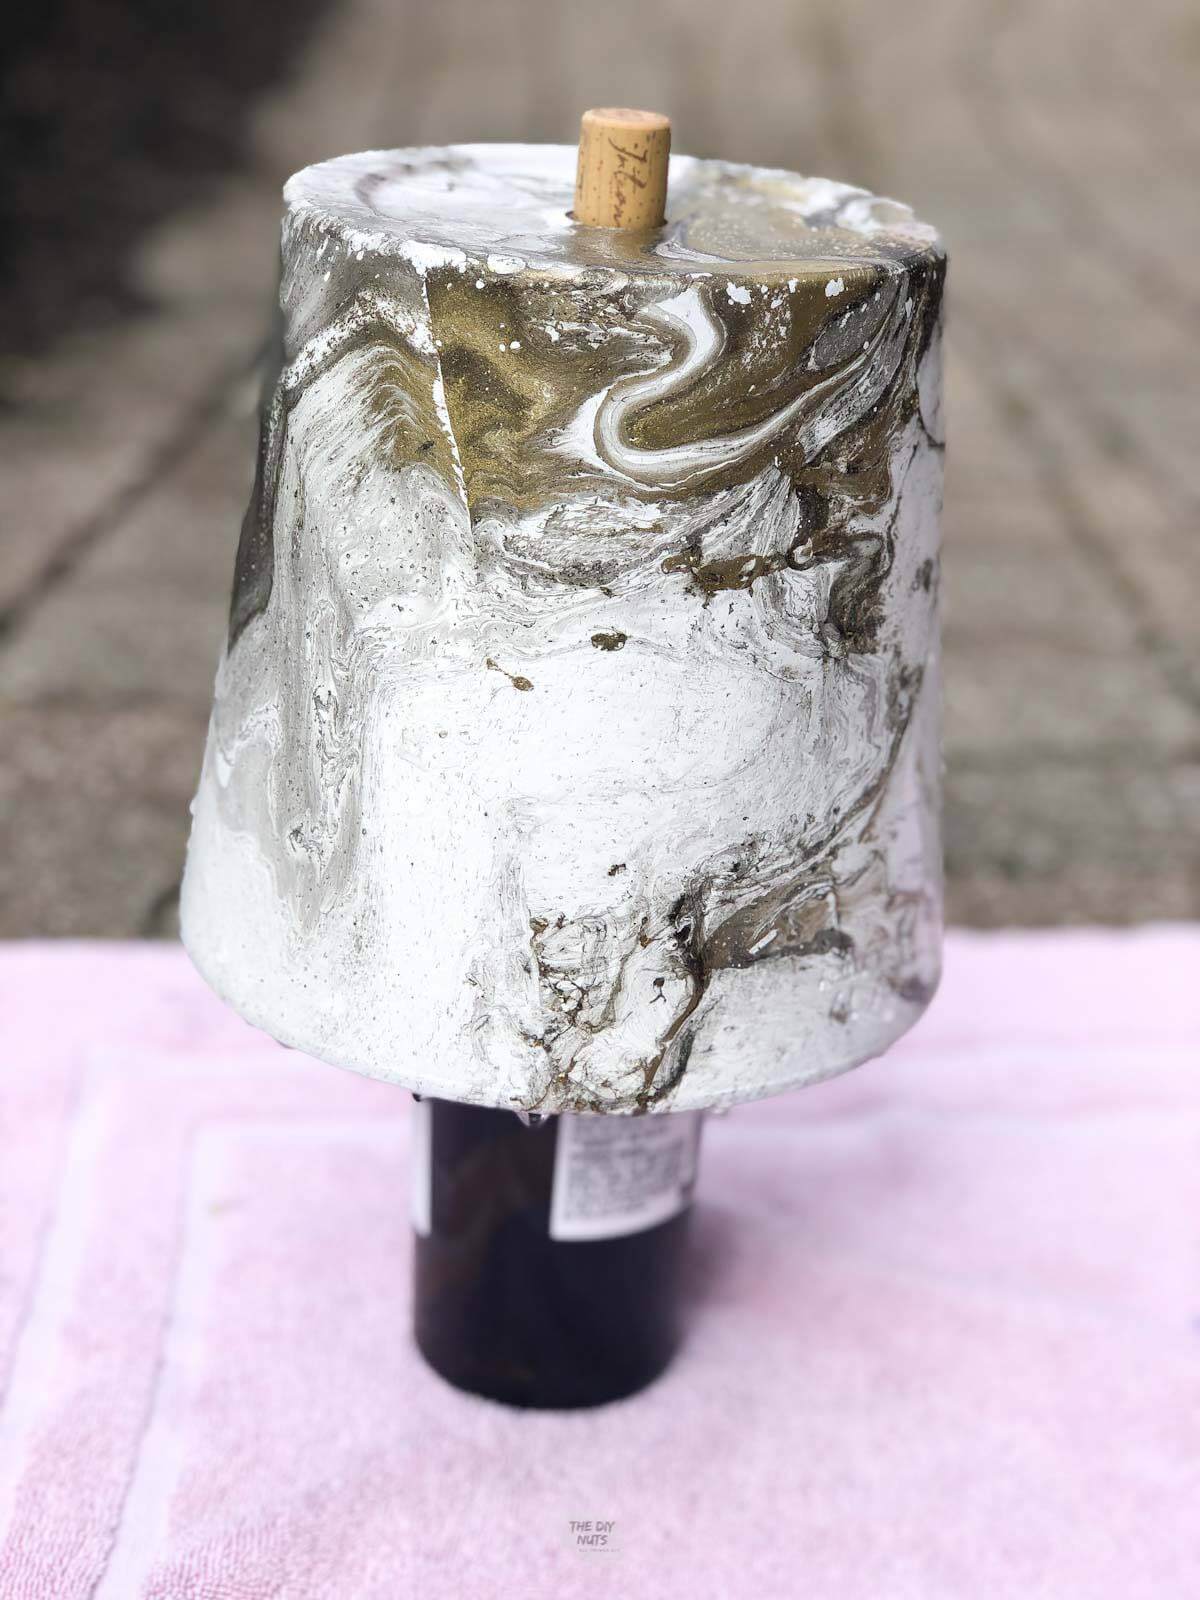
Step 7: Let The Terracotta Pot Dry
Drying tip
Depending on the size of your terracotta pots, you should be able to flip them over and place them on a wine bottle with the cork in to dry. As you can see in this picture, the wine bottle has a cork sticking out through the bottom of the flower pot.
This fits perfectly in the hole in the bottom of the terracotta pot.
Step 8: Add Clear Coat
After these dry for a few hours, use a clear coat spray to help seal the outside.
How To Reuse Dipping Station
If you want to dump the water between each dunk, go right ahead. However, I am all for not being wasteful, and I am a little lazy.

If you are not dumping water, use a wooden skewer and a small cup to scrape off the top layer of spray paint between each pot. As you can see, if you do not work quickly, you will be left with a not-so-great spray paint film stuck to everything.
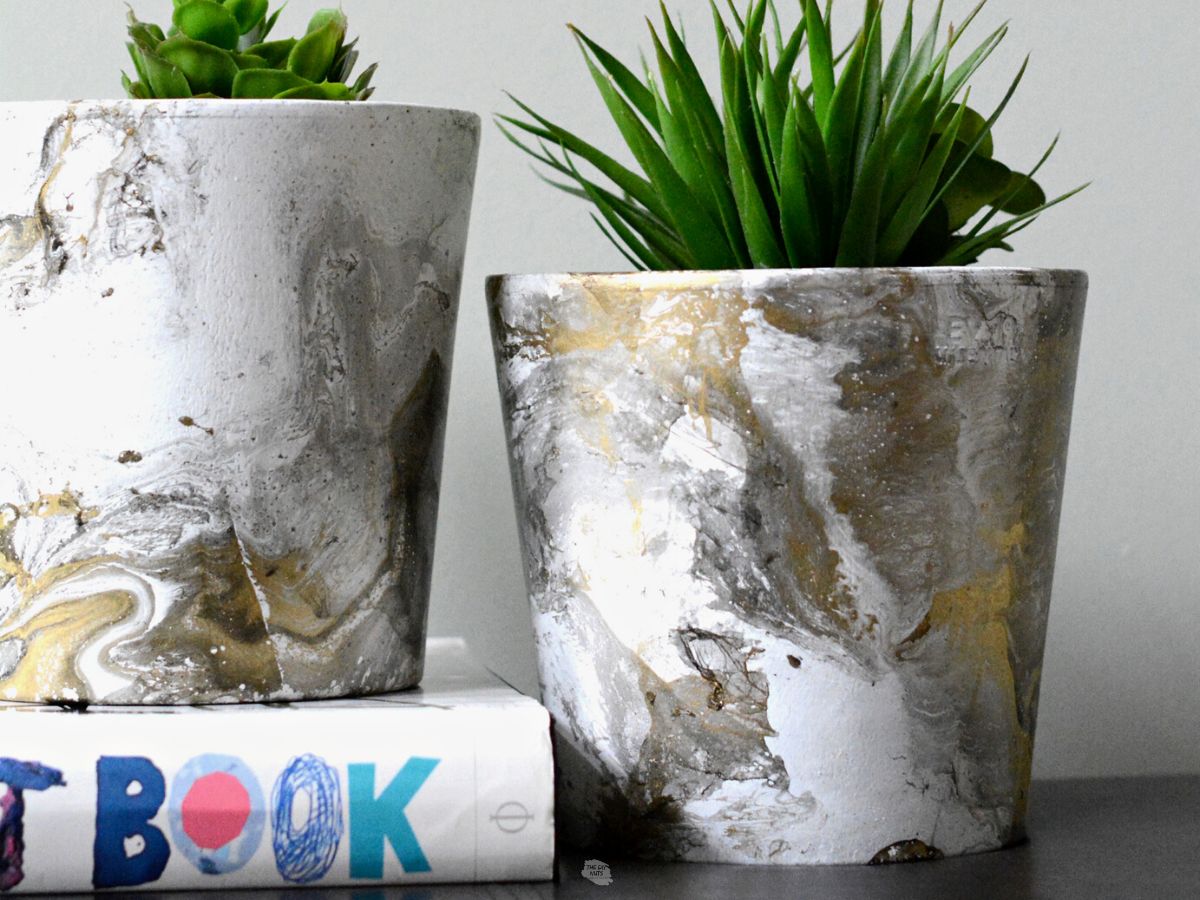
Before And After Painted Pot
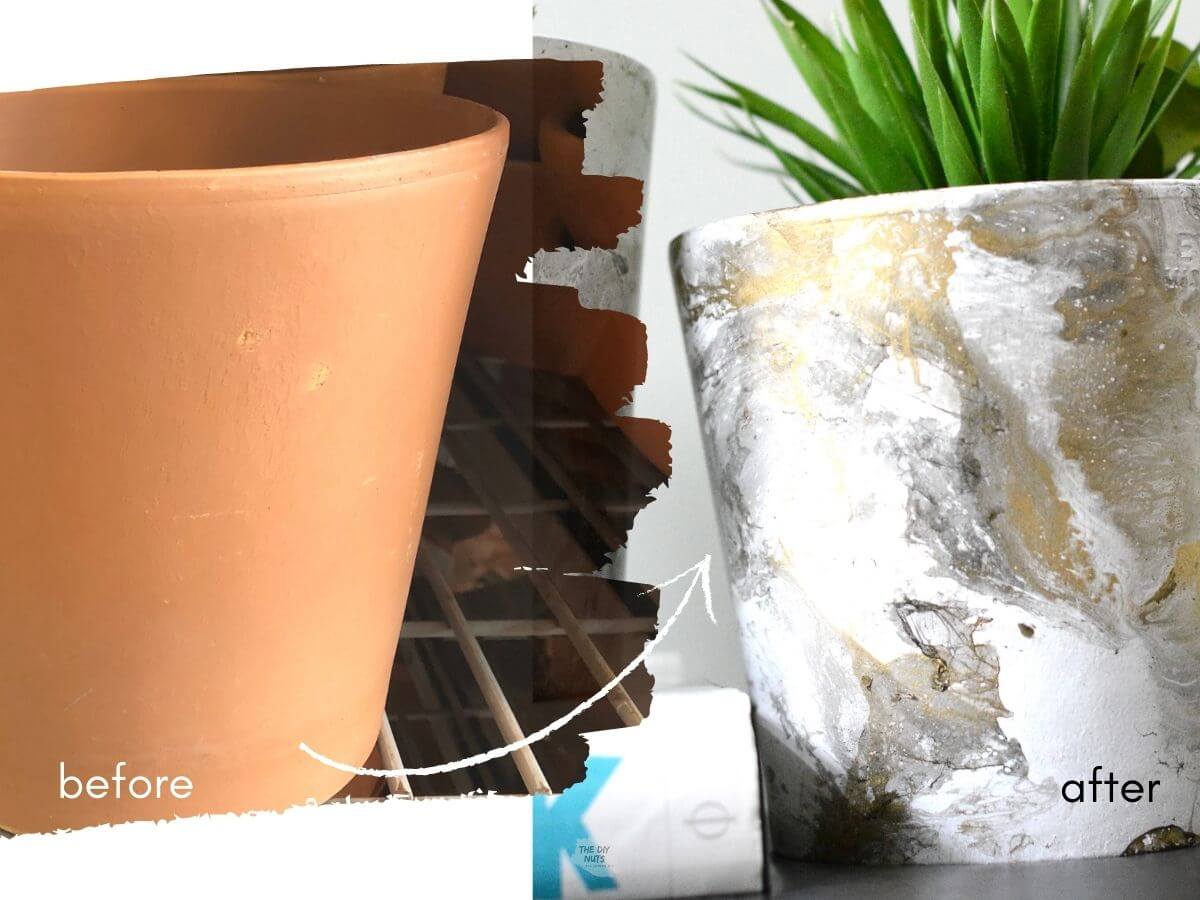
We are still in awe at the marble effect we are able to get with spray paint. While this project may take a little getting used to, the results can be better than you expected.
If you are like us, we sometimes have DIY mistakes! We didn’t do accidentally spray paint in extra places on this project. However, if you need to know how to remove spray paint from glass this may be helpful.
How-To FAQs
Yes, we have made a faux marble look on white ceramic mugs before. Using nail polish will be more expensive than using spray paint to paint your terracotta flower pots.
There are a few options you can use to get a marble look with paint. You can use spray paint, nail polish or acrylic paint dipped in water to create a fake marble.
Sealing your clay pot will affect its breathability and you may risk overwatering your plant as your pot will retain moisture. However, if you don’t seal your painted pot, then your paint may not last as long.
Since most spray paints are oil-based, your colors will sit on top of the water.
Related Posts
- DIY Outdoor Dining Room Table
- 25 Clever Spray Painting DIY Projects
- How To Paint Cabinet Hardware For An Easy Makeover
Follow us on Pinterest, YouTube or Facebook for more DIY inspiration!
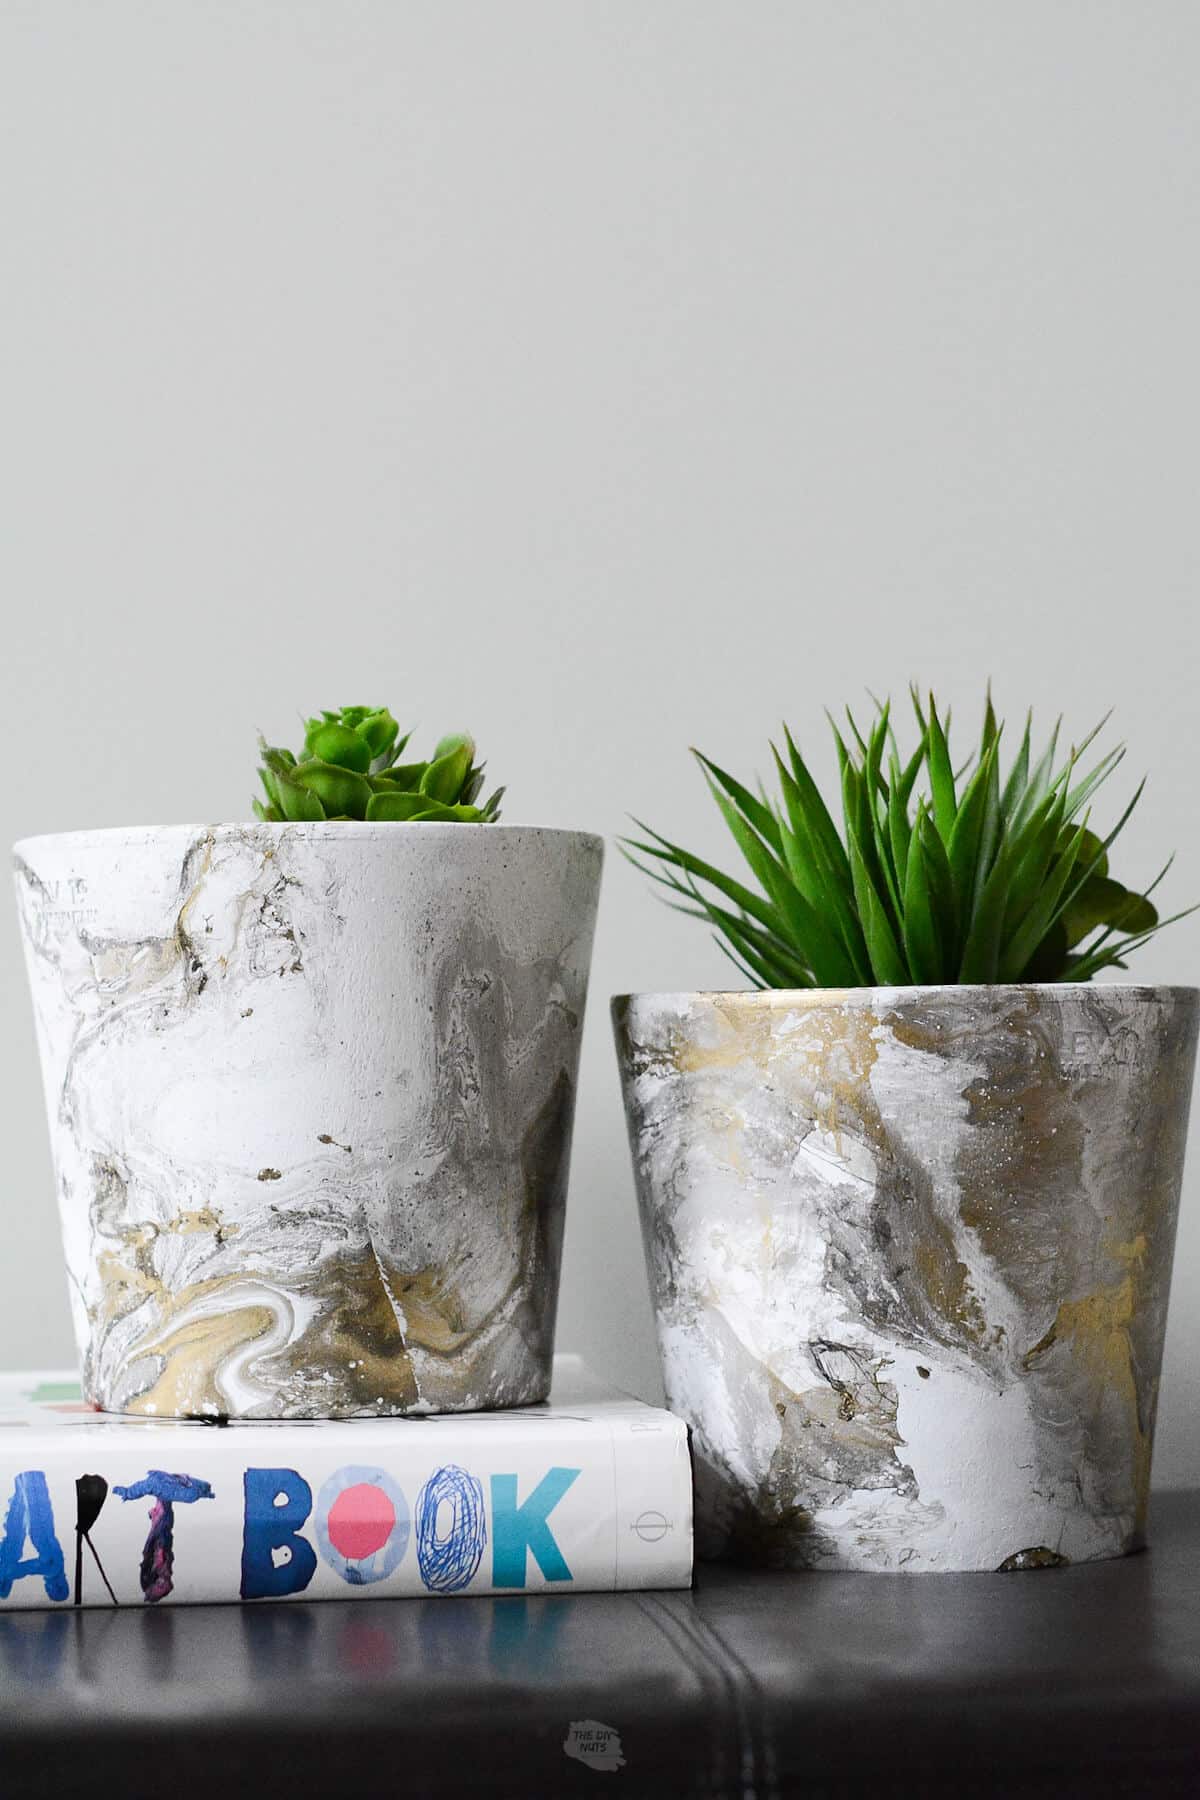
We hope you loved this DIY marbled flower pot tutorial. We love that we turned a boring terracotta pot into an expensive-looking one. Now you can grab any item that needs a makeover and give spray paint marbling a try.
If you like this tutorial, please give it 5 stars below 🤩🤩🤩🤩🤩. Your support helps us continue to provide unique and budget-friendly DIYs.
How To Marble With Spray Paint

Equipment
- Large Box with plastic bag or plastic tote
- Packing tape
Supplies
- Terracotta Pot We love these modern looking ones
- White Spray Paint with Primer Built-in
- At Least Two Other Colors of Spray Paint
- Wooden Skewer
- Latex Gloves if you don’t want to get messy
- An old wine bottle for drying
- Outdoor Sealant I will be resealing mine after two summers outside with this product
Instructions
- Use a large plastic bin or make your own box with a large garbage bag that water can go in. You need to fill the box with enough water so that you will be able to dip your pot in it.
- Use white spray paint to put a base coat on your terracotta pot. You only need to spray a little on the inside. No need to waste spray paint.
- Let the paint dry. It should not be tacky.
- Use two different colors of spray paint. Quickly spray both colors in the water.
- Use the skewer to move the paint around.
- Pick up the pot and carefully dip it into the water. Roll the pot around so that all sides get covered.
- Place the terracotta pot upside down on the wine bottle so it can dry. Allow to fully dry as it should not be tacky to the touch.
- Use a clear coat spray or with a brush to fully protect your faux marbled flower pot.
Video
Notes
- You could use any color combinations you would like with this project. You just might want to stick with colors that you know will mix well together.
- Make sure to work quickly when spraying and dipping your painted flower pot.
- The weather can also effect your outcome especially if it is too humid or hot out.
These turned out so awesome! I can’t wait to try it for myself! Happy DIY-ing!
Thank you! I was very HAPPY with how the three colors worked. Just make sure to work quickly!!!!
I absolutely love these marble pots and the cups! Sounds like a Christmas gift idea!
These are awesome! I love your tutorial too – super helpful for knowing how to do it without a huge mess! I’ll be trying this with my daughter for Mother’s Day gifts. 🙂
Awesome! I even want to try large plastic planters sometime! I will let you know how it goes!
These turned out looking amazing! Will definitely have to try this!
@Erin,
Just curious if you tried the plastic pots & how it turned out. Thank you!
Hey Rachel. I did do small plastic pot and they worked as well. They didn’t have as much depth in the design as the terracotta pots. You can see where we also did this same method on faux pumpkins to see the spay paint on a different material.
These turned out great. I want to try some since I have some old and faded pots I think this would give them a new life. Happy Mother’s Day, Kippi #kippiathome
I love how these pots turned out! Such a fun project!
These turned out great. I tried the nail polish technique before but it didn’t work for me so will be giving the spray paint version to try. Cool DIY!
Just work quickly! That is the biggest thing I found. Also, my guess is the temperature outside would matter.
This is the best, I’m seriously blown away that you were able to make something that looks like a designer pot in the store shelves. I’ll definitely be saving this to Pinterest and try it myself one day!
Erin, you sound like such a fun person and I would think anything done with you would be an awesome experience. The cup marbling – you can actually bake the cup in the oven and use safely for drinking afterwards. Can’t remember offhand the tempreture or length of time but it is on Pinterest. I will definitely come back just to have you make me grin. Wonderful.
Hi Vilma! Thanks for the kind words. I will have to look into baking the nail polished marbled cup. I have experimented with a mug decorating technique using oil-based sharpies where you bake it, so I am sure that is a similar idea.
These are so fun and pretty! I can’t wait to try this.
Hi Jennifer! They are so fun! I absolutely love how quickly I was able to get a fun paint flower pot! I want to try this on large plastic pots next year.
I tried these right away on a cement coaster. It looks good but I got a lot of air bubbles beneath the paint. Do you have any ideas why that might happen?
Hi Carla, I wonder if you stirred (or swirled) the paint too fast with the skewer before dipping your flower pots. I may have had a few bubbles, but nothing that really ruined my design. They would have just popped and left an imprint. Did you make sure the white coat of spray paint was completely dry? The biggest issue I encountered was working quickly in the hot weather.
Love the marblized pots. How much water did you use and did you empty spray cans of paint completely?
Hi Maureen. I put enough water in the boxes so that I could dip the flower pot completely without hitting the bottom. Also, for this DIY flower pot project you only need a quick spray of each color. You have to work very fast so you do not want to spend too much time spray the paint. Good luck with your project.
Hello! I was wanting to do this with glass vases. I have black and grey spray paint and I already have gold acrylic paint. Do you think that would work mixed in?
Thanks!
Hi Jacinda. I haven’t tried mixing the two types of paint. This sounds very interesting and we may need to try it out. I would recommend testing the hydro dipping technique on something small first (even a dollar store glass vase before testing it on your real ones). You also could see how the paints mix by doing it quickly and dipping a piece of paper to see what happens. Good luck and I would love to hear how it goes.
Very interesting! Gonna try this! Love nice flower pots.
Hi Patricia. Just work quickly and have fun trying spray paint marbling!
Those pots are beautiful and the colors are fantastic! How do you hold the pot when submerging into the paint? On the inside and bottom?
Hi Lisa. Thanks so much for the kind words. This was definitely one of those DIYs that shocked me with how well they came out! I held the pot on the top and just go my hand a little messy. For some of the pots I didn’t dip all the way and rotated so there was still white showing on some parts at the top. Holding from the bottom hole though would also really work well.
I just love them.
Thanks! It is super fun DIY project!
Do you think you could use this on a wooden box if you put a primer on first? Like KILZ?
Hi Deborah. I do think it would work but you may want to use a spray paint with primer built-in inside of brushing on. Let us know how it goes. You may also be able paint the surface and then use nail polish, too (Like these marbled mugs).
I love this!
Thanks Shari!
Perfect instructions. I am just wondering how do you keep fingerprints on the object in the dipping process.
This definitely is a little bit of a challenge. Since these had some white spots that is where I was holding them. You can also do a partial dip if you are really concerned or do another small dip after the main one dries.
What about the inside of the pot, and holding the pot not to leave marks.
Hi Walda. I left the inside of the pot terracotta and only painted the top part of the inside white. You can do two dips to change the position of your hand or leave some white so that you don’t have to worry about where your hand is holding the pot. You could also try to hold it from the hole in the bottom to dip in. Good luck with your painted flower pot.
Looks fantastic on my bucket list to do
Thanks Sandi. It is a fun DIY! We love all the different results you can get.
Sounds simple enough but I know it isn’t! I’m hoping there is a video I can watch to see how’s it’s dipped?
Hi Laurie. I have a video using a similar technique to decorate small pumpkins. Unfortunately when I made those pots I only took pictures really quickly because you have to work fast!