Easy Hydro Dipped Painted Pumpkins

Do you love decorating for Fall but don’t always want everything to be orange? This fun painted faux pumpkin craft can be done in less than 20 minutes (minus dry time) and costs under $5!
*Disclosure: I only recommend products I would use myself and all opinions expressed here are our own. This post may contain affiliate links that at no additional cost to you, I may earn a small commission. Read our full privacy policy.
I grabbed these faux pumpkins for really cheap at the end of the season. I knew they would make the perfect Fall decoration. Come along and learn how to water marble using your leftover spray paint.
How Do You Create A Marble Effect With Spray Paint
Because most spray paints are oil-based, they can create a fun effect on the water. Essentially you are hydro dipping by floating the spray paint on top of the water before dipping.
We have used the same technique to create fantastic marble terracotta pots.
Recommended Supplies
- Faux Pumpkins-sometimes, you can find small pumpkins at the Dollar Store. These were bought at Michael’s after the season last year for under $1. We love 70% off sales!
- White Spray Paint With Primer– We use a glossy finish to give a fun, almost ceramic look.
- 2 Additional Colors of Spray Paint– We used gold spray paint and black.
- Wooden Skewer
- Old Plastic Bin or Bucket

DIY Painted Pumpkins Instructions
Before You Begin
Set up your paint station and make sure your pumpkins are dust-free.

Step 1: Spray Faux Pumpkins White
Use large sweeping motions to cover pumpkins with white gloss spray paint. Let the spray paint fully dry.

Step 2: Fill Water Container and Gather Spray Paints
Your container only needs a little bigger than your pumpkins. We used a Dollar Store container. You will probably ruin the container so don’t use one you love.

Step 3: Add Spray Paint To Water
You will need to do this very quickly. We sprayed gold and then black spray paint.

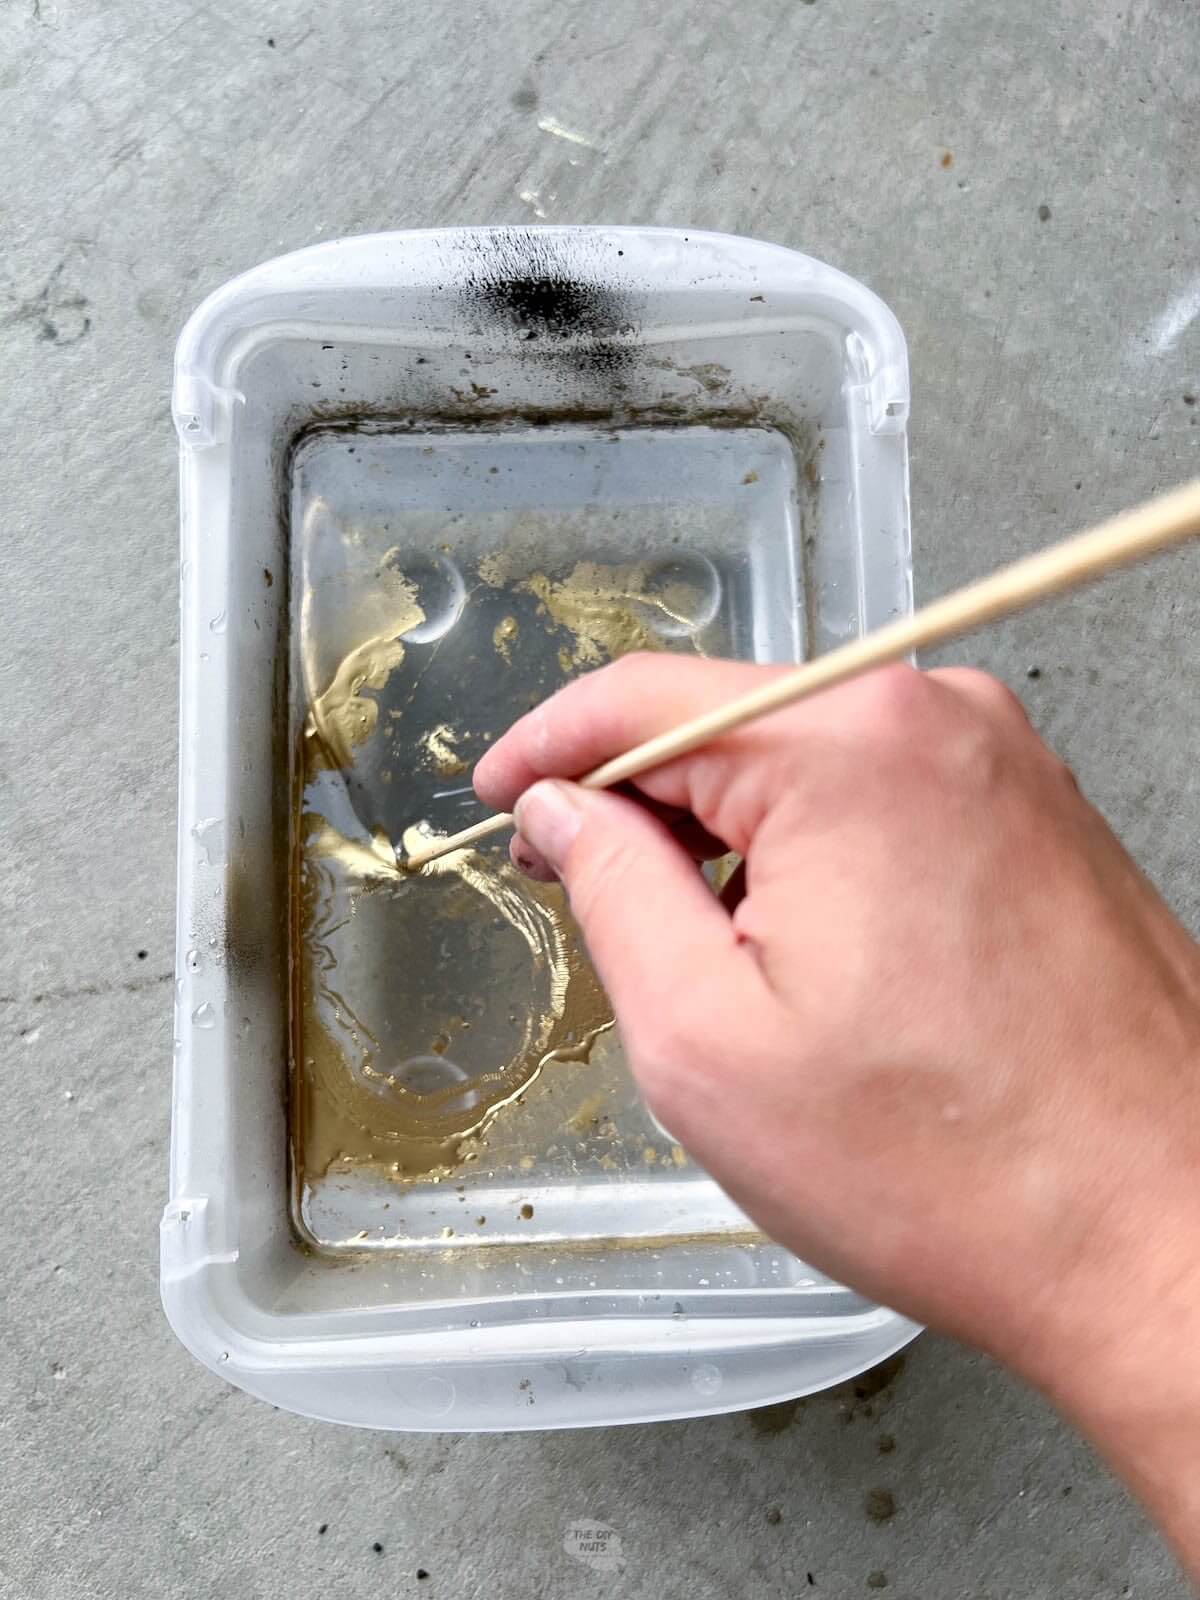
Step 4: Swirl Paint Around
Use a skewer to swirl the paint around. You don’t need to mix it too much.
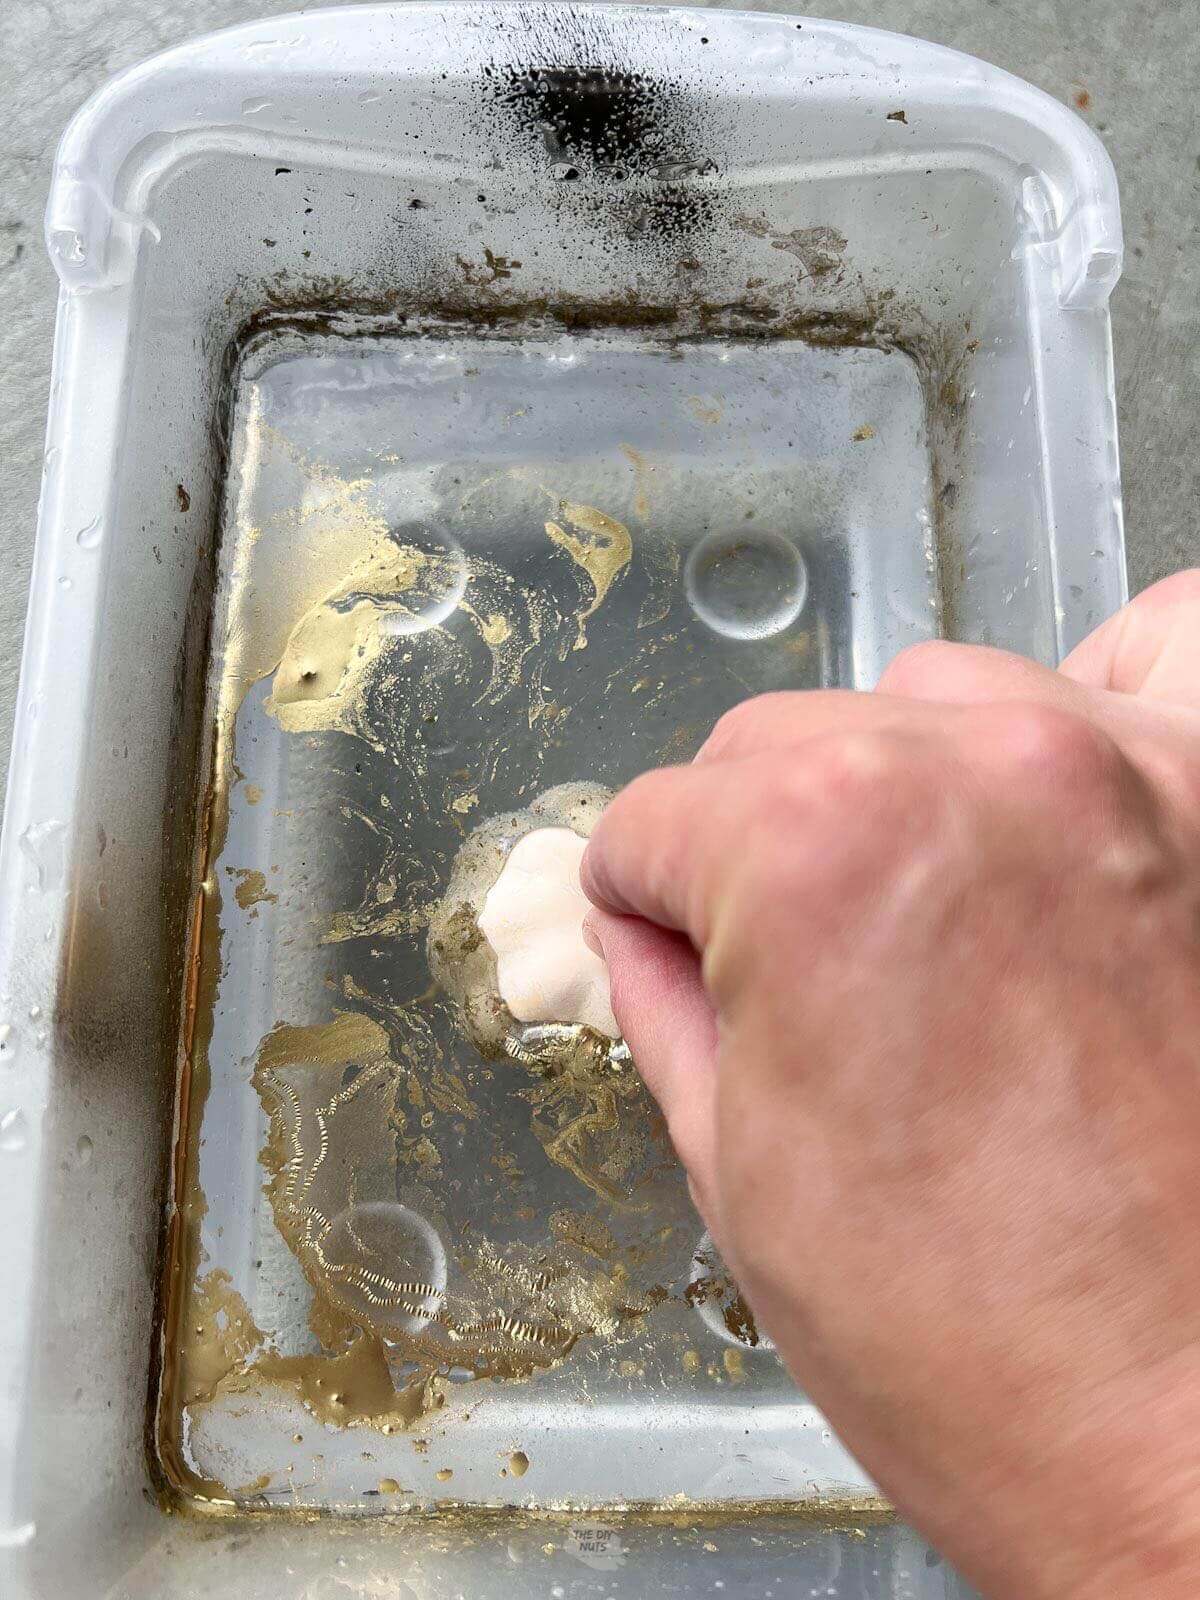
Step 5: Dip Pumpkin In Water
You will see how the paint attaches to the pumpkin when you dip it. You can twist the pumpkin before pulling it out.
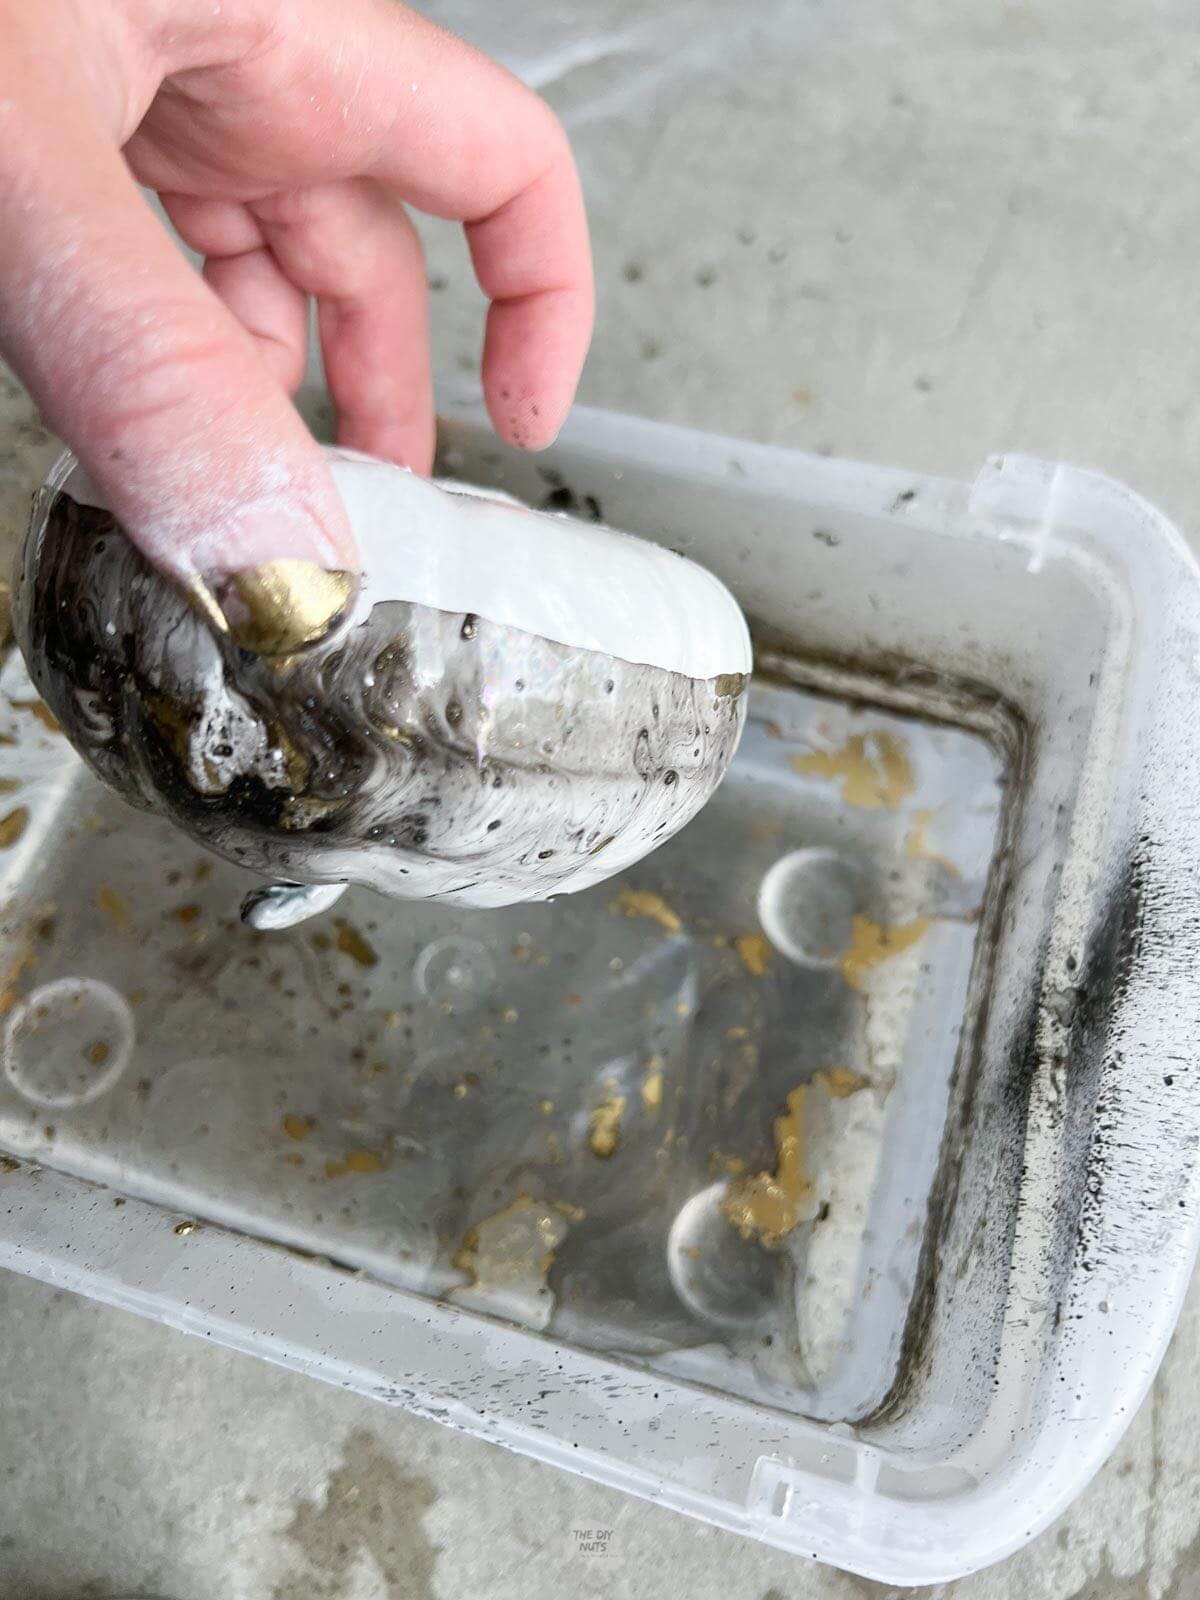
Step 6: Pull Pumpkin Out
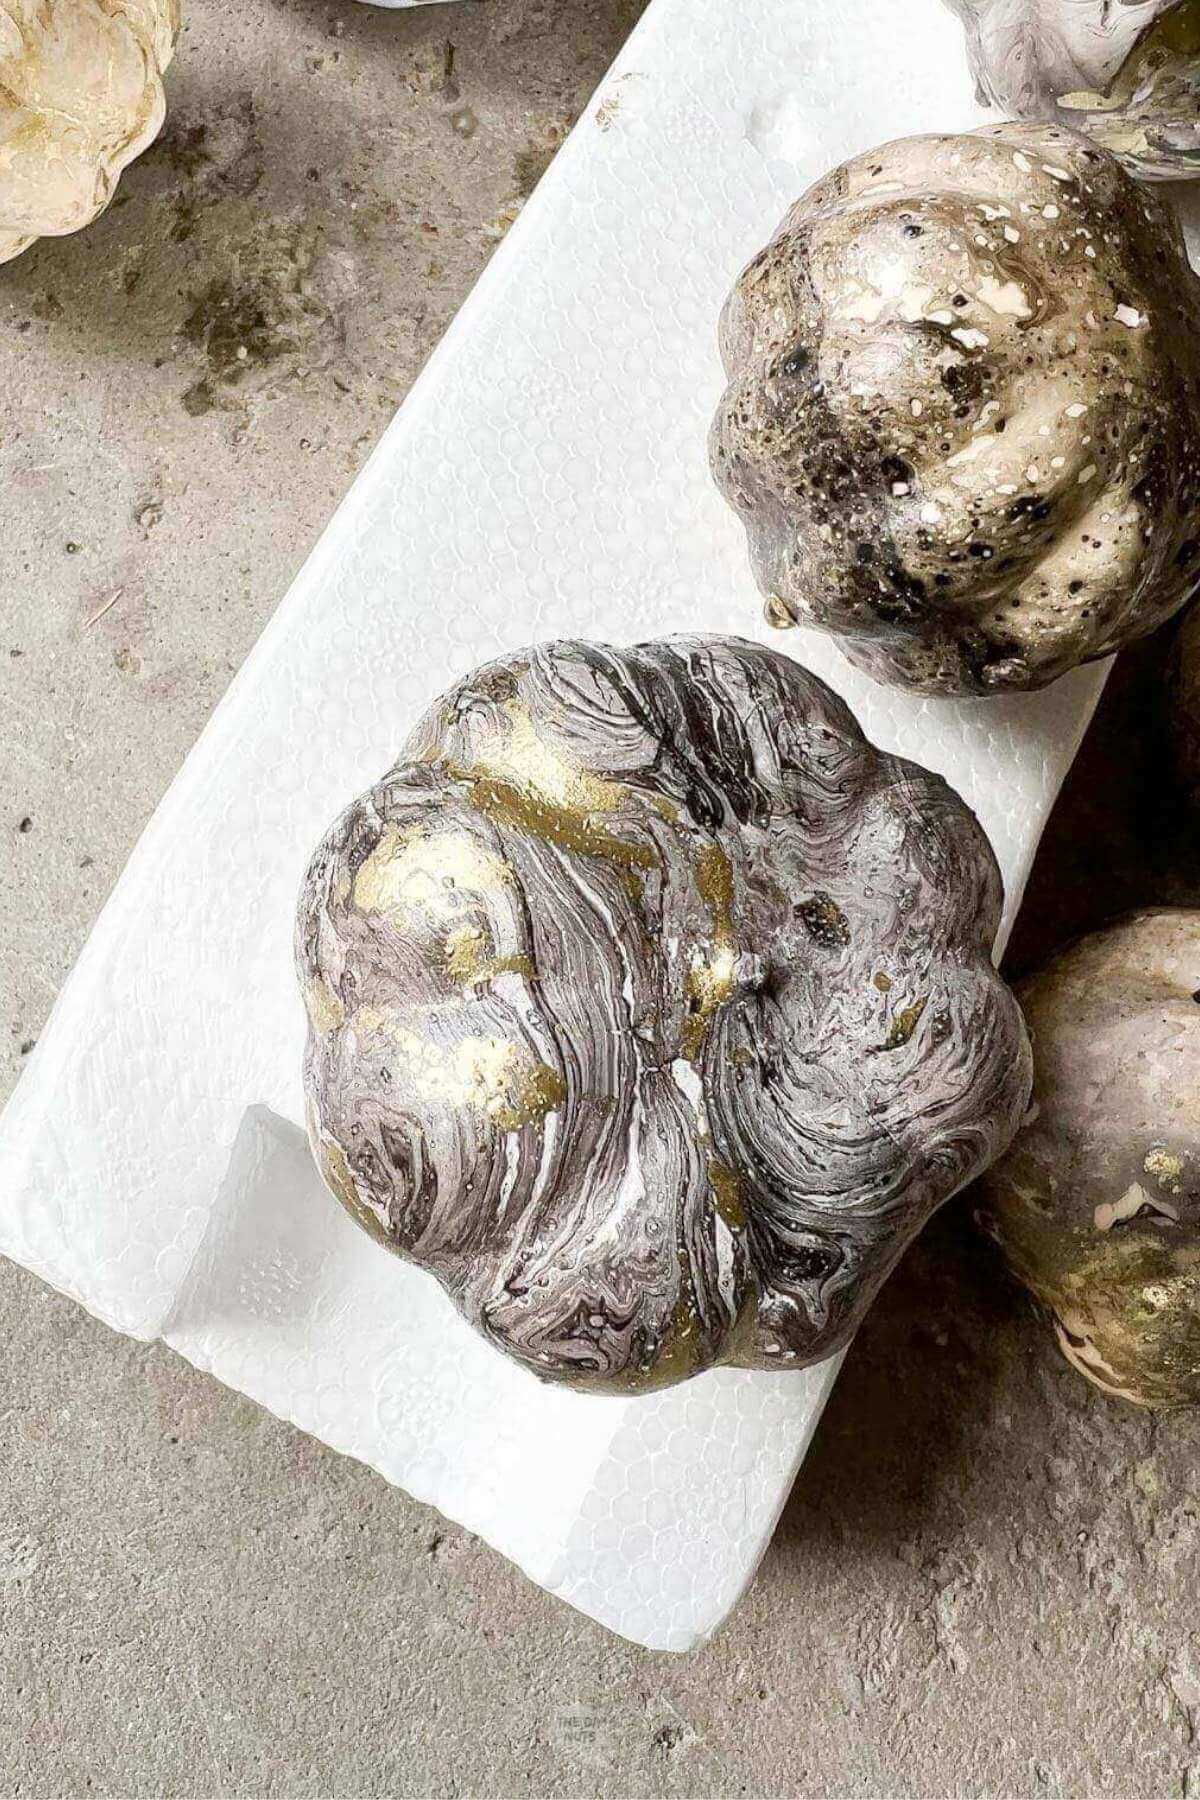
Like in this picture, you can dip the whole pumpkin or just half of one.
Note: You may want to wear gloves if you don’t want your hands covered in spray paint.
Step 7: Prop Up To Dry
It’s a little difficult if you dip the whole pumpkin. For the ones that were completely dipped, we used old Styrofoam to stick the stems in.
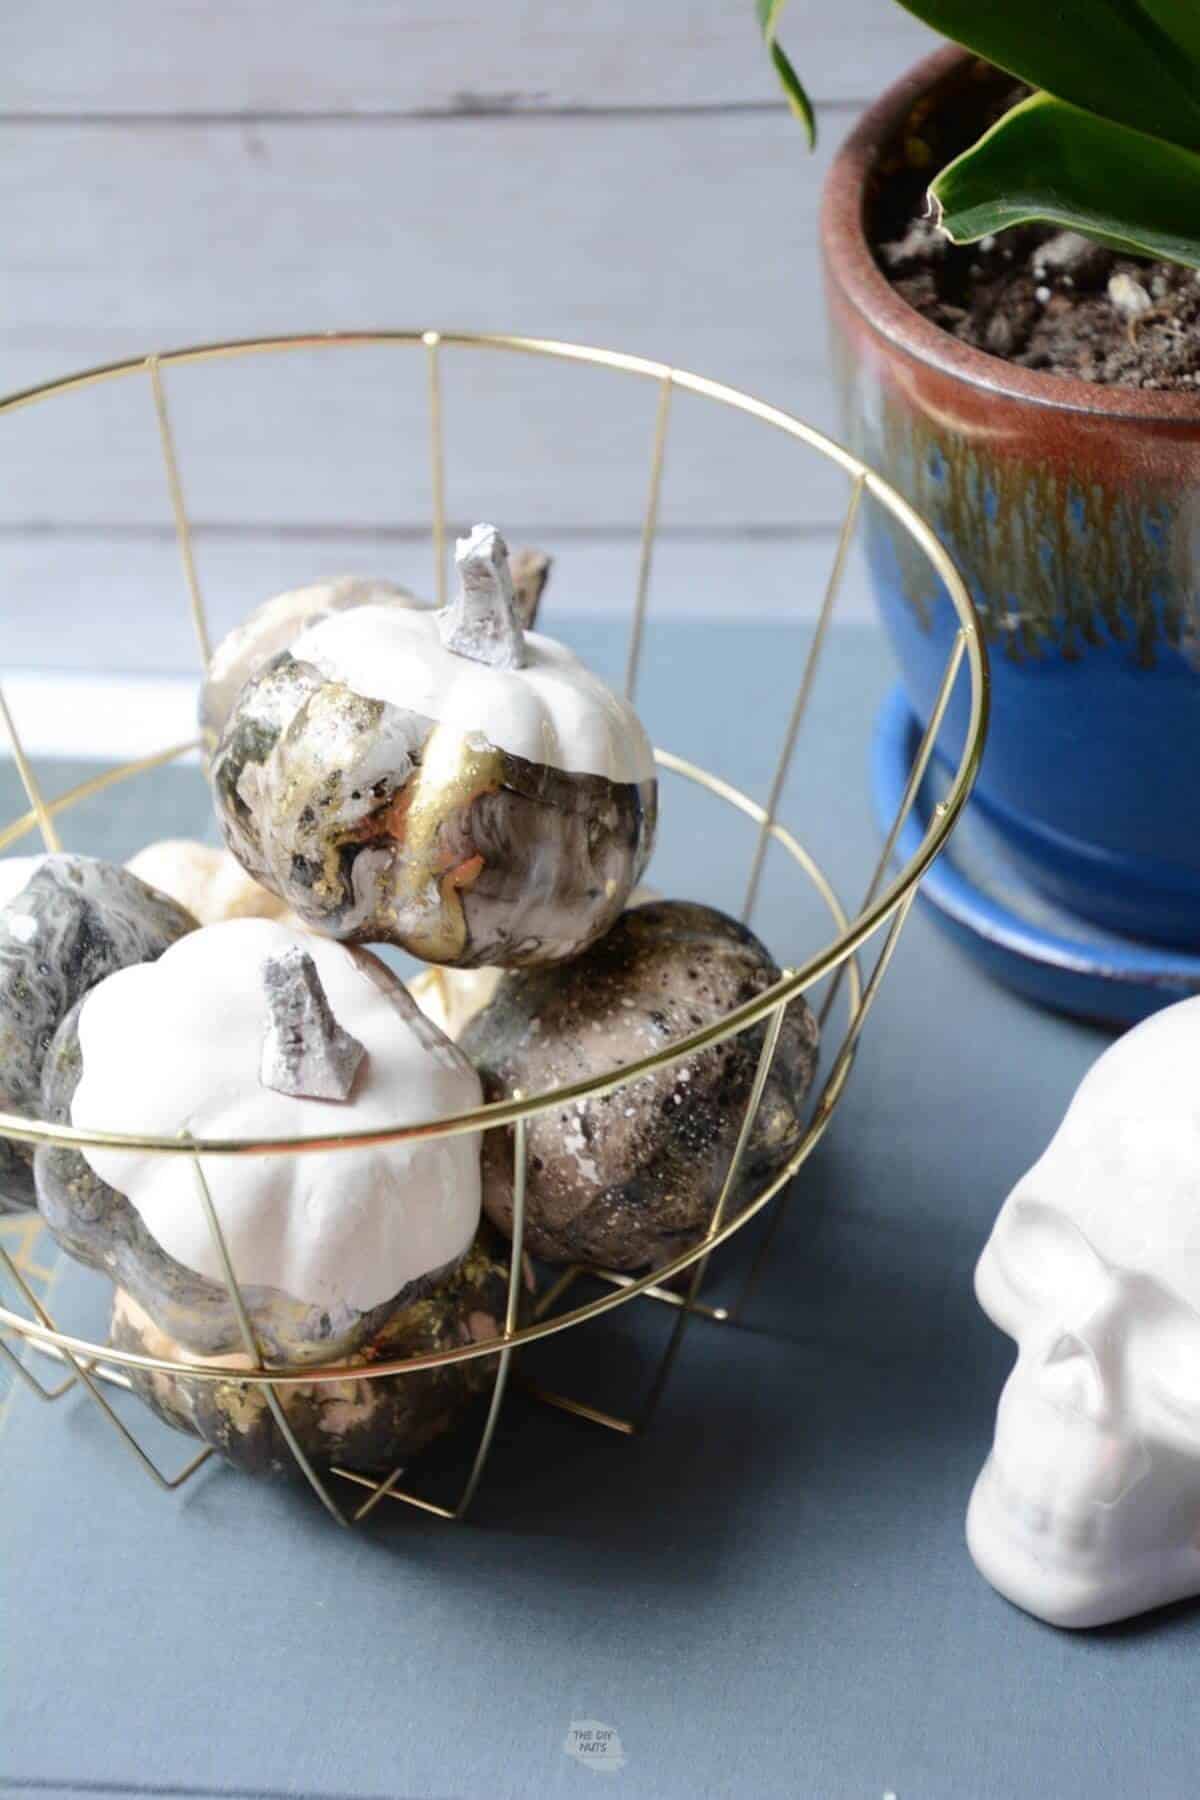
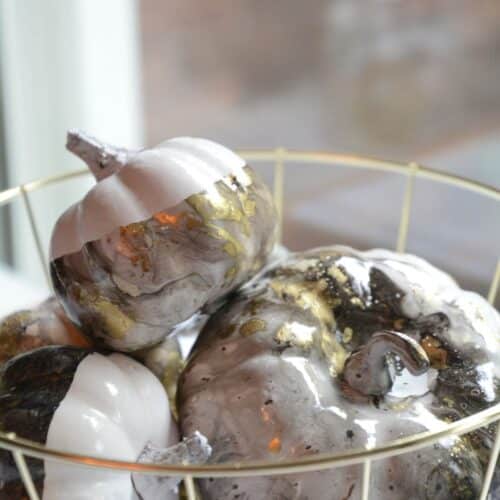
How To Display
Use a dollar store basket to display your pumpkin craft.

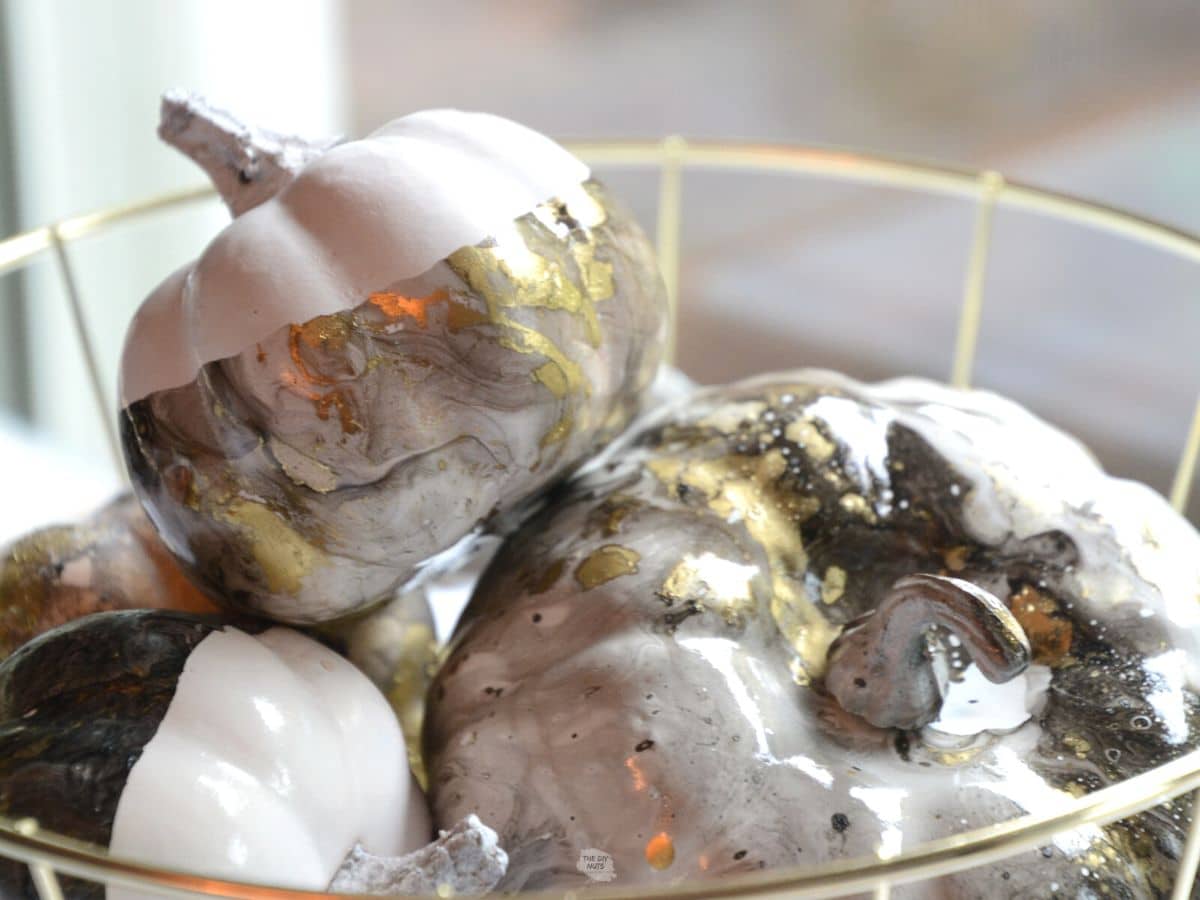
Finished Painted Pumpkins
The best part about these gold, white, and black marbled pumpkins is that they can be kept out past Halloween. We may even use them as place cardholders at Thanksgiving.
Related Spray Paint Projects
- 25 Easy Spray Paint DIY Projects
- How To Spray Paint Cabinet Hardware
- How To Remove Spray Paint From Glass
- DIY Paint Pour Pumpkins (could work on real or fake ones)
Follow us on Pinterest, YouTube or Facebook for more DIY inspiration!
Craft FAQs
Look at the clean-up instructions. If they say to clean up with mineral spirits or paint thinner, then you have oil-based paint.
If the clean-up instructions say to clean with soap and water, then you have water-based paint.
I think this technique would work if you spray or paint your pumpkins first with acrylic craft paint. If you want to do larger pumpkins, just ensure you have a large enough container for water.
We found that the spray paint sticks better if you coat the pumpkins with spray paint with a primer built in first. We tried a few on the plain pumpkin body and some of the faux marble paint chipped off.
If you like this tutorial, please give it 5 stars below 🤩🤩🤩🤩🤩. Your support helps us continue to provide unique and budget-friendly DIYs.
Painting Fake Pumpkins (Easy Idea)
Equipment
- Wooden Skewer
- Old Plastic Bin or Bucket
- Water
Supplies
- Faux Mini Pumpkins
- White Spray Paint With Primer We use a glossy finish to give a fun almost ceramic look.
- 2 Additional Colors of Spray Paint We used gold spray paint and black.
Instructions
- Use large sweeping motions to cover pumpkins with white gloss spray paint.
- Let spray paint fully dry.
- Fill plastic container with water and gather other spray paints.
- Add spray paint to water quickly. Add gold and then a little black.
- Use a skewer to quickly swirl colors for 5 seconds. You do not need to do too much.
- Dip the pumpkin in spray paint and water. Optional: You can swirl the pumpkin in the paint.
- Pull pumpkin out.
- Let fully dry.
- Display your pumpkins for fun Fall DIY decorations.
Notes
- If you dip the whole pumpkin it is difficult to prop up to dry. For the ones that were completely dipped, use old styrofoam to stick the stems in.
- This technique works best with a base coat first. Make sure your first coat of paint uses spray paint with primer in it.
- You do not have to dip the whole pumpkin. Some of our favorites were ones that were only dipped halfway.