DIY Easy Paint Pour Pumpkins
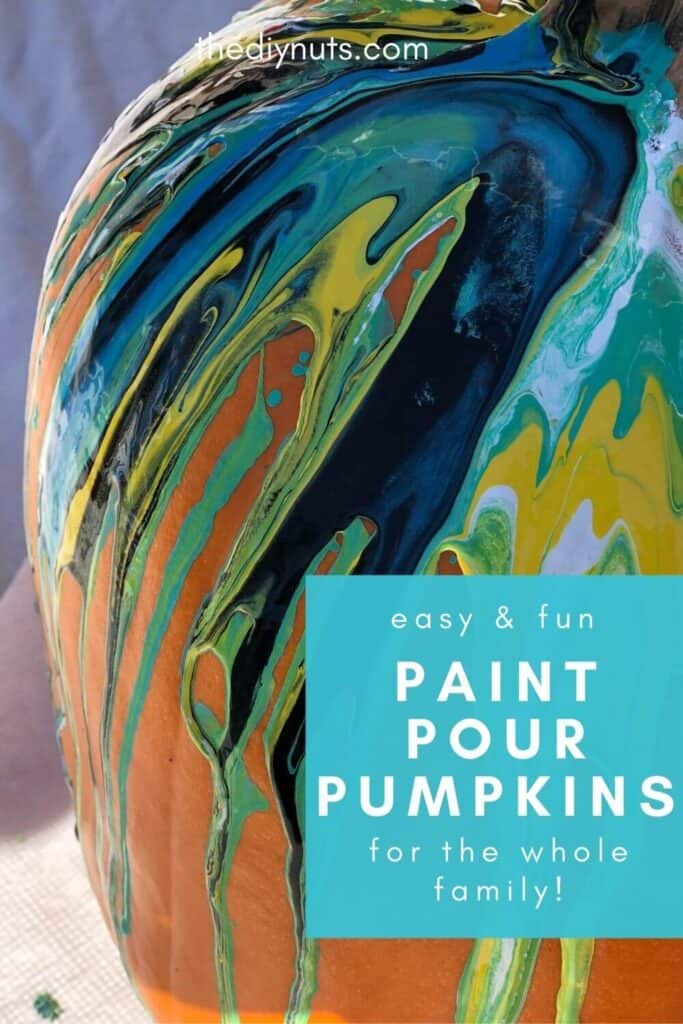
Have you seen all the AMAZING ink or acrylic paint pour videos out there? I always have to stop and watch the outcome every time! This painted pumpkin tutorial is so much fun! The best part is this family-friendly no-carve pumpkin craft is that it can be done in 10 minutes or less.
*Disclosure: I only recommend products I would use myself and all opinions expressed here are our own. This post may contain affiliate links that at no additional cost to you, I may earn a small commission. Read our full privacy policy.
When it came to painting our pumpkins as a family I knew that I really wanted to try to create colorful Halloween decorations! This project is perfect for those that do not carve our pumpkins. We like to paint pumpkins with our young children because who wants three kids under 5 using knives?
Paint Suggestion
The biggest thing to consider when wanting to create a paint pour is the fluidity of the paint. you do not want to use heavy-bodied acrylic paints. These will not spread as you want.
I did not want to spend a fortune on acrylic paint for a pumpkin that I wasn’t so sure would turn out. However, I love trying new and fun paint techniques.
You can’t be scared that they won’t turn out. One of my favorite “experiments” was another fun and easy painting technique on flower pots. I love how these turned out!
Another Paint Pour Resource
Here is a great article about using more advanced materials to create awesome abstract canvases and a resource I used even when experimenting with my own “dirty” paint pour pumpkin!
Recommended Supplies
- Acrylic Craft Paint-Like Apple Barrel or CraftSmart
- Dixie Cup
- Real Pumpkin or Fake Pumpkin
- Paper Towels or Work Surface
- Optional: Tablespoon Of Water To Thin Paints
How To Make A Paint Pour Pumpkin In 5 Minutes
Order Of Paints Placed In The Cup
You can do this paint pour technique with any color of paint. It is best to pick colors that you think may mix well together. You would not want to put complementary colors (like red and green) together. You would chance them making a muddy brown.
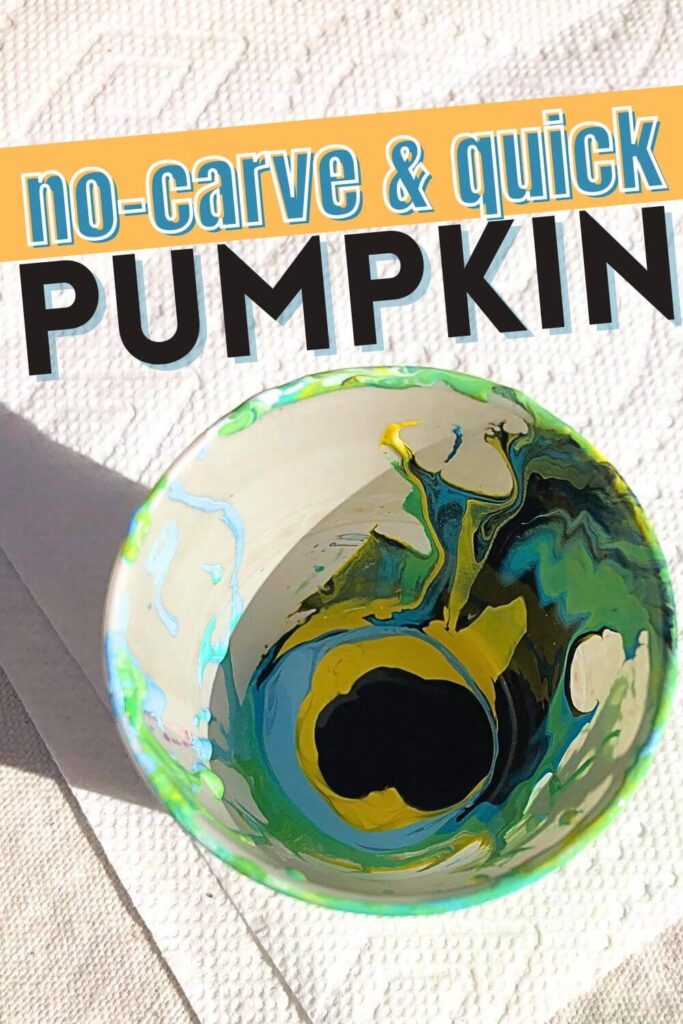
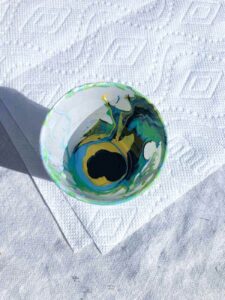
Step 1: Add Acrylic Paint To Cup
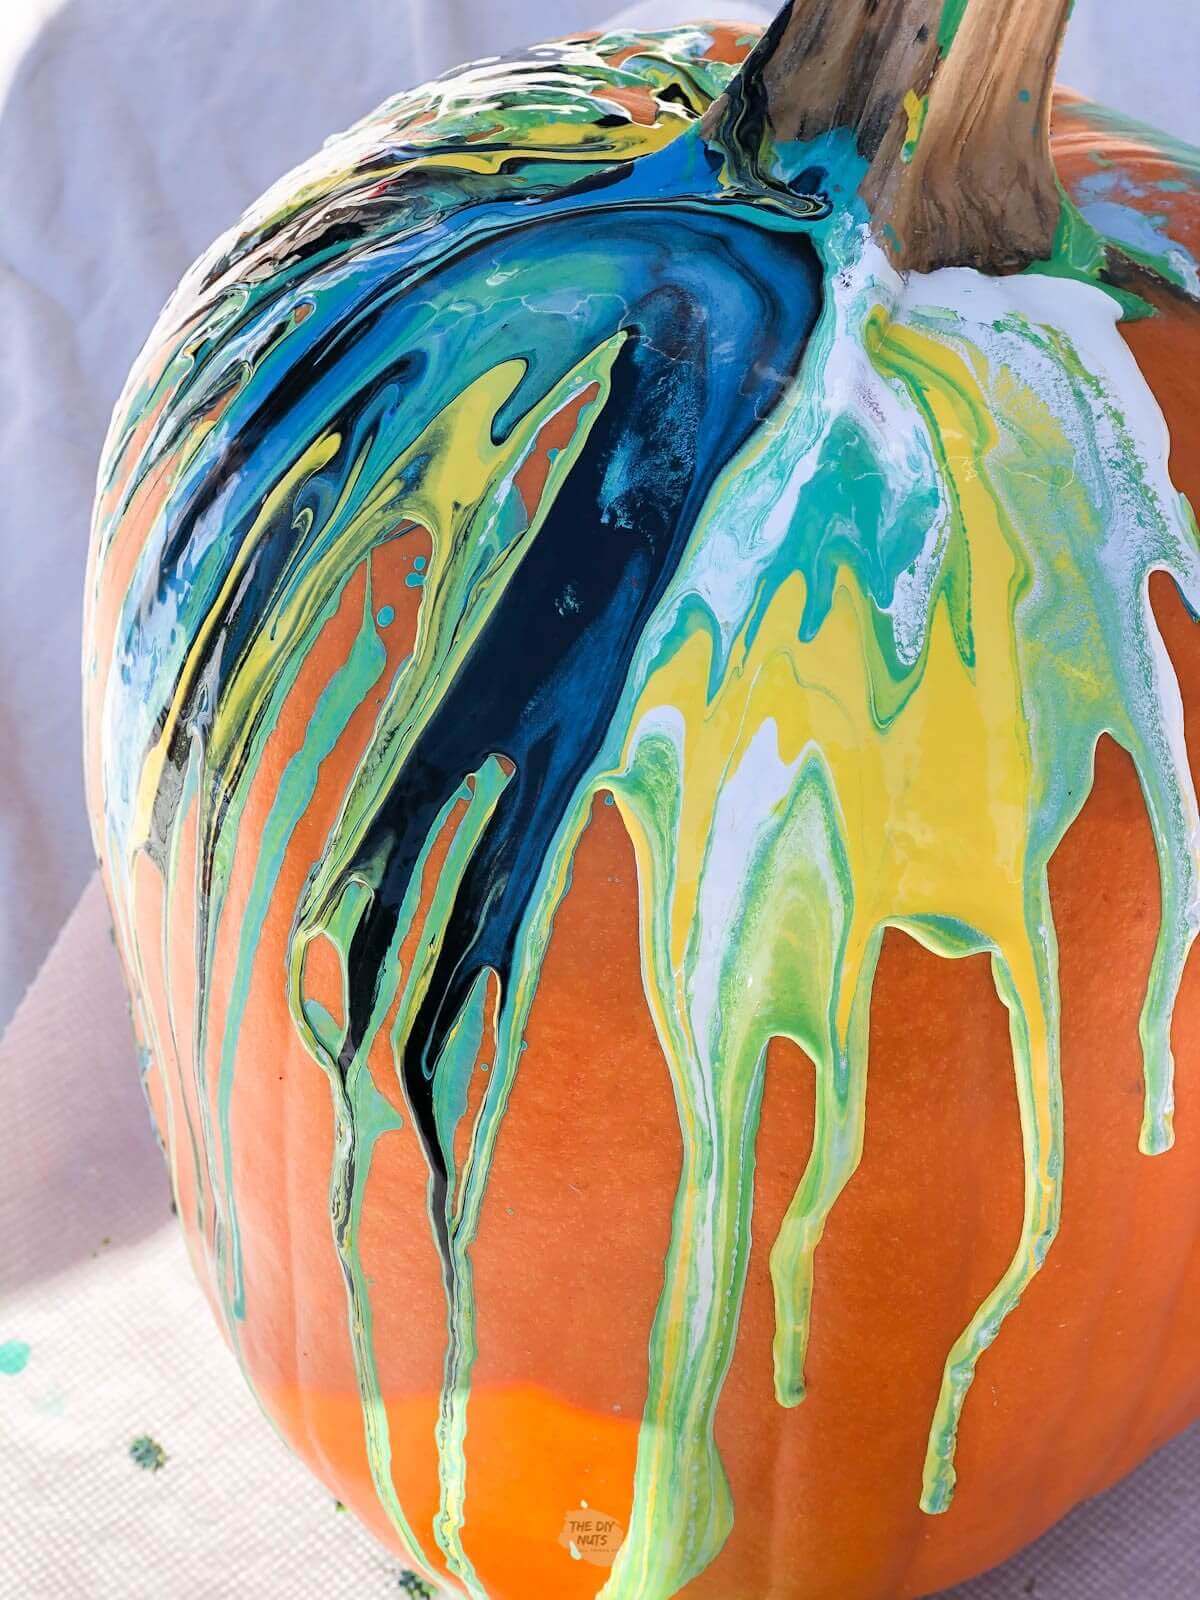
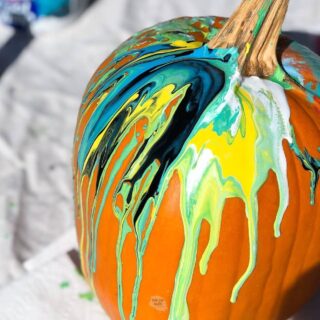
I was nervous to add colors that I knew would not mix well together. For the first round of paint pour, I added in this order: blue, turquoise, yellow, and then white into a disposable cup.
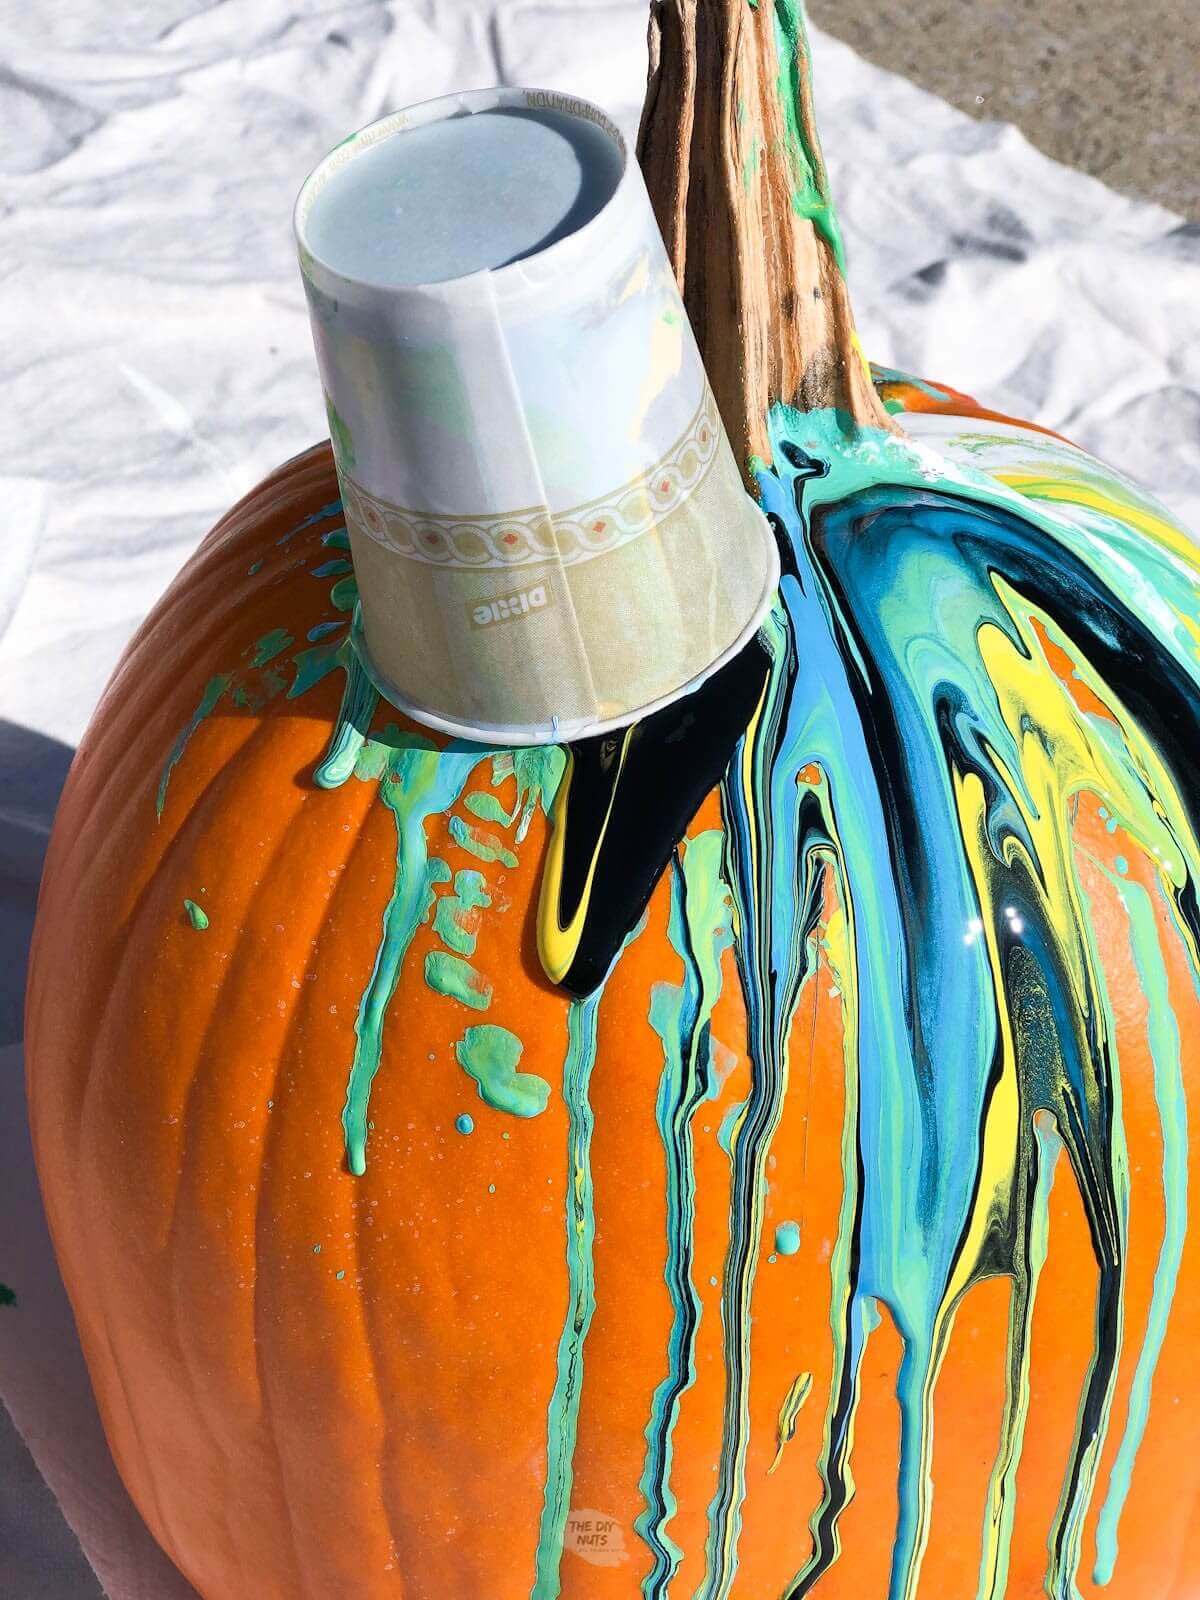
Step 2: Flip The Cup Over
Flip the cup over on one side and let it drip out a little. Once you remove the cup, you can tilt the pumpkin to encourage the paint to drip.
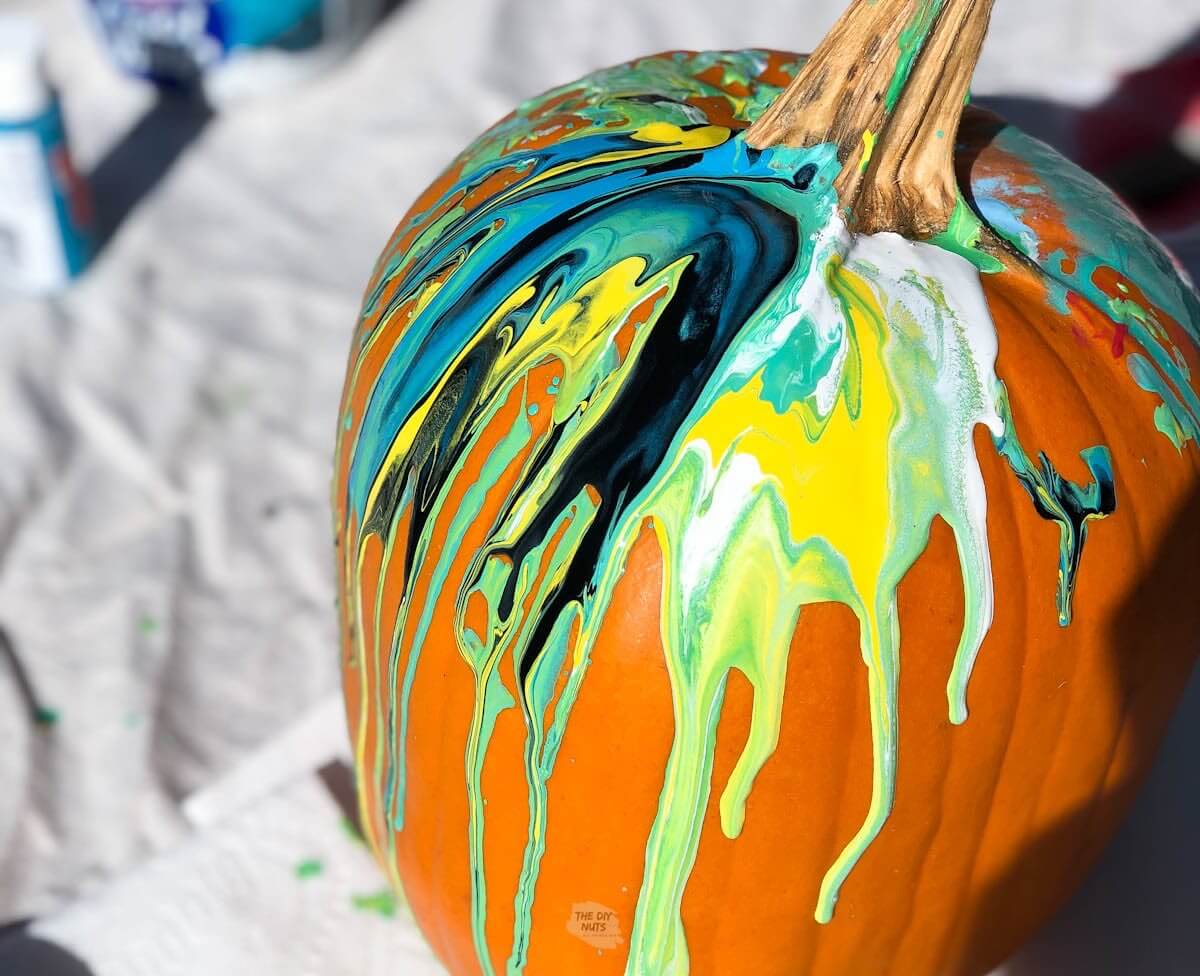
Step 3: Repeat Until All Sides Are Covered
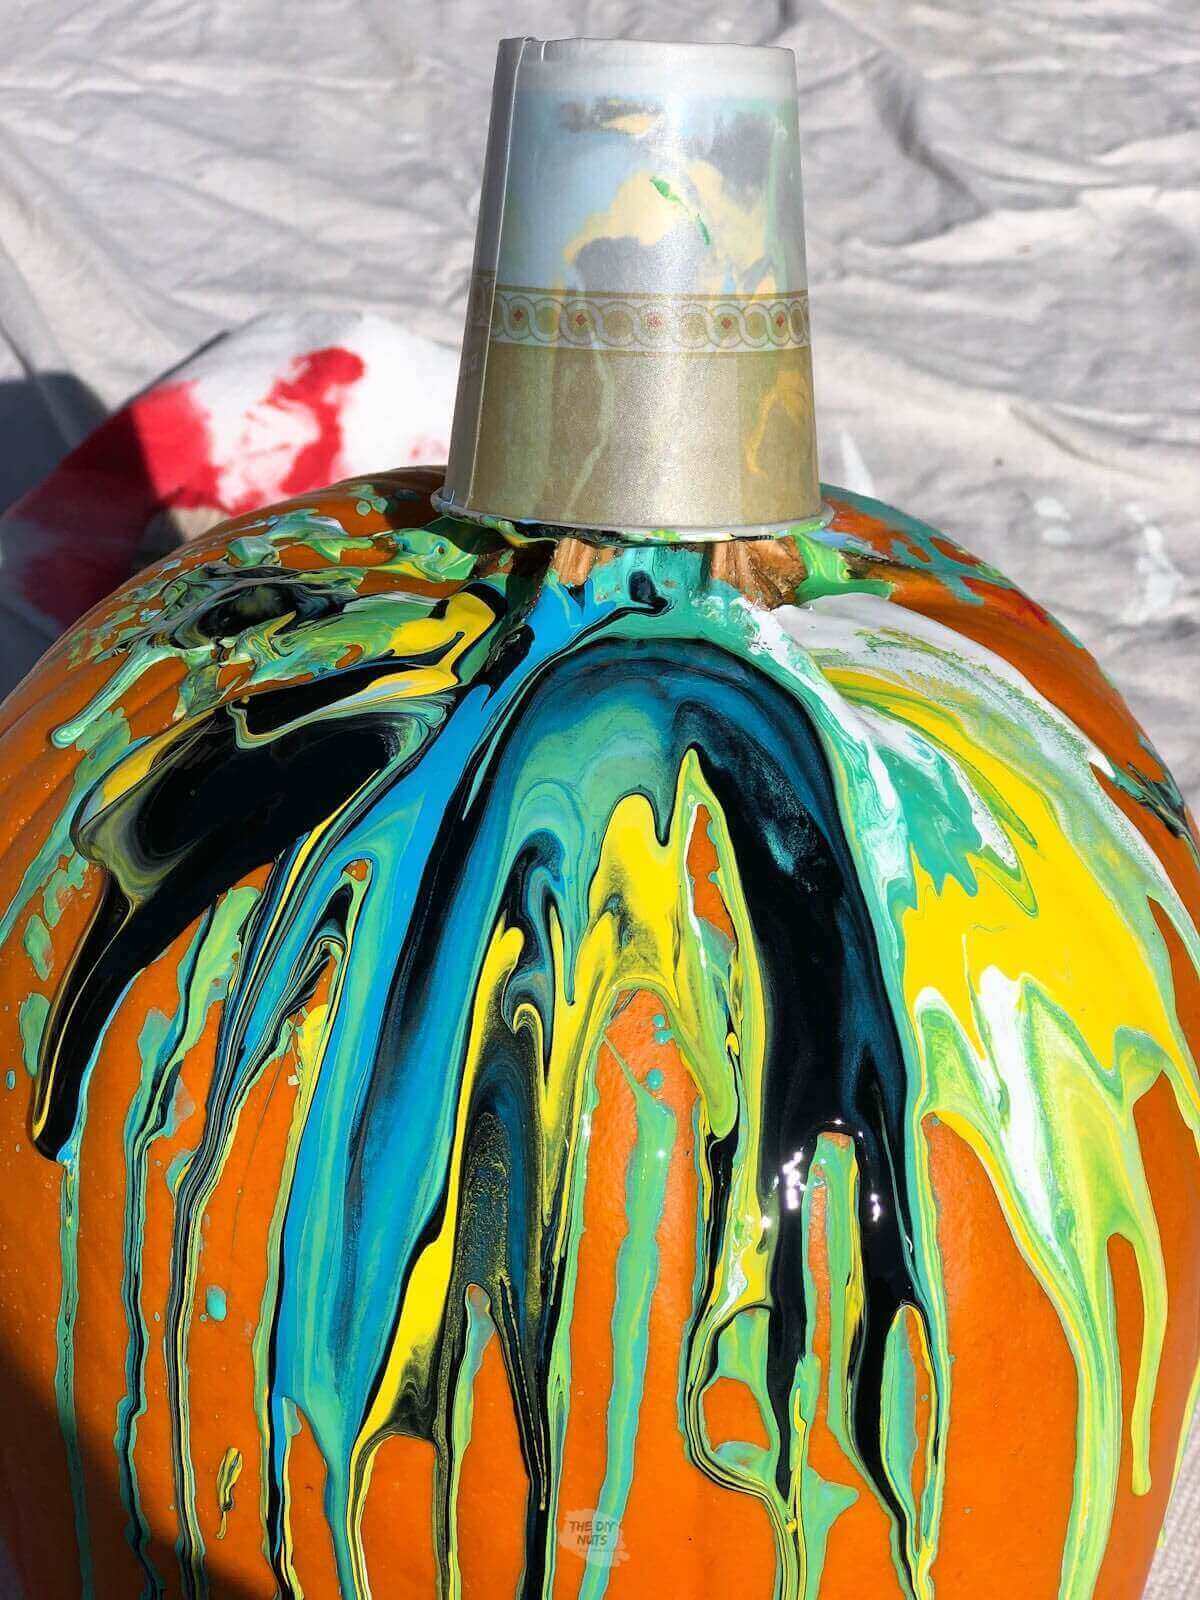
You will need to probably do around 3 different pours to cover your pumpkin completely if you have a stem. If you don’t have a stem on the top of the pumpkin you may get away with one bigger pour right on top.
In the image, the final pour was placed on top of the stem so that it would go on all sides.
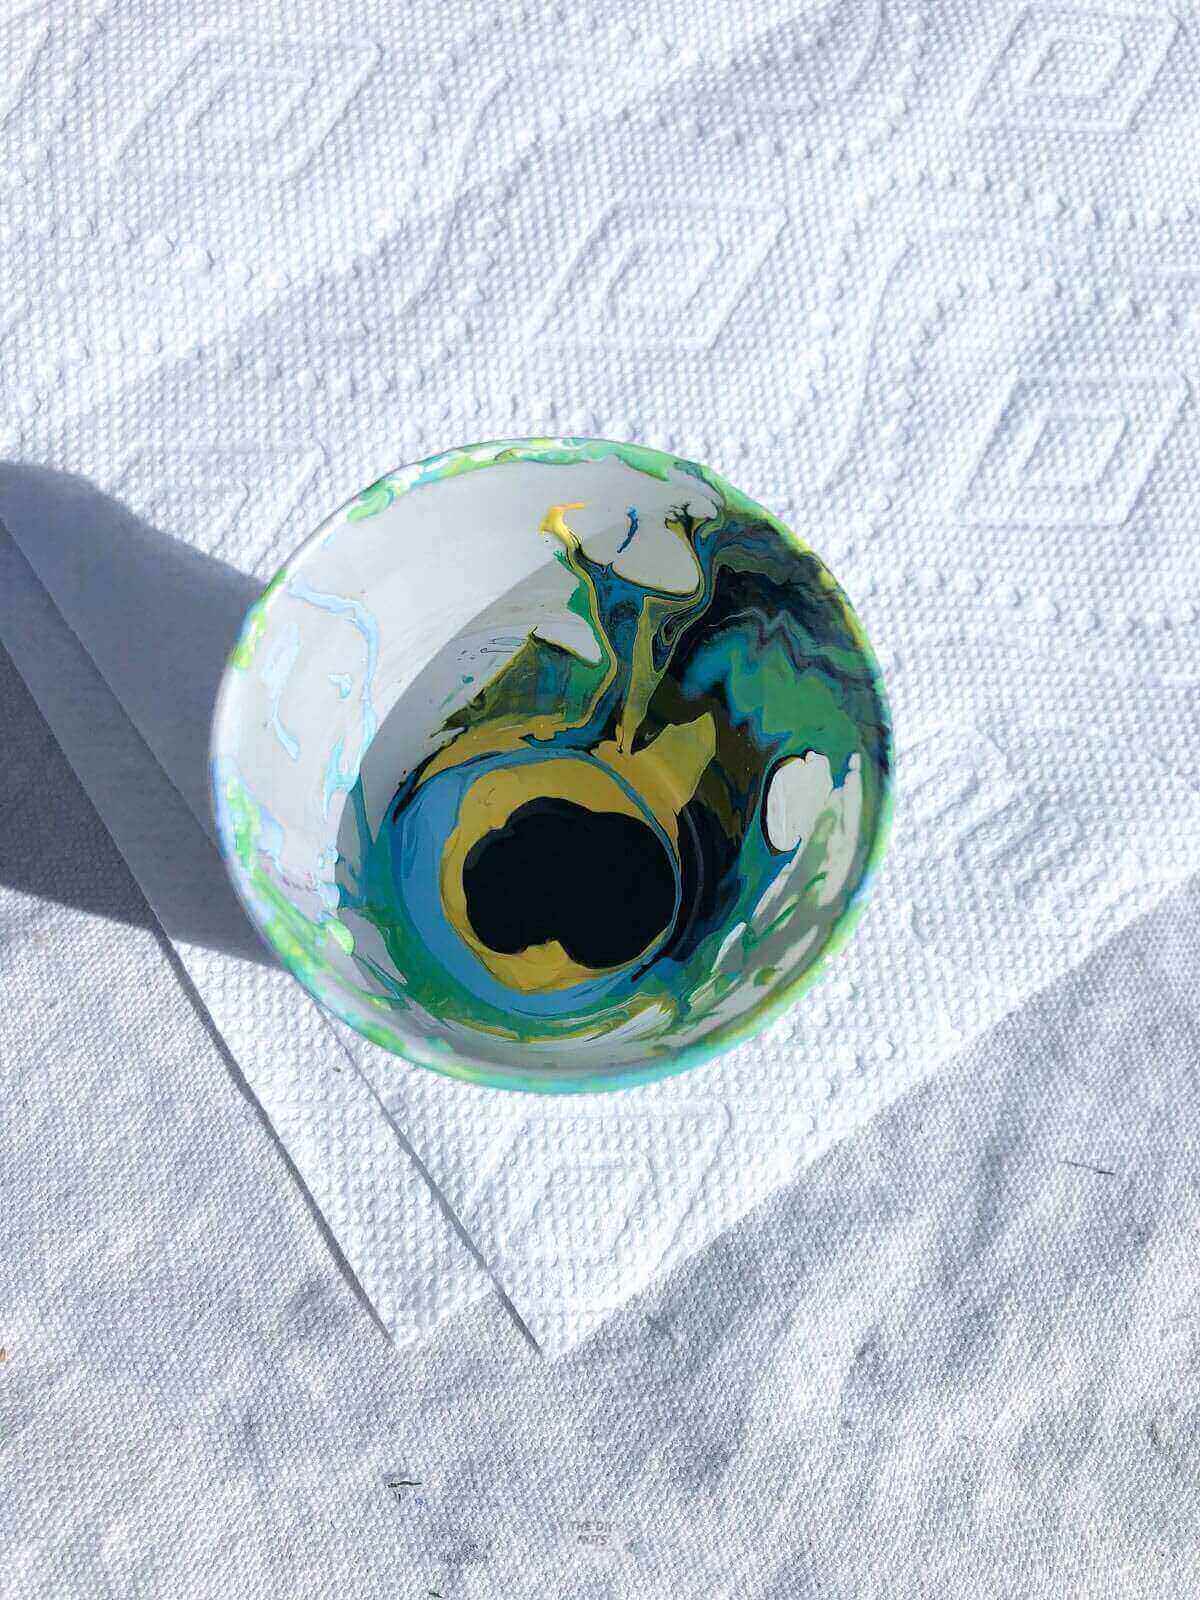
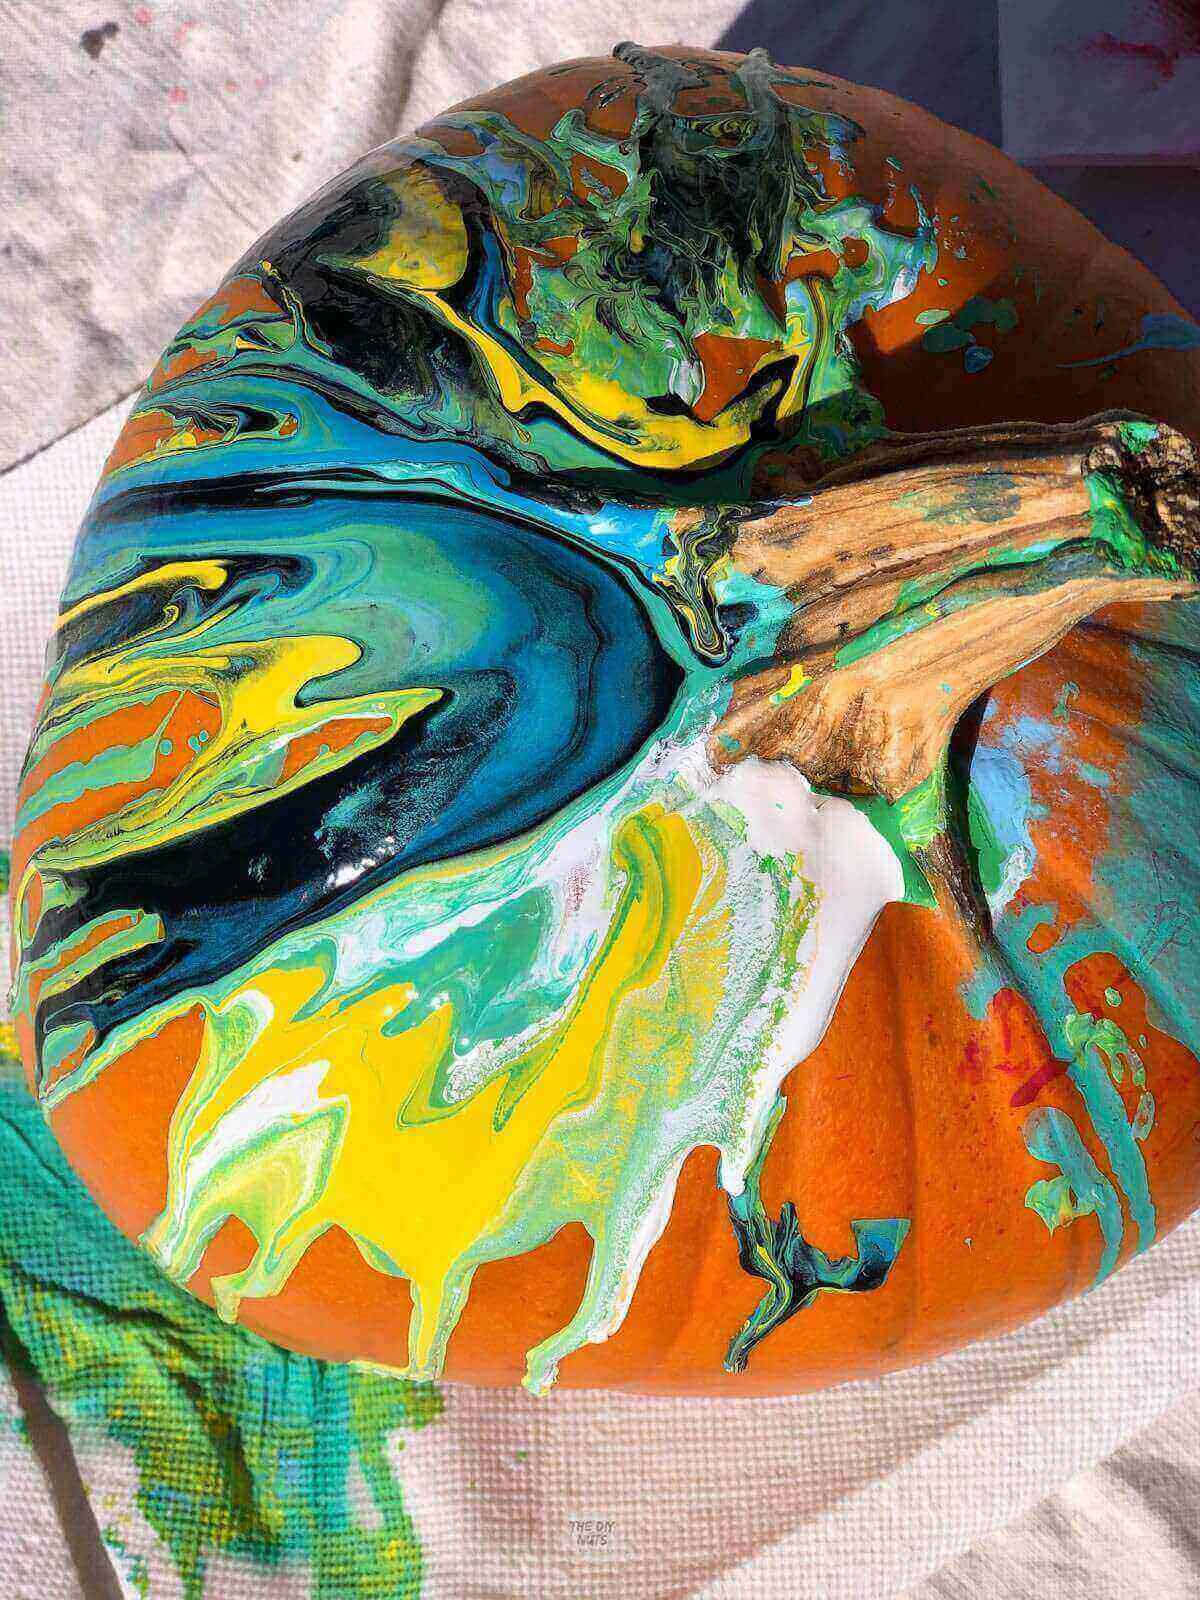
Optional: Add A Little Water
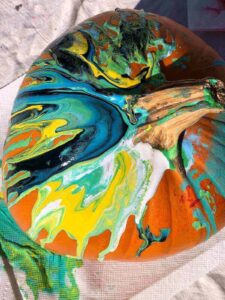
I tried 3 other similar, but different color combinations in the same cup and in different areas of the pumpkin. My favorite was adding about a tablespoon of water before adding more turquoise, blue, yellow and then black.
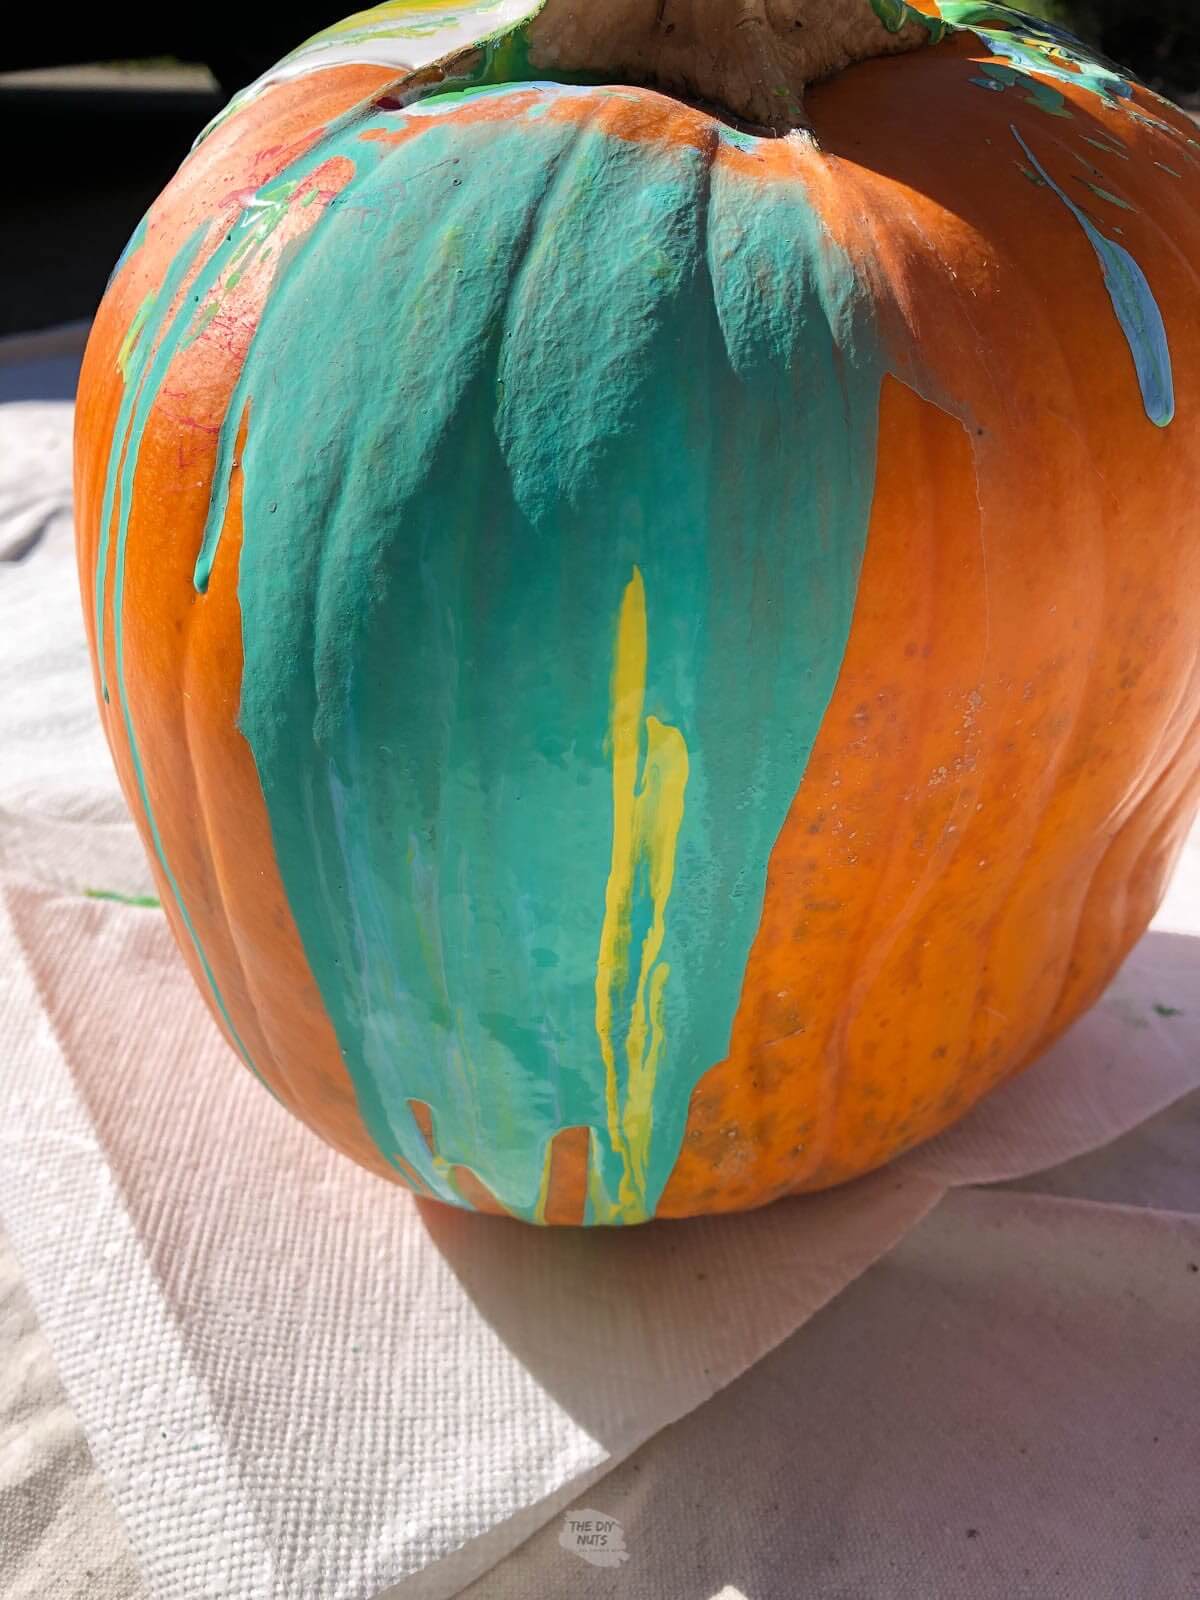
Common Paint Pour Mistake
I did make the mistake on the backside of this pumpkin by adding too much water. It simply looks like a turquoise wash down the side…not necessarily the painted pumpkin look I was going for.
Color Choice Idea If Allergy-Free Treats
Using teal to paint your pumpkin could help communicate with families that are concerned about food allergies.
Teal Pumpkin Project
By placing a teal pumpkin on your doorstep, you are saying that you are aware of food allergies and passing out “safe” treats. You can read more about the Teal Pumpkin Project here.
I just love how simple, easy and fun this painted pumpkin craft was. My toddlers were happily painting their own pumpkins while watching our fun pumpkin be created.
How-To FAQs
A dirty paint pour refers to placing all colors of acrylic paints in your cup at once. This is the easy painting technique that I used on my pumpkin. It is crucial to have the “right” bodied paints. Too thin or watery and the paints will just be mixed together. Too heavy or thick and they will not flow out of the cup.
Cheaper acrylic paints are perfect to paint on pumpkins. You want to use paint that is not washable if you are going to display your pumpkin outside. Just beware that acrylic paint can stain clothes.
No, we do not recommend painting your pumpkin with tempera paint. You chance that it will flake off and it will definitely wash off if you are placing your real pumpkin outside.
We think this idea would be awesome to create unique Fall decor. We may try it soon with golds and other Fall colors.
We can’t wait to make more painted pumpkins this Fall.
Did you have fun making this craft with your family? Make sure to leave a 5-star ⭐️ ⭐️ ⭐️ ⭐️ ⭐️ review in the comments!
Paint Pour Pumpkins
Equipment
- Paper Towels
Supplies
- Acrylic Paint
- Small Cup
- Real or Fake Pumpkin
Instructions
- Set-up work space by placing cardboard or paper towels down.
- Add paint colors to cup.

- Flip cup over on pumpkin.
- Repeat filling the cup and flipping until whole pumpkin is covered.
- Let pumpkin dry for at least 3 hours or dry to the touch.


This is amazing! I will definitely be trying this. Thank you for the clear explanation and beautiful pictures.
Hi Bree. I am glad the pictures of the painted pumpkins helped explain this fun paint technique.
This looks like such an amazingly, fun activity and such a beautiful statement piece for the Halloween festivities.
Hi Lisa! Thanks for the nice comment. It was a lot of fun to pour paint on the pumpkin! My kids loved seeing how the colors mixed.