DIY Ombré Dipped Painted Flower Pot Design
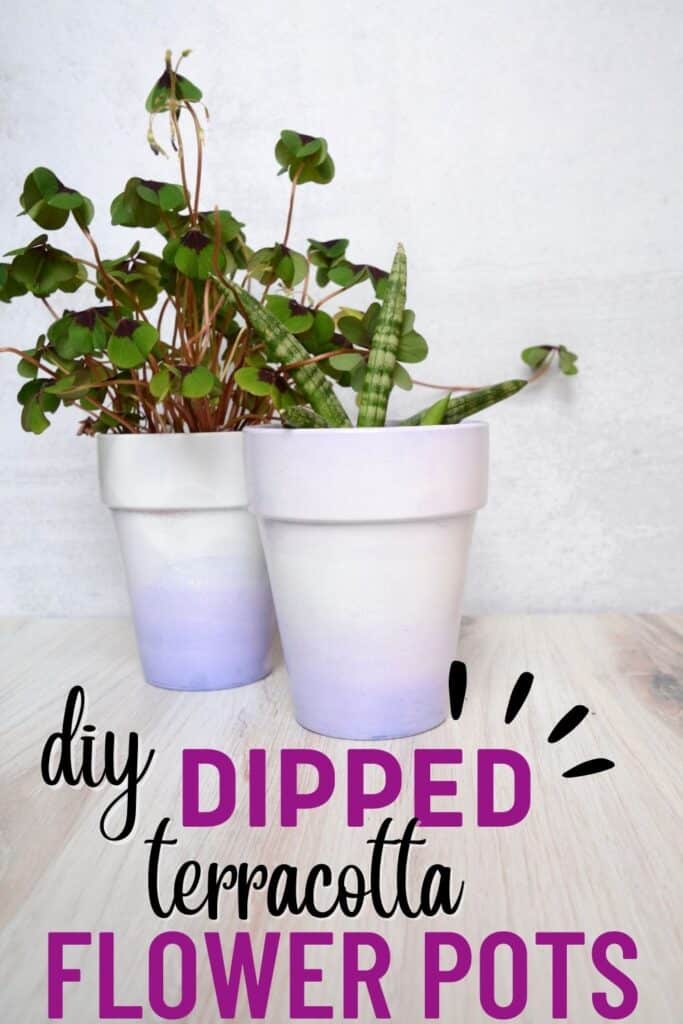
Cheap terracotta flower pots are the perfect DIY supply to use for all sorts of projects. There are many different design ideas and ways to add your personality to your home decor. Learn how we dip-dyed our terracotta pots for an easy painted flower pot idea.
*Disclosure: I only recommend products I would use myself and all opinions expressed here are our own. This post may contain affiliate links that at no additional cost to you, I may earn a small commission. Read our full privacy policy.
This simple DIY pot painting tutorial can be done in 5 minutes or less (excluding dry time). The hardest part is waiting for your white paint to dry on the pots before you begin.
Ways To Get An Ombré or Watercolor Look
- Paint: You could use variations of shades and tints from the same family and blend together on your painted pot.
- Dye: Dip plain painted pots in the same color for different lengths or dip in different dilutions of the same dye to create a bigger ombré effect.
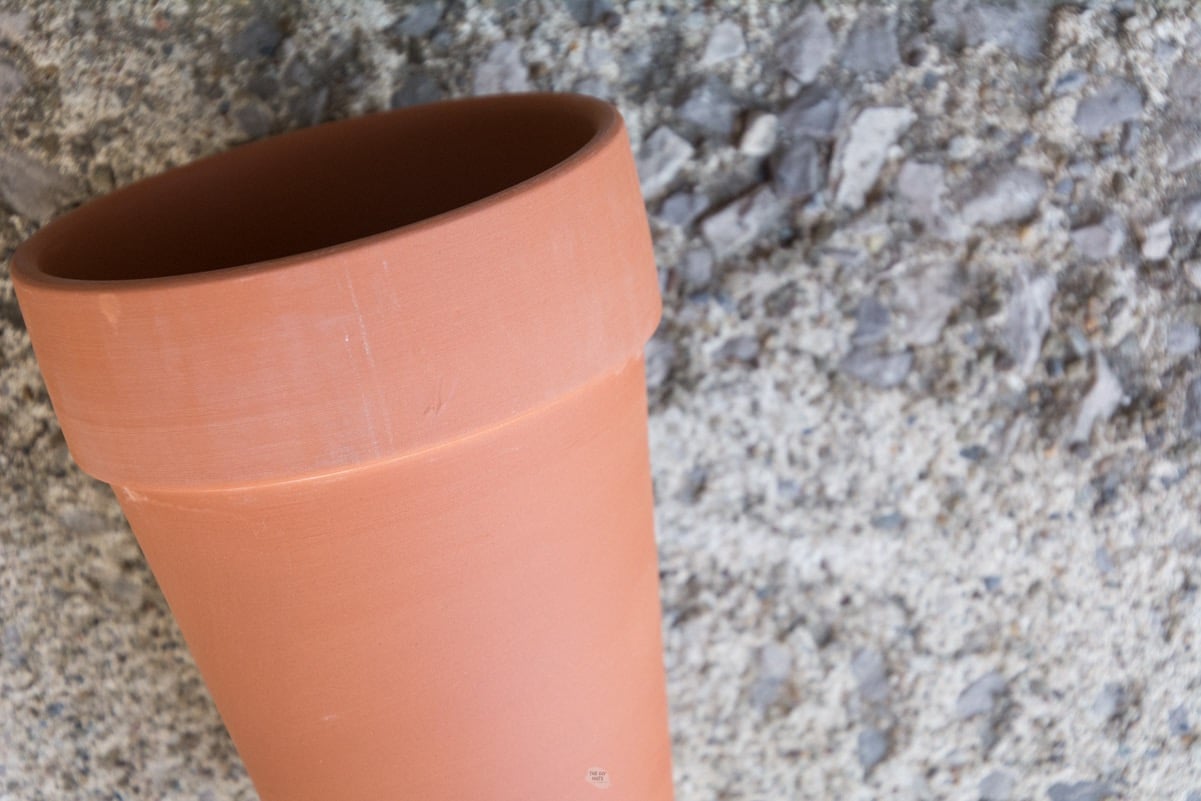
Before You Begin
- Remove any stickers, grime, or dust. If there are any imperfections, they will show on your pot after you paint.
- Clean your pots thoroughly. Depending on the condition of your old pots, you may need to scrub them first or possibly soak them in diluted vinegar.
- Make sure the pots are completely dry before painting. Allow for a proper dry time before painting. You may want to consider letting them dry overnight if you scrubbed with soap and water.
- Optional: Seal your pots with a waterproof sealer before painting. If using a primer you may be able to skip this step in order to allow your pots to breathe.
Recommended Supplies
- White Paint (acrylic craft paint, latex paint or spray paint with primer built-in)
- Dye: powdered or bottled in the color of your choice
- Sealer Spray in the finish of your choice
How To Dye Painted Terracotta Pots
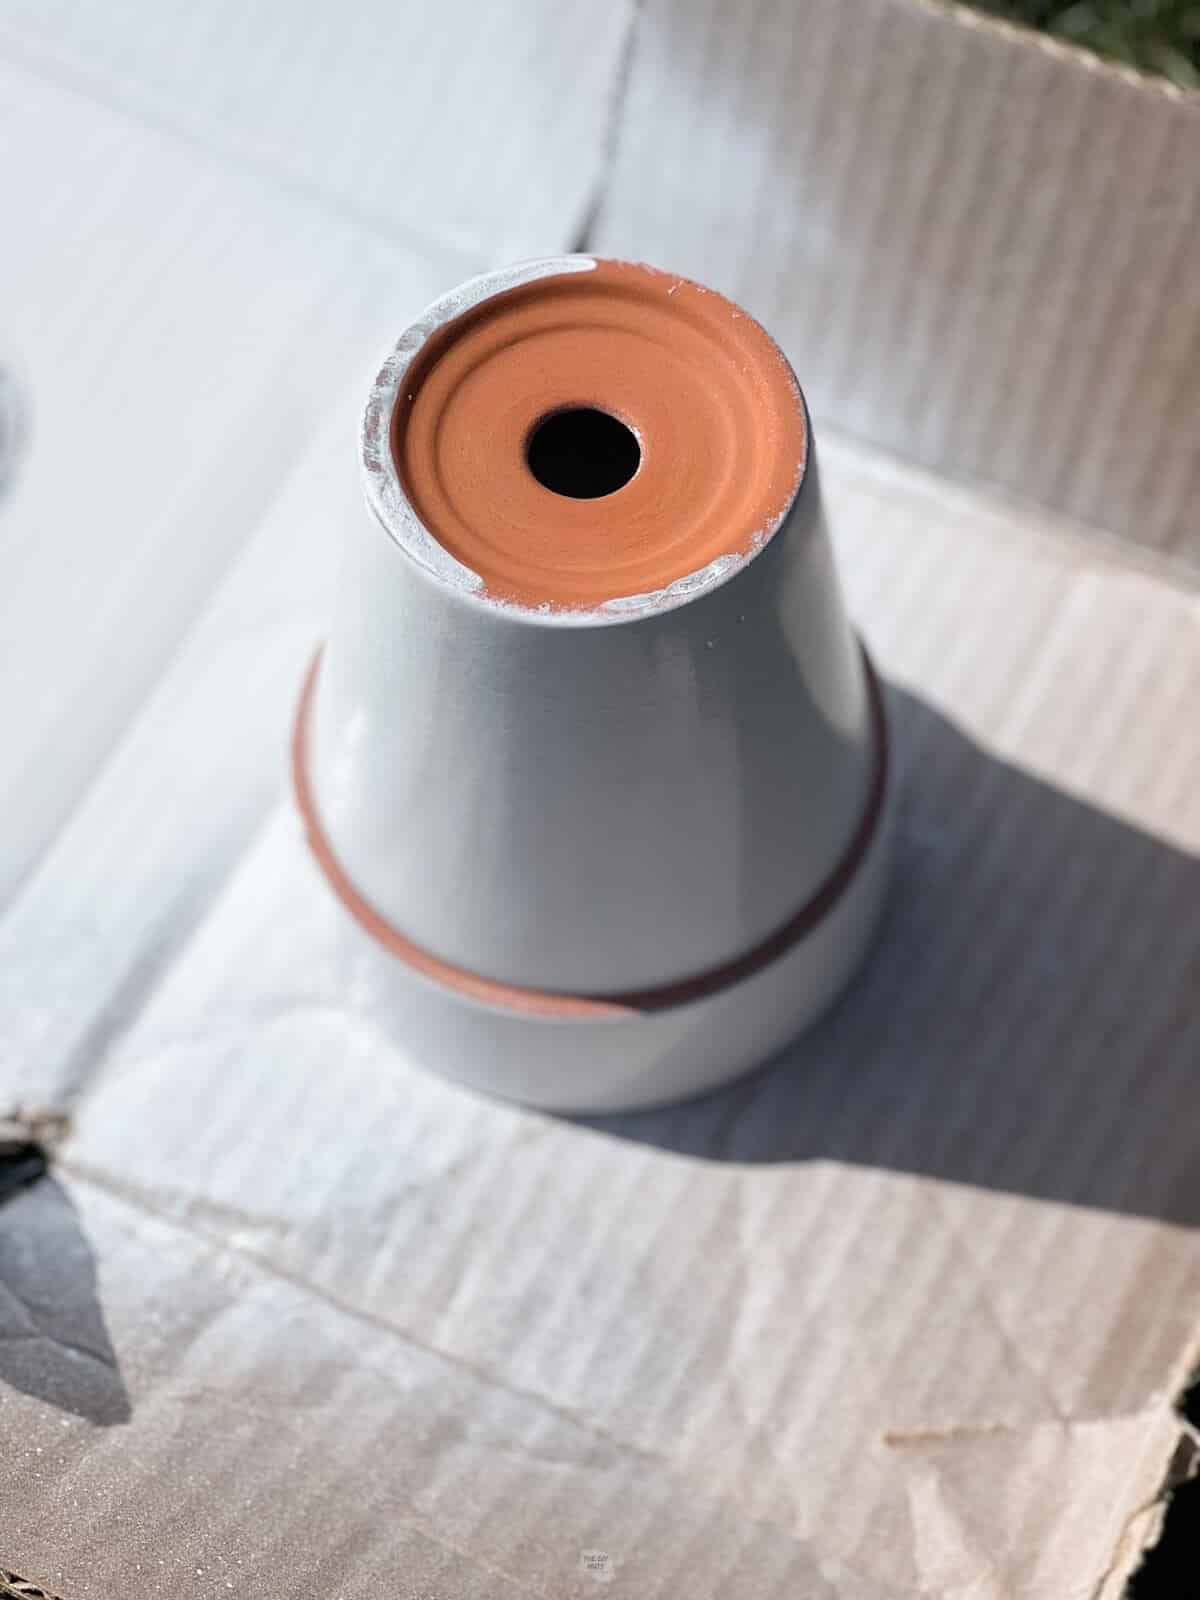
Step 1: Paint Flower Pots White (or the color of your choice)
Paint your flower pots white with spray paint, craft paint or latex paint.
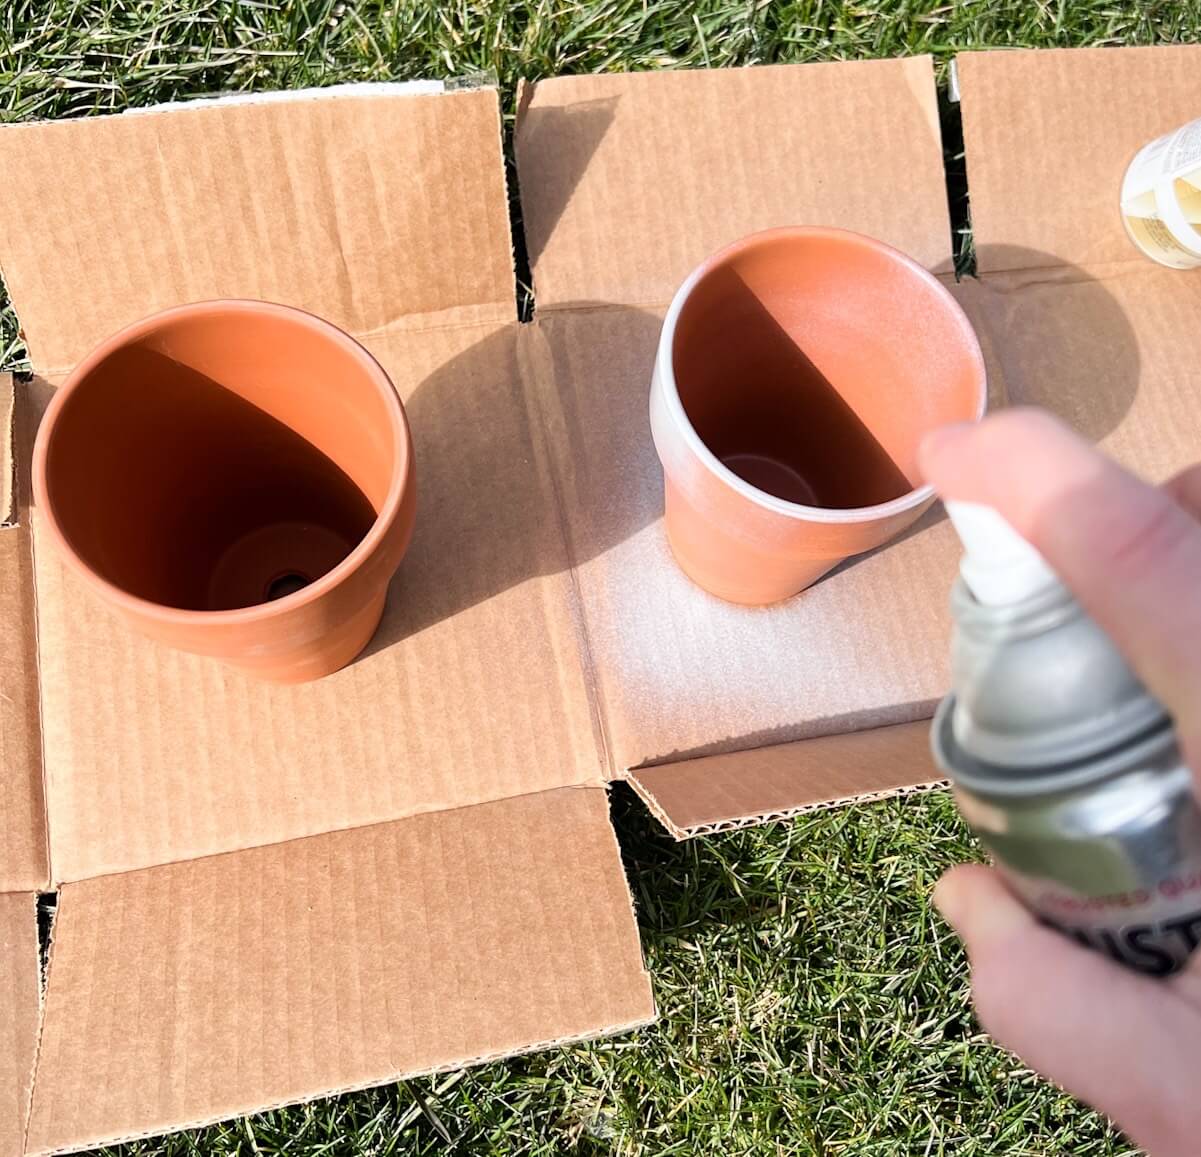
White spray paint with primer gave us the smoothest finish and seemed to work the best when adding a base color for your pots. Don’t forget to flip your pot over to get it from different angles.
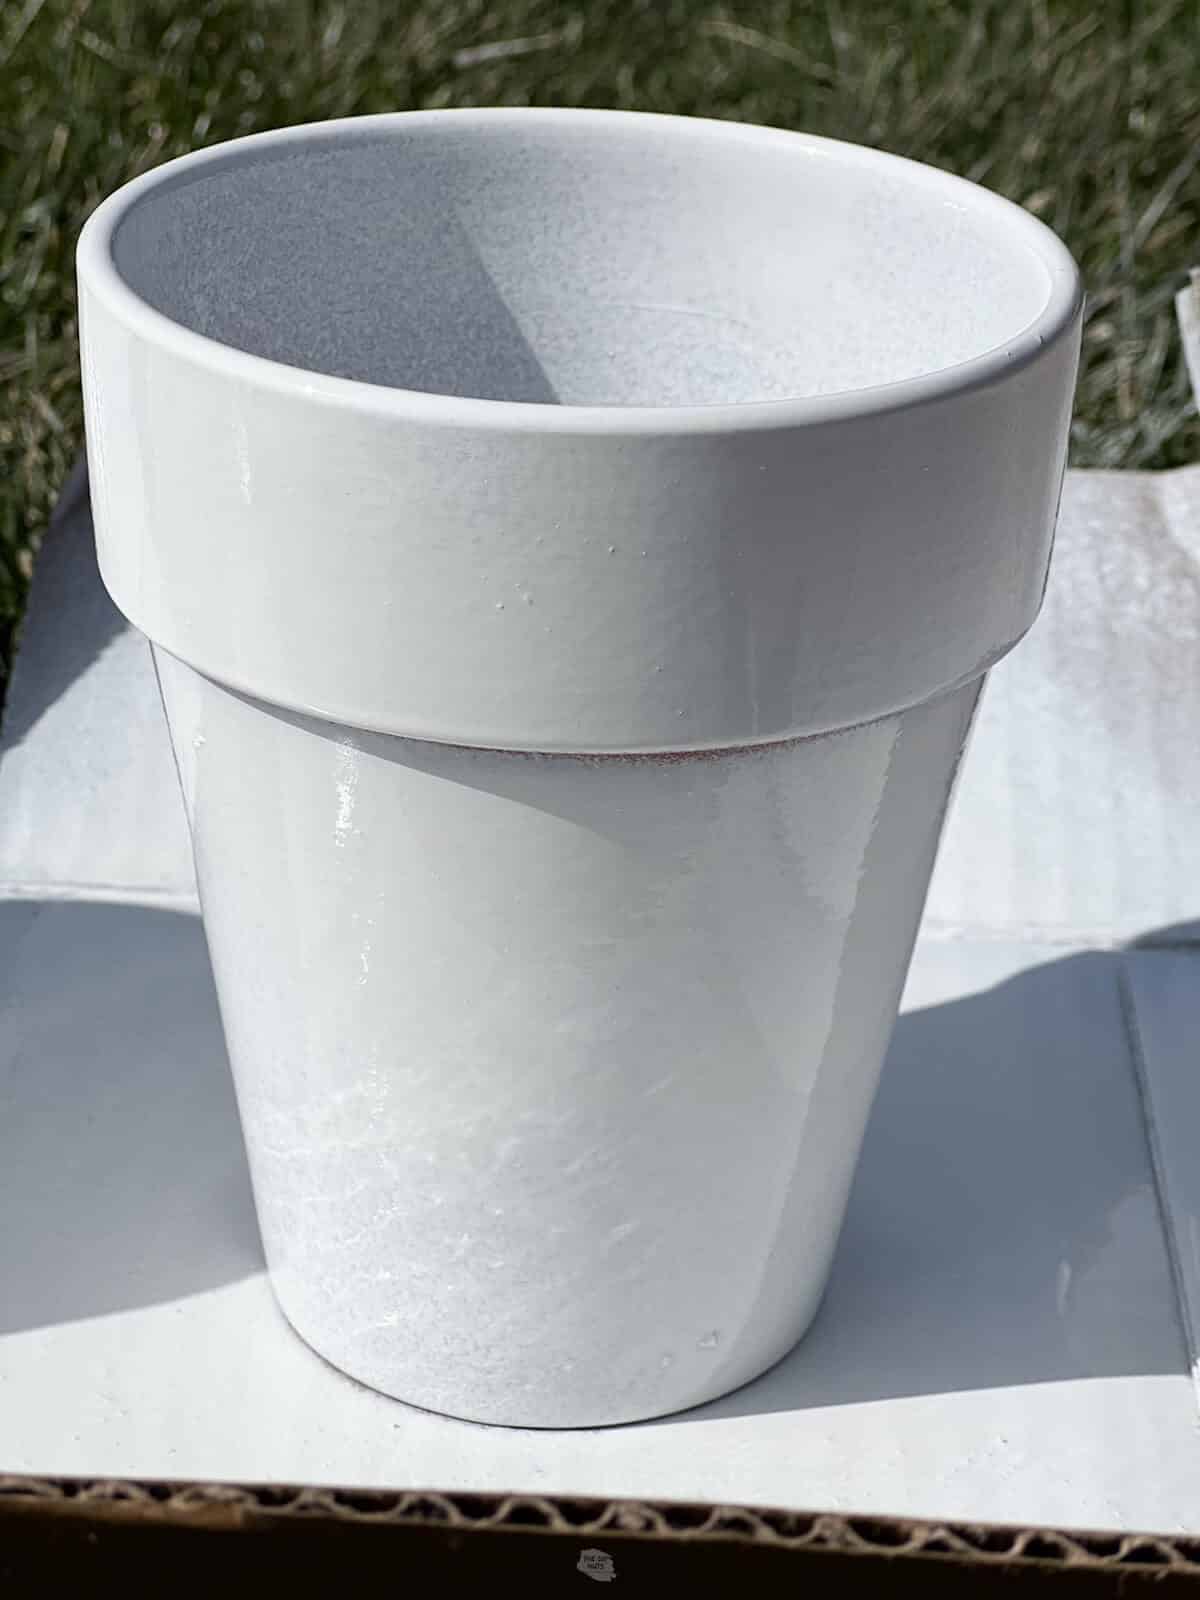
In our examples, we tested white gloss spray paint with primer, white acrylic paint, latex semi-gloss and turquoise craft paint.
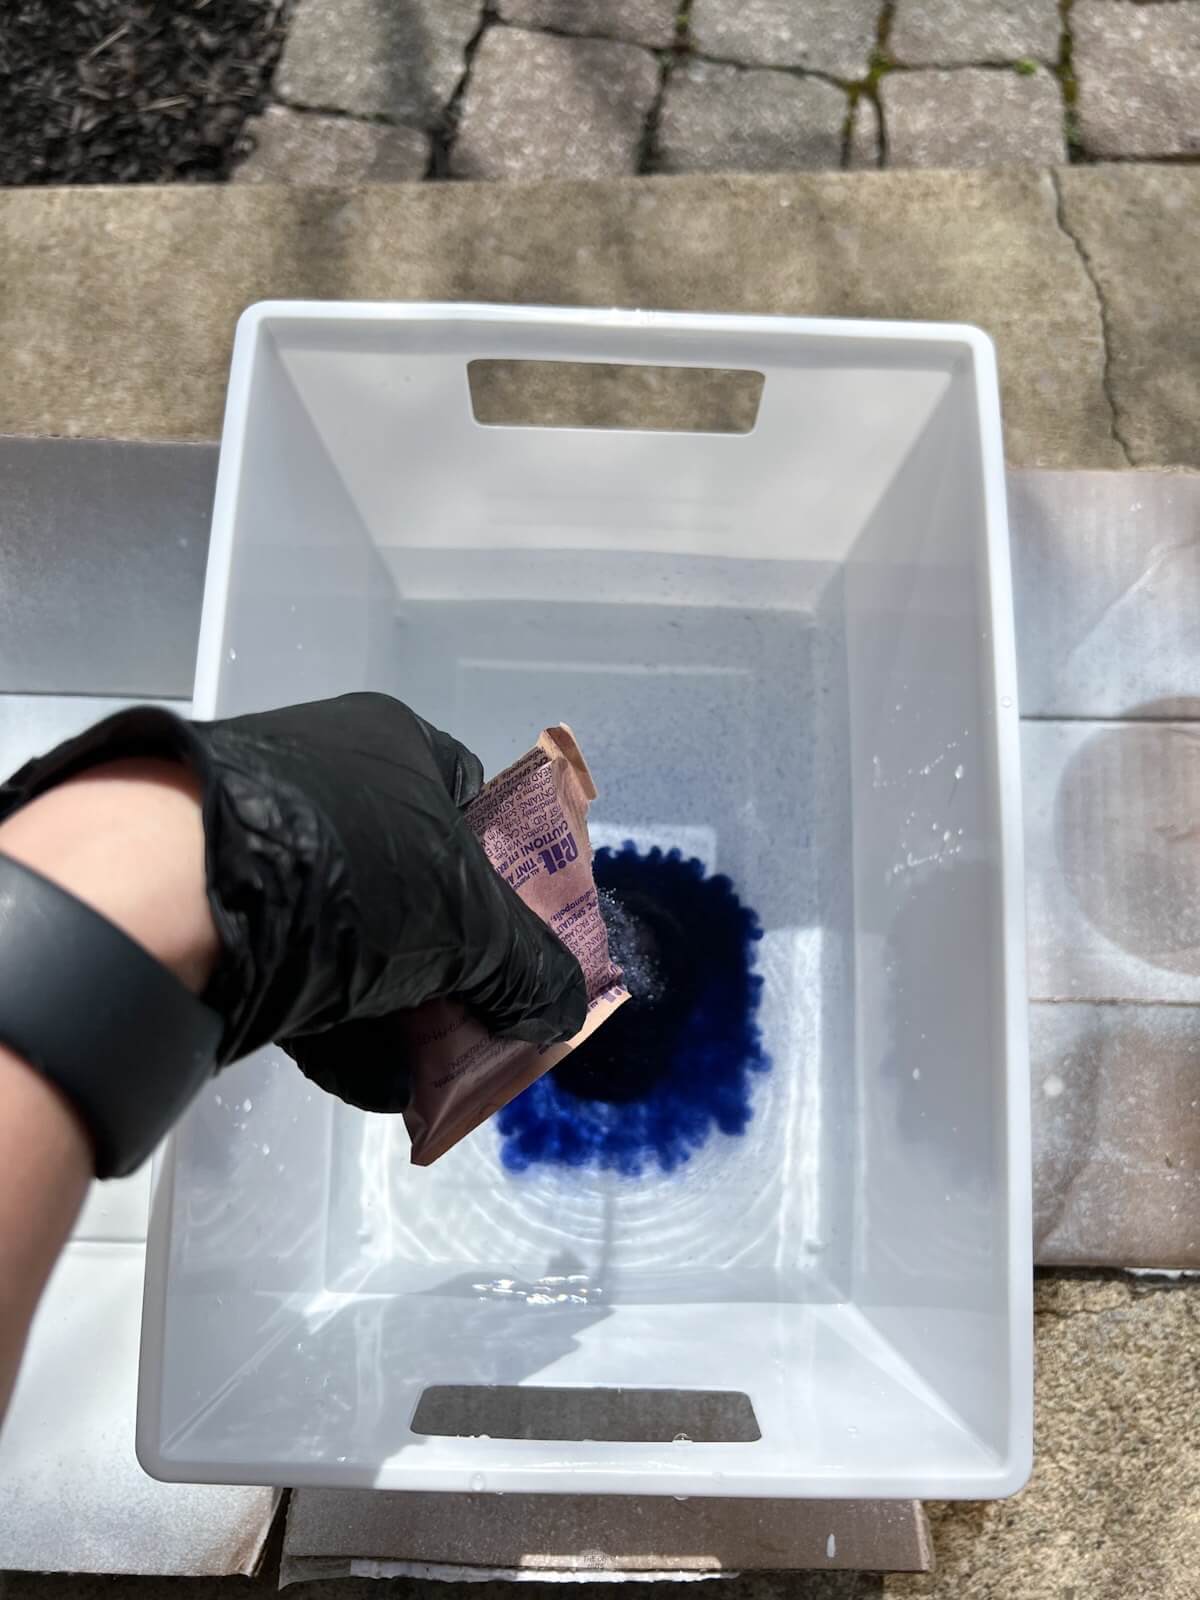
Step 2: Mix Light Color Dye In Water
You only need a container that is wide enough for your dipping. A bucket or reusable container may be the best to limit the amount of dye used.
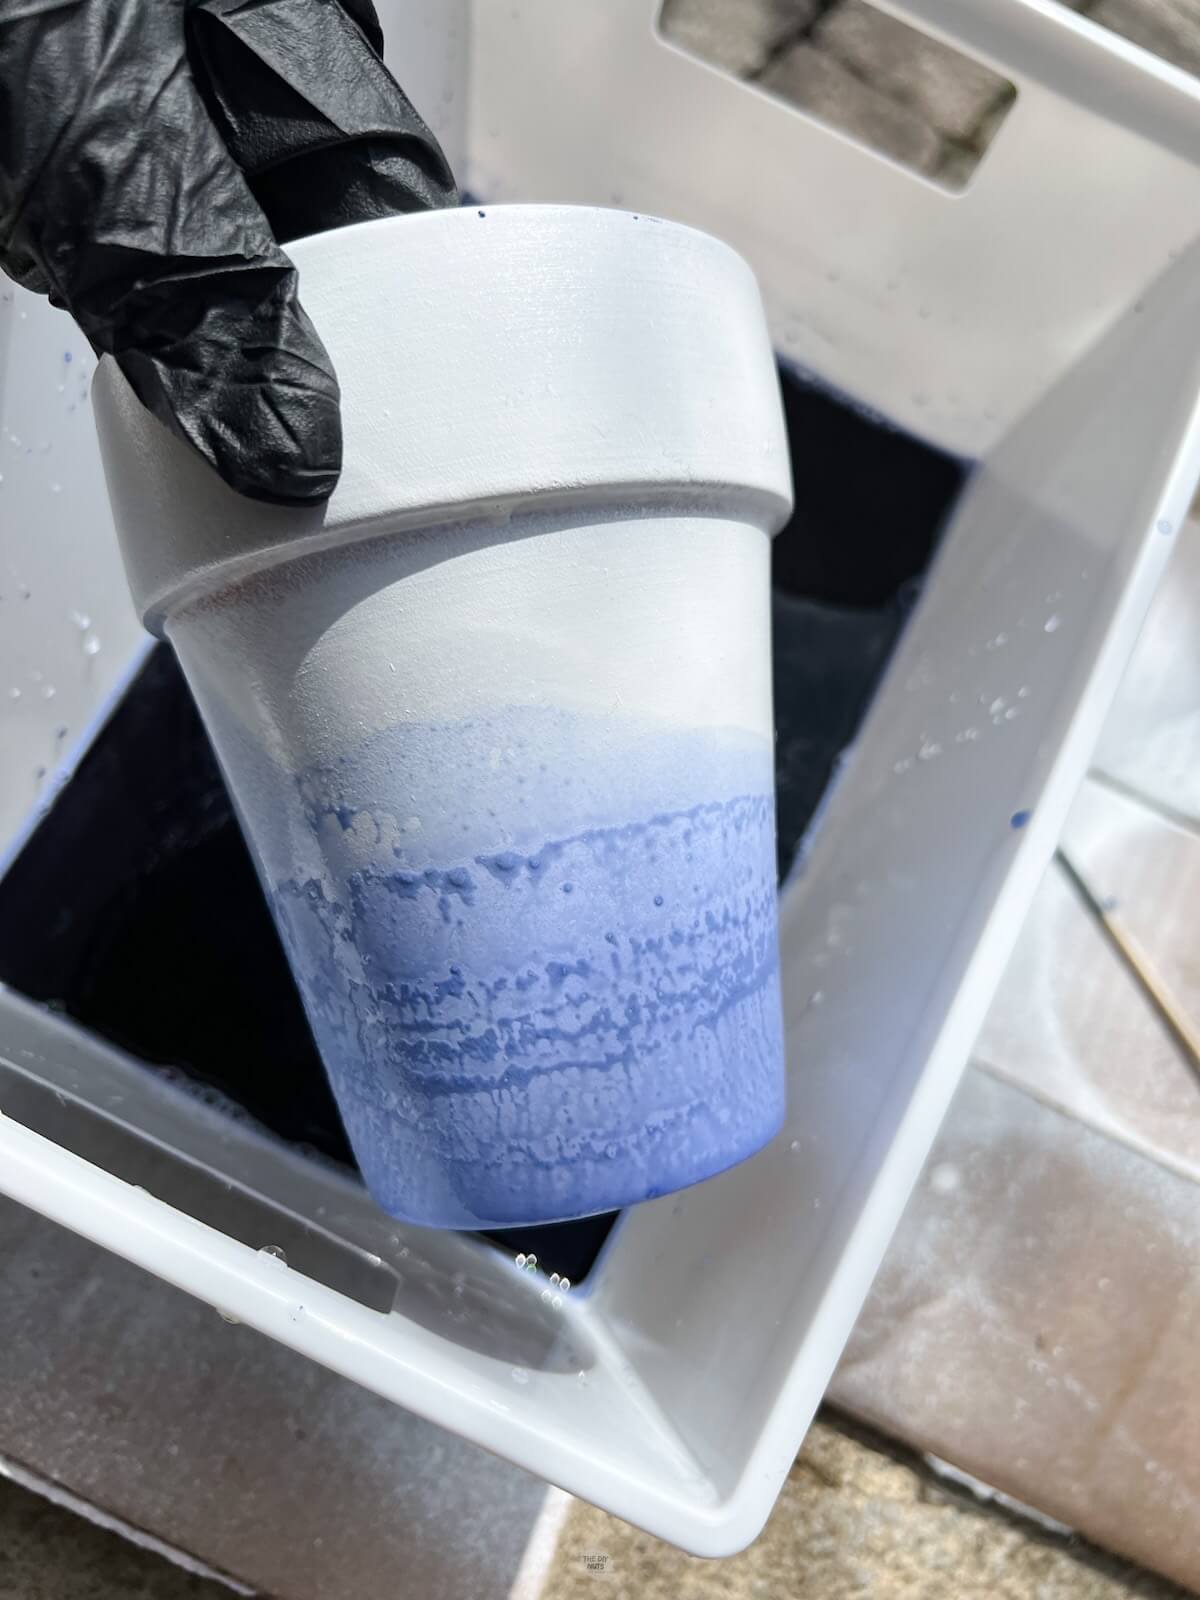
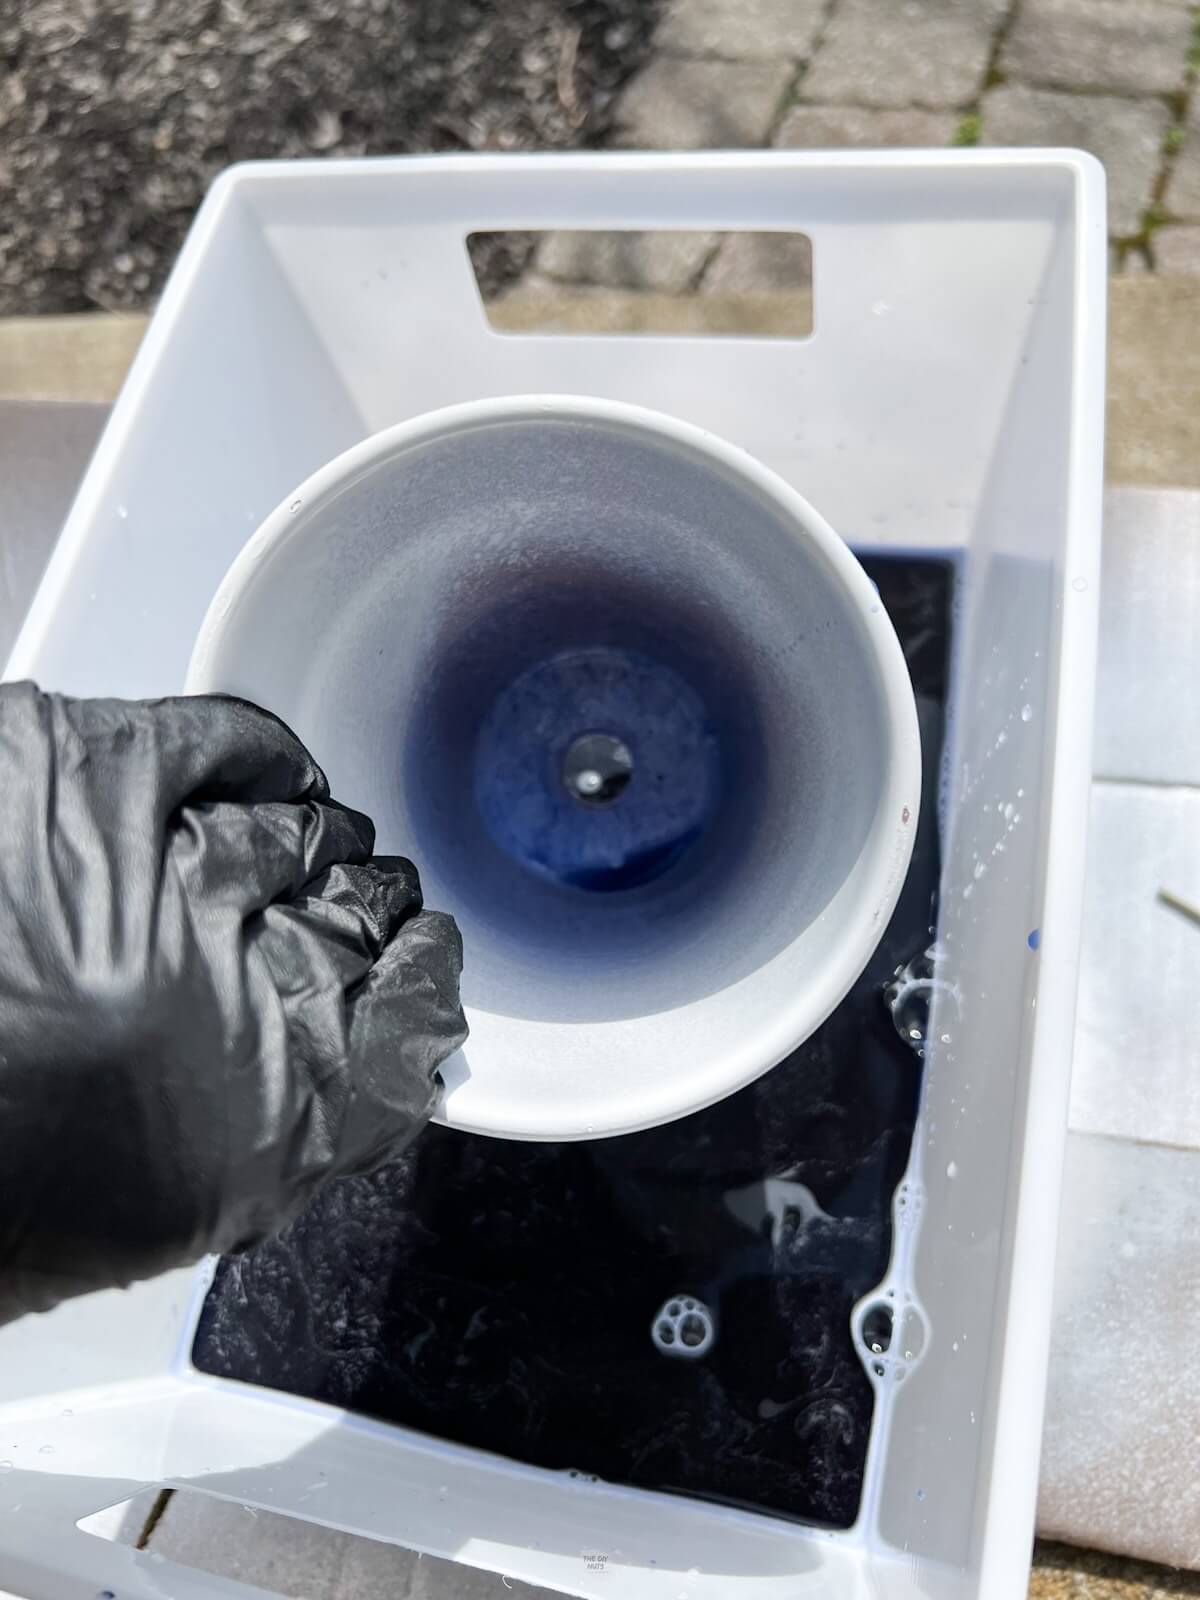
Step 3: Dip The Pot In Quickly
For the lightest color on the pot, we dipped it in super fast and then slowly pulled it out.
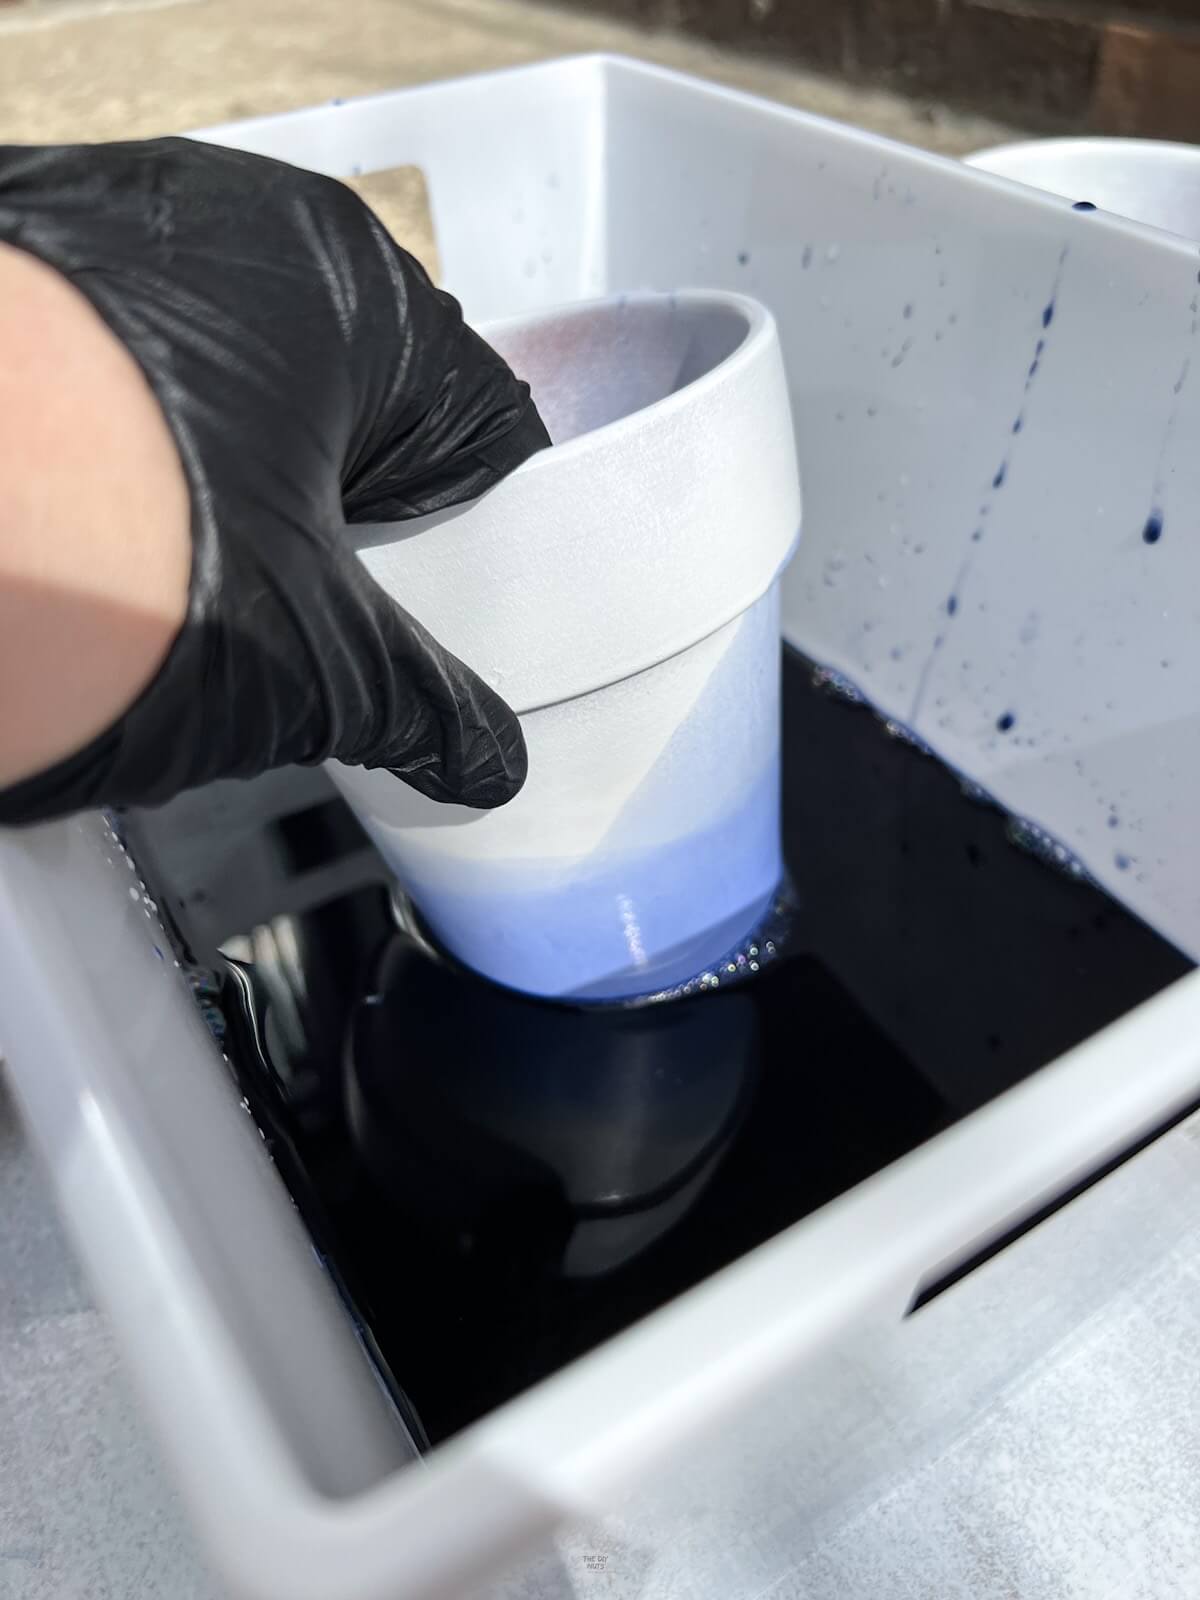
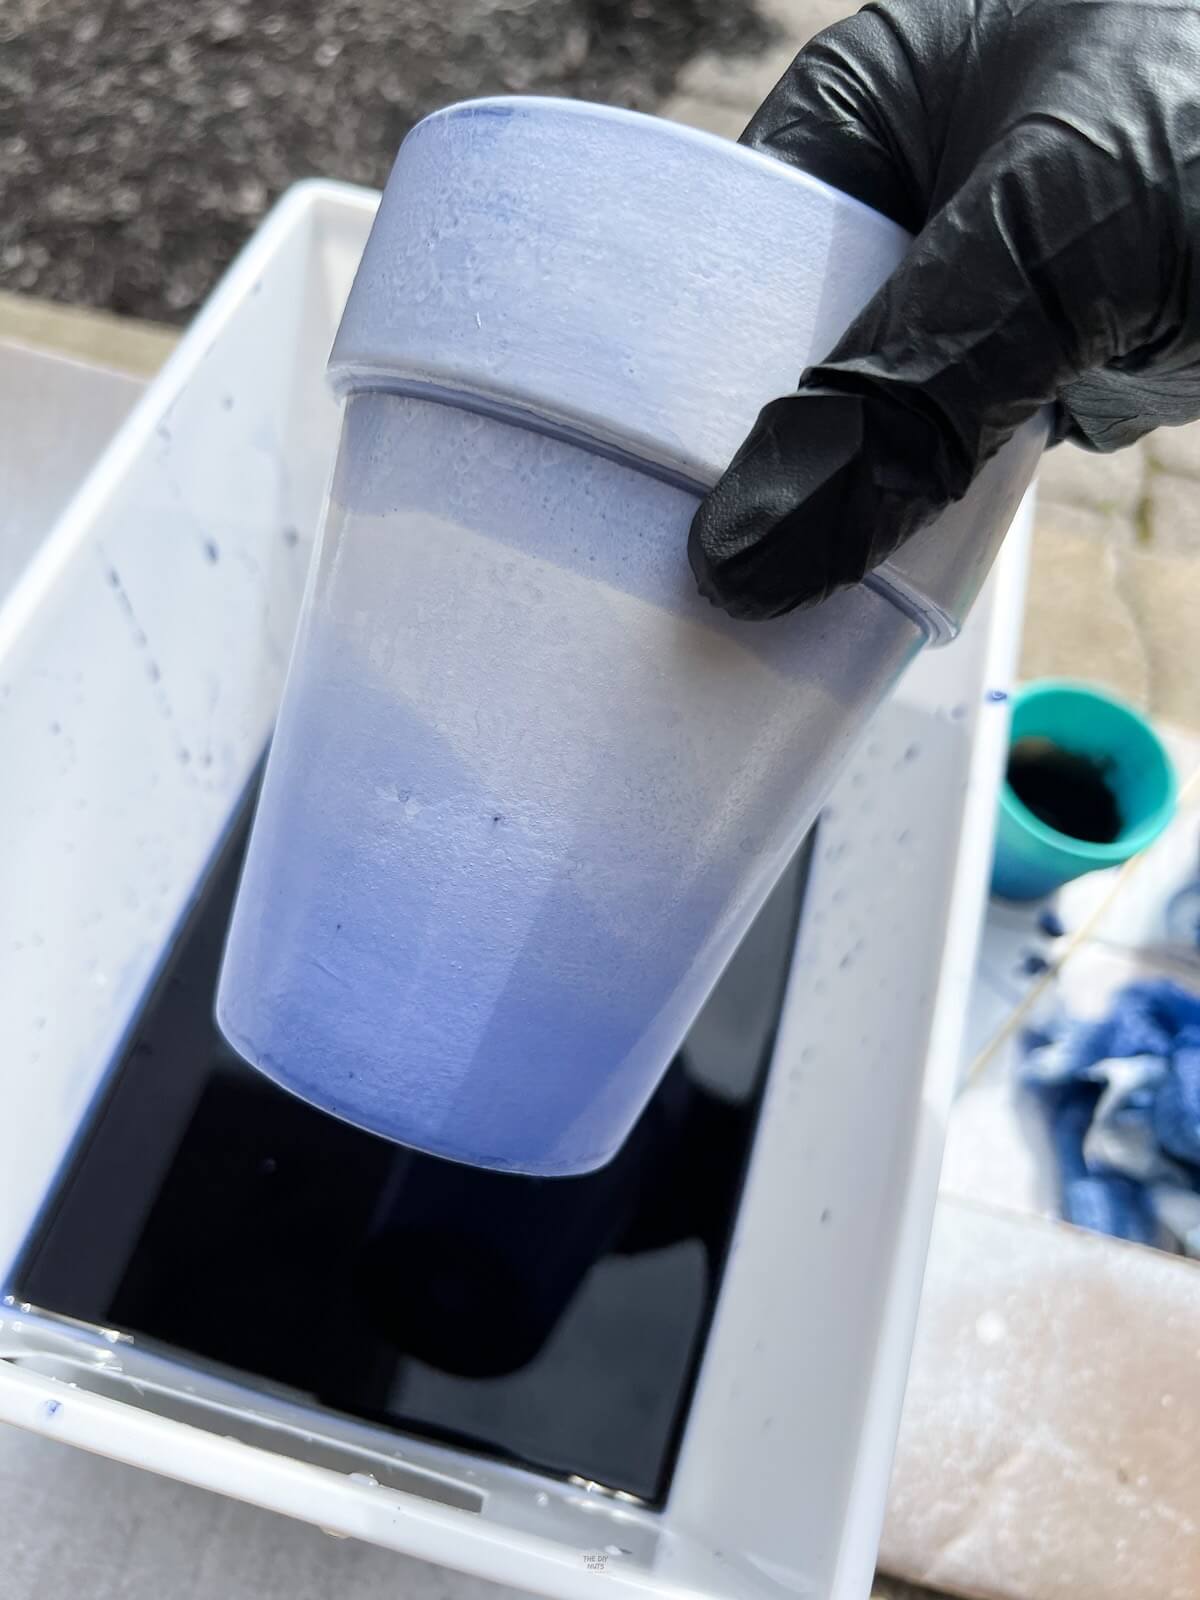
Step 4: Let Dry and Redip
Not going as high, redip the pot and hold a little longer. This worked okay, but if you also really want a darker color to add a little more dye each time you dip.
Step 5: Repeat Until You Are Happy
Repeat the dipping and then add extra dye until you are happy with the outcome. Note that if you used semi-gloss or gloss paint, your colors are very subtle and you may not really notice a difference in the colors as the dye will have a hard time soaking into the surface.
Regular craft paint seemed to absorb the color a little better.
Step 6: Let Pots Fully Dry
If you have any extra drips, you may be able to clean up the pot before it fully dries with a wet paper towel.
Optional: Seal Terracotta Pots After Painting
Once your pots are fully dry you want to use a spray sealer over the paint or this outdoor Mod Podge to protect your painted designs. Just note that the outdoor Mod Podge is very water resistant but not completely waterproof.
If you are brushing on the sealer, make sure that your dye has fully dried and will stay on. It may be better to spray to not chance of smearing your final dyed pot.
Tips and Other Ideas
- You can dip your pot from different angles to get different ombré or watercolor looks.
- Paint 1″ or 2″ of the inside of the pot white to complete your look. No need to paint the bottom or all of the inside.
- Be careful when dipping to carefully get the extra dye out of the inside of your pot. You may need to rotate and be patient to let it drip out.
- Your dyed pot will dry lighter.
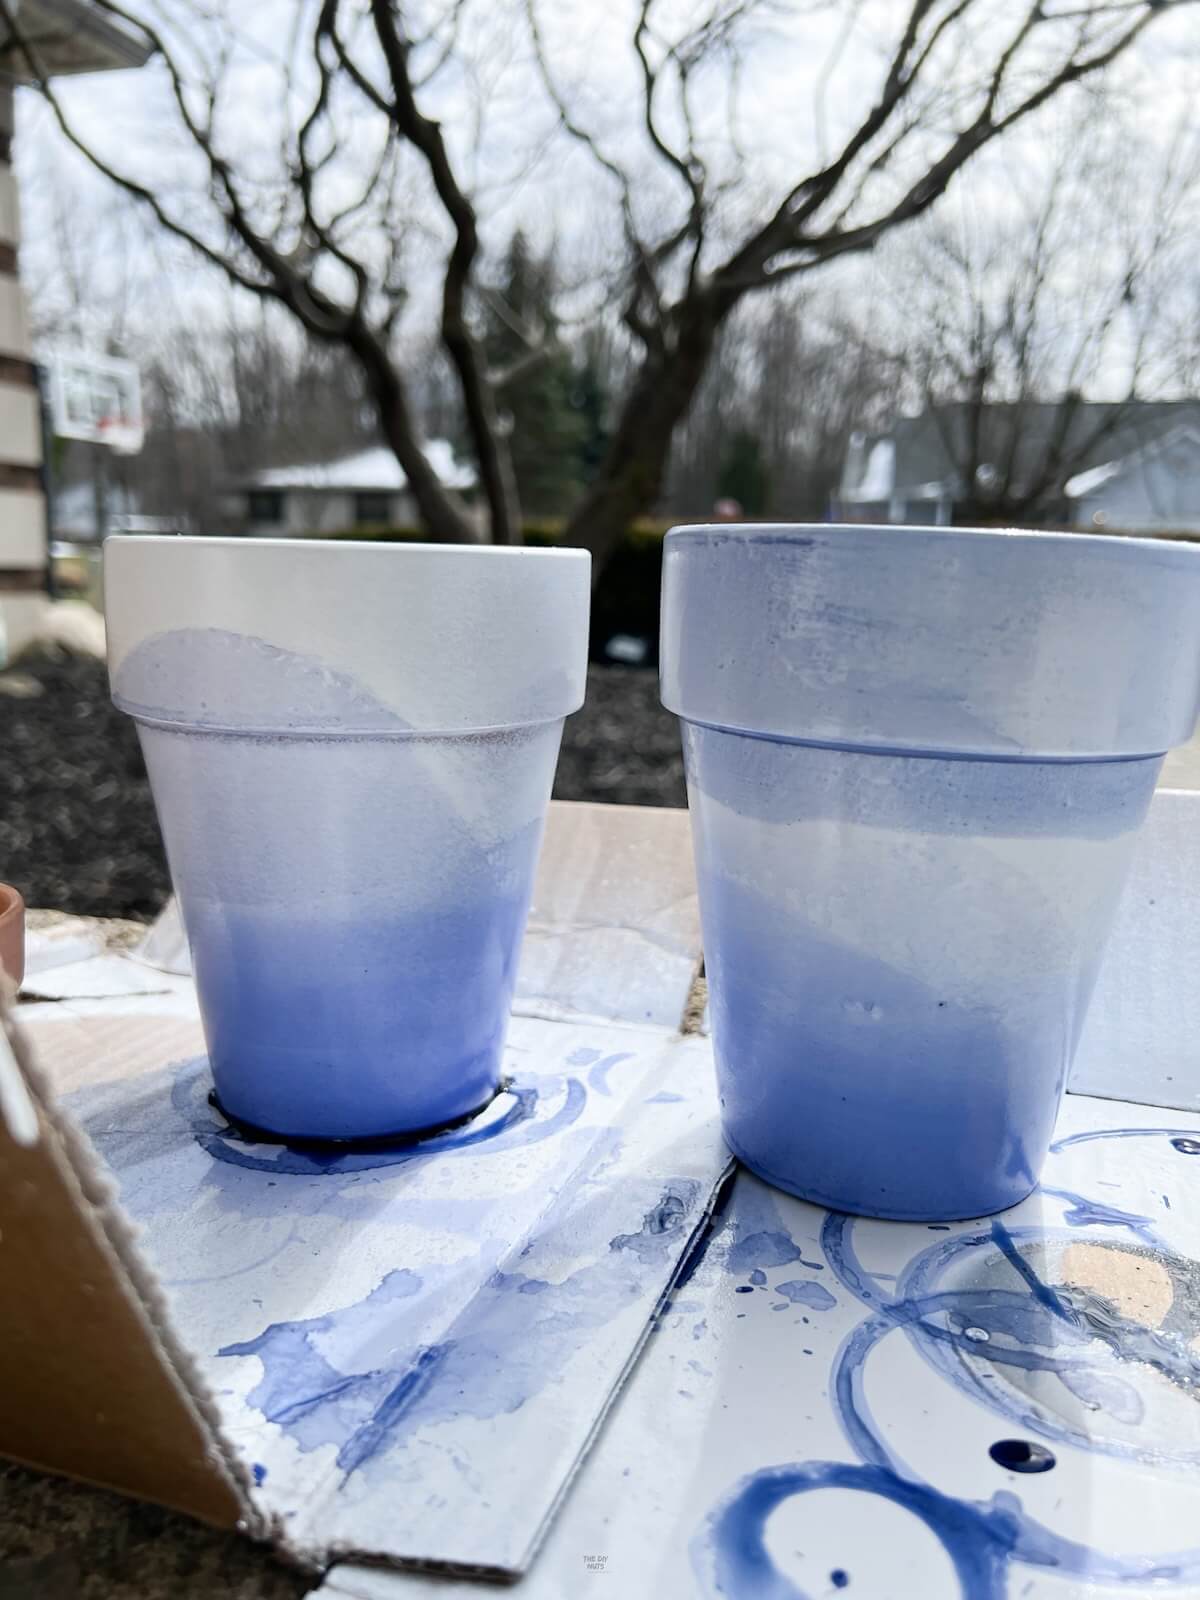
Which paint base coat worked best?
- If you want a subtle color in the end, spray paint is your best option. We did not try matte spray paint with primer, but that would probably give you the smoothest finish while the brightest colors.
- Craft paint will give you bright colors when dyed, but you can see the brushstrokes.
- No matter what type of paint, we would stick to white as the base coat.
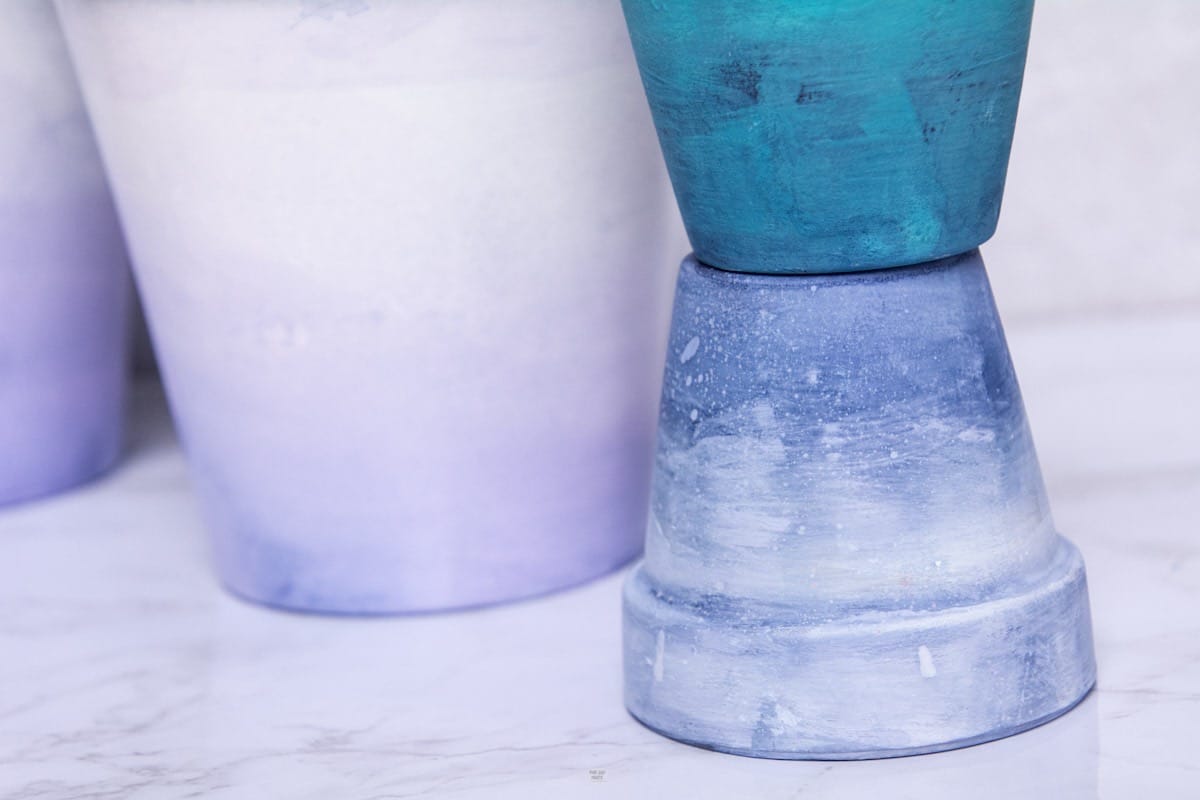
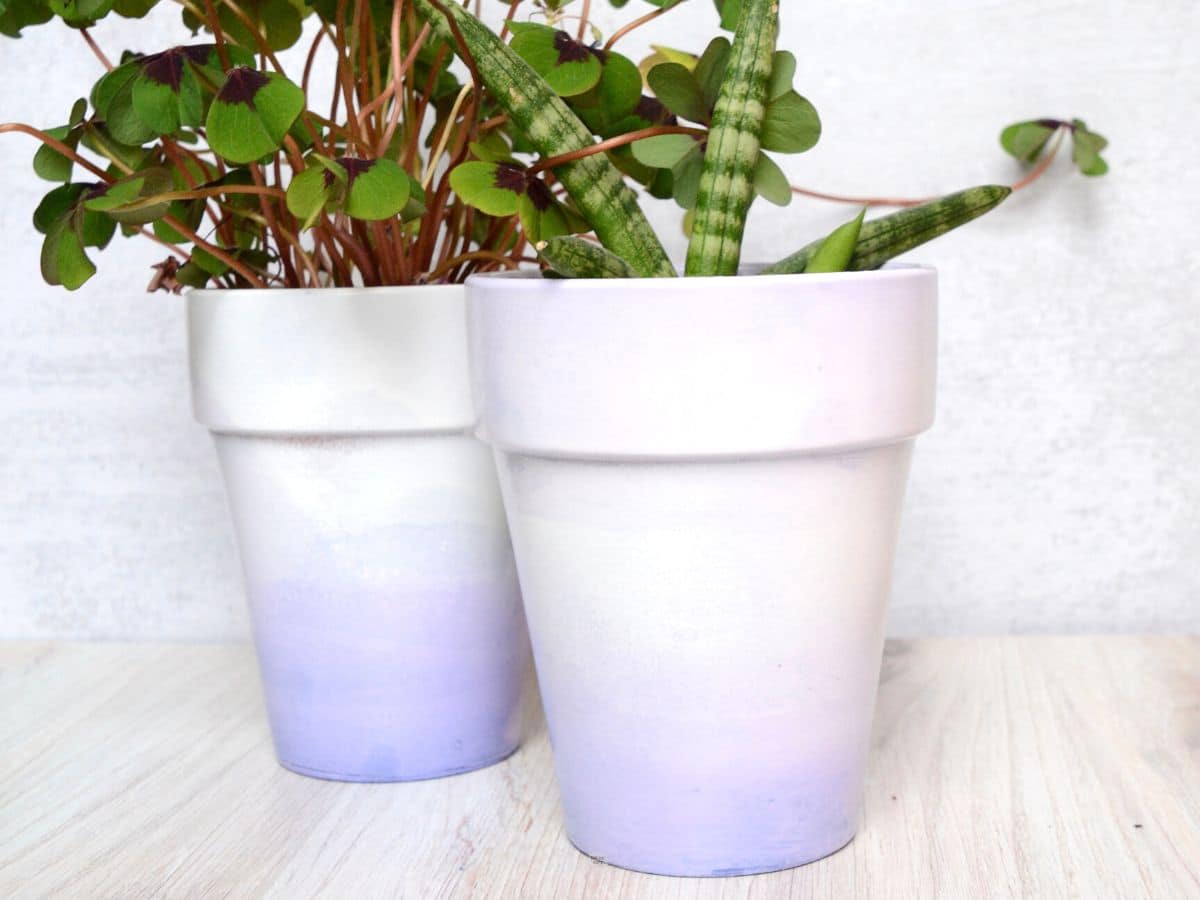
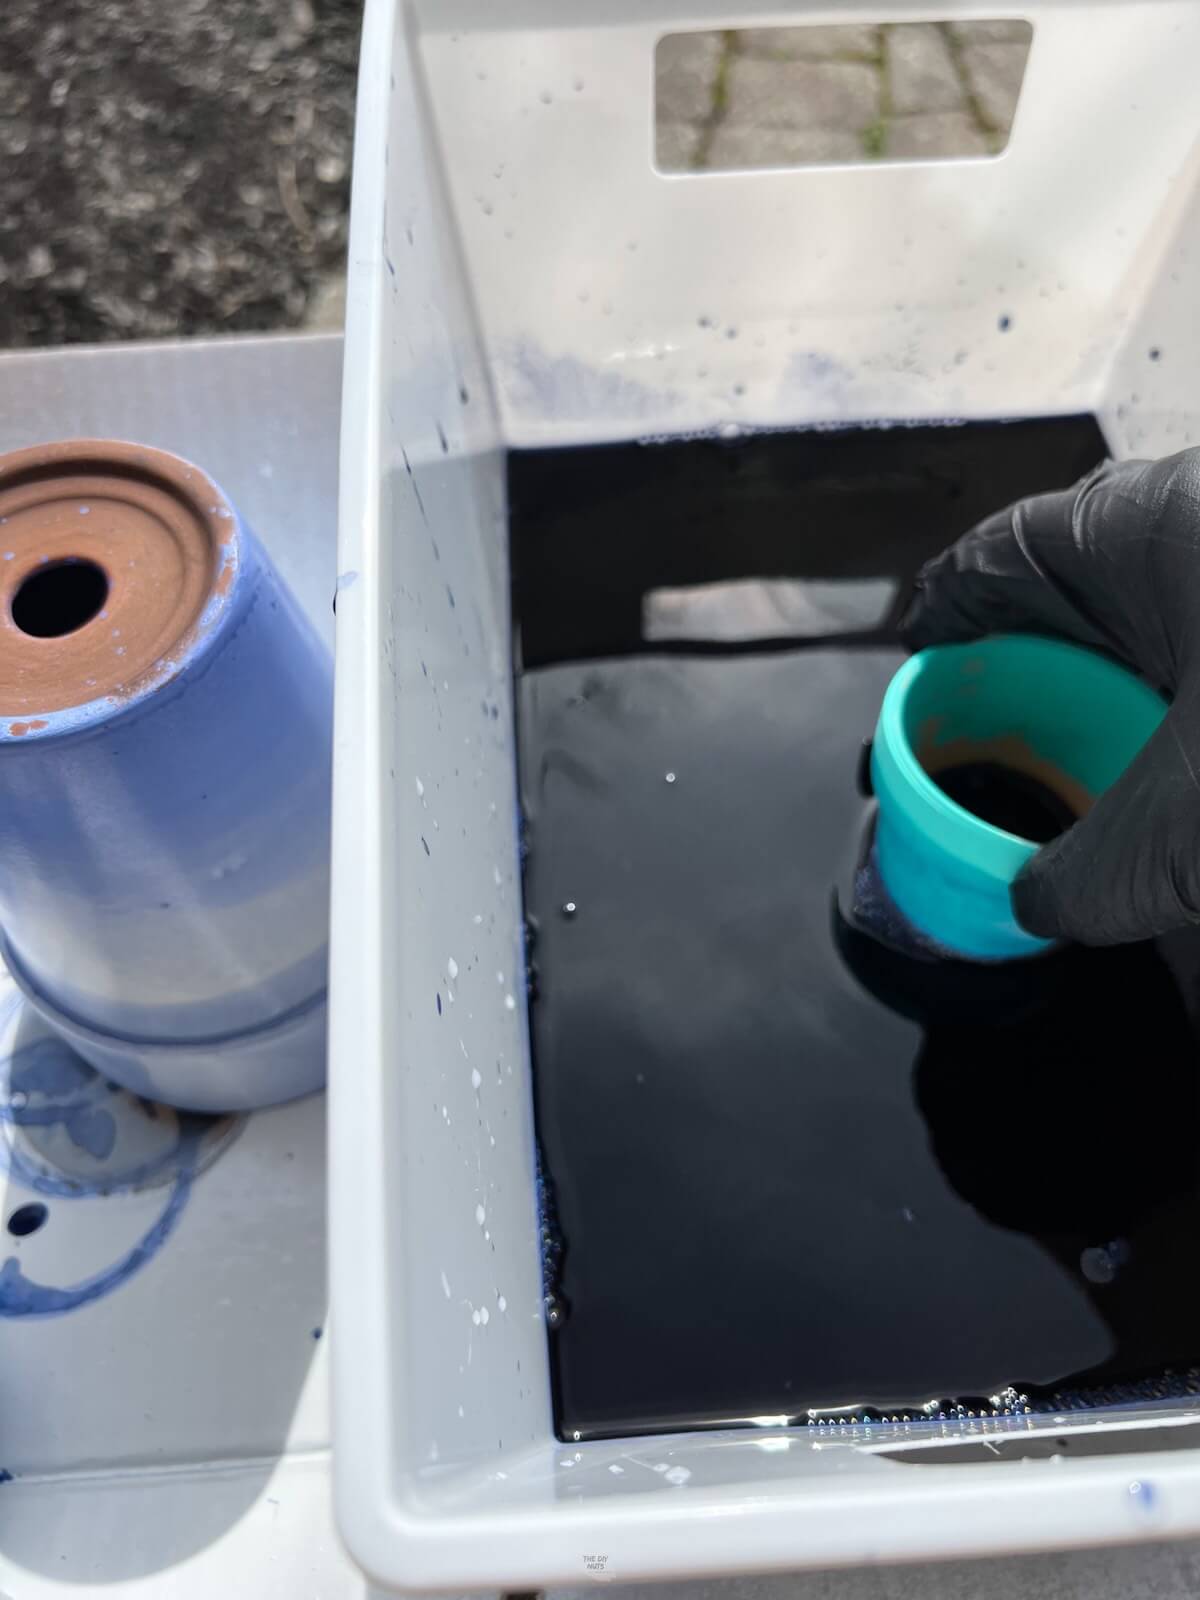
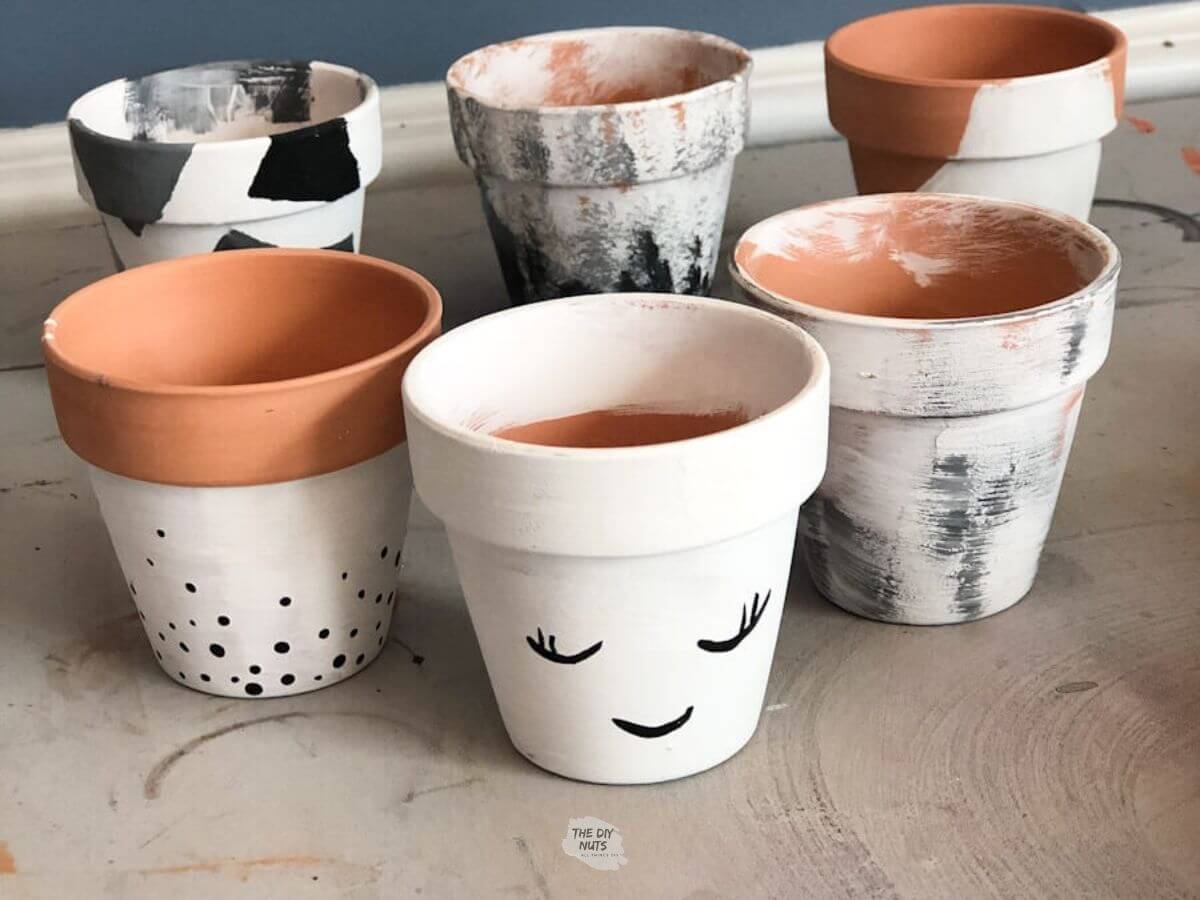
In the picture above, you can see the small terracotta pot has a much richer color. This pot was only dipped once in the color and slowly brought out.
The mini pot was painted with white craft paint. The larger pots in the background are the spray-painted ones that were dipped in the same Royal Blue dye. Your outcome may vary depending on the base coat you use.
Tutorial FAQs
To dye terracotta pots, mix the dye in a container and carefully dip in part of the pot. If you want brighter colors, you will want to paint your flower pot with white craft paint before dipping dye.
No, the dye will work on the plain terracotta color, but it might not be as vibrant as you would like. 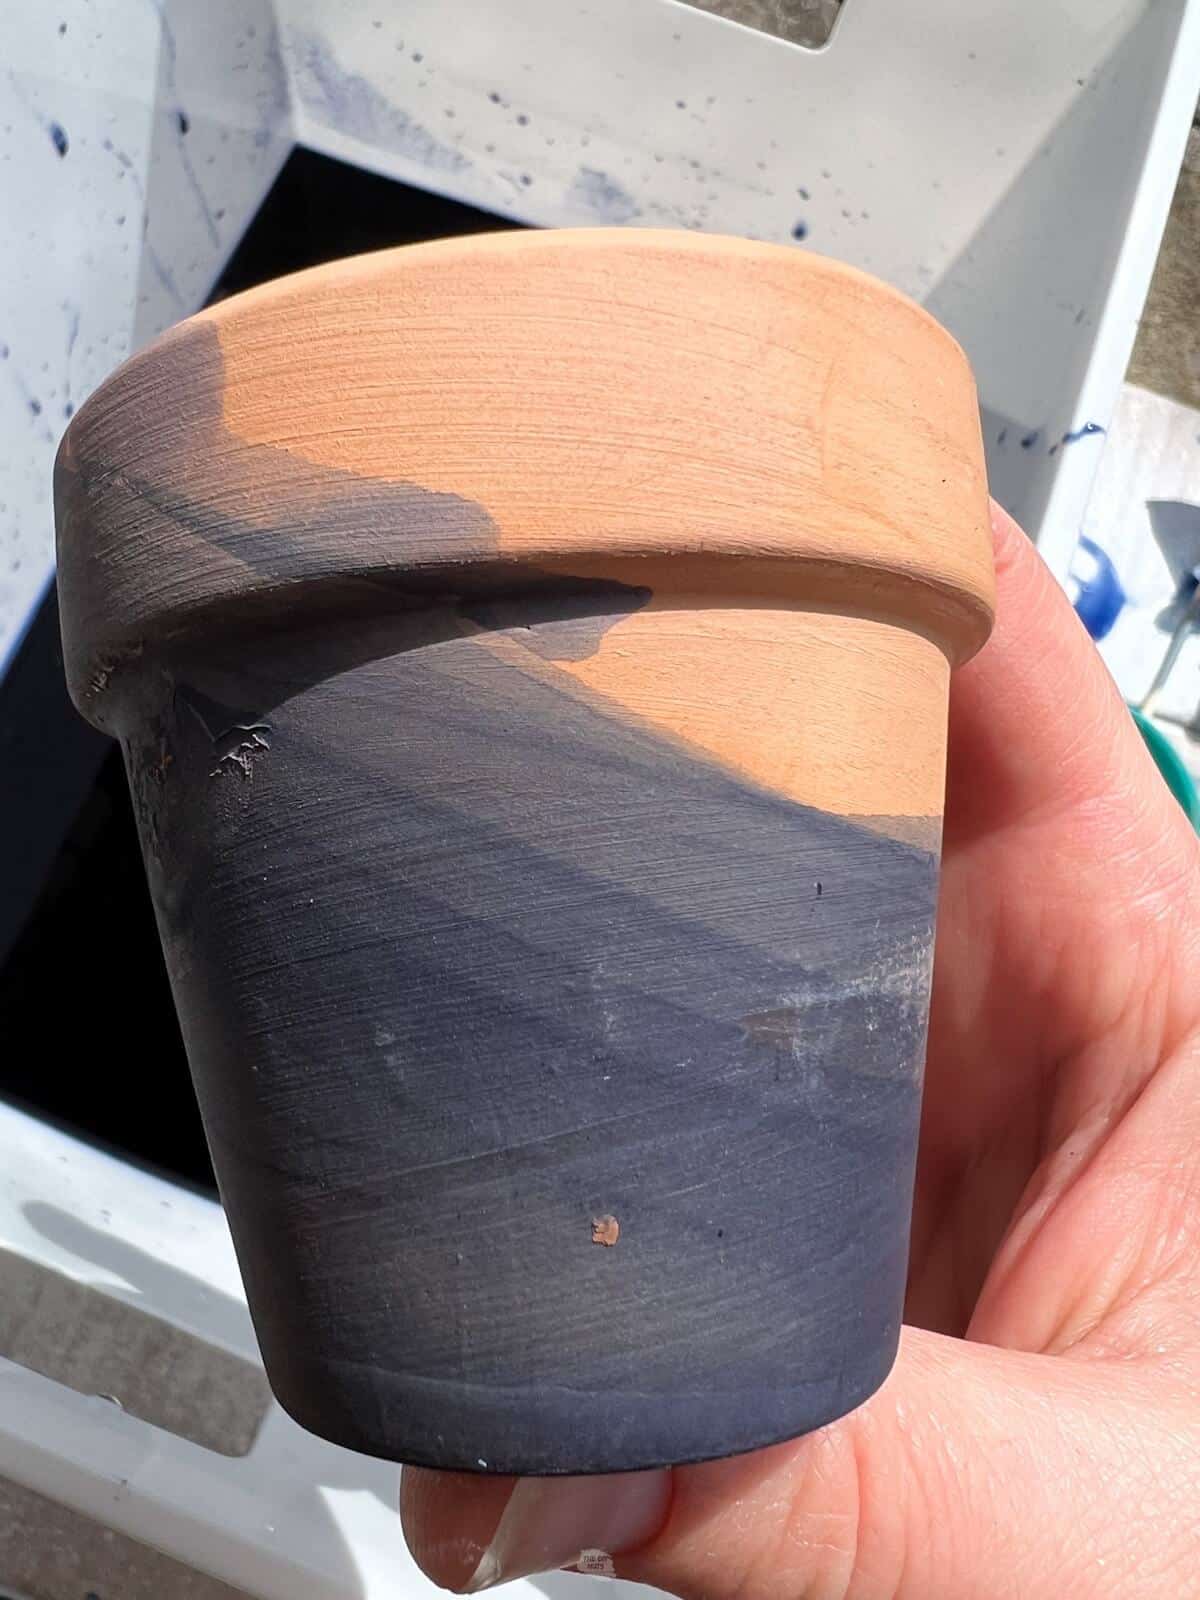
Watercolor or tempera paints will not adhere well to clay points nor will the finish last. Oil-based paints can work but will take a long time to dry.
Sealing your clay pot will affect its breathability and you may risk overwatering your plant as your pot will retain moisture. However, if you don’t seal your painted pot, then your paint may not last as long.
Follow us on Pinterest, YouTube or Facebook for more DIY inspiration!
More Painted Flower Pot Ideas
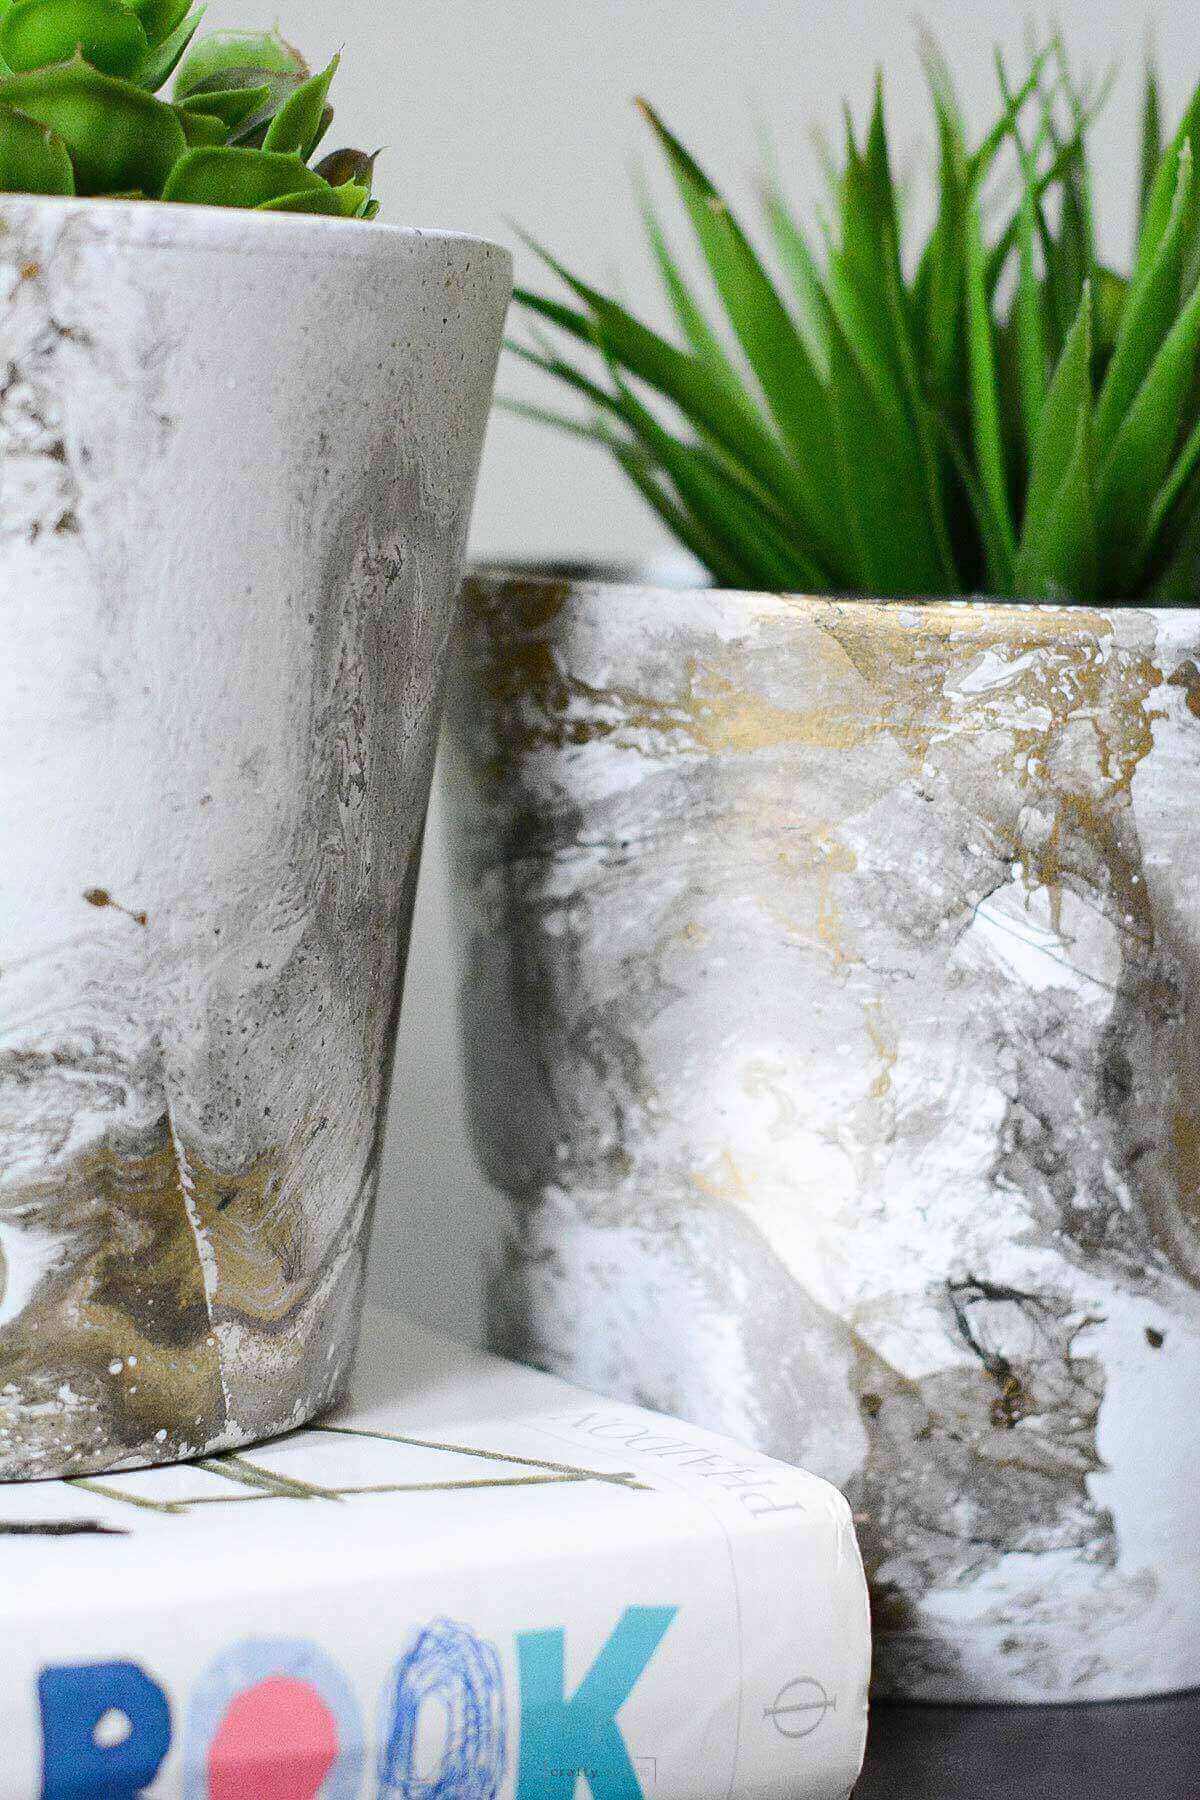
#1 Faux Marble Flower Pots Done With Spray Paint
This is by far one of our favorite & unique paint techniques. Learn how you can reuse the same plastic container to create a faux marble look on all sorts of items.
#2 Easy Black and White Pot Designs
Get the whole family involved in making these easy painted flower pots using only two colors of acrylic craft paint.
See all 29+ flower pot painting design ideas in this post.
If you like this tutorial, please give it 5 stars below 🤩🤩🤩🤩🤩. Your support helps us continue to provide unique and budget-friendly DIYs.
DIY Ombré Terracotta Pot
Equipment
- Old Bucket or Container
- Gloves
- Stirrer old pencil, skewer or craft stick will do
Supplies
- White Paint acrylic craft paint, latex paint or spray paint with primer built-in
- Dye powdered or bottled in the color of your choice
- Sealer Spray in the finish of your choice
Instructions
Before You Begin
- Clean your terracotta pot to be completely dust and grime free. It also should be completely dry before starting.
How To Dye Pot
- Paint your terracotta pot white with acrylic craft paint, spray paint with primer built-in or latex paint. Matte paint will work best.
- Mix your dye in your container. You can start with a light shade of the color first by only adding a little dye.
- Dip your pot in as far as you want the color to show.
- Add more dye to make it darker.
- Dip the pot in again but not as high. Repeat the dye and dip steps until you are happy with the outcome.
- Optional: Seal your pot with a shellac spray.
Notes
- No matter what type of paint, we would stick to white as the base coat.
- You do not have to get the ombre look. You can just dip and hold at different times for a more watercolor paint look.
- You can dye terracotta pots without painting them white. Certain colors will work better than others. Just don’t expect the colors to be as vibrant.