Get Organized With DIY Basement Wall Shelves
Creating storage shelves using simple brackets can help you utilize dead space in your basement or home. This is the perfect DIY to reuse leftover wood and materials!

Key Takeaways
The “Before” Space
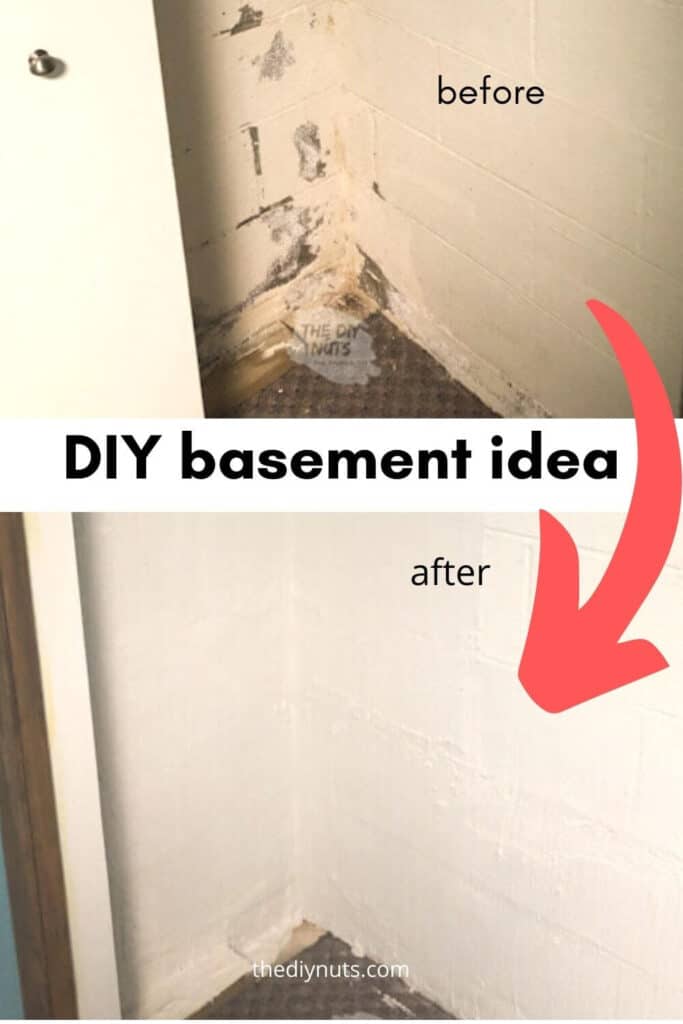
Our basement has a weird cubby or crawl space under the stairs. We were sick of throwing our DIY supplies everywhere. We knew we needed a cheap DIY shelving solution.
Supplies You’ll Need
*Disclosure: This post may contain affiliate links that at no additional cost to you, may earn a small commission. Read our full privacy policy.

Step-by-Step Instructions
We already installed farmhouse shelving on cinderblock walls in our kid’s craft room, and this DIY wall shelving tutorial follows very similar steps.
Create Wood Shelves
- CUT THE WOOD TO SIZE – We used scrap pine boards to save money on buying supplies. If purchasing new wood, look for pre-sanded 1 x 12 boards.
- PRIME AND PAINT WOOD – Prime and paint the wood using a small foam roller. This will take a little time as you have to apply two coats. Wait for each one to fully dry before flipping to the other side.

Installing Basement Wall Shelves
- MARK HOLES – Use a tape measure, a pencil, and a level layout (mark the drill holes) for the concrete screws.
- CHECK IF LEVEL – Place a 4’ level from hole to hole to make sure you’re close to being level. The CMU grout line itself should be pretty level…(Check and don’t assume.)

- PREDRILL HOLES – Use a hammer drill and concrete bit to pre-drill all of your bracket holes. Make sure you wear safety glasses people!
- ADD TAPCONS – Once the bracket holes are drilled put the Tapcon through the bracket and sink anchors with a cordless drill.

- ATTACH ALL BRACKETS – Repeat until all shelving brackets are attached.
- ADD WOOD – Use a drill to attach wood boards to brackets.

TIP: It is best to anchor into and drill into the grout lines above and below the actual CMU blocks (see photo)
Follow us on Pinterest, YouTube or Facebook for more DIY inspiration!
Tips
- If you are hanging basement shelves on drywall and not cinderblock use a stud finder and screw the brackets into the studs.
- Use the cinderblock grout line as a guide to help you keep it all level.
- You can stain your board instead of paint for a farmhouse look.
More Basement DIY Projects
Check out a few of our other basement DIY projects!
- Easiest Drop Ceiling Makeover Idea
- How To Waterproof Cinderblock Walls Yourself
- Our Budget DIY Basement Makeover – including how we added built-in storage with stock cabinets.
Our Basement Storage Area

Yes, we have a lot of paint. We are happy to have easy access to all that we might need! We love utilizing all spaces in our home (even if it is a cinderblock wall crawl space).
If you like this tutorial, please give it 5 stars below 🤩🤩🤩🤩🤩. Your support helps us continue to provide unique and budget-friendly DIYs.
DIY Basement Storage Wall Shelves

Equipment
- Hammer Drill
- Cordless Drill
- 4' Level
- Tape Measurer
Supplies
- Shelf Brackets
- Wood Shelves painted or stained
Instructions
Build Shelves
- Cut wood to size.
- Paint or stain shelves to fit your space.
Hanging Bracket Shelves On Cinderblock
- Use a tape measure, a pencil, and a level layout (mark the drill holes) for the concrete screws.
- Place a 4’ level from hole to hole to make sure you're close to being level.
- Using the hammer drill and bit pre-drill all of your bracket holes.
- Once the bracket holes are drilled put the Tapcon through the bracket and sink anchors with a cordless drill.
- Continue the above steps until all of your brackets are attached.
- Place the painted shelves on the brackets and use the screws that came with the brackets to attach the shelves to the brackets from the underside.
Notes
- It is best to anchor into and drill into the grout lines above and below the actual CMU blocks
- The CMU grout line itself should be pretty level…(just check and don’t assume).


