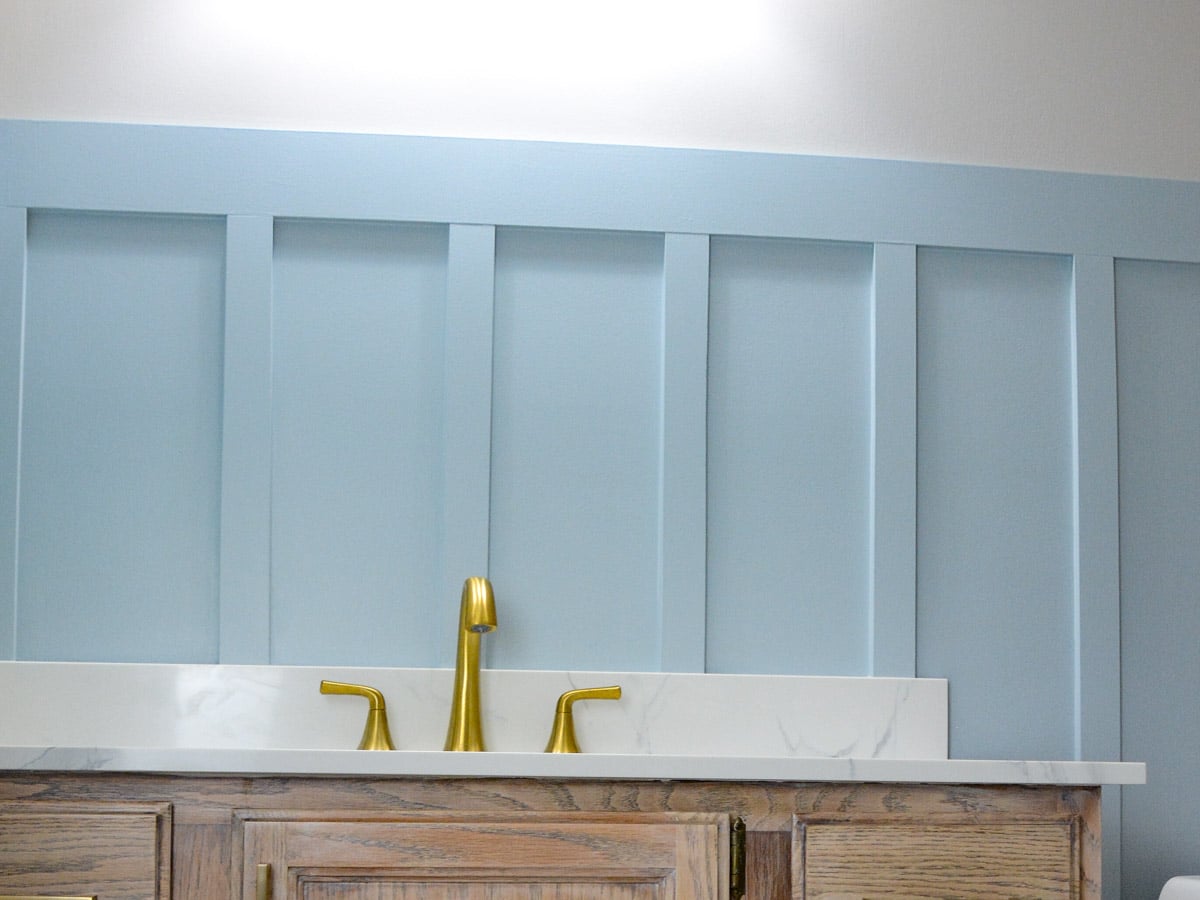
What We Learned Putting MDF Board And Batten In A Bathroom
There are thousands of tutorials about adding board-and-batten walls to your home to add style. If you are considering adding board-and-batten to your bathroom walls, make sure you read our tips before starting.
Like any DIY idea, we knew what we wanted but learned a few lessons along the way. No matter how often we do a project, there is always something new to learn.
Why We Used MDF
Before you get your pitchfork out, hear us out. There are mixed reviews about using MDF in areas prone to moisture.
#1 MDF Can Work, But Be Careful
If we had done things differently, we would have used moisture-resistant MDF or PVC boards for our trim. MDF is not great for bathrooms, kitchens, or other areas that are meant to get wet.

With that being said, pre-primed MDF would have also been a better choice and would have stopped us from having to do #3 on this list.
#2 Cutting Your Own Strips Is Cheaper
By ripping boards from a large MDF sheet, we were able to create this design for under $50. If you have the tools and ability, cutting the strips is not that hard and will save you money.

After we realized we maybe didn’t choose the best material, we did a lot of research to still make our wall last. The biggest thing you can do is seal the boards so that moisture can not penetrate the sides.
#3 Use An Oil-Based Primer If Using Regular MDF

In the ideal world, you would use an oil-based primer on your cut boards in an open-air environment. By painting 2 – 3 coats of primer on all edges, you would seal the MDF.

Due to time constraints, we put all the parts on the wall for the area with the hooks and then primed. Because we did that, priming took longer.
We set up a painting station for two-thirds of the board-and-batten wall. From our understanding, the edges of the MDF are the most susceptible to moisture. Making sure those strips are primed well will hopefully prevent you (and us) from having any moisture-related problems.

#4 Make The Spacing Work For Your Space
Take time to plan out your wall. You can draw sketches or even measure right on your wall to see your layout. If you are doing the wall all around a space, you can slightly change the distance to make it work.

For example, our hook wall has vertical boards 1.5″ further apart than the area behind the toilet. The only way people will know is if they bring a ruler into our bathroom (and that would just be weird).
#5 Caulking Is A Pain-But Totally Worth It
I filled all the nail holes with wood putty and used a paintable caulk meant to help prevent mold in bathrooms and white environments.

I found it easiest to caulk the inside rectangle before wiping the seam with a damp and soapy finger.
TIP—Pay attention to the corners. It is very easy to have too much caulk. We get it: This is easier said than done.
#6 Use A High-Quality Paint
Once your oil-based primer dries, you can use a high-quality water-based paint (like Urethane Trim Enamel). We painted ours with a 2″ angled brush and a small foam roller.

#7 MDF Dust Stinks
When cutting and sanding MDF, you will create a lot of dust. Working outside with the cut boards for sanding, priming, and painting was easier. Wear a mask and use your shop-vac ofter to clean up.

We did not end up sealing all the edges with primer along the floor on one wall. To help make the wall last, we placed a small caulk line under the baseboard so that water could not seep in.
#8 Decide If You Need Construction Adhesive
Putting adhesive behind your boards before nailing them up will destroy your walls when you take them down.

However, you also have to decide the weight of the hanging items, etc. For our DIY board-and-batten wall, my husband decided to use construction adhesive behind the top boards before attaching them to the walls with a nail gun.
#9 Smooth Walls Are Great
If your walls are smooth, there really isn’t a need for a backboard. My husband and I debated this but ultimately decided to work with the wall’s texture. I am happy we did not choose to add extra material to the walls. I don’t think it would have made a big difference in the final appearance.

Stay tuned for the final reveal of this bathroom soon!!

Follow us on Pinterest, YouTube or Facebook for more DIY inspiration!

More Bathroom DIY Projects
Check out these other DIYs we did in this space.
We can’t wait to share all the DIYs we did in the space. We will continue to keep you updated about how our MDF board and batten walls are doing in our hallway bath.