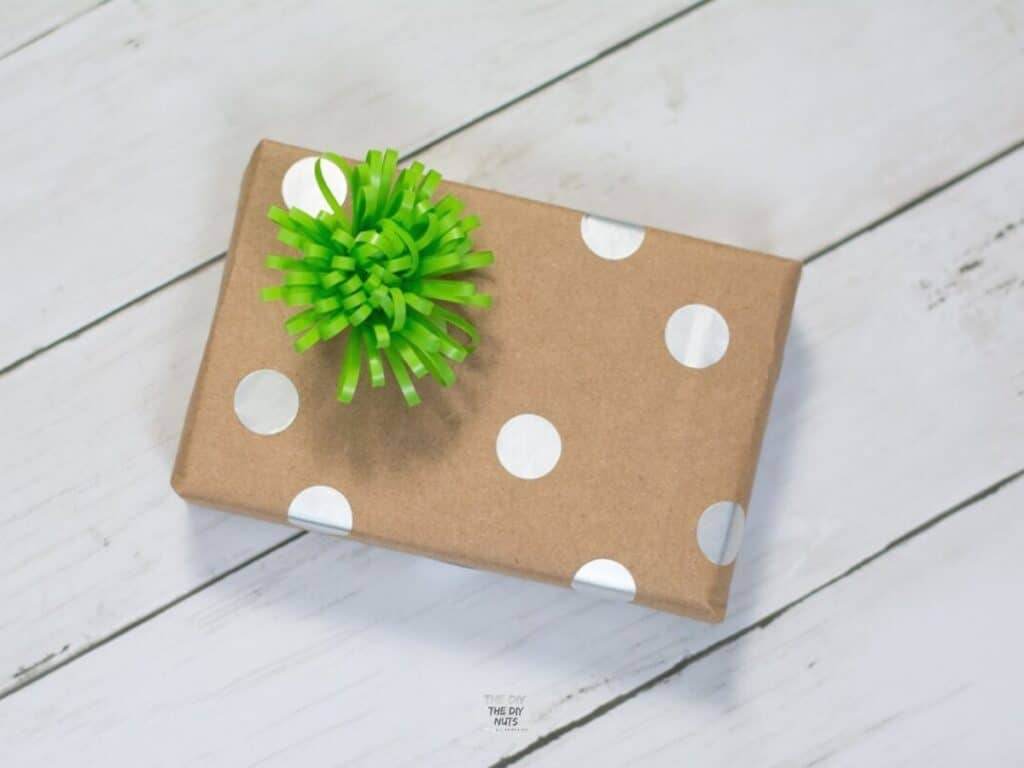
DIY Polka Dot Wrapping Paper
Do you love making your gift-wrapping paper and want it to be as easy as possible? Our DIY polka dot wrapping paper is perfect for you. Recycle your brown bags and create fun DIY dot gift wrapping in minutes!
This polka dot wrapping paper is so easy to make. You can get this project done in less than 5 minutes.
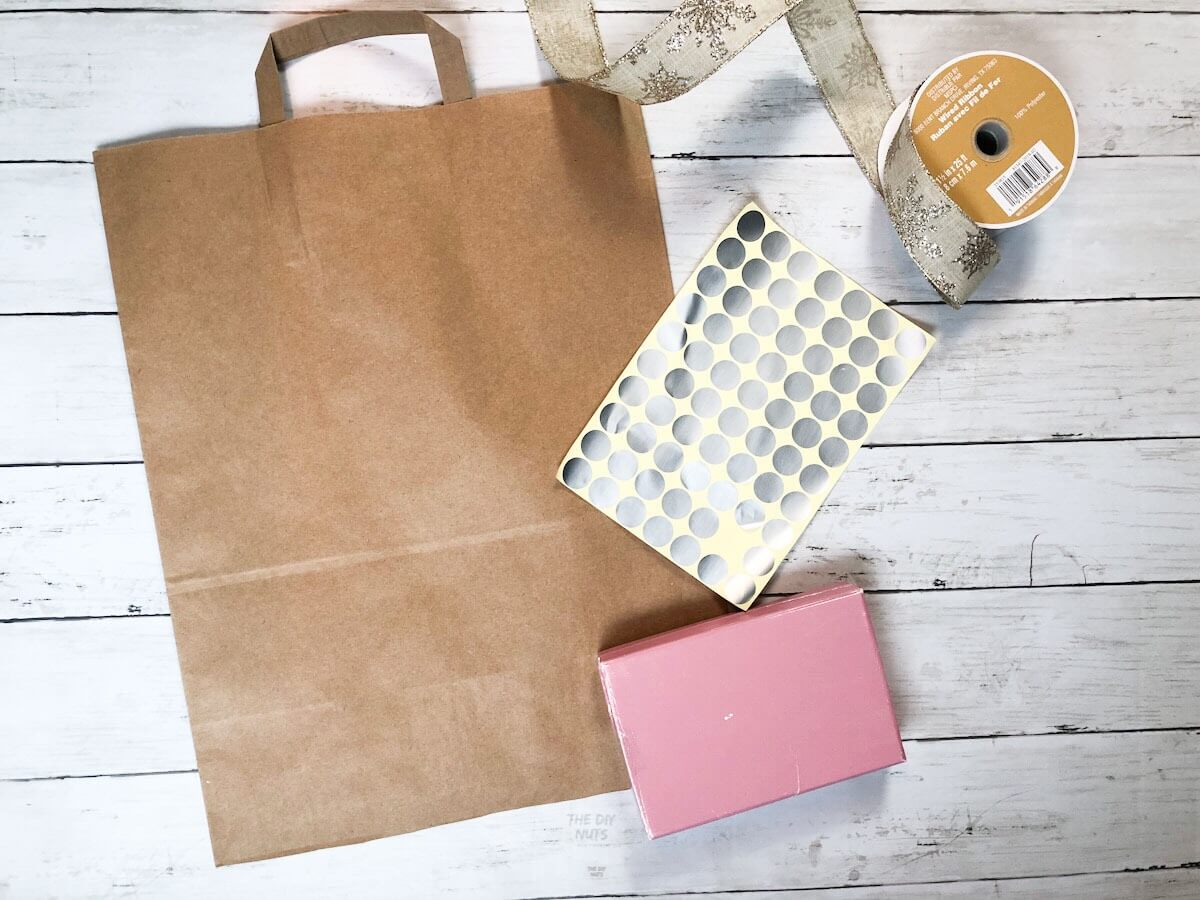
Supplies You’ll Need
*Disclosure: This post may contain affiliate links that at no additional cost to you, may earn a small commission. Read our full privacy policy.
*These are also great for fine motor activities with kids as well.
RELATED READING – 17+ DIY Christmas Wrapping Ideas
How To Make DIY Polka Dot Wrapping Paper
Step 1: Cut Brown Paper And Lay It Flat
Cut your brown paper bag or use butcher paper. This post includes images of how to cut a brown bag for wrapping paper.

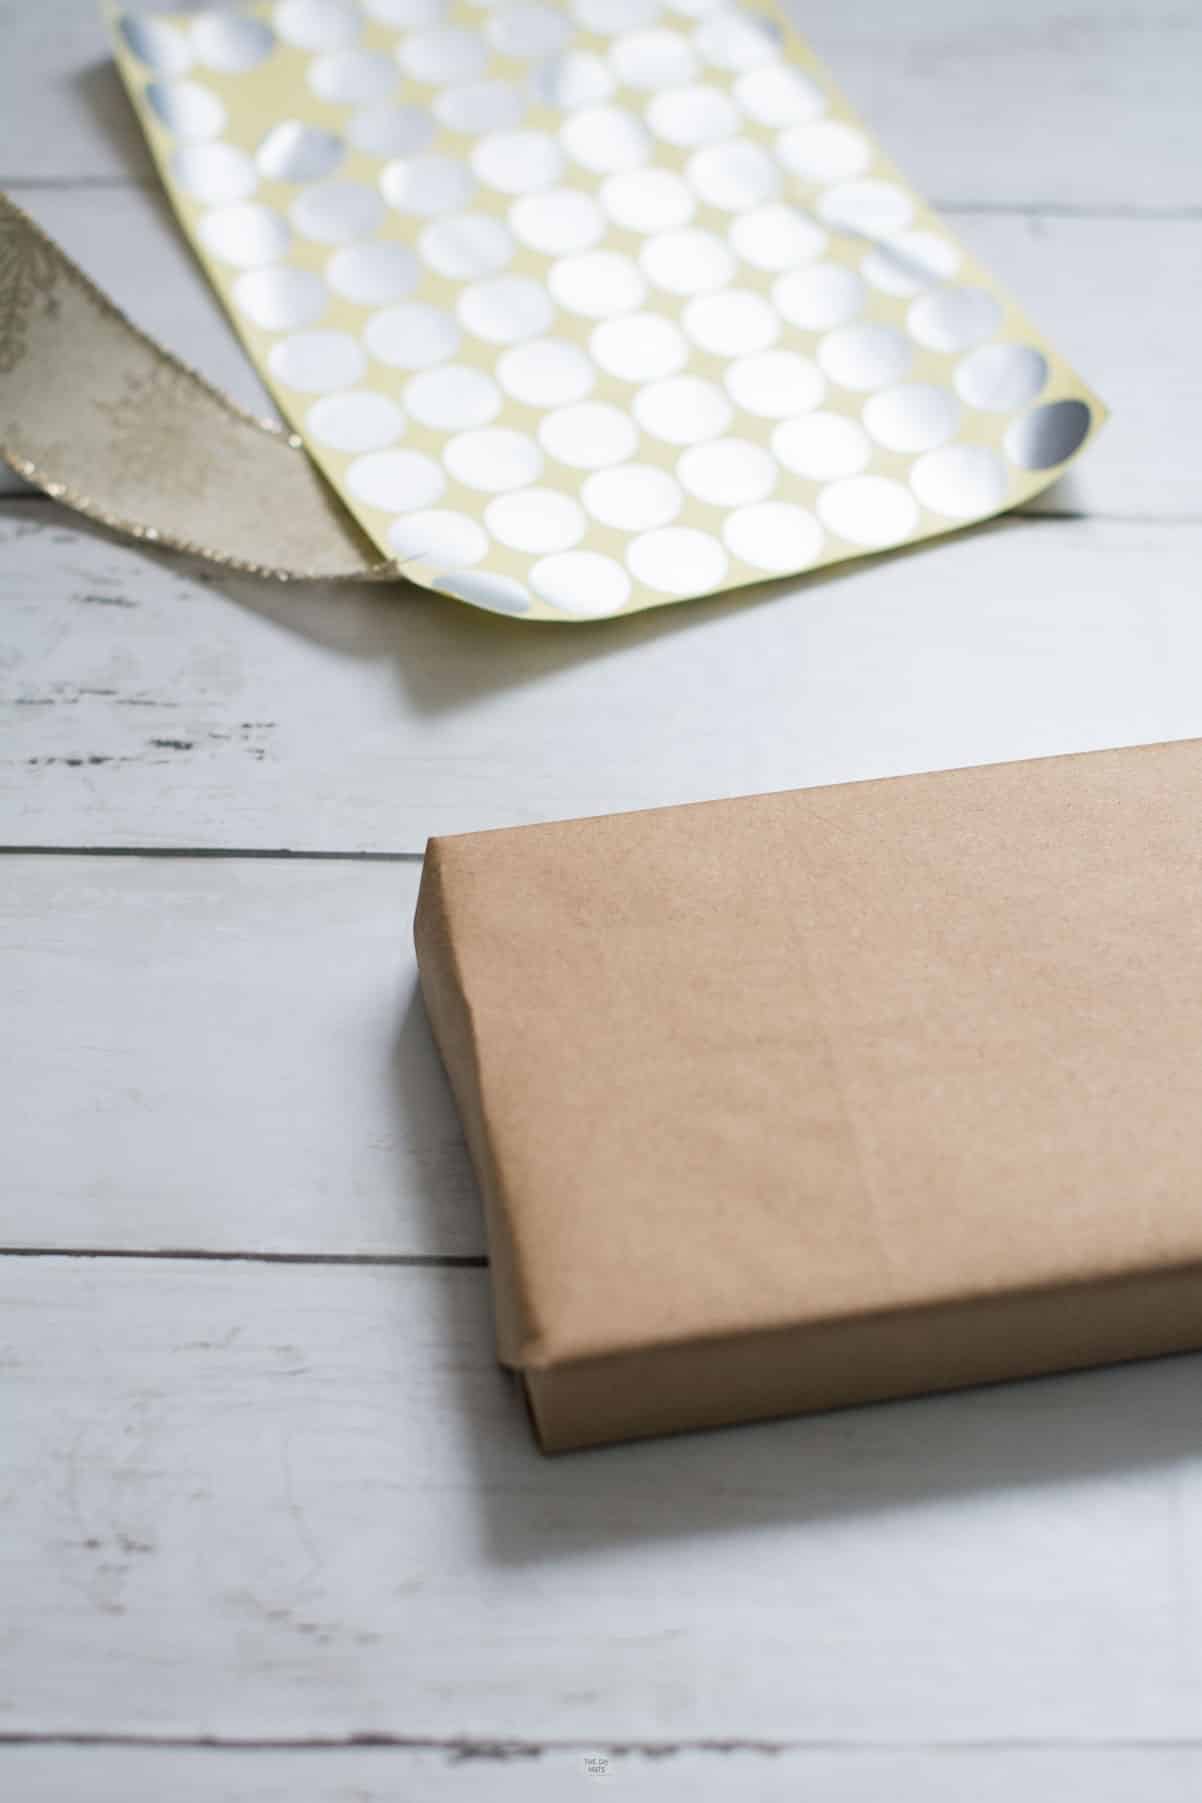
Step 2: Wrap The Gift
Wrap the gift like you usually would using butcher paper.
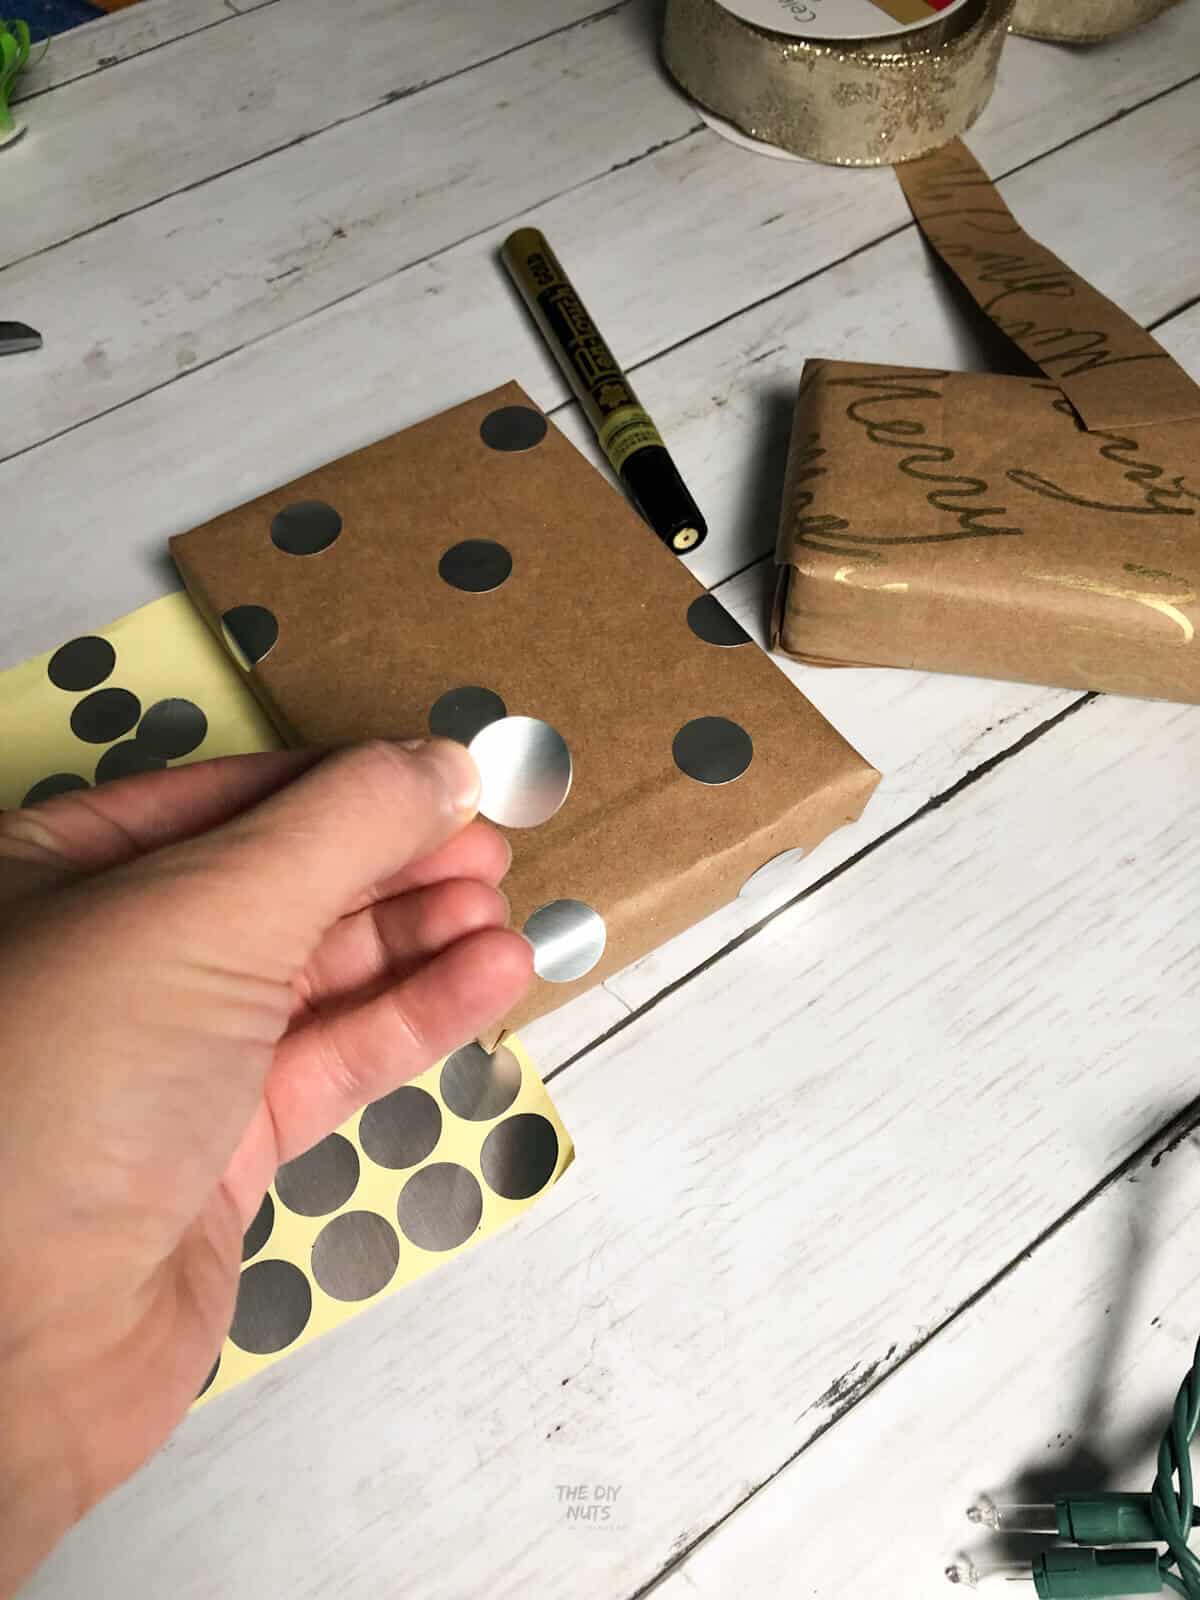
Step 3: Add Metallic Dots
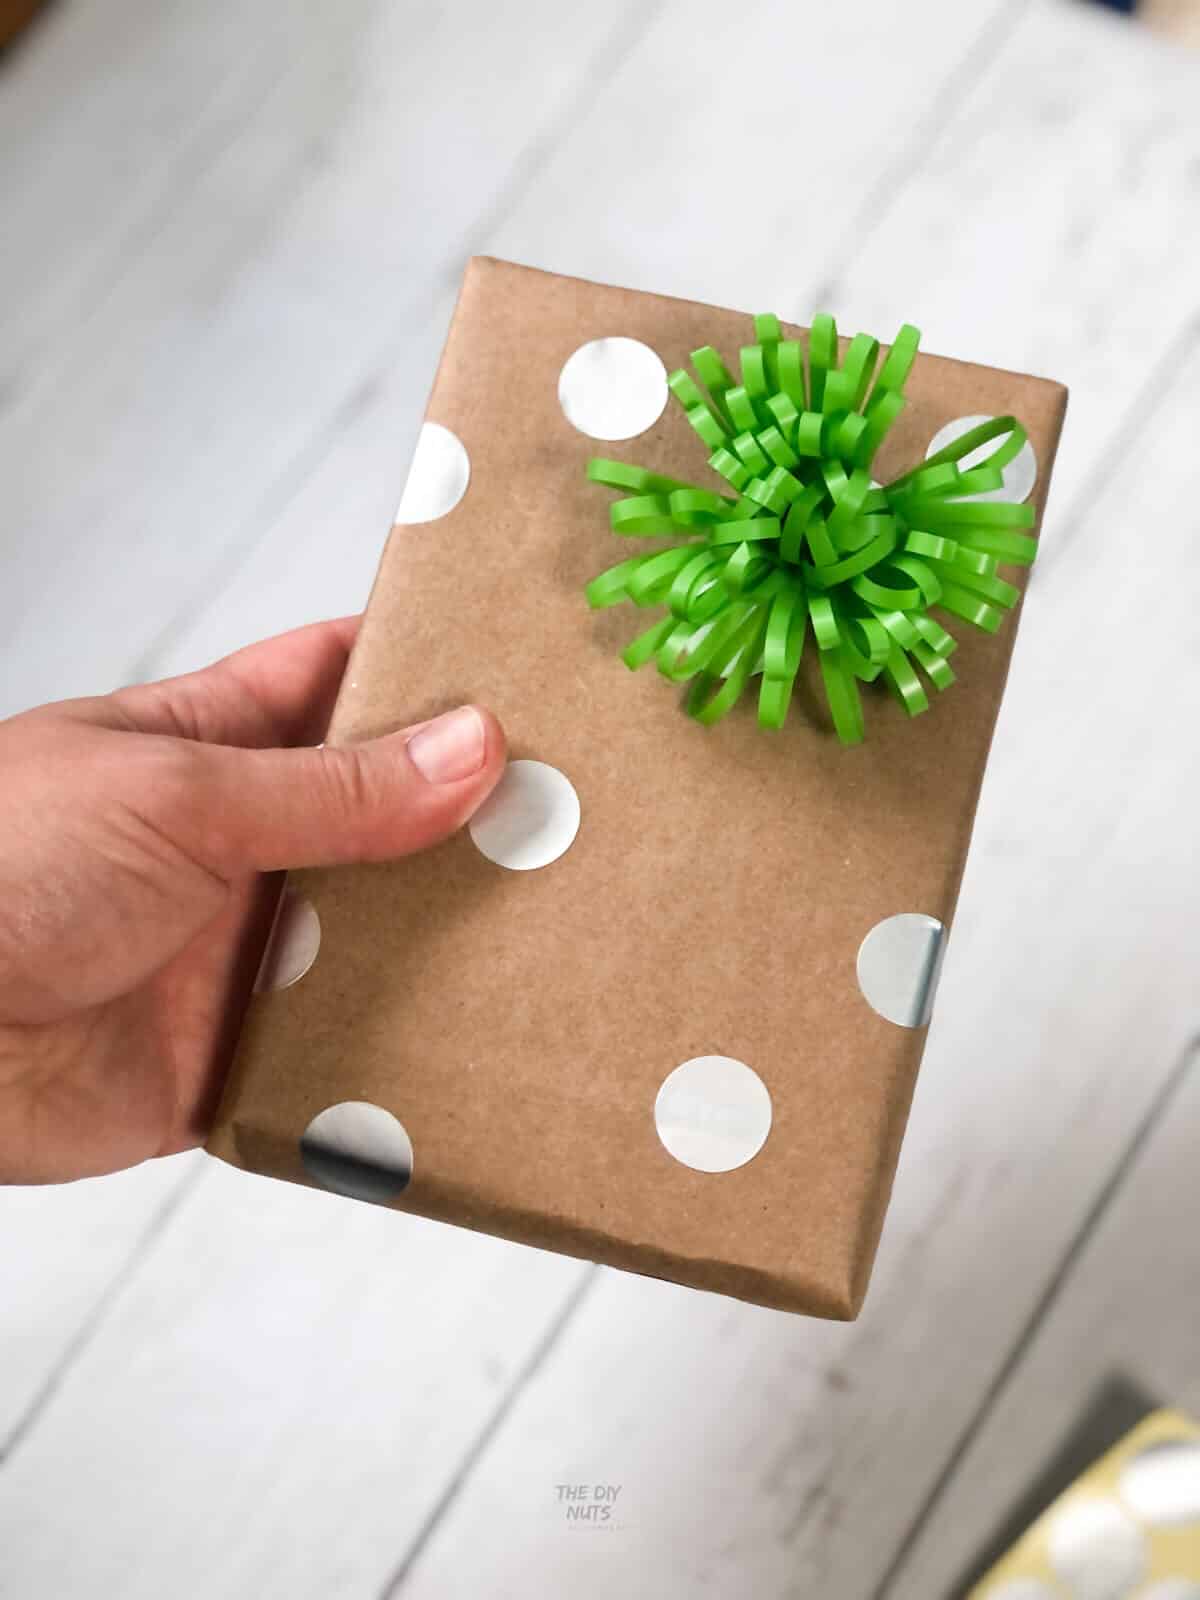
Place silver (or any colored) stickers around your box to create a DIY polka dot paper.
Optional: Add A Bow, Ribbon or Twine
We love it when a simple DIY project is good for the environment and saves you money.
Follow us on Pinterest, YouTube or Facebook for more DIY inspiration!
Other Craft Idea
- Instead of using circle stickers, you can stamp polka dots from the end of a pencil eraser or even stamp your finger in paint to create a polka dot pattern.
Related Posts
- Easy DIY Anniversary Party Decoration Ideas
- Homemade Watercolor Christmas Card Ideas
- DIY Word Gift Wrap (Another super easy DIY wrapping paper idea)
Did you have fun making this craft with your family? Make sure to leave a 5-star ⭐️ ⭐️ ⭐️ ⭐️ ⭐️ review in the comments!
DIY Polka Dot Wrapping Paper
Equipment
- Scissors
- Tape
Supplies
- Circle Stickers
- Brown Paper Bag or Butcher Paper
Instructions
- Cut brown bag open so that it will lay flat.
- Wrap present normally.
- Add circle stickers in a random pattern to your present.
- Optional: Add a ribbon, twine or bow.