Easy Chalk Paint Desk Makeover (Using A DIY Paint Recipe)

One of my favorite things is finding an old piece of furniture that can be upcylced. And there is no easier way than with DIY chalk paint. Come along and see this DIY desk makeover that anyone can do!
The “Before” Desk

When I saw this dresser on the side of the road, I knew it would be the perfect desk project.
Before you decide to upcycle a piece of furniture consider the following:
- Is it solid wood? Does it have a veneer?
- Is it sturdy and in good condition?
- Can you easily move it?
Why We Love Chalk Paint Makeovers
Supplies You’ll Need
*Disclosure: This post may contain affiliate links that at no additional cost to you, I may earn a small commission. Read our full privacy policy.

While we know people swear by Annie Sloan chalk paint, we wanted to go the budget-friendly route and make our own.
How To Make Plaster Chalk Paint
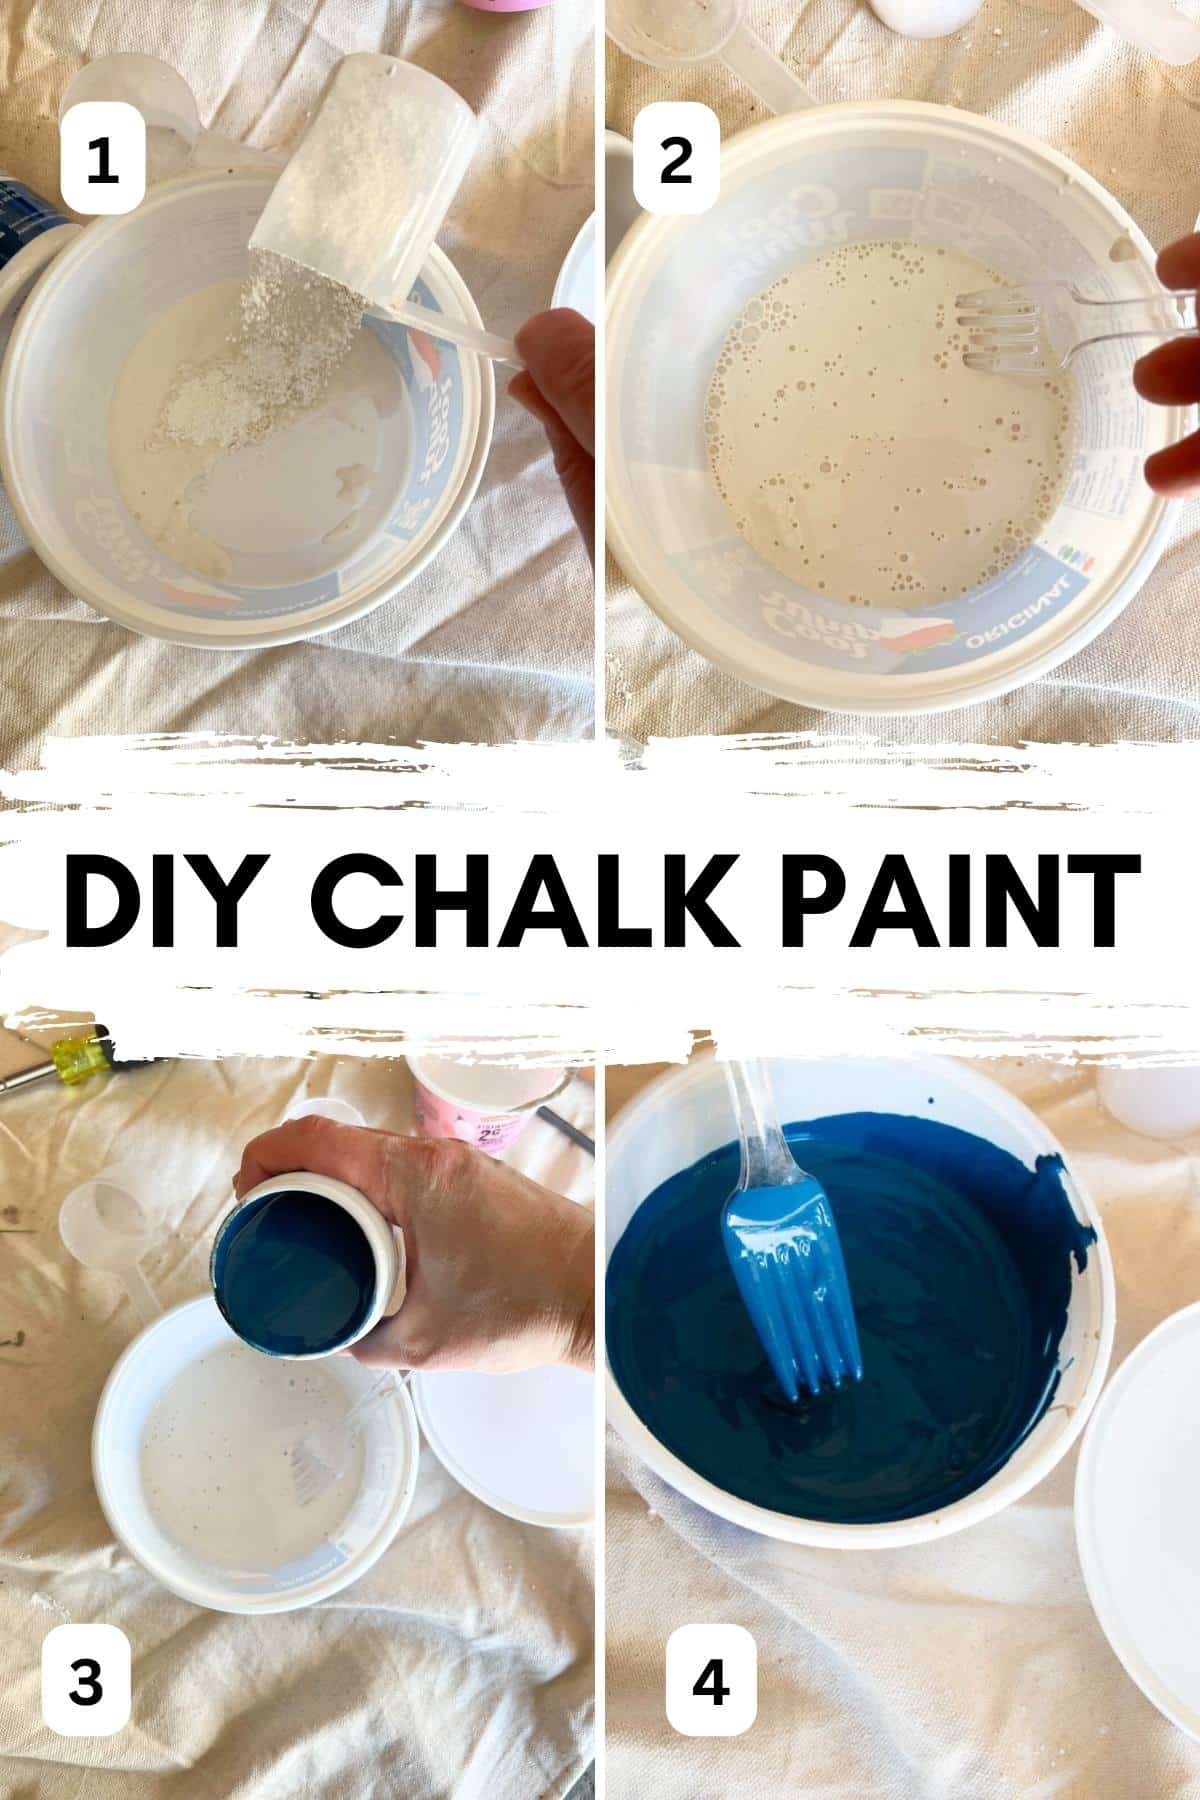
Step 1: Mix Plaster and Water Together
Mix the Plaster of Paris thoroughly with water to get a pancake consistency. You do not want any lumps.
Step 2: Slowly Add Paint
Slowly mix in the latex paint of your choice. It can be cheaper to use paint samples to make our chalk paint.
Desk Makeover Tutorial
Step 1: Remove Hinges, Drawers and Doors
In a dedicated space, use a screwdriver or drill to remove hinges, doors and hardware.

You may also need to use wood filler in any imperfections and sand smooth before beginning.
Step 2: Prep Work
We always like to lightly scuff any surface we are painting with 220-grit sandpaper and use a deglosser on a clean cloth.

Note: Using a deglosser will help any kind of paint, primer or chalk paint adhere to the desk top and sides.
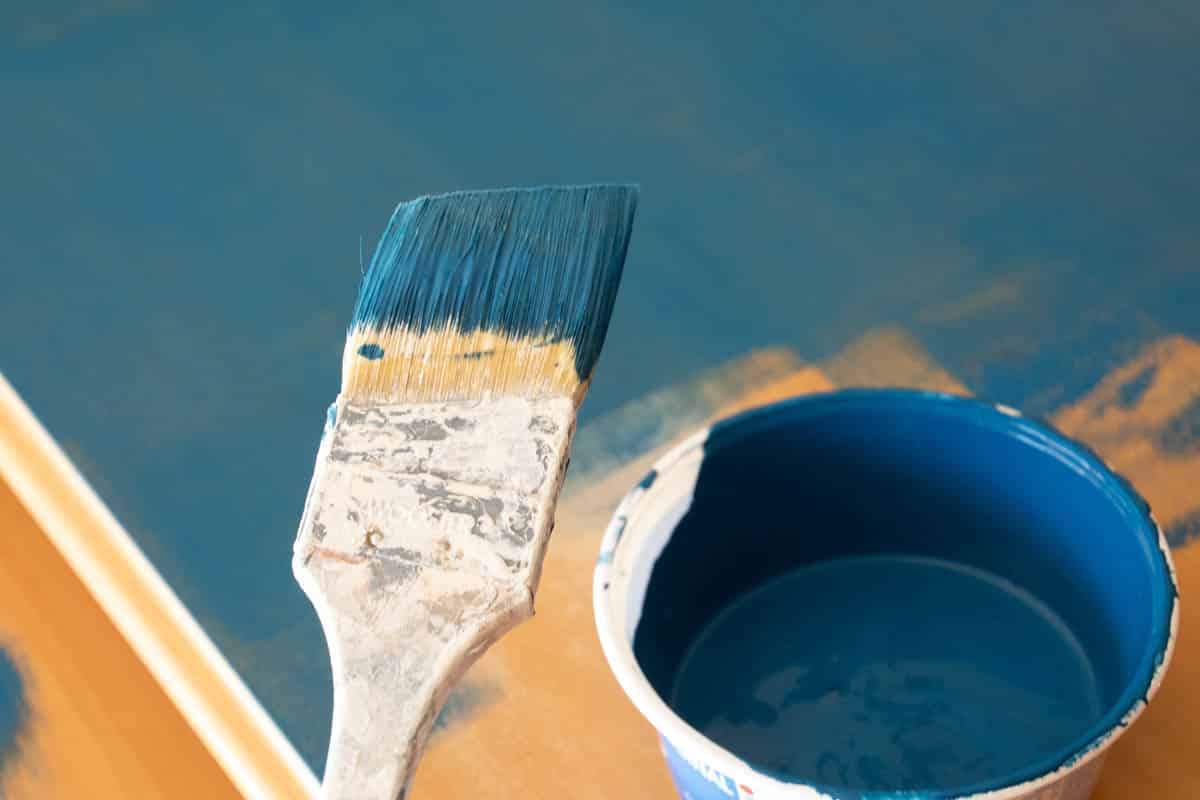
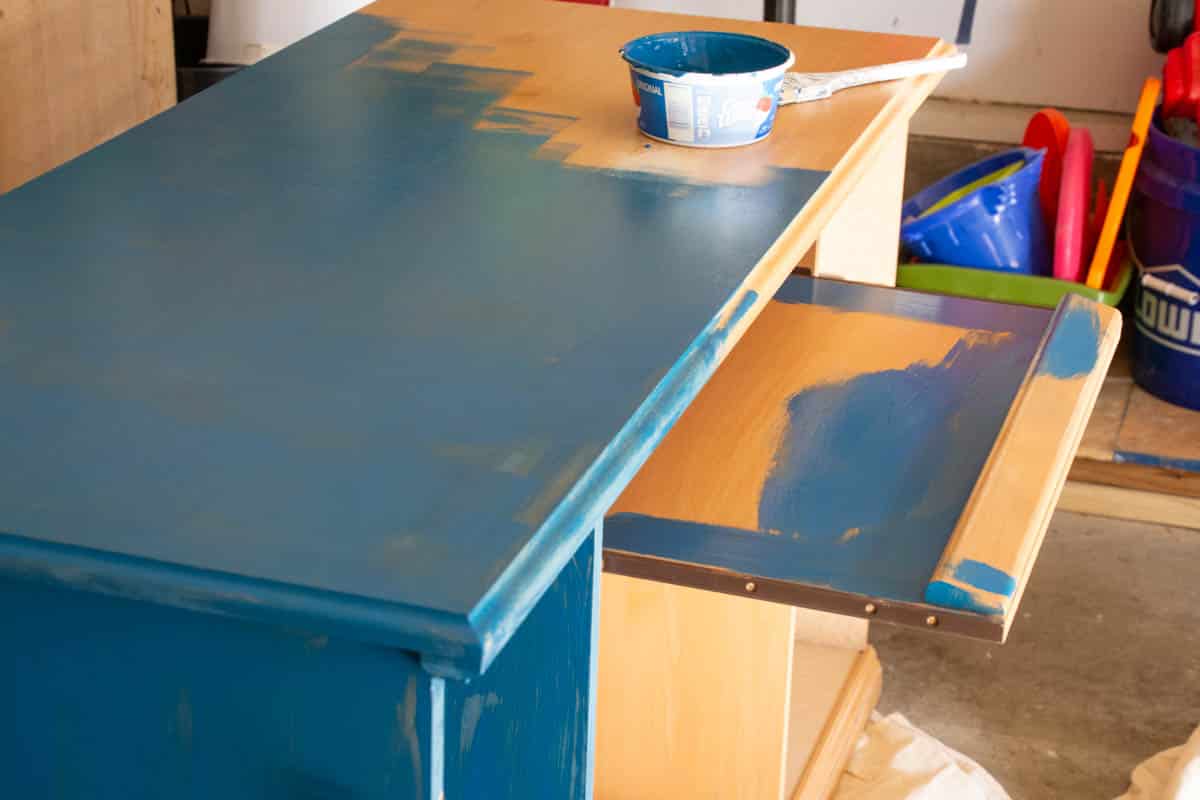
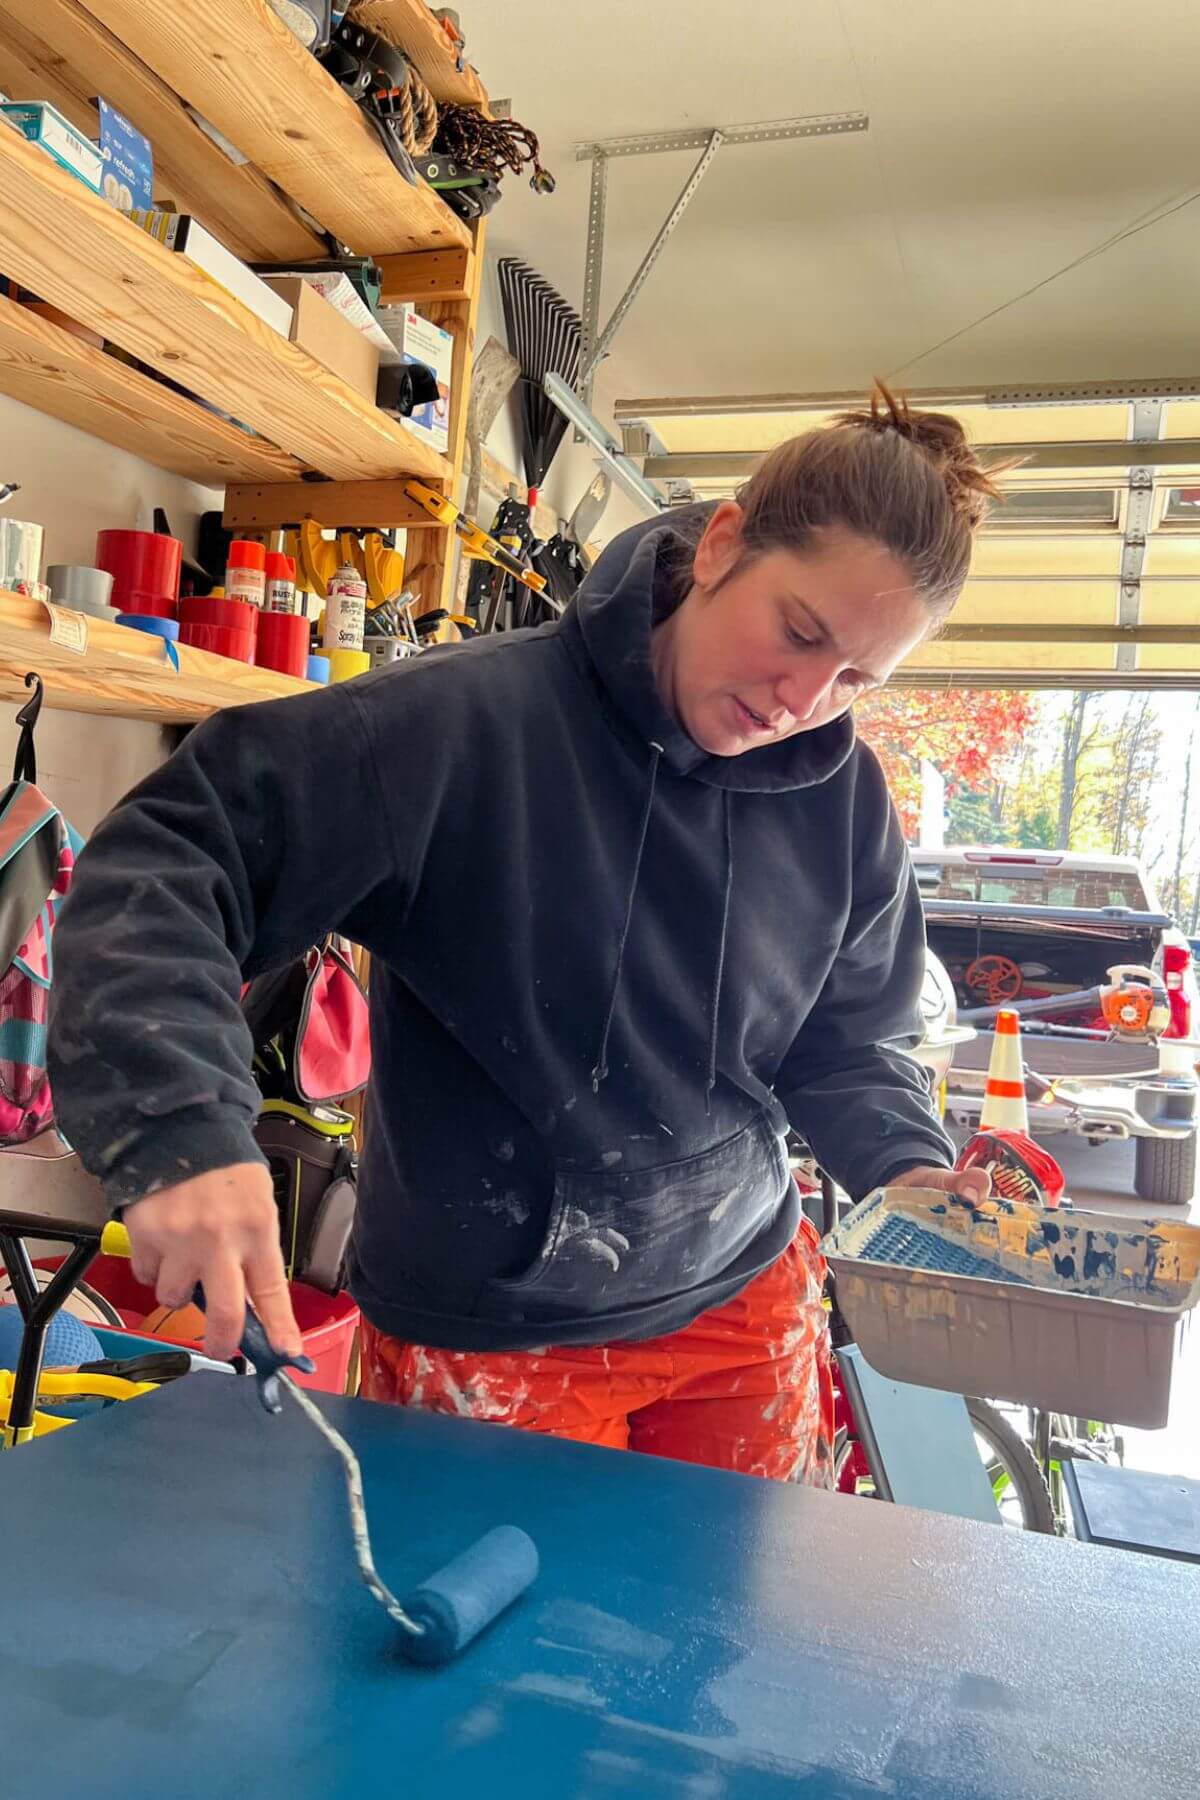
Step 3: Begin Painting
Using your favorite paint brush (we just used a 2.5″ brush) and a small roller add your first coat of paint.
The goal is to cover your entire desk. It may not look completely pretty at first.
Step 4: Let Dry & Paint Second Coat
Once the first coat is dry to the touch you can repeat the same process. Our first layer was dry by the time we finished painting the entire piece.
Cover your entire desk completely with 2 or 3 layers of paint.
Step 5: Let Your Paint Completely Dry

One of the biggest cons of DIY chalk paint is that you will have some grit still showing. Once you add a clear coat, we don’t think it is nearly as noticeable.
Optional Step: Add Patina
We chose to use a gold glaze to add a little extra shimmer on top of blue chalk paint. Using a dry brush technique, lightly paint the glaze and wipe it off to your desired look.

Step 6: Seal Your Project
Once your project is dry use wipe-on poly acrylic in matte or satin finish on a lint-free cloth or a different clear coat such as clear wax, to protect your painted desk.

- For our project, we lightly sanded the first layer of wipe-on poly with 220-grit sandpaper before adding a second coat.
- You may not need to do this for the whole desk, but you will want to consider it for the top of the desk.
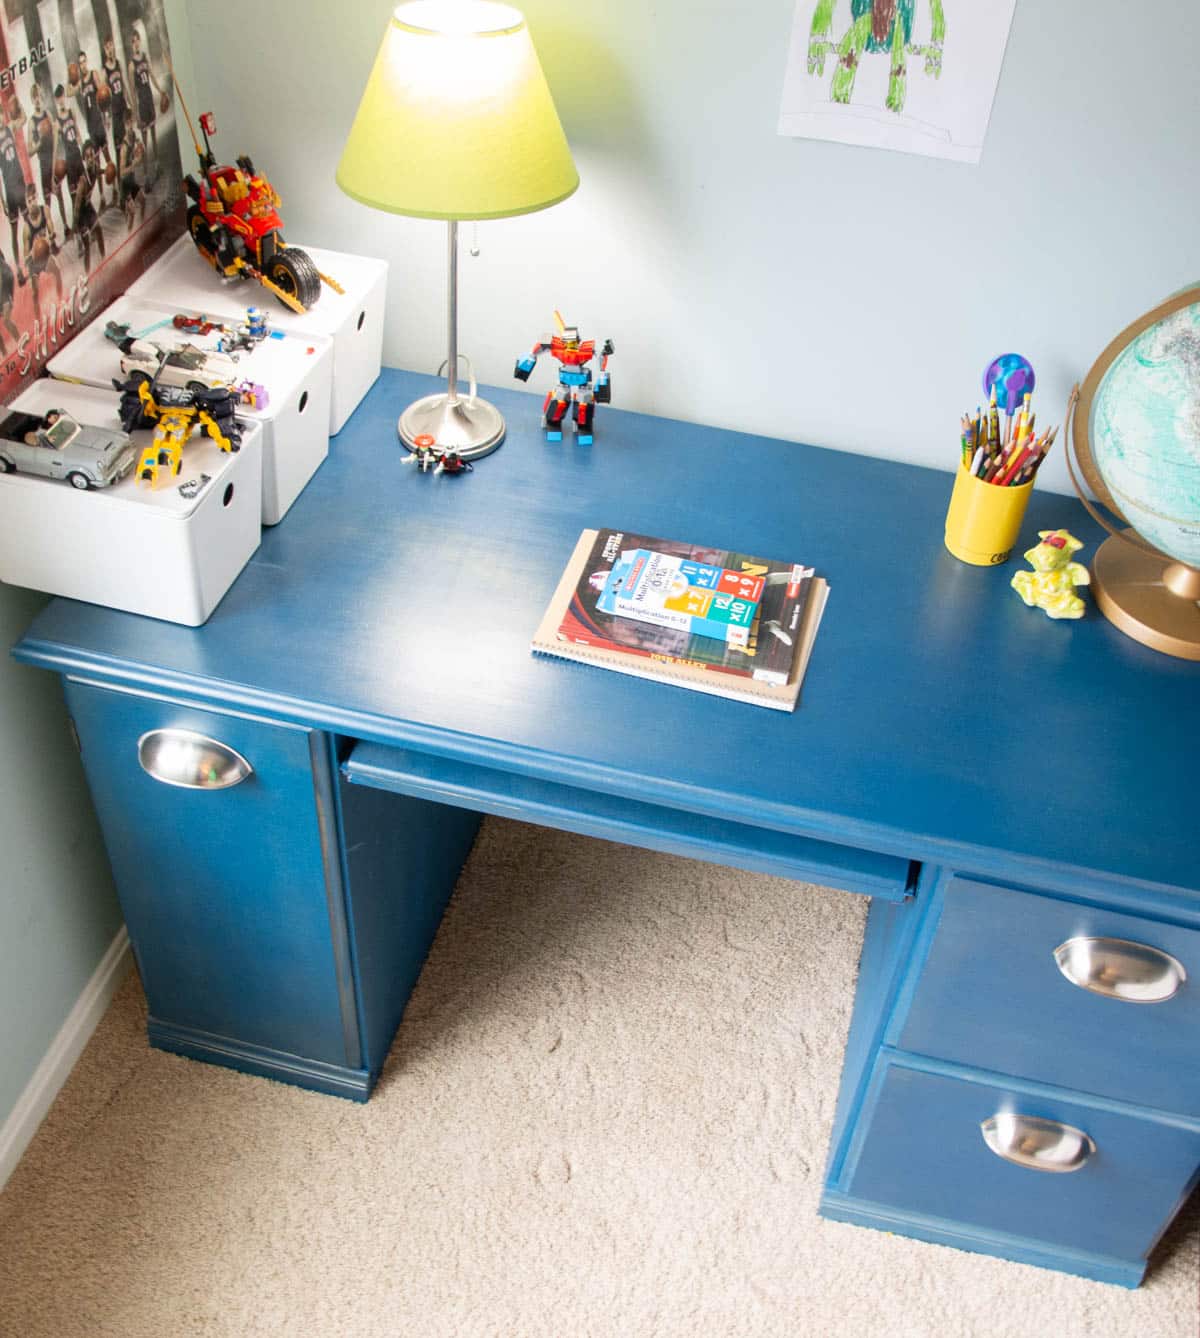
Optional Step: Add New Hardware
Once your desk is completely dry, you can add new drawer pulls or knobs. To keep it simple it is best to find hardware that already fits the holes you may have.

If your desk doesn’t have hardware, then you will need to drill new holes for your chosen handles.
Tips
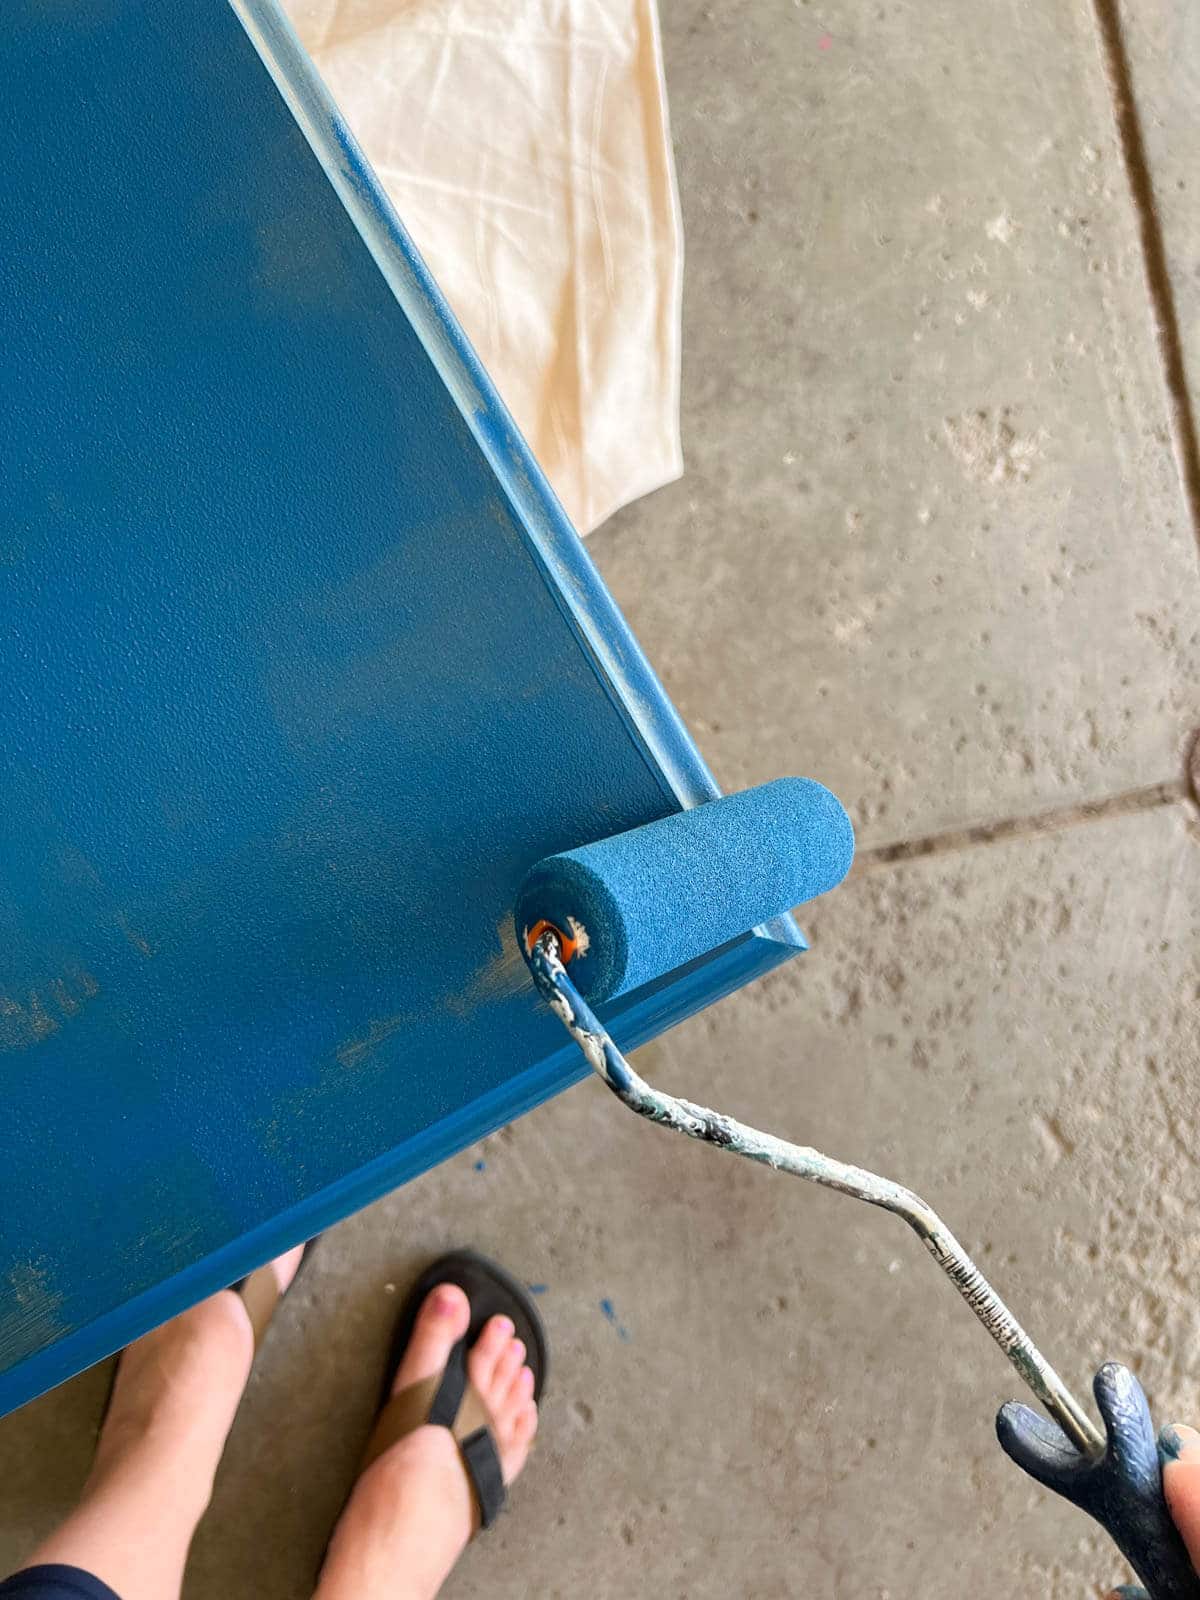
- It is very important to make sure you have a nice smooth surface on the top of the desk. Using a small roller in thin layers can help achieve this.
- Work in small sections when painting. Continuously checking for drips.
- For a more distressed or rustic look, you could lightly sand the edges to have some of the wood show through.
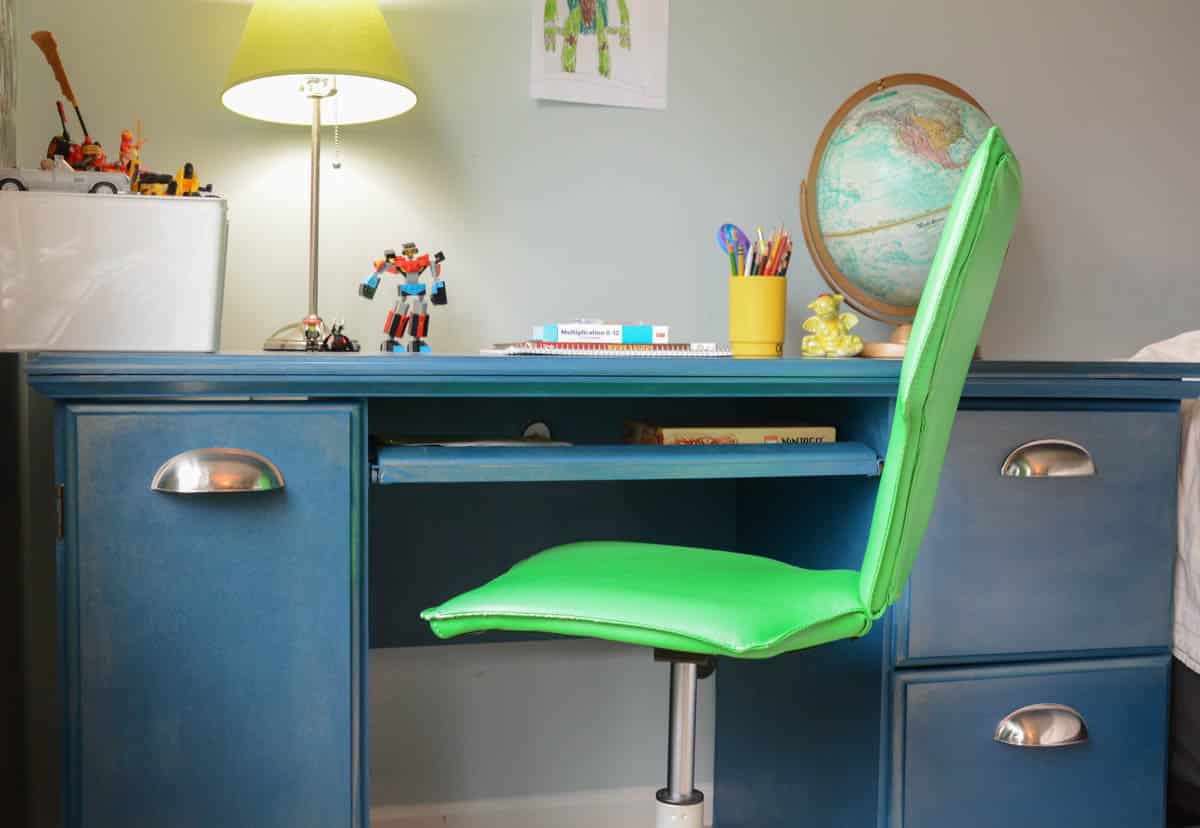
Before and After Painted Desk

Tutorial FAQs
Follow us on Pinterest, YouTube or Facebook for more DIY inspiration!
More Furniture Makeovers
- DIY Dress-Up Storage Idea – another side-of-the-road chalk paint makeover idea!
- 31 Modern DIY Desk Ideas For Any Room
- Easy Dresser Makeover Using Gel Stain and Chalk Paint
- Learn The Lingo For Buy-Sell-Trade Groups
If you like this tutorial, please give it 5 stars below 🤩🤩🤩🤩🤩. Your support helps us continue to provide unique and budget-friendly DIYs.
Easy Chalk Paint Desk Makeover

Equipment
- Paintbrush
- Small Roller
- Rag
- Gloves
- Plastic Container
Supplies
- Deglosser
- DIY Chalk Paint latex paint + Plaster or Paris or Store Bought Chalk Paint
- Wipe-On Polyacrylic waterbased so that it does not yellow
- Furniture Glaze optional
- Lint Free T-Shirt
- Deglosser
Instructions
Prep the Dresser
- Remove hardware, hinges, doors and drawers before painting.
- Fill any imperfections with wood filler.
- Clean with deglosser.
- Sand and wipe the dresser.
Make DIY Chalk Paint
- Mix 1/3 cup plaster with 1/3 cup water.
- Add 1 cup latex eggshell, flat, or satin paint.
Paint The Desk
- Use a 2-2.5" paint brush and small roller to cover your desk with one layer.
- Wait for the paint to dry.
- Repeat your painting process until you have 2-3 layers of paint.
- Once dry, use wipe-on poly, polyacrylic, or furniture wax.
- Reattach or add new hardware.
Notes
- Optional step: Use a patina to add an extra shimmer to paint before adding your top coat.
- Use thin layers of paint. You can lightly sand in between any layers of dry paint or poly for your desired smoothness.