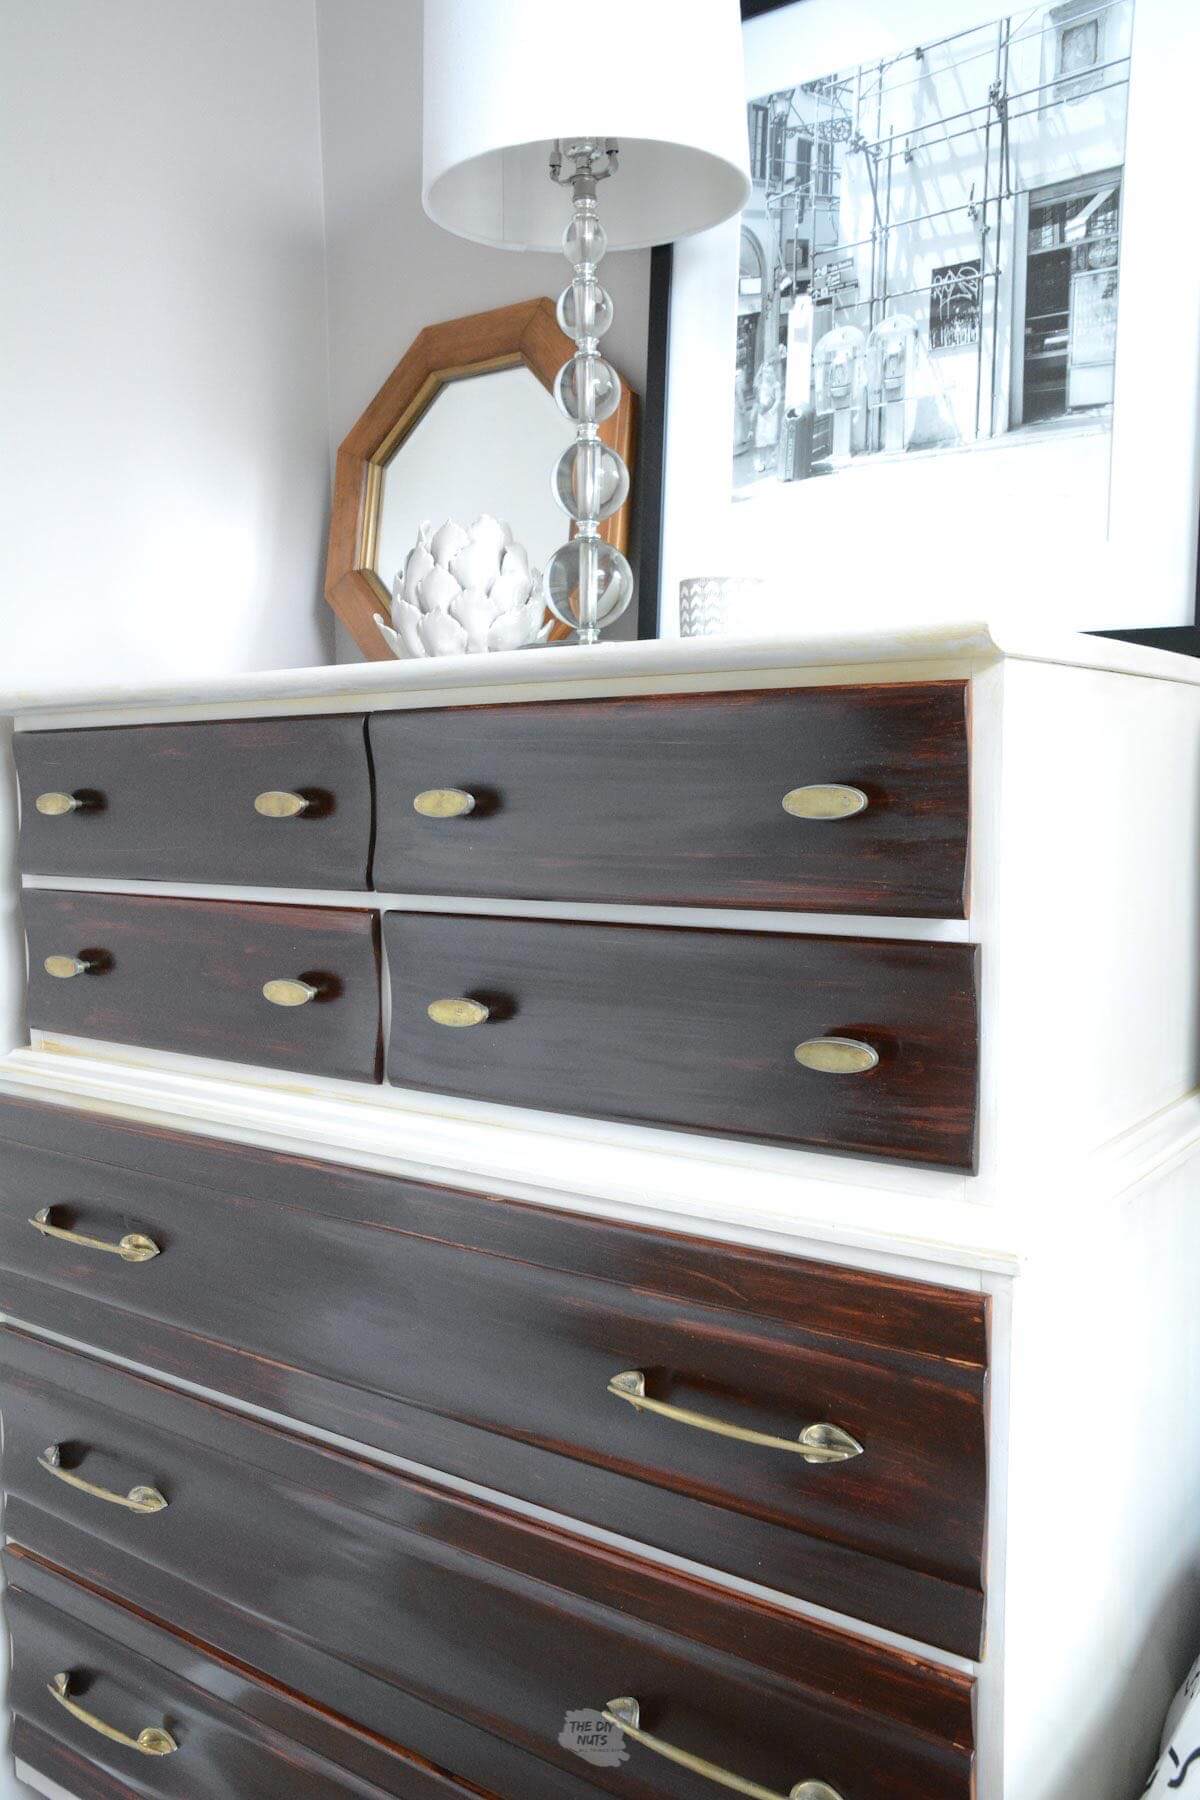
DIY Painted Dresser With Gel Stained Drawers
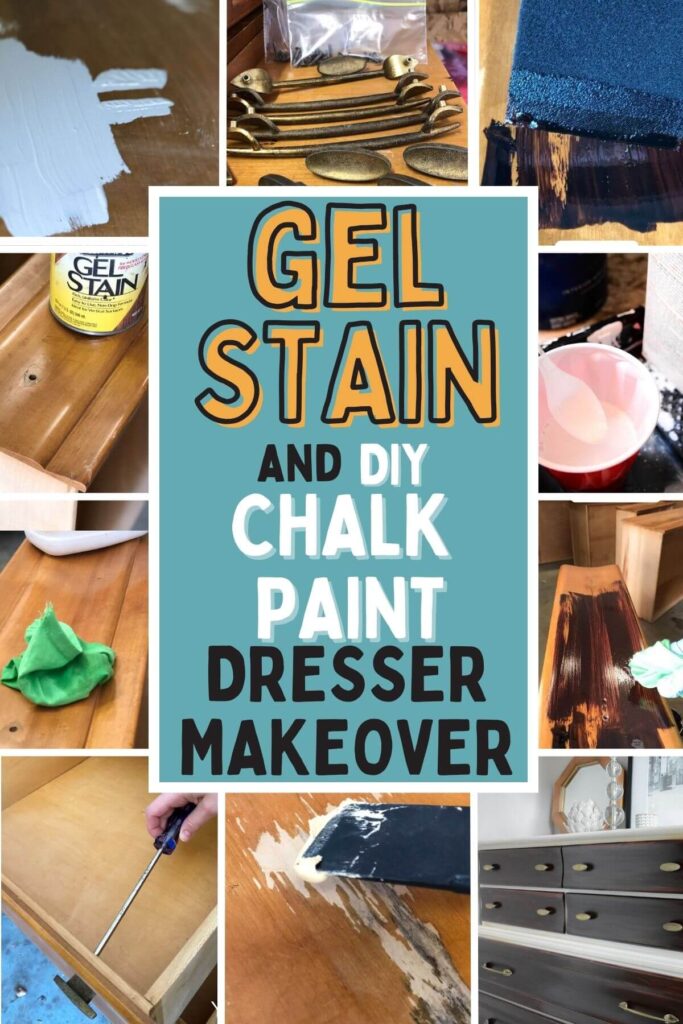
Do you love when you can get a piece of furniture for free? This dresser makeover is exactly that. Come along to see how you can use gel stain and DIY chalk paint for an easy dresser flip.
*Disclosure: I only recommend products I would use myself and all opinions expressed here are our own. This post may contain affiliate links that at no additional cost to you, I may earn a small commission. Read our full privacy policy.
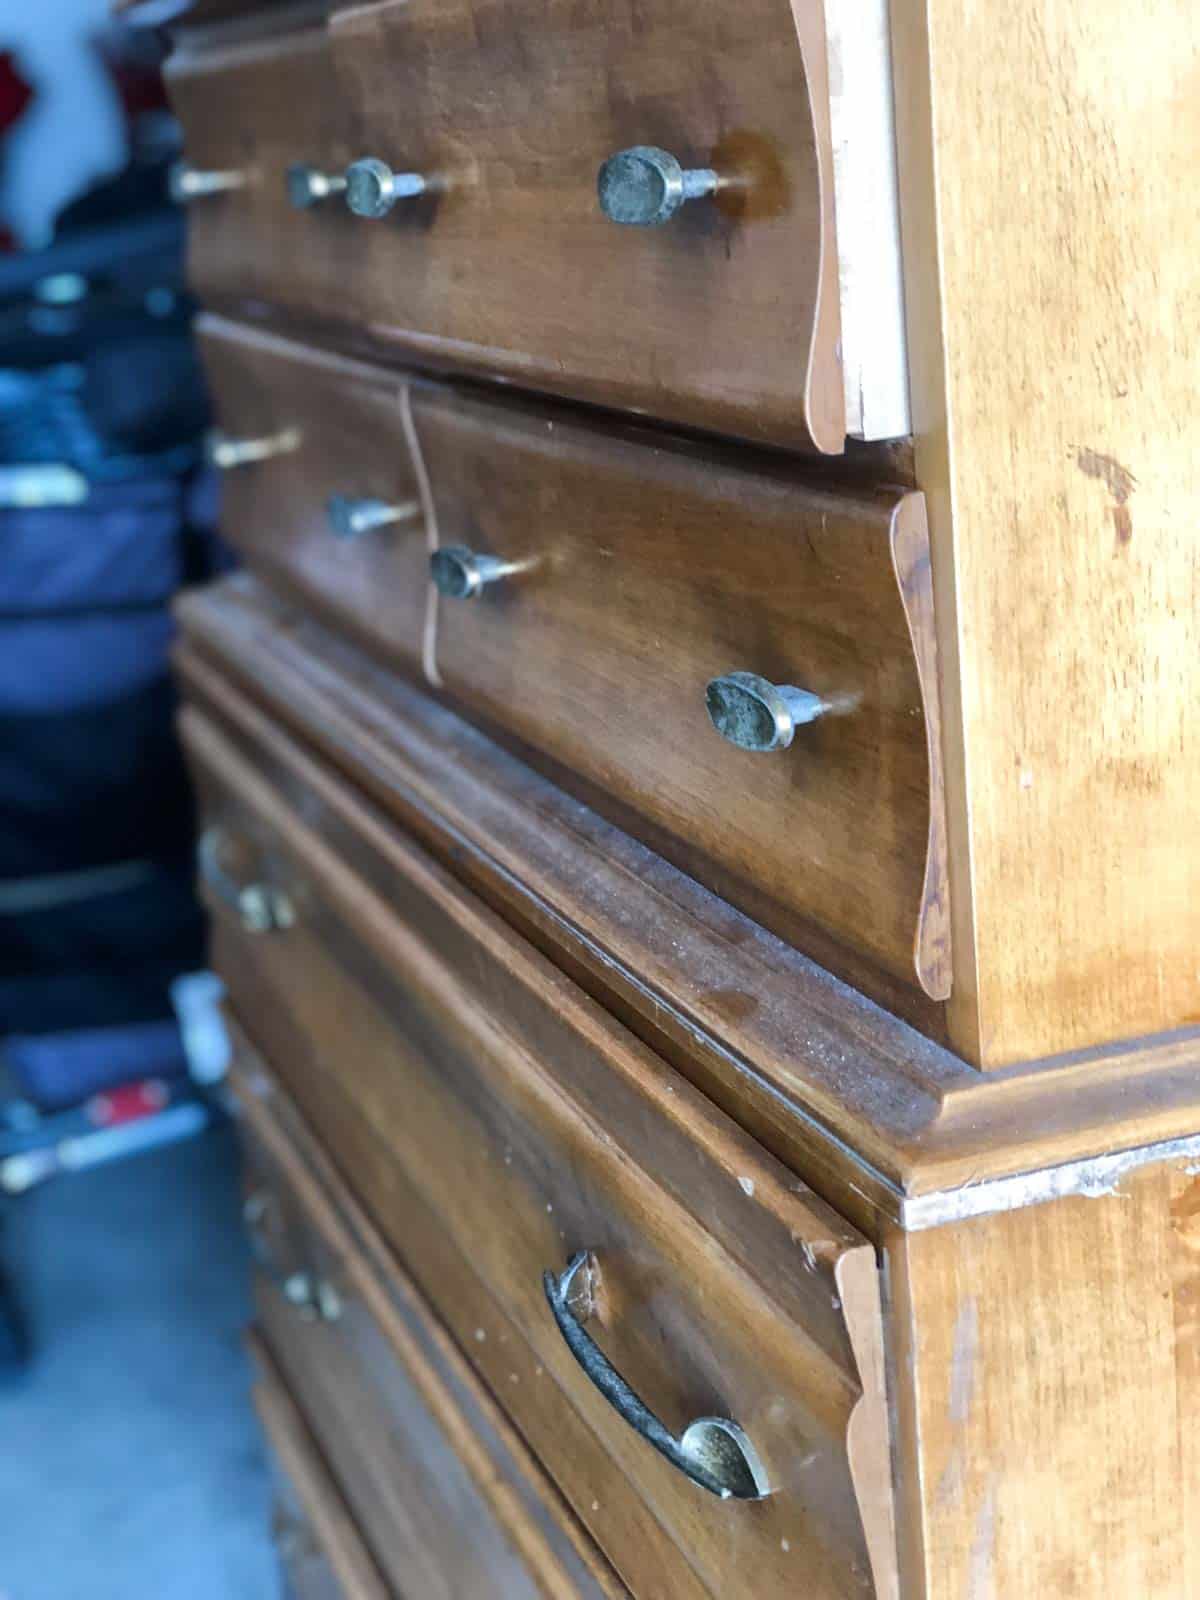
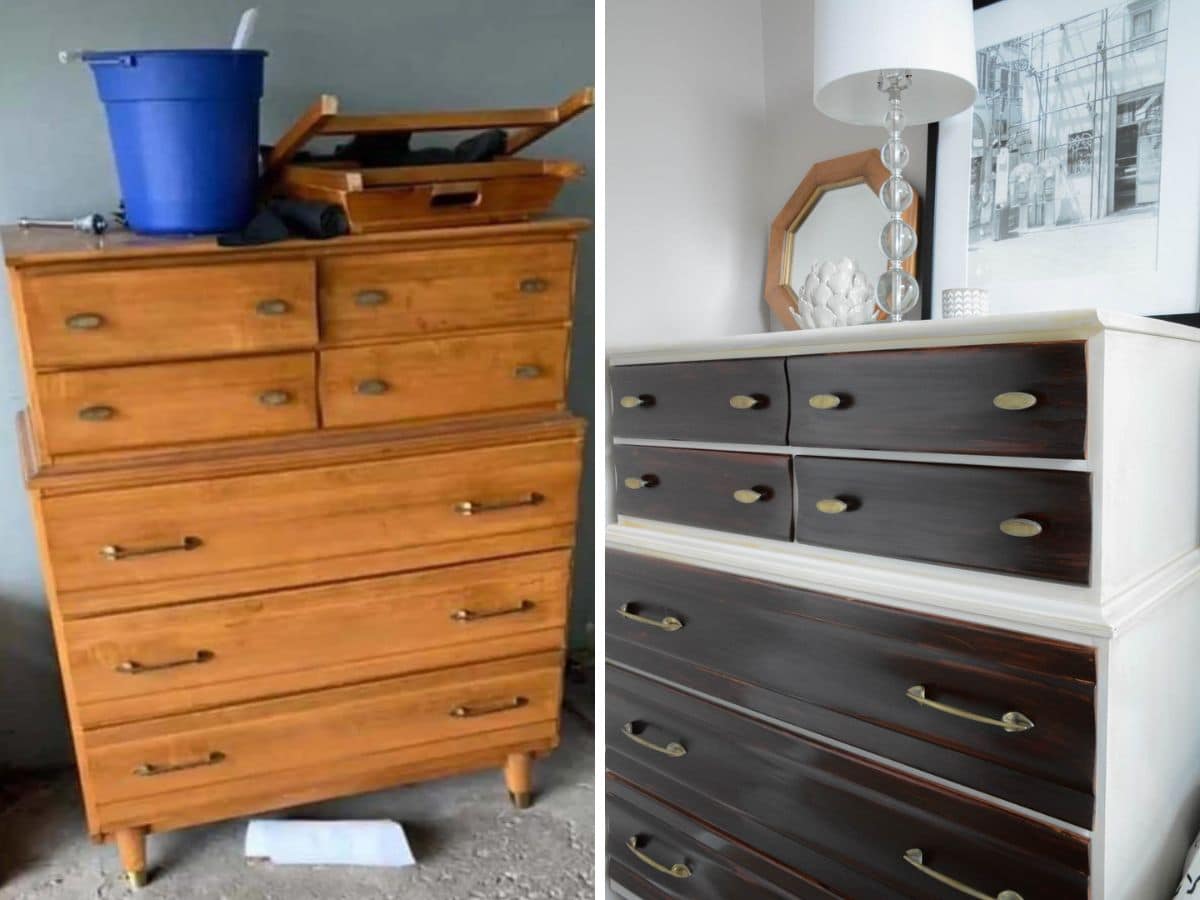
The “Before” Dresser
We have written Facebook lingo tips if you are looking to score items for free in buy-sell-trade groups.
The gods must have been smiling down on me because we scored this dresser for free on Facebook marketplace. Make sure you know the BST and marketplace abbreviations and lingo to get your own items easily.
Makeover Plan
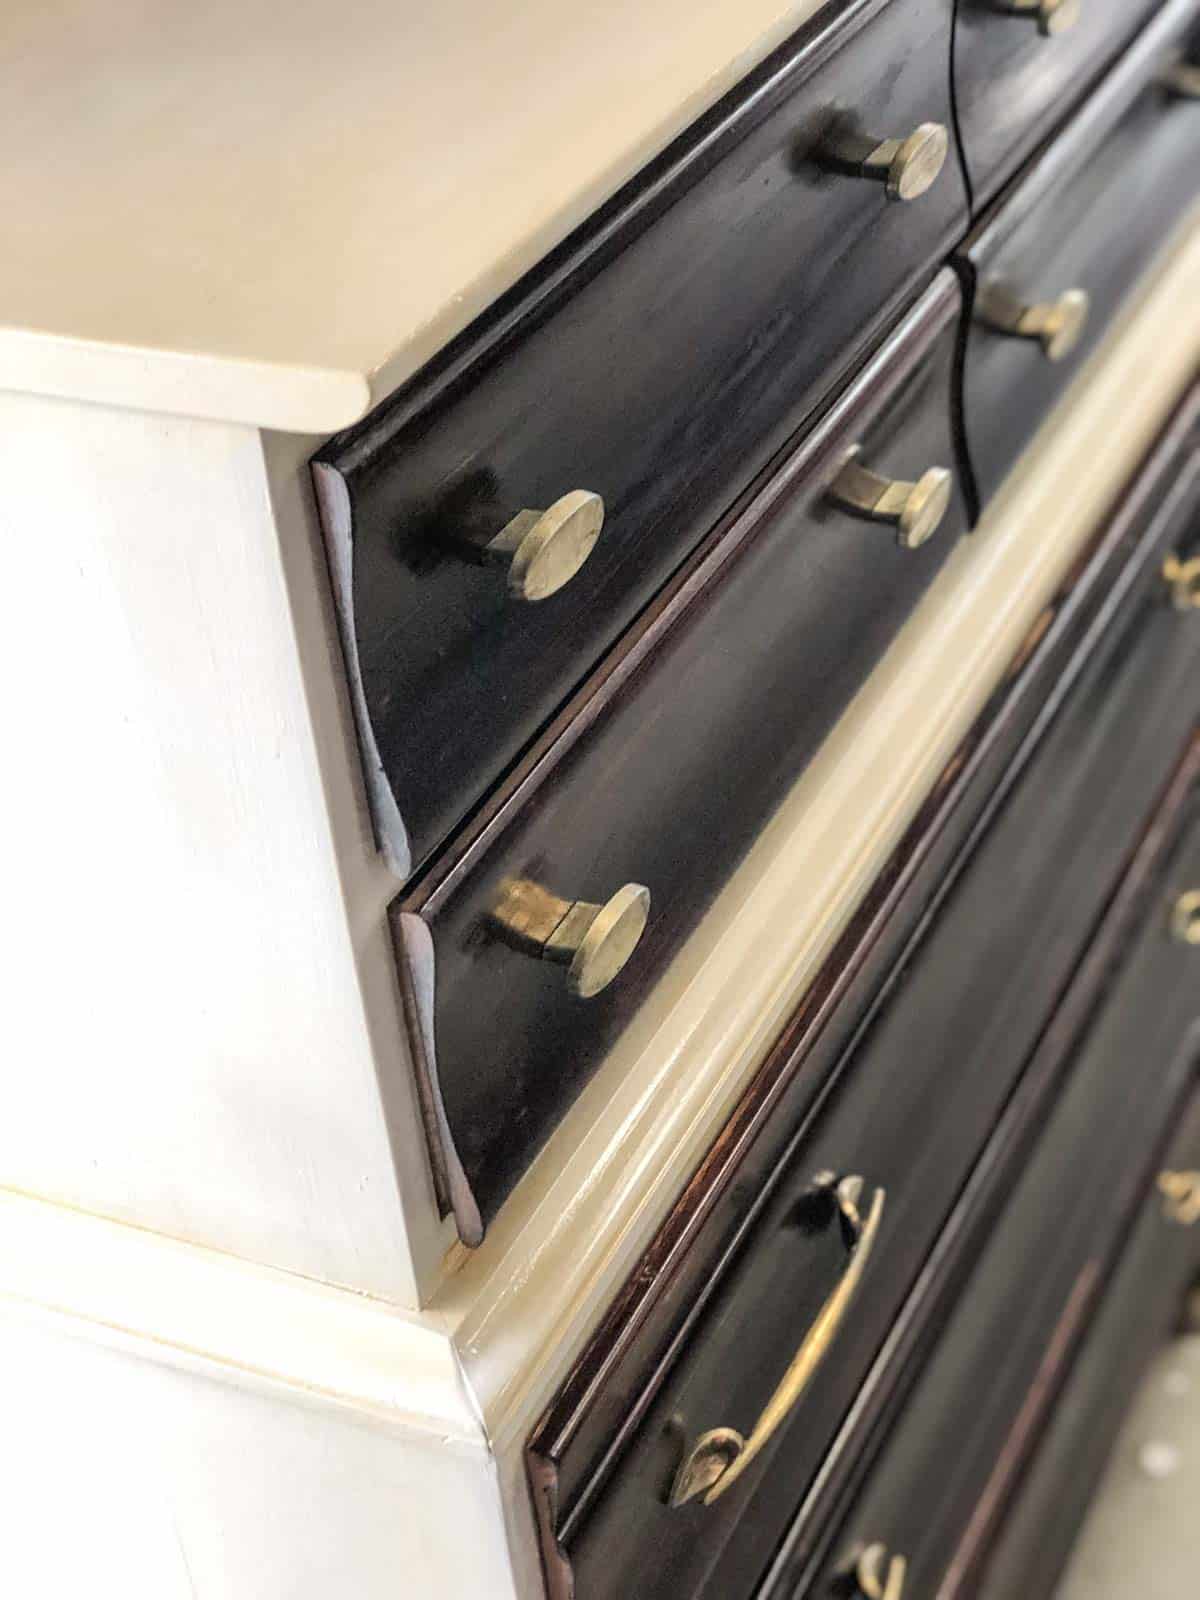
Save The Orginal Brass Hardware
This dresser was already amazing before I even touched it! I actually liked the wood look and LOVED the hardware.
Paint and Gel Stain
The biggest dilemma was that the outside of the dresser was pretty beat up. Therefore, I decided to go for a two-toned dresser.
We have used a DIY chalk paint recipe to redo several pieces of furniture in my house already. In addition, I have used gel stain to redo our standard oak cabinets.
Recommended Supplies
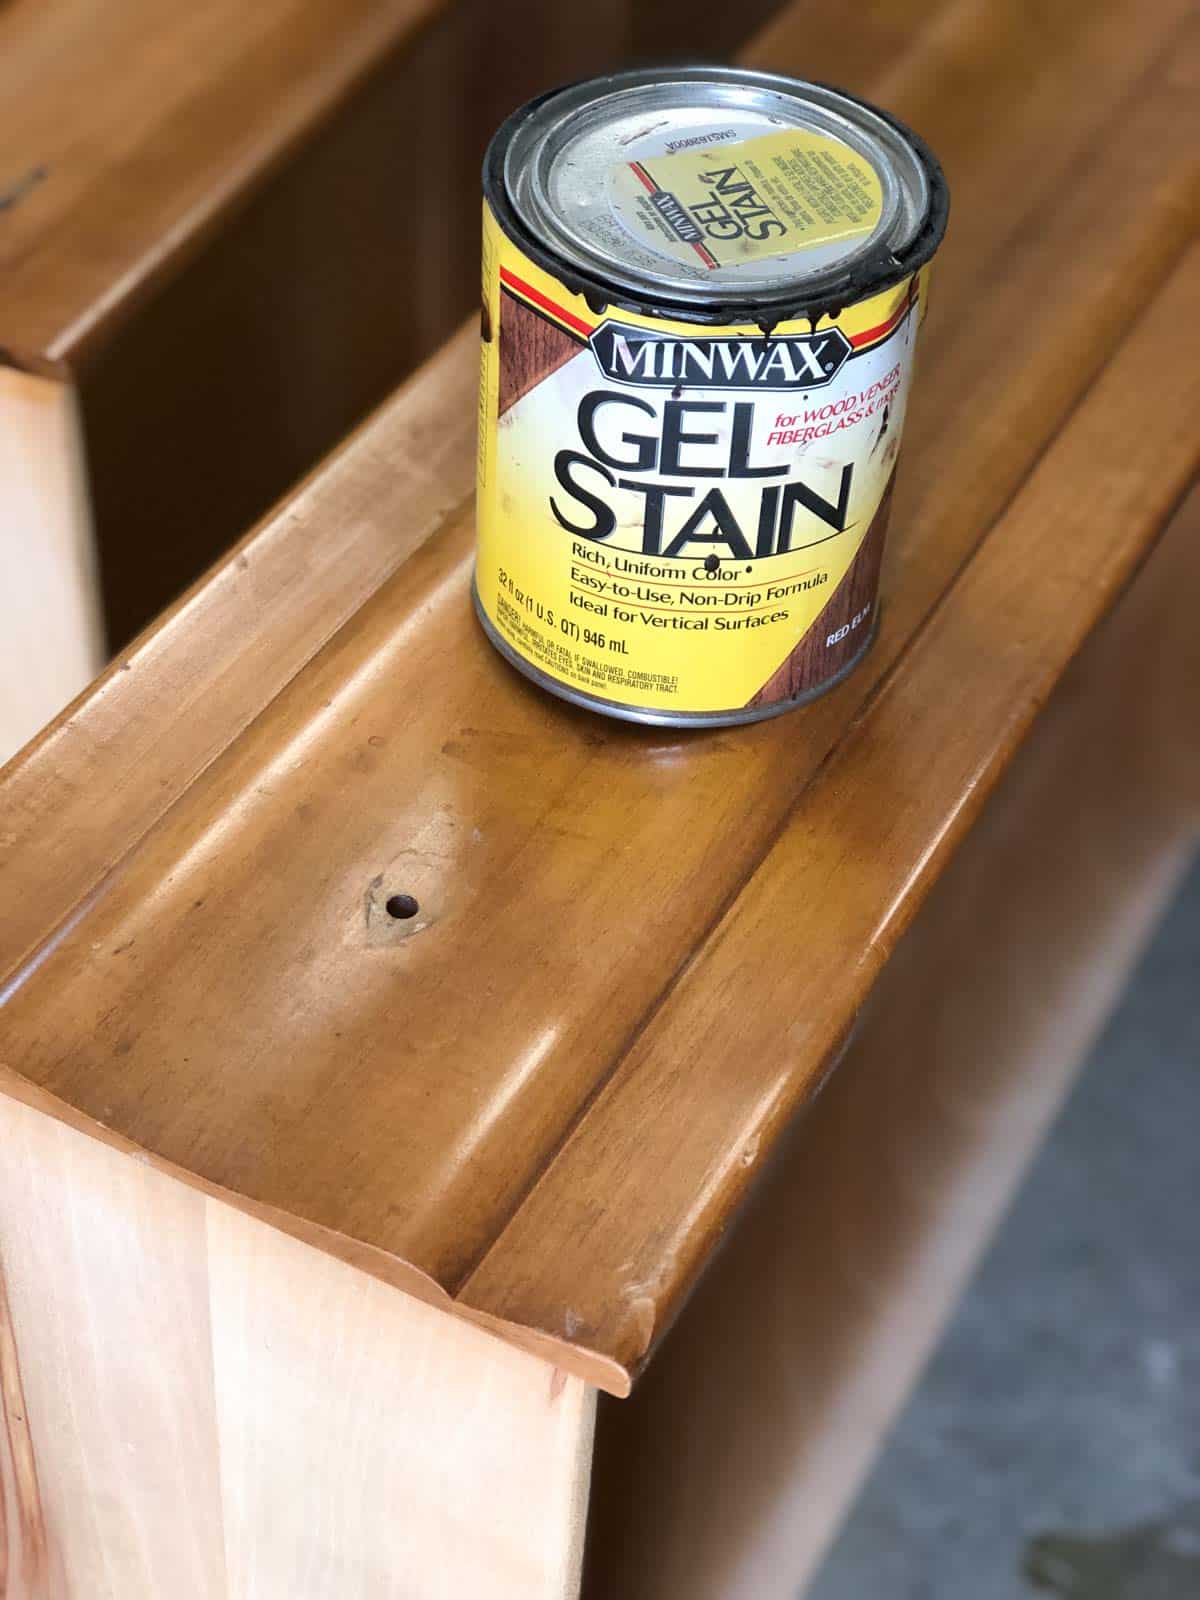
- Gel Stain: We used Minwax Red Elm
- Deglosser
- DIY Chalk Paint (latex paint + Plaster or Paris) or Store Bought Chalk Paint
- Wipe-On Poly (waterbased so that it does not yellow)
- Furniture Glaze (optional)
- Paintbrush
- Rag
- Gloves
- Foam Brush or Lint Free T-Shirt
How To Chalk Paint and Gel Stain Drawers
Before You Begin
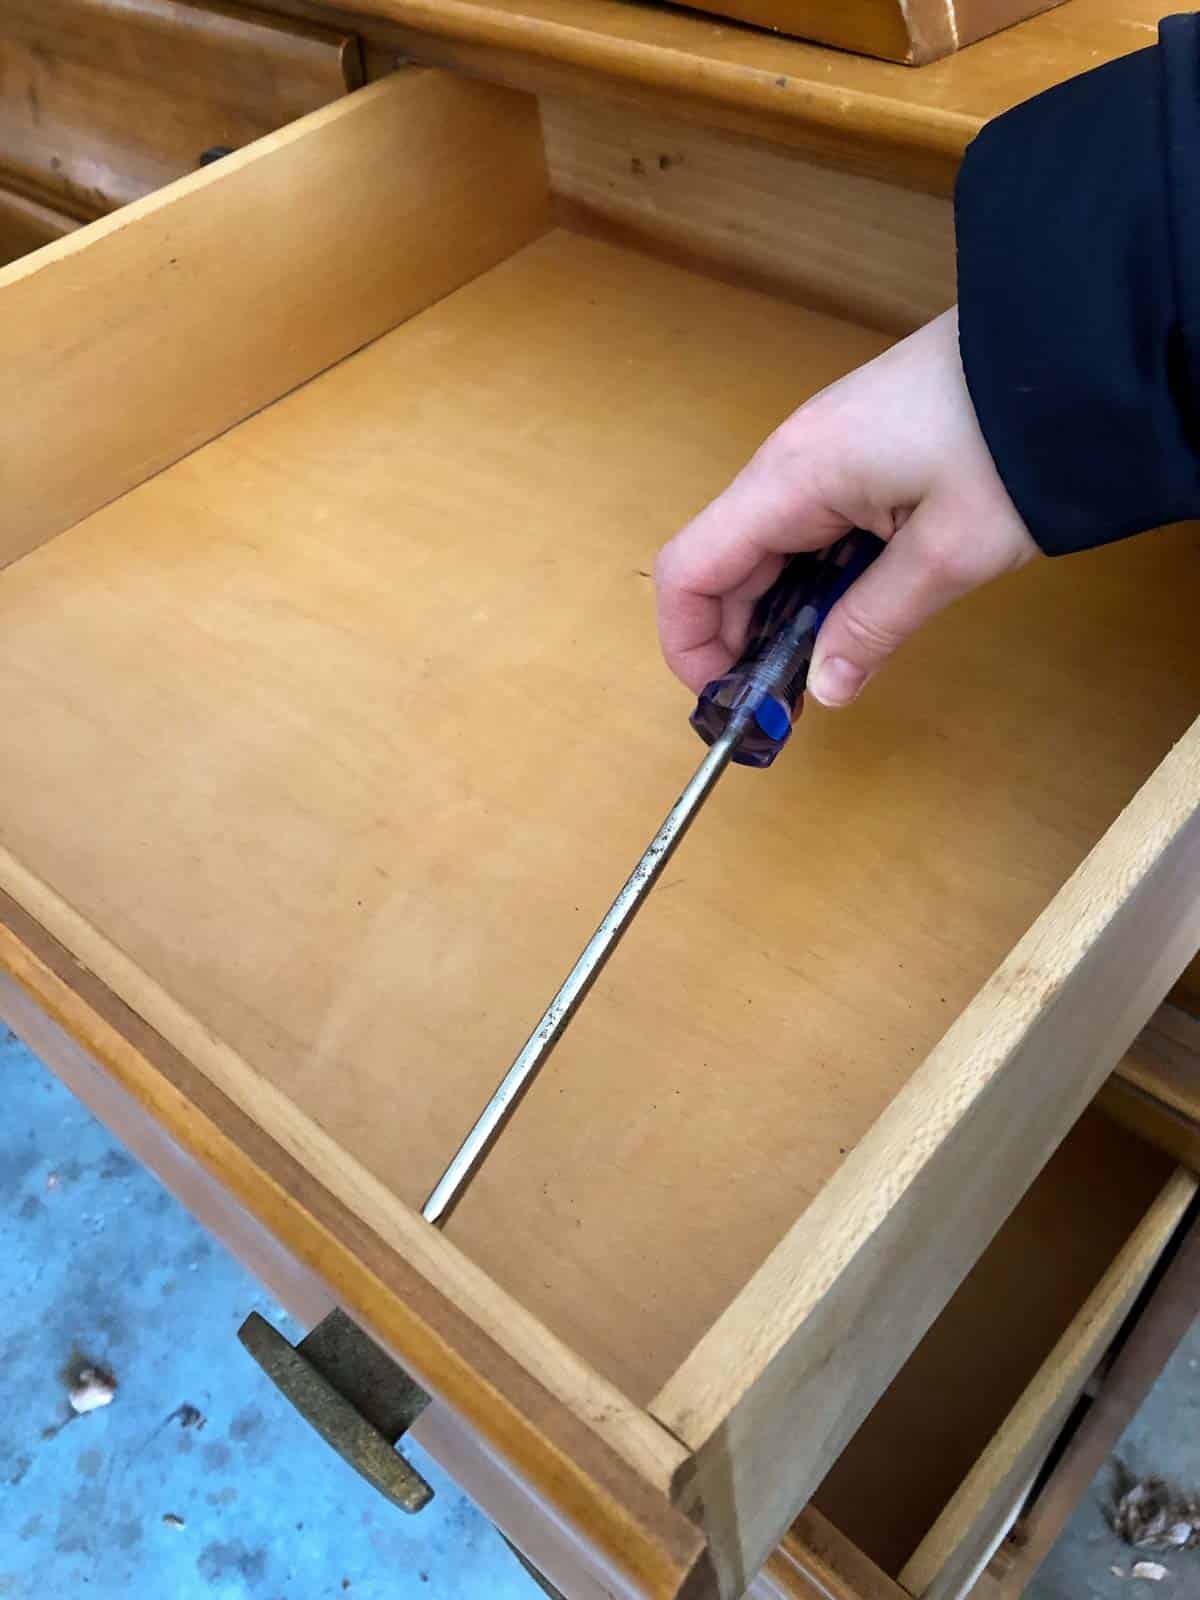
Remove and clean the brass hardware. Set up a work station and cover the ground with a tarp and place dresser parts on them.
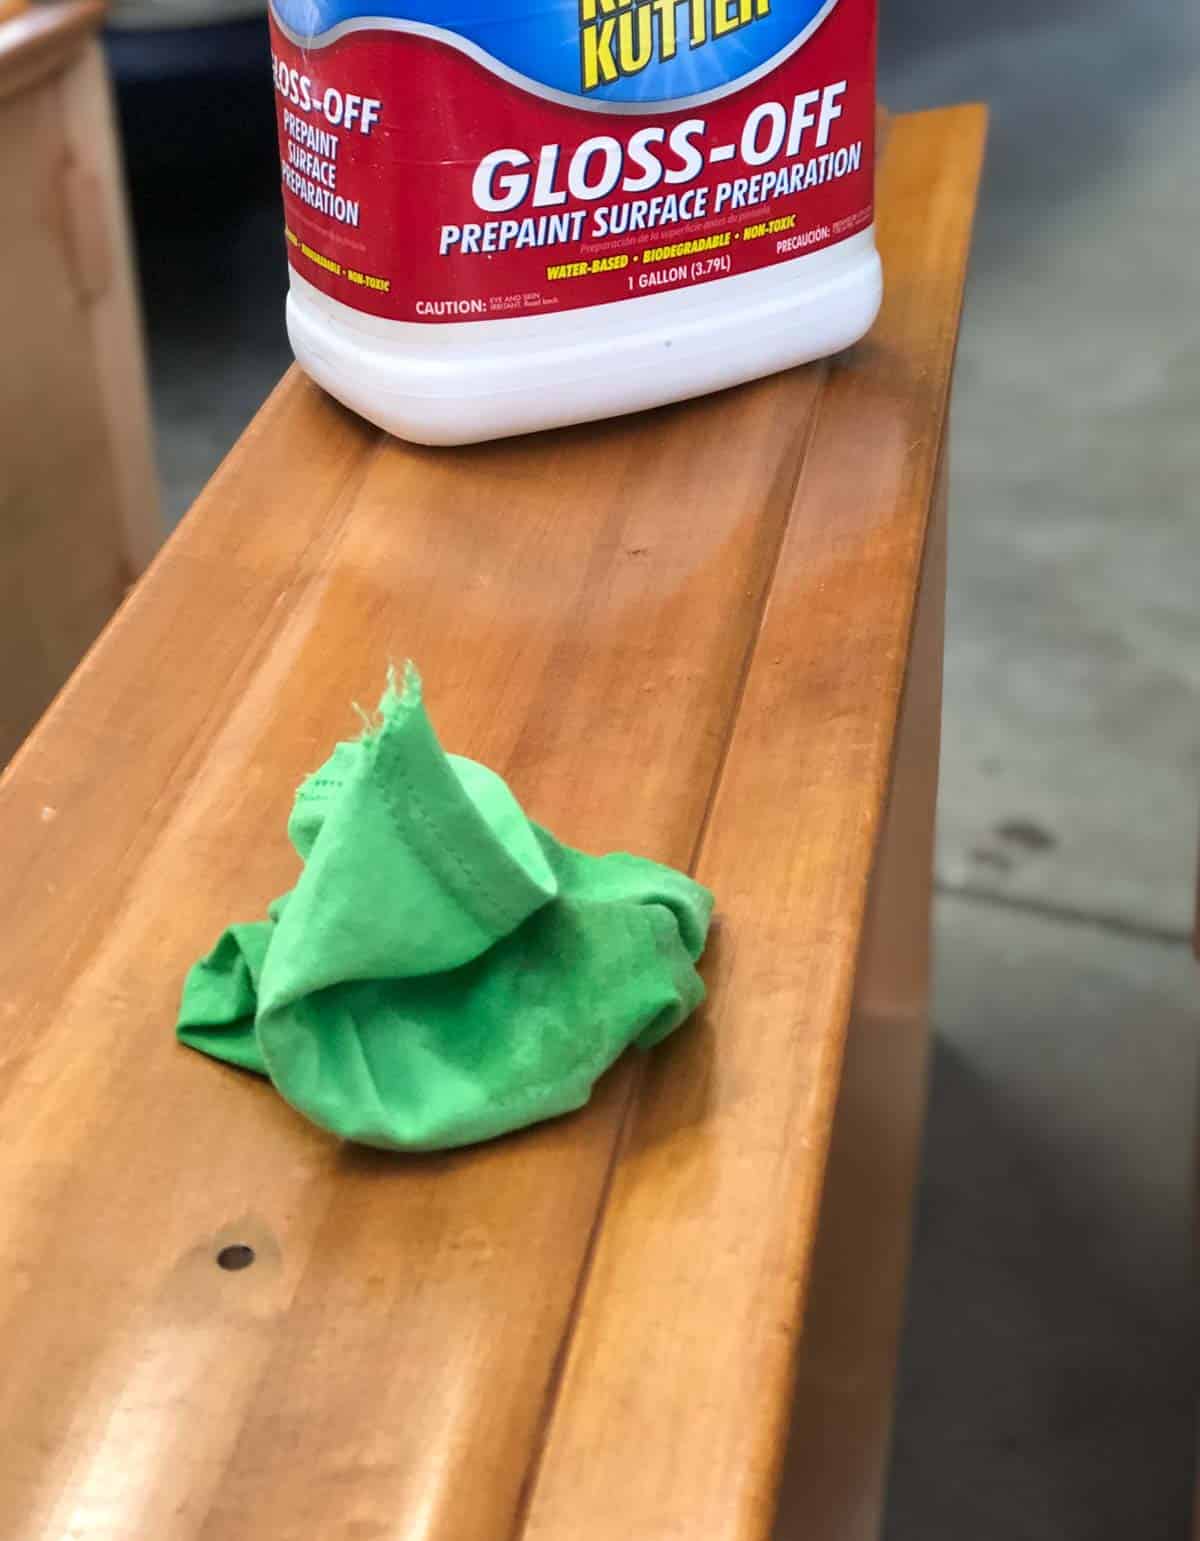
Step 1: Prep The Dresser
Clean the dresser. Wipe down the surface of your dresser with a deglosser on a rag. This is a prepaint prep we use on almost all of our DIY painting projects.
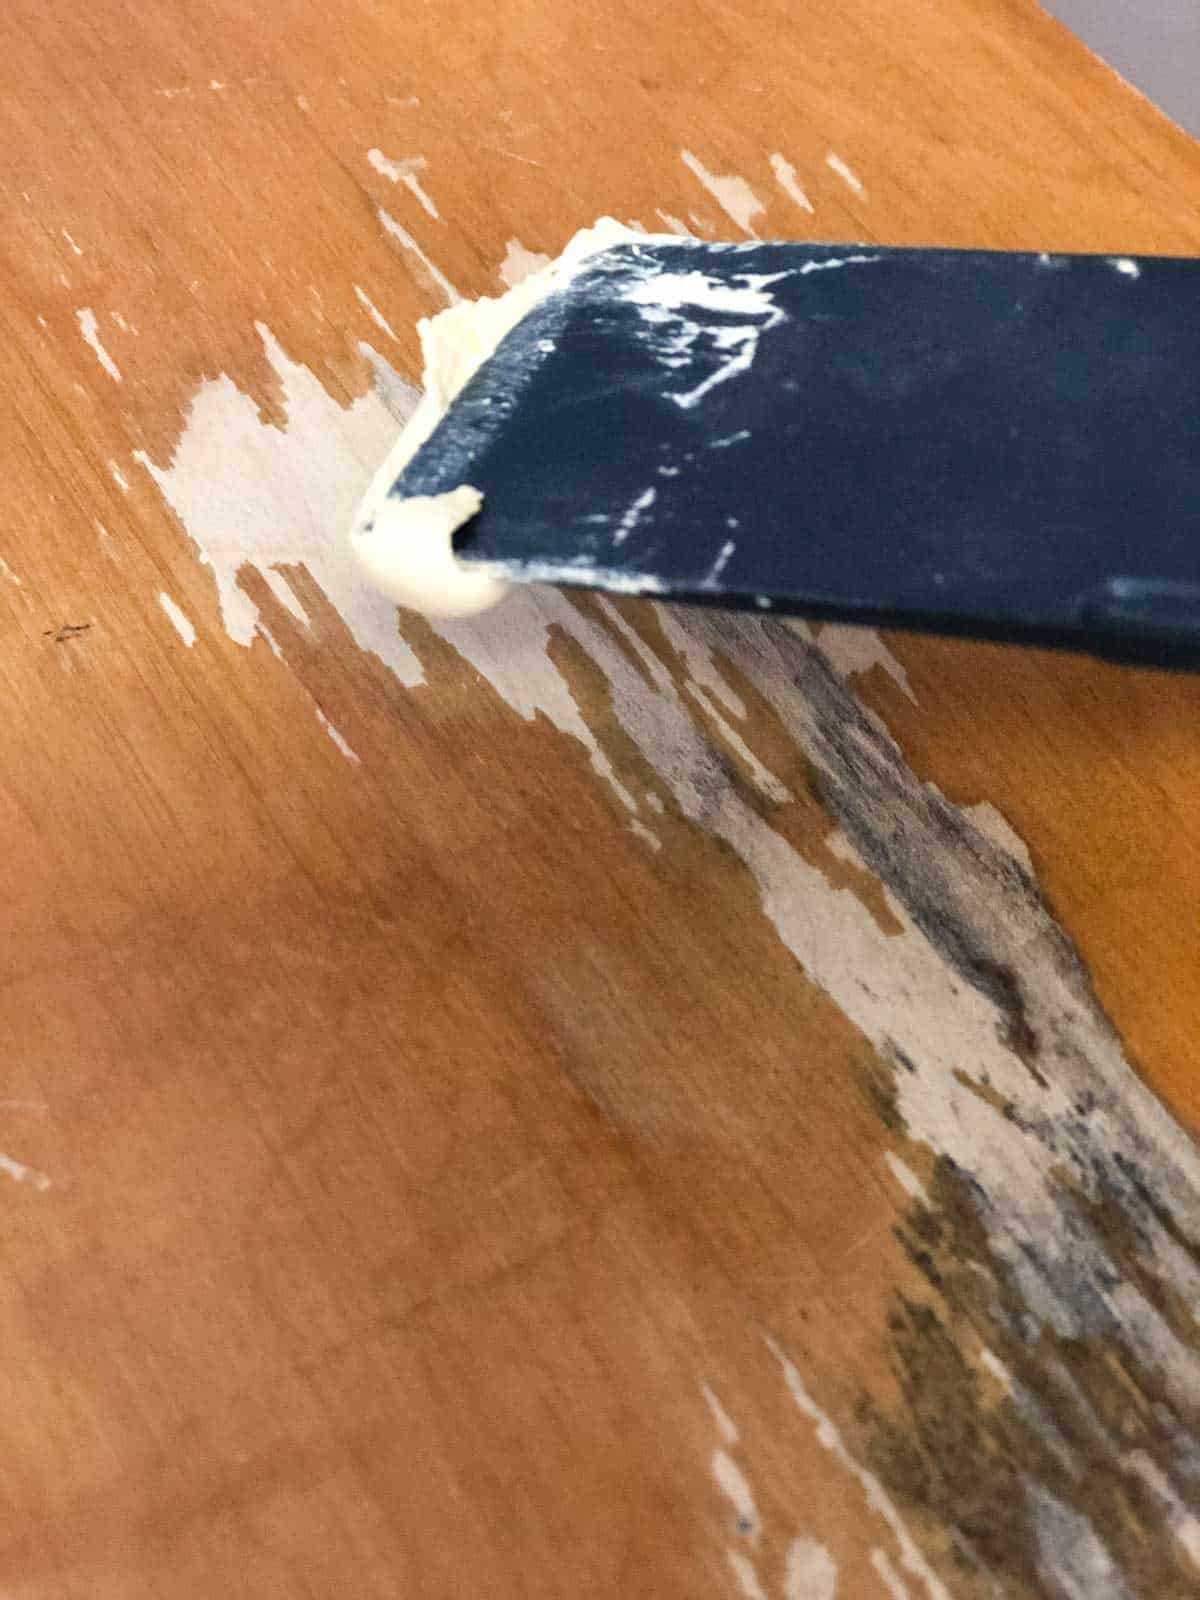
Step 2: Fix Imperfections
Next, use wood filler or bondo to fill the few areas that really need it using a putty knife. After it dries give the dresser a quick sanding and wipe. Make sure your dresser is dust-free and clean.
Step 3: Make Chalk Paint
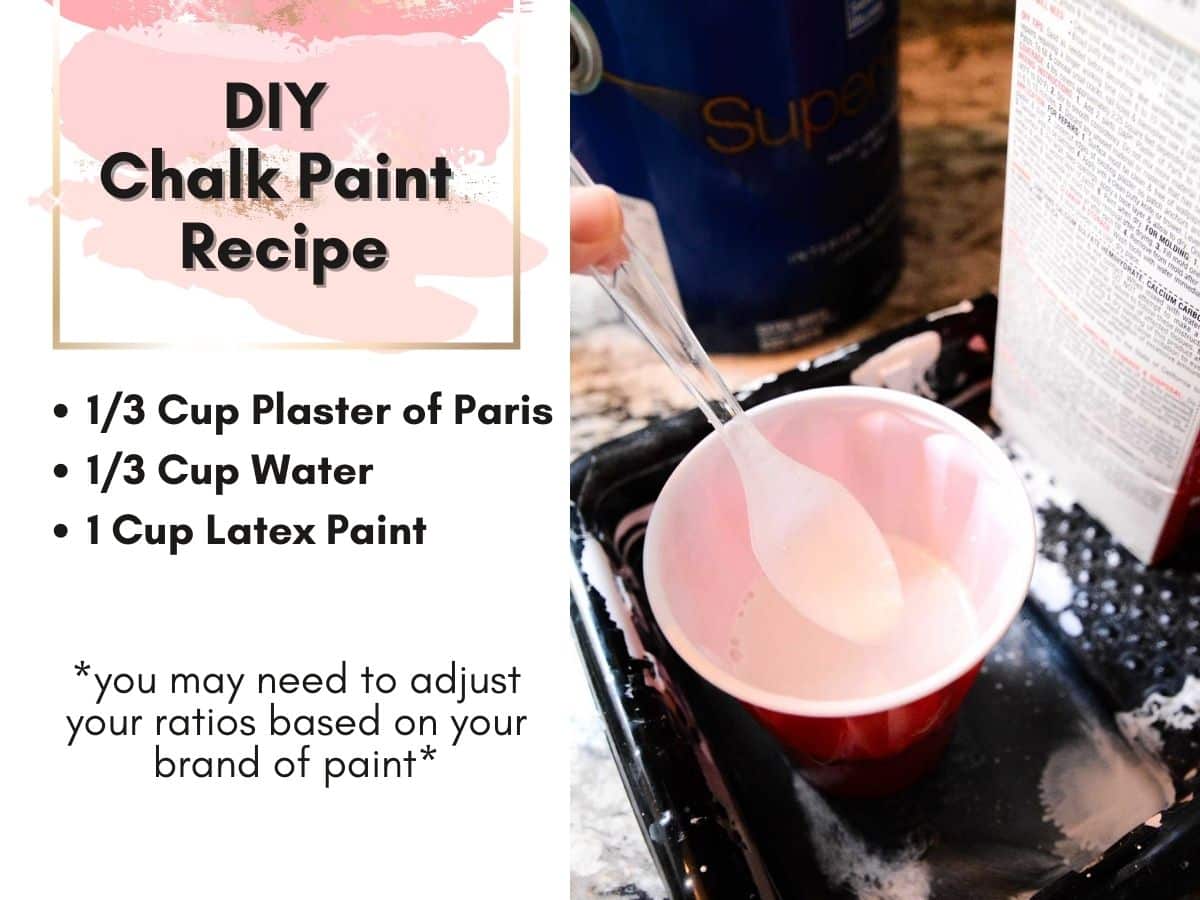
- Mix 1/3 cup plaster with 1/3 cup water first.
- Add 1 cup latex eggshell, flat or satin paint until smooth. Read more about DIY chalk paint.
- Use a brush to coat the outside of the dresser’s body purposefully.
- Let Dry
- Repeat For 2-3 coats.
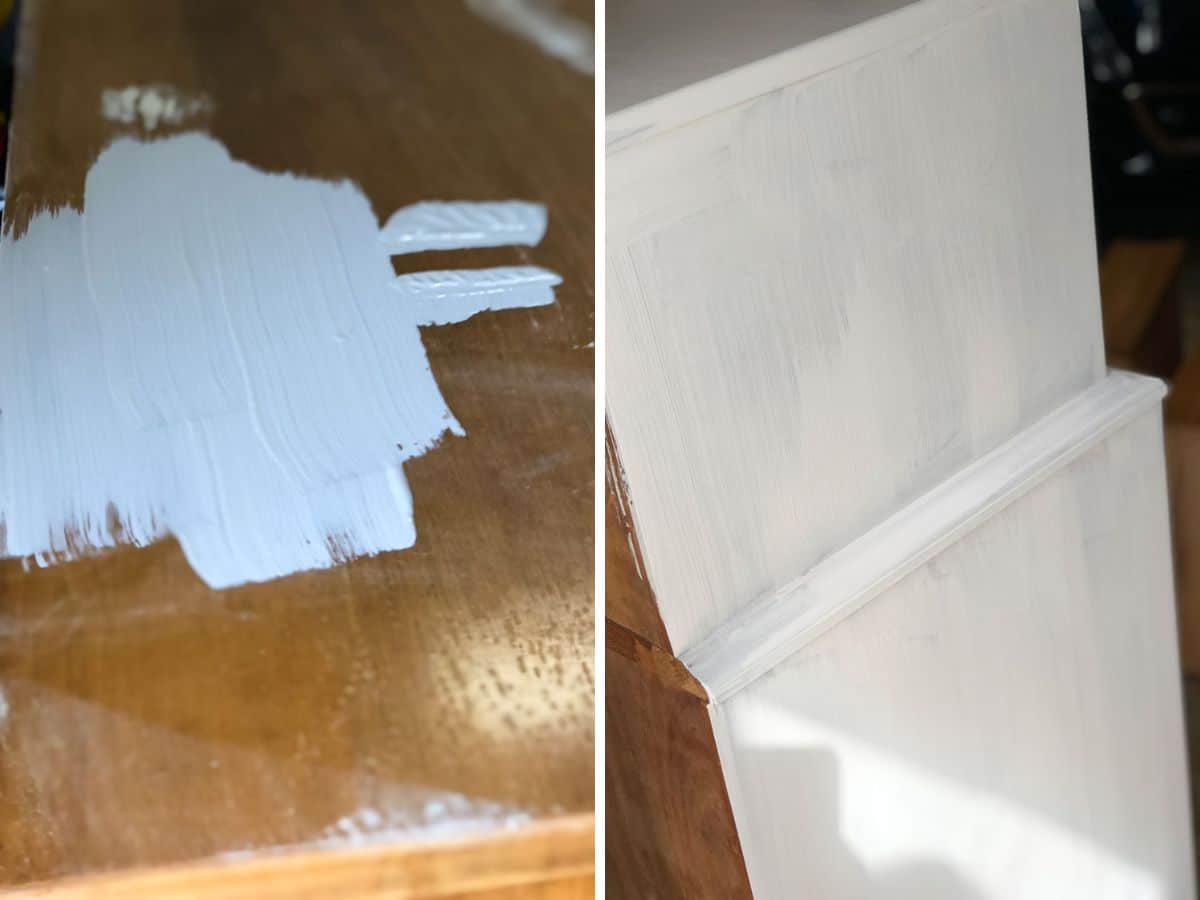
Luckily, this chalk paint recipe dries pretty quickly so I was able to get both coats done pretty easily.
Step 4: Apply Gel Stain To Drawers
After deglossing and lightly sanding the drawers, start to use gel stain.
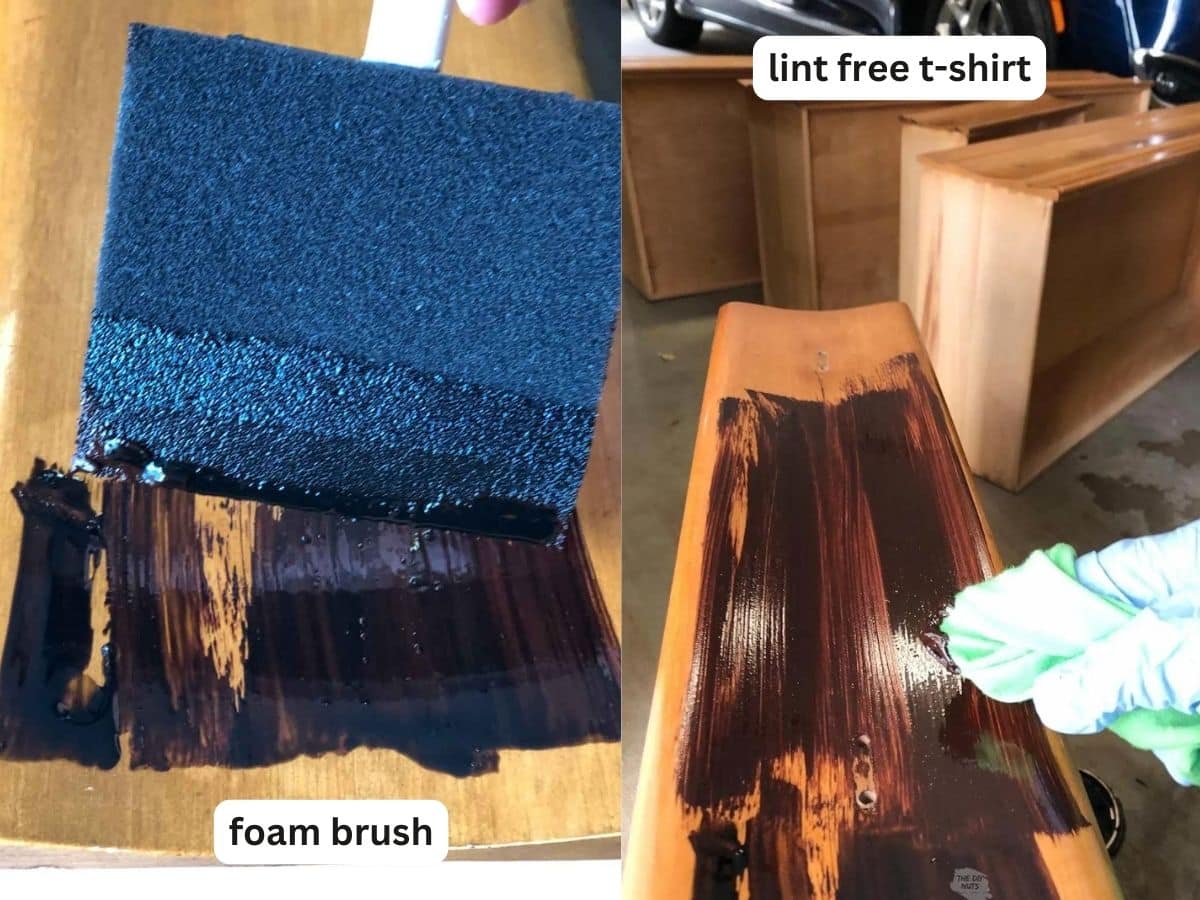
Use a foam brush or old, lint-free t-shirts to wipe on the gel stain in as even strokes as possible.
Remove Excess Stain
Gel stain sits on the surface and doesn’t penetrate as much as a normal stain. Wipe it on and only remove excess globs. Your first coat will be streaky.
Step 4: Let Gel Stain Dry and Repeat
You should wait at least 24 hours in between gel stain coats. I ended up having to do two good coats, with some extra touch-ups. I wanted to see some variation in the wood grain.

The great thing about gel stain is that it is forgiving and you can keep adding layers about layers. Here is an extra resource about how to gel stain.
Step 5: Seal the Chalk Paint
Once all the chalk paint has dried, use wipe-on poly, regular polyacrylic (I recommend satin finish) or furniture wax to seal the chalk paint.
Step 6: Put Hardware Back On
Put the clean brass hardware back on and get ready to organize and decorate my new midcentury modern dresser.
Makeover Tips
- Before taking drawers out, lightly label them with numbers in the proper order. Even if drawers appear to all be the same, they sometimes do not fit back in all the spots!
- Some experts will recommend using a foam brush to apply the gel stain. We think a lint-free t-shirt is easiest.
- If you like a more solid color with your gel stain, then I would recommend 3 or 4 coats. However, it is important that you wait at least 24 hours between layers.
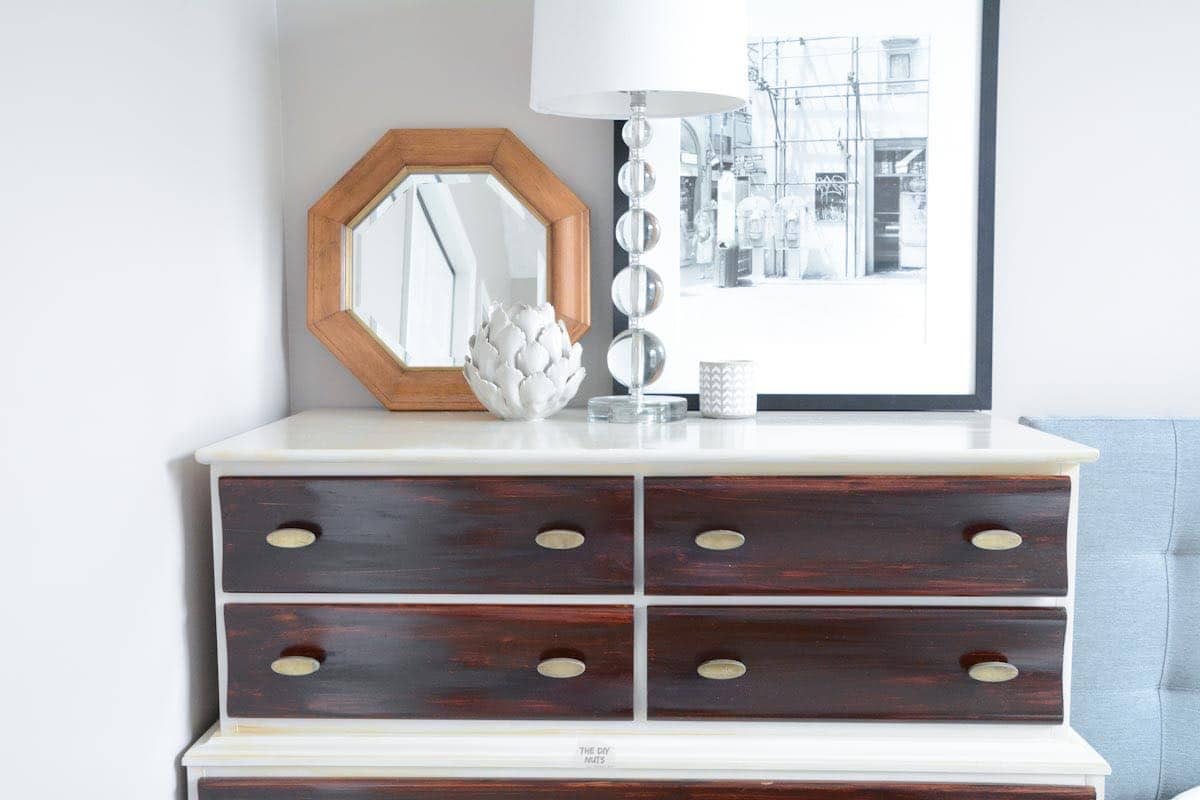
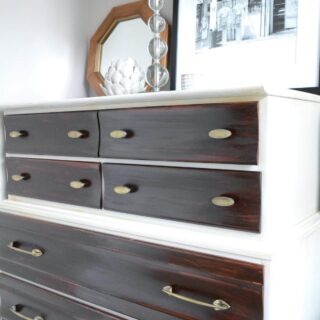
The Before and After Dresser
Tutorial FAQs
There is no need to seal the gel stain. However, if you are using a gel stain in a more high-traffic area, you may want to add an extra layer with polyacrylic. With that being said, I have not had an issue with my bathroom cabinets after 10 years and they were only redone using gel stain.
We have found the best success with very limited wiping. You only want to remove areas where there are globs or excess, especially in the corners or crevices where the gel stain can easily accumulate.
More DIY Furniture Flips
- Entertainment Center Turned Dress-Up Storage
- Ombré Chalk Paint Nursery Dresser
- Make A Unique DIY Table From Your Composite Decking
This DIY furniture project was perfect for a DIY challenge with my like-minded DIY friends. Check out my friends for this #diyprojectchallenge!
- Joyful Derivatives: DIY Blanket Ladder
- Sand Dollar Lane: How to Build a DIY Boot Tray
- Kippi at Home: $50 Office Window Treatment
- Never Skip Brunch: Sunglass Holder: Easy DIY Wall Display
- 1905 Farmhouse: DIY Jewelry Wall Organizer
- Rufus & Henrietta: DIY Wrapping Paper Storage
- Southern Yankee DIY: $50 Closet Makeover
- Rocky Canyon Rustic: DIY Bathroom Organization
- Handmade with Ashley: DIY Dust Collection Cart
I just absolutely love how my DIY two-toned dresser makeover came out. It is the perfect addition to our guest room.
DIY Painted Dresser With Gel Stained Drawers
Equipment
- Paintbrush
- Rag
- Gloves
Supplies
- Gel Stain: We used Minwax Red Elm
- Deglosser
- DIY Chalk Paint latex paint + Plaster or Paris or Store Bought Chalk Paint
- Wipe-On Poly waterbased so that it does not yellow
- Furniture Glaze optional
- Foam Brush or Lint Free T-Shirt
Instructions
Prep the Dresser
- Clean with deglosser.
- Fill imperfections with wood filler.
- Sand and wipe the dresser.
Make DIY Chalk Paint
- Mix 1/3 cup plaster with 1/3 cup water.
- Add 1 cup latex eggshell, flat, or satin paint.
- Coat the dresser’s body with 2-3 layers.
Apply Gel Stain to Drawers
- Degloss and lightly scuff up drawers with 220 sandpaper.
- Use foam brush or lint-free t-shirt for even strokes.
- Remove excess stain, let dry, and repeat for 2-3 coats.
Seal Chalk Paint
- Once dry, use wipe-on poly, polyacrylic, or furniture wax.
- Reattach clean brass hardware.
Notes
- Label drawers before removal.
- Use a lint-free t-shirt for gel stain application.
- Wait 24 hours between gel stain coats.
- No need to seal the gel stain, but add polyacrylic for high-traffic areas.
- Minimal wiping for gel stain application.
Your dresser looks fabulous, I am refurbishing an old dining table right now and hope that it turns out as great as your project did!
Hi Anji! Thanks for nice words and for visiting our site! Good luck with your dining table. It always feels so great when furniture gets a makeover.
Erin, that dresser looks amazing! You have real talent for this! I love that dresser … from what it looked like before, it now looks like a whole new creation. Just beautiful! Great pics and descriptions on all the steps for thos that want to try this on their own. I’m crafty, but not so artistic … but maybe one day I’ll try this!
Hi Kristina! Thank you for the kind words! Chalk paint and gel stain are pretty user friendly, so I say go for it!!!!
Love this. I wish I was this crafty.
This looks like a million bucks! Cant believe you could do this for less than $50! Your awesome!
Thanks for being part of this challenge! It was great collaborating with you talented ladies!!
I couldn’t believe that I found the dresser for free! I loved all the projects! Thanks for setting this DIY challenge up!
Thanks for checking out our DIY site!
this is great!
I am in love with how that dresser turned out! What a huge difference. I can’t wait for next months challenge!
Thanks! I am so pleased with our DIY challenge group! I am sure it will just keep getting better and better. Love all my DIY peeps!
This looks gorgeous! Yourre so handy!
Hi Sarah! Thanks for checking out our DIY site and for the kind words!
This dresser looks amazing!!! Such a great feeling to salvage and renew an old unwanted piece!
Thanks! I always love when I can DIY. Especially if I can get awesome results cheaply!
Your dresser looks gorgeous! You did an amazing job. I’m checking out your bathroom makeover now!
Hi Trish! Thanks for checking out the site. I hope you like the bathroom makeover and accent wall! The cabinets were redone with the gel stain just like the dresser!
This is GORGEOUS! Well done!
This turned out so beautifully! I love the white mixed with the stain and brass.
That is a great transformation. I love taking old furniture and making it new again. You did a great job on that dresser and I like the fact that you painted it but you also stained it too. Congrats on your new piece it’s fantastic.
I’m in love with your dresser makeover. It turned out amazing.
What a transformation! Well done! Thanks for sharing 🙂
I love the combination of natural wood tones and paint on this makeover. I pinned it!
Happy Spring,
Kippi #kippiathome
I love the dresser maker over! It looks so great!
Wow… it looks really great! I had no idea how to tackle a project like that.
This DIY is super amazing! I got to try this out !
Xoxo,
Kayla | Mommy Blogger | My Motherhood Made Easy
That dresser looks like a million bucks! I can’t believe that’s the same hardware either – you’re amazing. And for FREE?! Love this DIY project – I’m feeling inspired to do a dresser makeover now. 🙂
What an awesome upgrade! I love midcentury style!
Wow you made it look like a brand new! I wish I wasn’t so bad at DIY. However you explained it so well that I think I can give it a try! You have excellent content on your blog, great job!
Hi Chris! Thank you for visiting our site and for the kids words. Anyone can do DIY, you just have to go for it and not be scared to mess up!
Wow, what a beautiful transformation! I love the idea of doing both gel stain and paint.
Wow! This dresser looks like a million bucks! I’ve been wanting to make chalk paint forever. I’m gonna have to try this recipe as I can’t find the key ingredients to the recipe I have. You did an amazing job. I love up-cycle before and afters. It’s stunning. ?
Thanks for the kind words! I love all of our DIY projects!
You stated not to wipe off stain. When I clicked the link you provided for gel stain extra resources it took me to minwax. Minwax instructions say to wipe off gel stain Why didn’t you wipe off? I’m curious
Hi Tara. I had an issue with the stickiness of the stain. I found it easier to work in light layers and not wipe it off. If you do wipe it immediately or pretty soon after applying it will probably work well. We also did our bathroom vanity cabinets this way and they still are lasting. Let us know if you test out gel staining and what you ended up doing. It has been a few years since I have gel stained anything and the products may also be different/improved.