5 DIY Easy Kid Art Display Ideas
Is your house overflowing with art projects from your kids? I know you want to be able to preserve artwork, but sometimes it can just be too much! Here are 5 DIY kid art displays for your favorite artworks made by your children and a few pointers on how to deal with everything that comes home!
Since having my own children, I have had to become very creative and selective about adding their toddler artworks without taking over our home!
*Disclosure: I only recommend products I would use myself and all opinions expressed here are our own. This post may contain affiliate links that at no additional cost to you, I may earn a small commission. Read our full privacy policy.
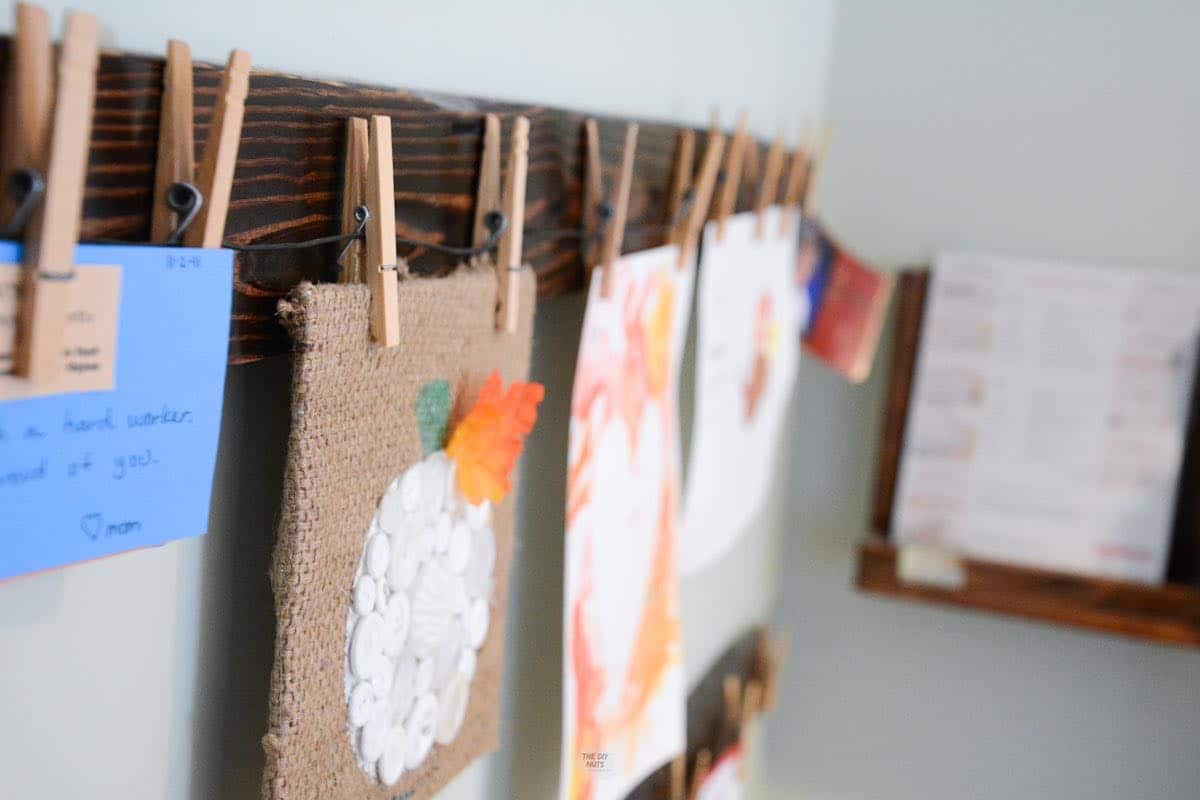
DIY Kid Art Display #1: DIY Pallet Wall Hanging with Clothespins
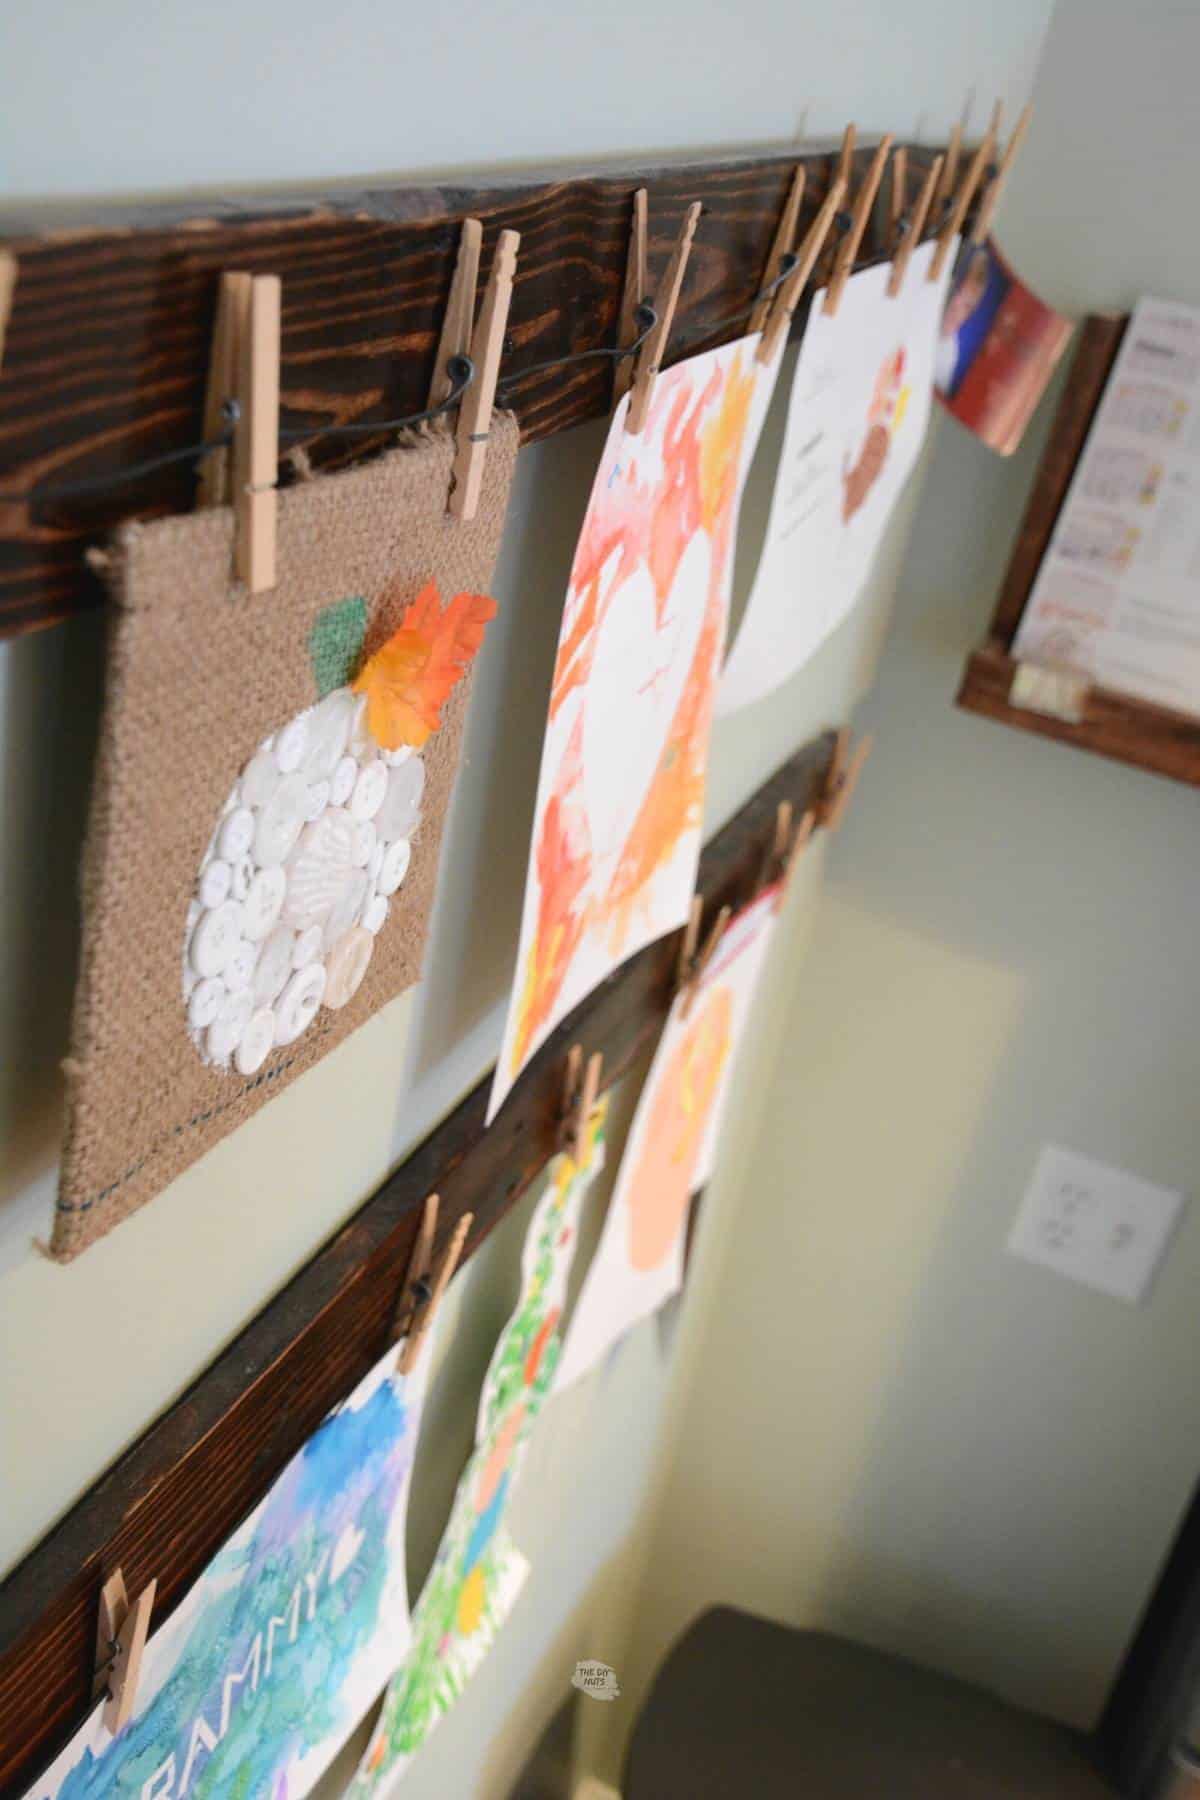
My husband and I created these DIY wall hangings for a simple, easy & DIY way to display important papers and art projects.
Personally, I do not like my refrigerator covered in clutter, so this seemed to be the perfect thing to place on a wall near our fridge.
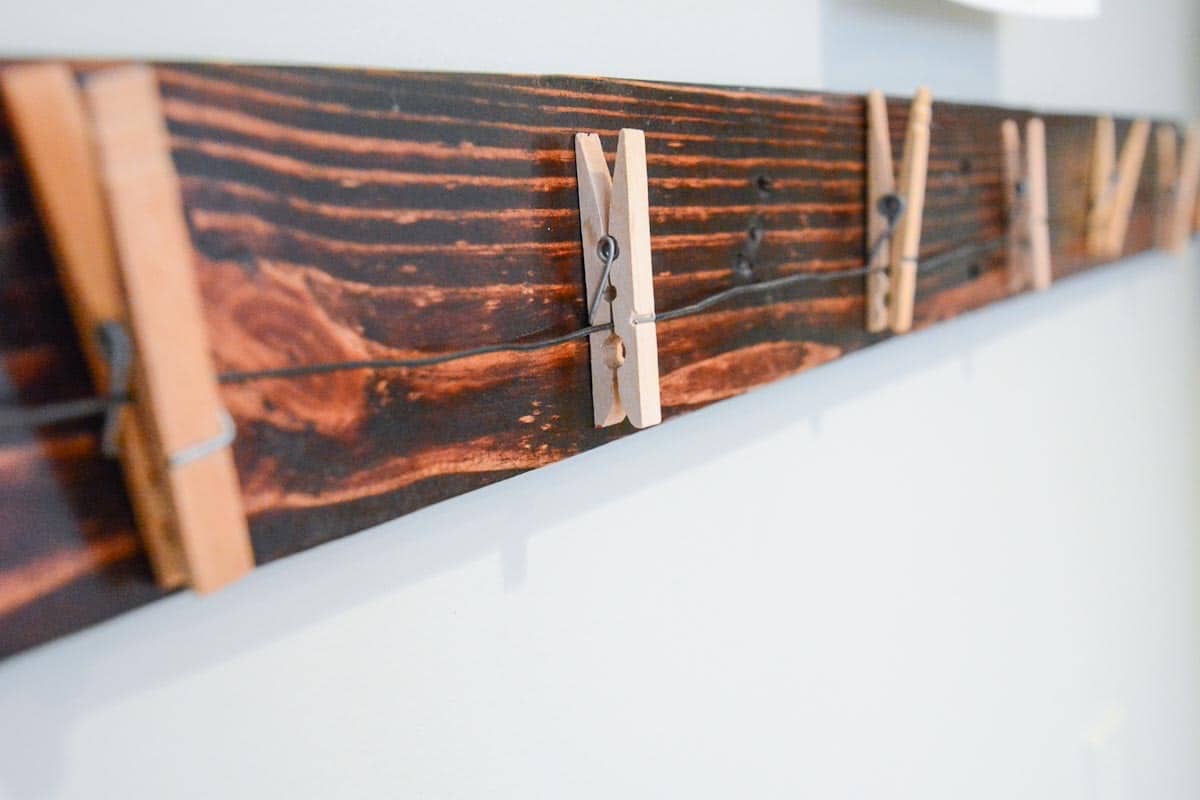
Creating a DIY Pallet Art Display
To create this pallet art display, my husband broke down a pallet, stained one piece of the pallet wood and we add a wire to the wood. Next, we added clothes pins (fun clothespins) and anchored it to the wall.
Use a stain color on the pallet to match your home decor style. You can wee how we made added entryway hooks with the same rustic feel.
Easy Kid Art Display #2: Create an Art Gallery Wall
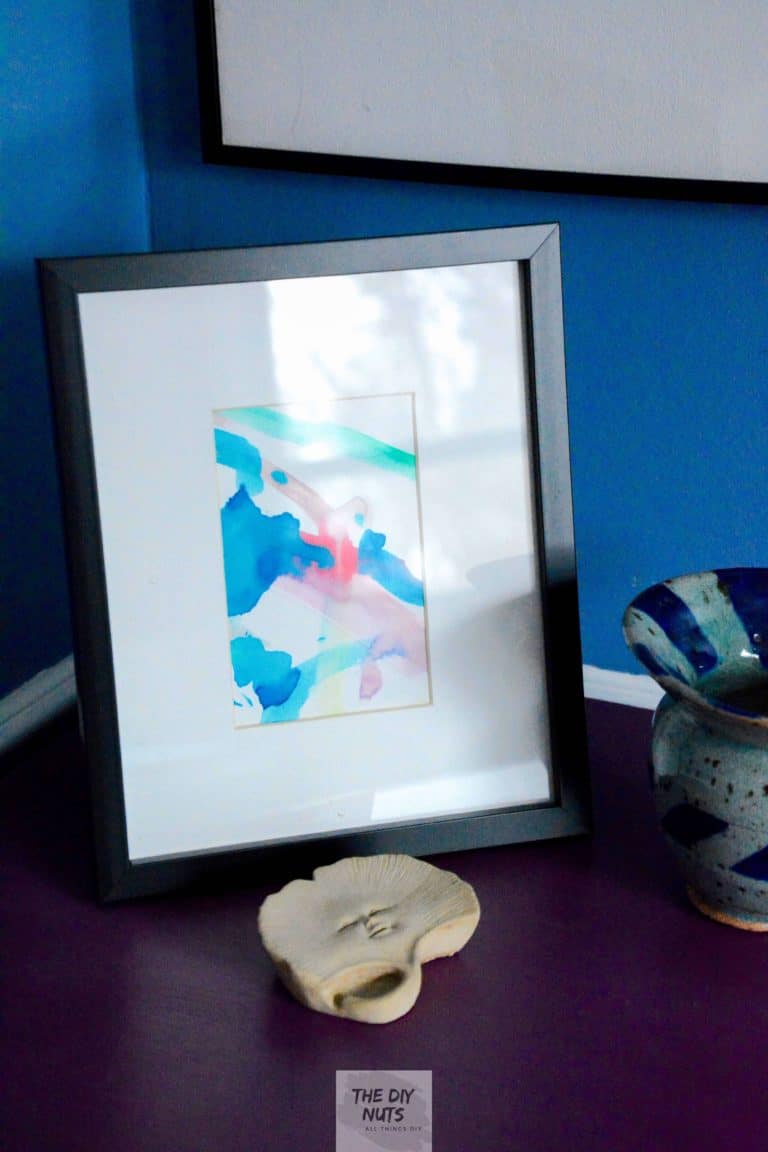
I have children under 4 years old. And while they can be creative and I love what they make, not everything is worthy of hanging on our walls! However, I do find that taking parts of their paintings and framing them with a mat can add a contemporary piece to any space. People won’t believe that your 2-year-old painted it!
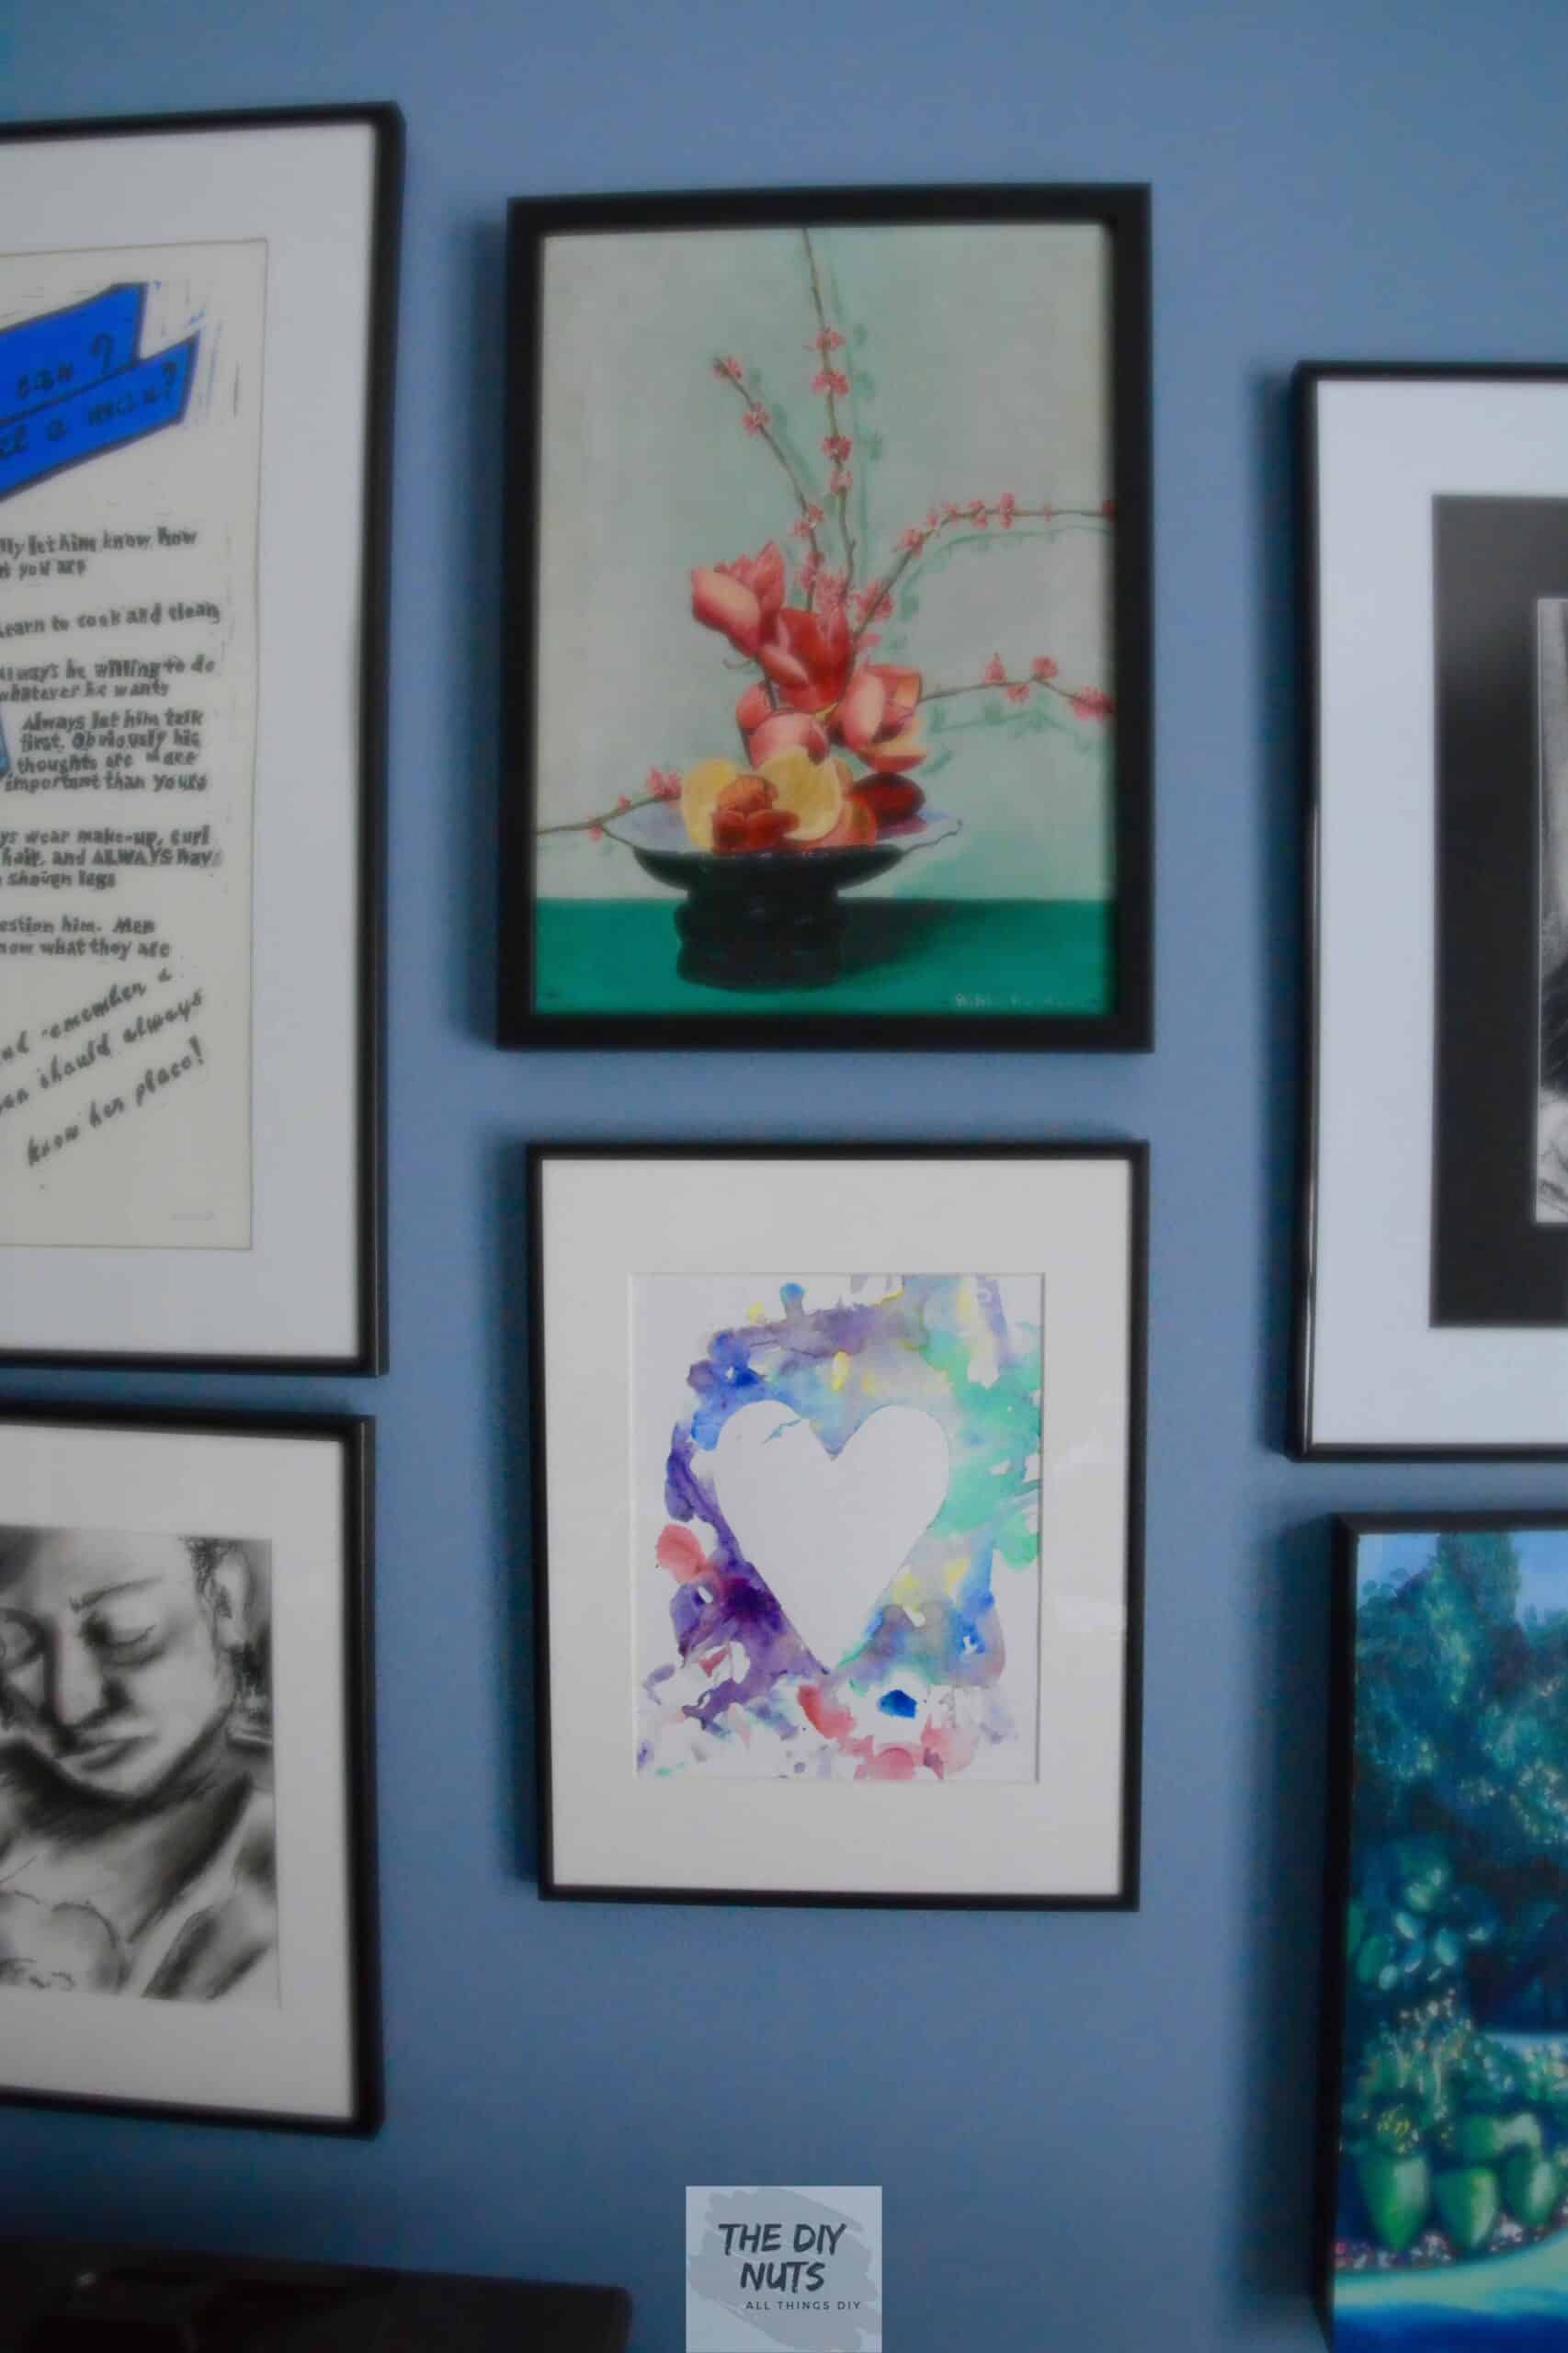
In this picture of my art gallery wall, I used this inexpensive frame that came with a pre-cut mat to easily create this DIY art gallery display. You may even want to add gallery-wrapped canvases to your wall.
Here is an awesome melted crayon project that your kids could create to add to your gallery wall.
Kid Art Display #3: Mat and Frame Artwork in Small, Inexpensive Frames
Display Small Artworks
The joy of small artworks is that you have a lot of options on where to display them. Do you want them to be in a frame on a table or on a corkboard wall? Add a simple mat and frame it.
Kids love seeing their artwork in a frame.
I have several small kid art pieces in simple and inexpensive frames around my home office and art studio. I absolutely LOVE the simple reminders of my children.
Ideas For Cheap Frames
- Search for cheap frames at garage sales or thrift stores
- Use homemade chalk recipe to create unique frames with a pop of color
Easy Art Display #4: Use Cork Board and Push Pin
This is the classic way art teachers easily display a lot of art projects! You can cover an inexpensive corkboard with fabric remnants, use colorful push pins or keep it clean and simple.
You can even paint corkboard with black latex paint or the color of your choice.
Art Display #5: DIY Shadow Boxes With Removable Top
These DIY shadow boxes not only display artwork but will help you store it as well. We love how the removable top allows us to easily change artwork.

Looking for more DIY Art Displays? Read: 18+ Creative Ways To Hang Pictures
Tips for Organizing Children’s Art and Craft Projects
Once you have started to create DIY easy artwork displays, you still will have way too many art projects floating around.
Rotate Projects
I know this may be sacrilegious for me to say, but it is okay to get rid of some of the projects. Personally, I like to rotate the art projects that come home in one of the art project displays mentioned above. I then keep my favorites and get rid of the rest.
I found this amazing product that not only acts as a frame to display your child’s artwork but also helps store it. These would even make the perfect gift for the grandparents who have everything!
Make A Memory Box
I recently started a DIY memory box for my son. However, I am going to try to be very selective about what I add to it. Mine is a simple bin where I just put projects in.
Ask your child what pieces they want to add or what their favorite is. Doing this is a great way to learn about your child and what they were thinking when creating a piece of art. Even the littlest artists are engaging in several thought processes when making artwork!
Organization Tip: Write the age and when the child created the work so you can always remember when things were created!
Take Digital Pictures
If you love something, but don’t have a place for it after a while, take a picture of it. Later you could even make a photo book of the images from that year or their preschool years. I like to make photo books of my children from that year, and adding pictures of things they created makes it special!
I particularly like the layout of this photobook. And they always seem to have sales. And who doesn’t love to save money while cherishing memories?
They normally have a pop-up for first-time users to save a certain percentage off when you sign up for their email! So you could end up making a high-quality book on SALE!
Throw Out the Clutter…CAREFULLY
It is OKAY to throw it out after you have decided on your favorites, saved or taken pictures. Use the catchphrase of the Spring: “Does it spark joy?” Check out Marie Kondo’s book if that statement is intriguing.
However, try not to do it in front of your child, or don’t let them see it in the trash. How would you feel if someone always threw something you worked hard on away?
More DIY Home Organization Ideas
- 17+ Easy DIY Shelves Ideas For Any Room
- 10+ Dress-Up Clothes Storage Ideas To Encourage Creative Play
What is your favorite way to easily display artwork and keep everything organized? Do you have a preferred way to cherish your children’s memories and ideas?
Brilliant! I hope ours look as beautiful as yours. 🙂
Wooooooww!! This is Beautiful. My cousin is an art lover. I will recommend your blog to him.
Thank you! I appreciate it!
I love these art display ideas. My kids are always taping up their art all over the house. A designated display area would be awesome.
Hi Stacy! Thanks for visiting our site. It is nice to rotate art in a set area. It truly helps keep you organized.
This is a great way to reduce clutter. Only keep kids’ art that can be framed or displayed. Also, when the kids were smaller, I would laminate seasonal art and use them as placemats.
Great idea about the placemats! I am sure your kids love this!
Great idea about the placemats! I am sure your kids loved this!
Great tips on art displays. I pinned it for more inspiration. Happy Spring, Kippi #kippiathome
it’s impossible to keep up with artwork with kids! these tips are so helpful!
Lovely uggestions to incorporate their art Into home decor! It’s hard to keep it all so these are great suggestions
The wall hanging with clips…we could totally do that over here!! Summer project…
Thanks for sharing! 🙂
So needed this!
I love this! I have an empty wall in my house that I wanted to dedicate it to the boys’ artwork and didn’t know how.
Great ideas! Your board with clothespins is beautiful. I am very much a take a picture of it kind of person. Love the idea of incorporating the pieces into annual photobooks 🙂 Thanks for the inspiration!
Erin, I love this so much! That art wall is everything!!!!
Hey that’s really a useful information’s i would love to DIM(Do it myself). Keep up writing the good work.
I store alot of art of my kids creations. I love the store in an art box read and the entire blog post on how to store art work! Thanks for sharing.
Great ideas and suggestions!!!
Love these ideas. I usually just put the in the fridge and my husband has been wanting to put them up on the walls. Thanks for sharing.
Hi Cynthia. We had the same problem. Our fridge was covered with art projects! We really love how our fridge stays clean and we have a place to keep all the school projects on display. Thanks for visiting our DIY site!
Great ideas! I need to do a clothespin one! The girls are always creating something new, thank you for the great ideas!
Hi, Jenn. The clothespins really make it easy to change out the artwork!
These are all great ideas! Thanks so much for sharing
Thanks, Nicole. I am glad you like our DIY art display ideas!