How To Make An Easy Paper Maché Piñata
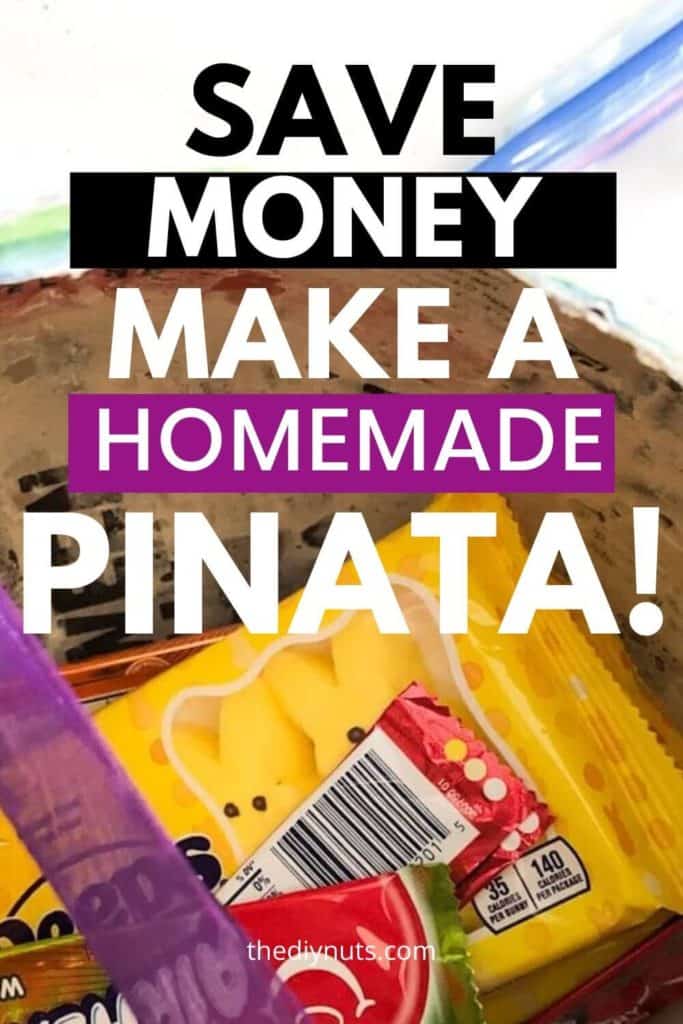
Learn how to make a DIY piñata using simple ingredients from home. You will be shocked at how budget-friendly this craft can be.
*Disclosure: I only recommend products I would use myself and all opinions expressed here are our own. This post may contain affiliate links that at no additional cost to you, I may earn a small commission. Read our full privacy policy.
There is no better party activity than a piñata. We have convinced our son that a family party in our new playset with cupcakes would be the perfect way to celebrate his birthday. What little kid doesn’t love hanging a piñata outside and finding all the customized treasures?
Why not just buy a piñata?
I had a few in my online shopping cart, but decided to save $20+ and make my own DIY piñata. Here is a step-by-step tutorial on how to make a homemade paper maché piñata. The best part about this easy DIY project is that it is budget-friendly. You probably already have most supplies in your pantry.
Ways To Make A Simple Piñata
- Out of a cereal box
- Use a paper bag as the base
- Use an old cardboard box
- Traditional paper maché paste and crepe paper
- Mini piñatas out of cardboard tubes
- Create a base like large numbers out of bendable cardboard strips
Design Your Piñata Before You Start
Once you have decided on your piñata design, you need to construct your base before making your papier-mache paste.
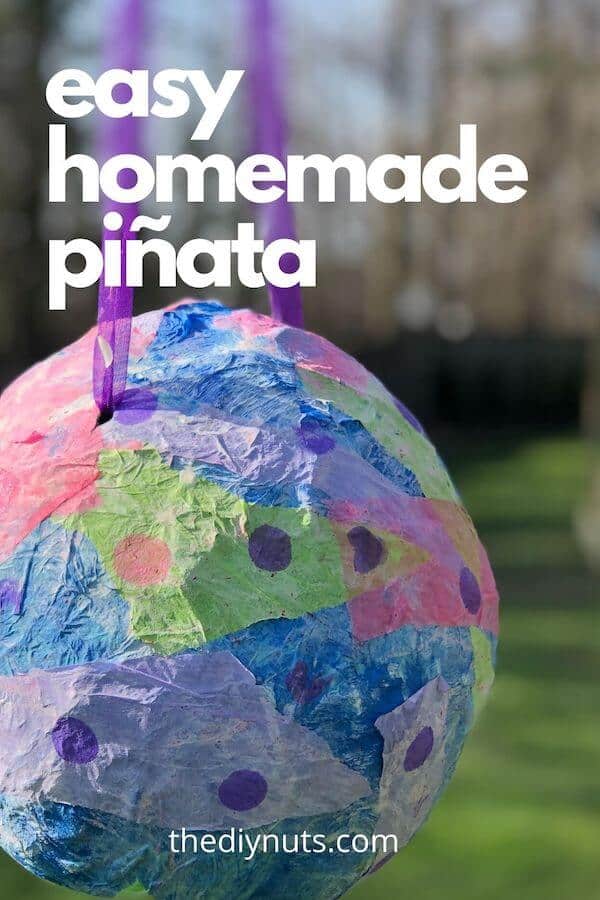
For our simple Easter egg piñata, that meant blowing up the balloon and prepping our workspace. This will take longer if you are using something other than a balloon as your base.
Our Design
I asked my son what he wanted, and he actually said the easiest thing possible…An Easter egg piñata. This basic shape could be made with a balloon and easy DIY paper maché paste.
Other DIY piñata ideas
Unsure of the piñata you want to build? Our DIY friends make them all the time. We will be consulting this list of cool piñata ideas for our next birthday party.

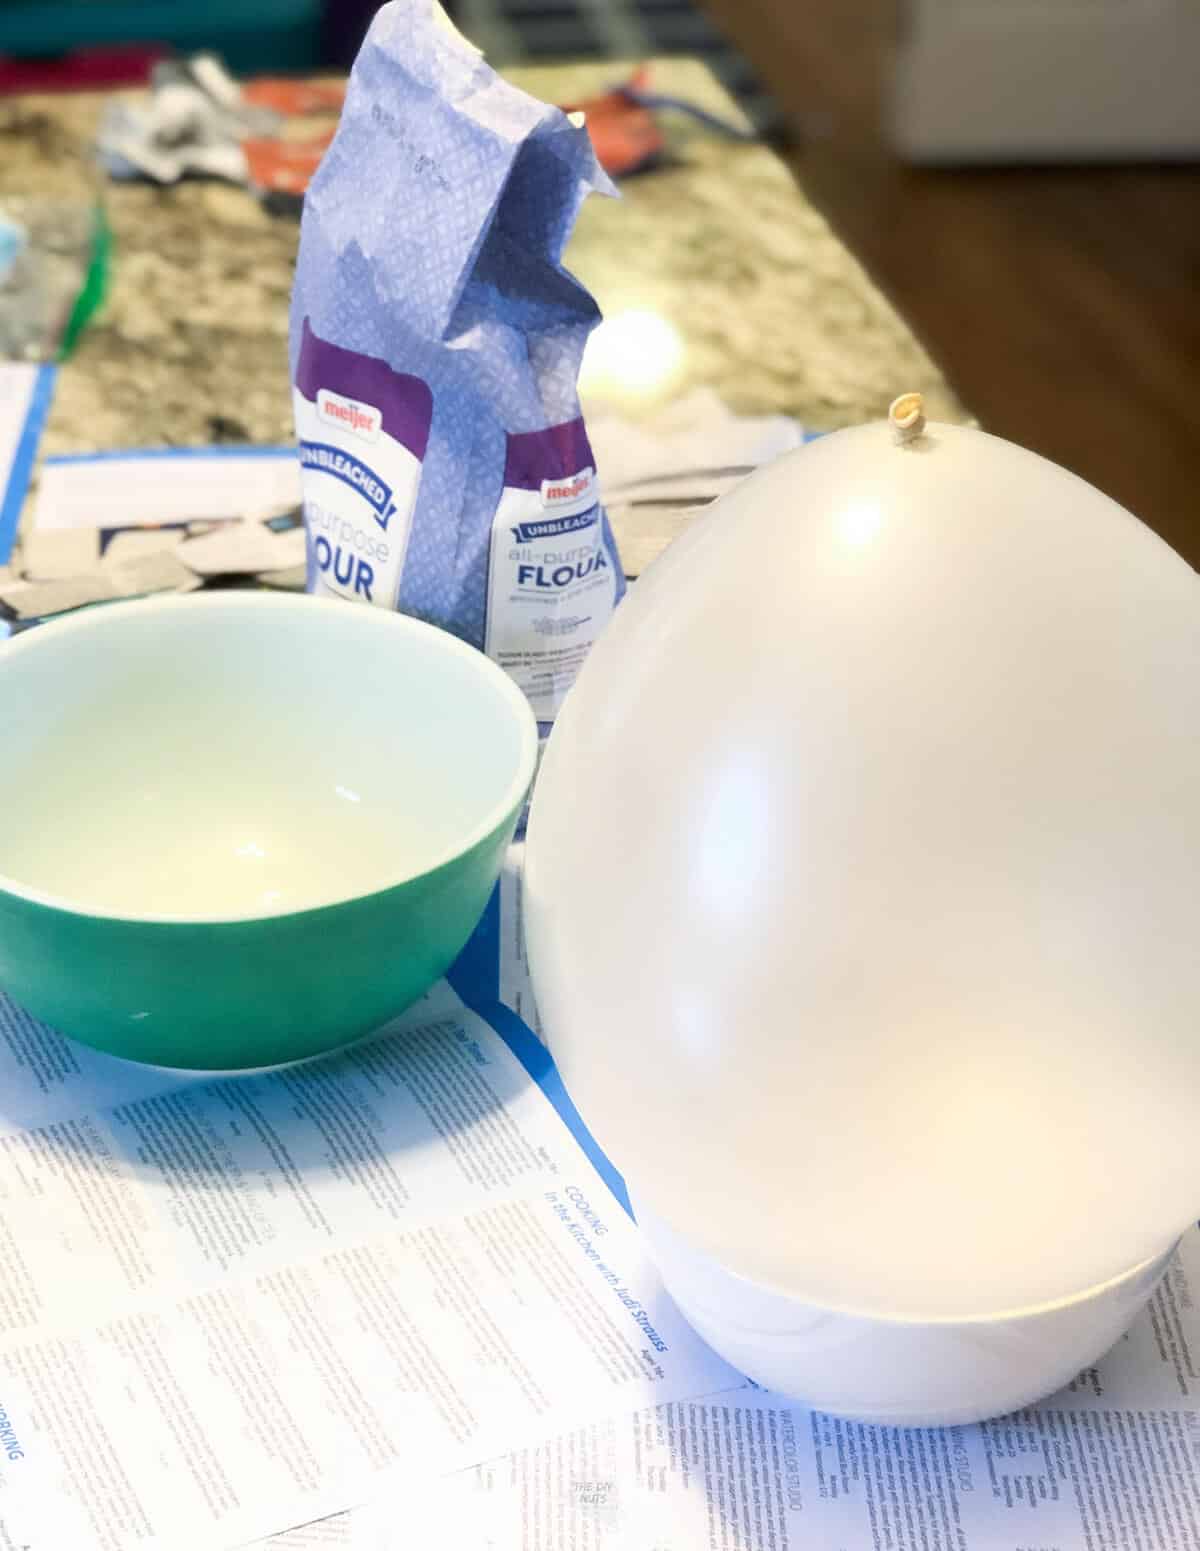
Recommend Supplies For Paper Maché Recipe
- 1.5 parts water
- 1 part flour
- 1 Tablespoon of salt
- Newspaper or old brown paper bags
- Colored Tissue Paper or paint (optional)
- Balloons (this pack of balloons has also been a hit for extra games around our house)
*You can use cardboard or a different base than a balloon.
How To Make Homemade Paper Maché Paste
Step 1: Add Water To Flour
Pour flour into the bowl and slowly add water.
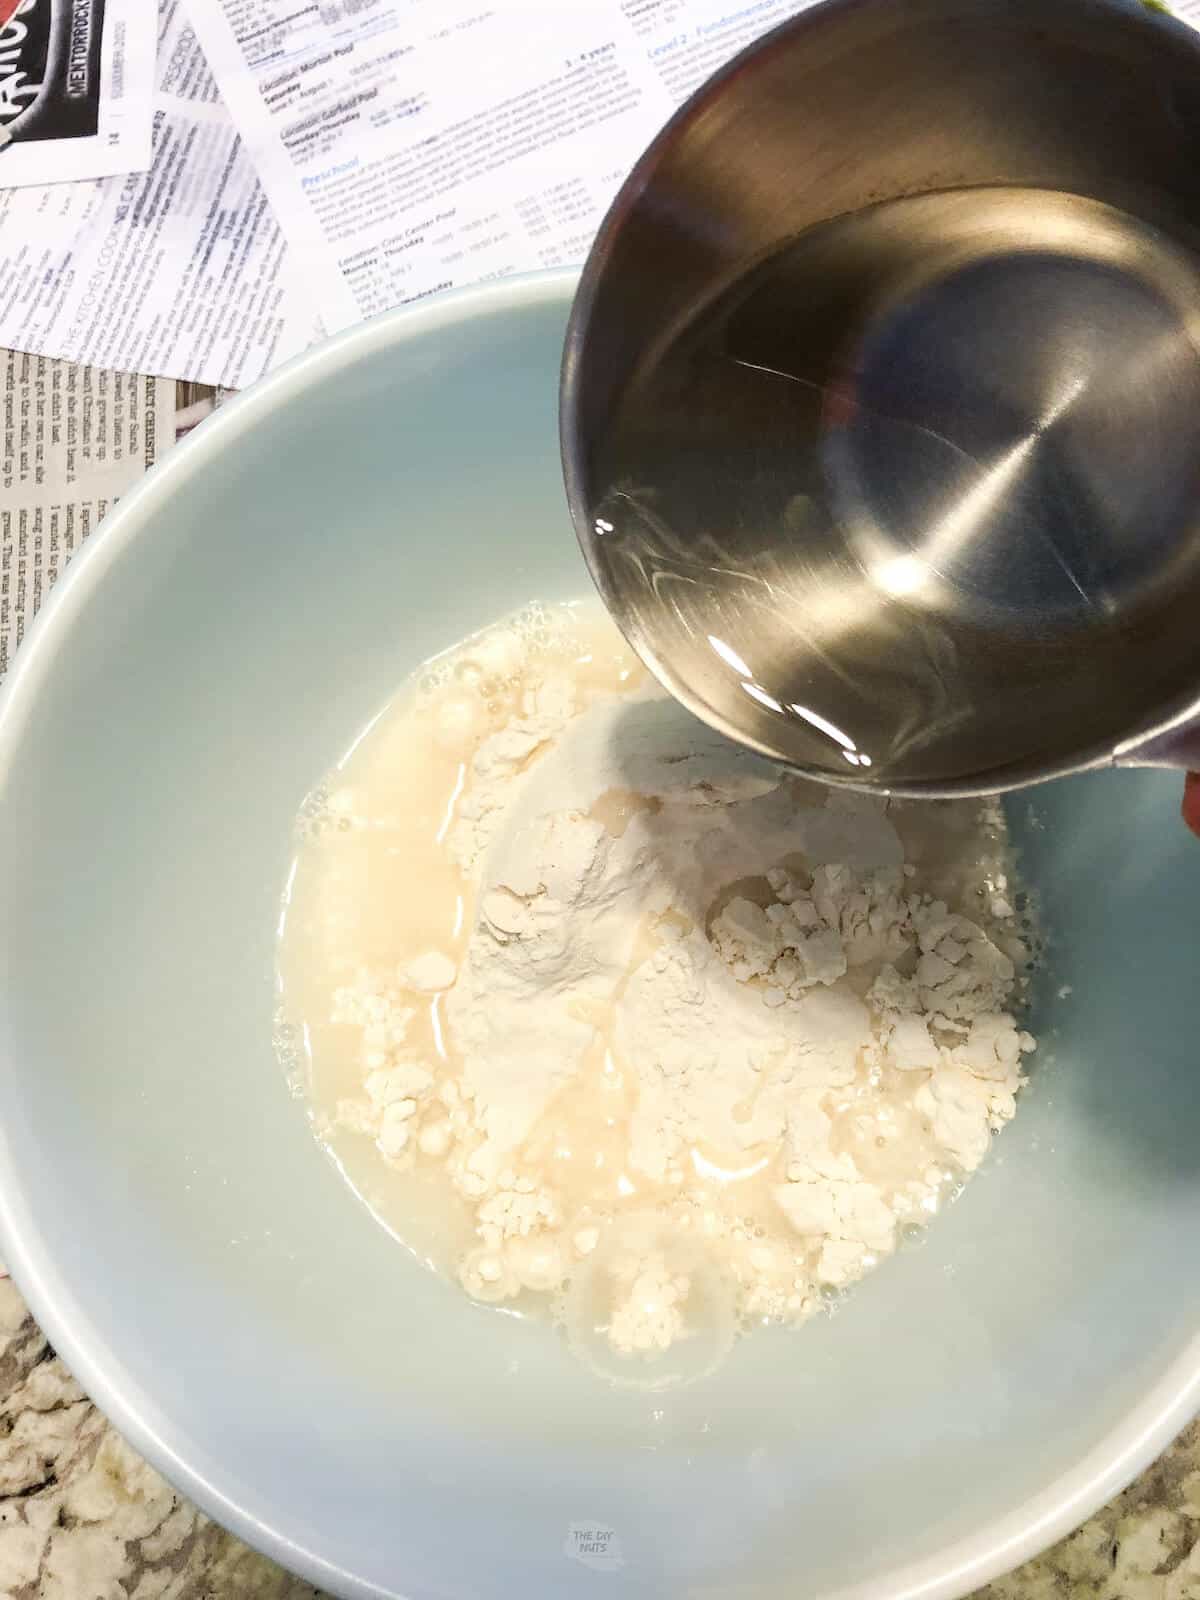
Step 2: Completely Mix Together
Stir or whisk until it is not chunky at all.
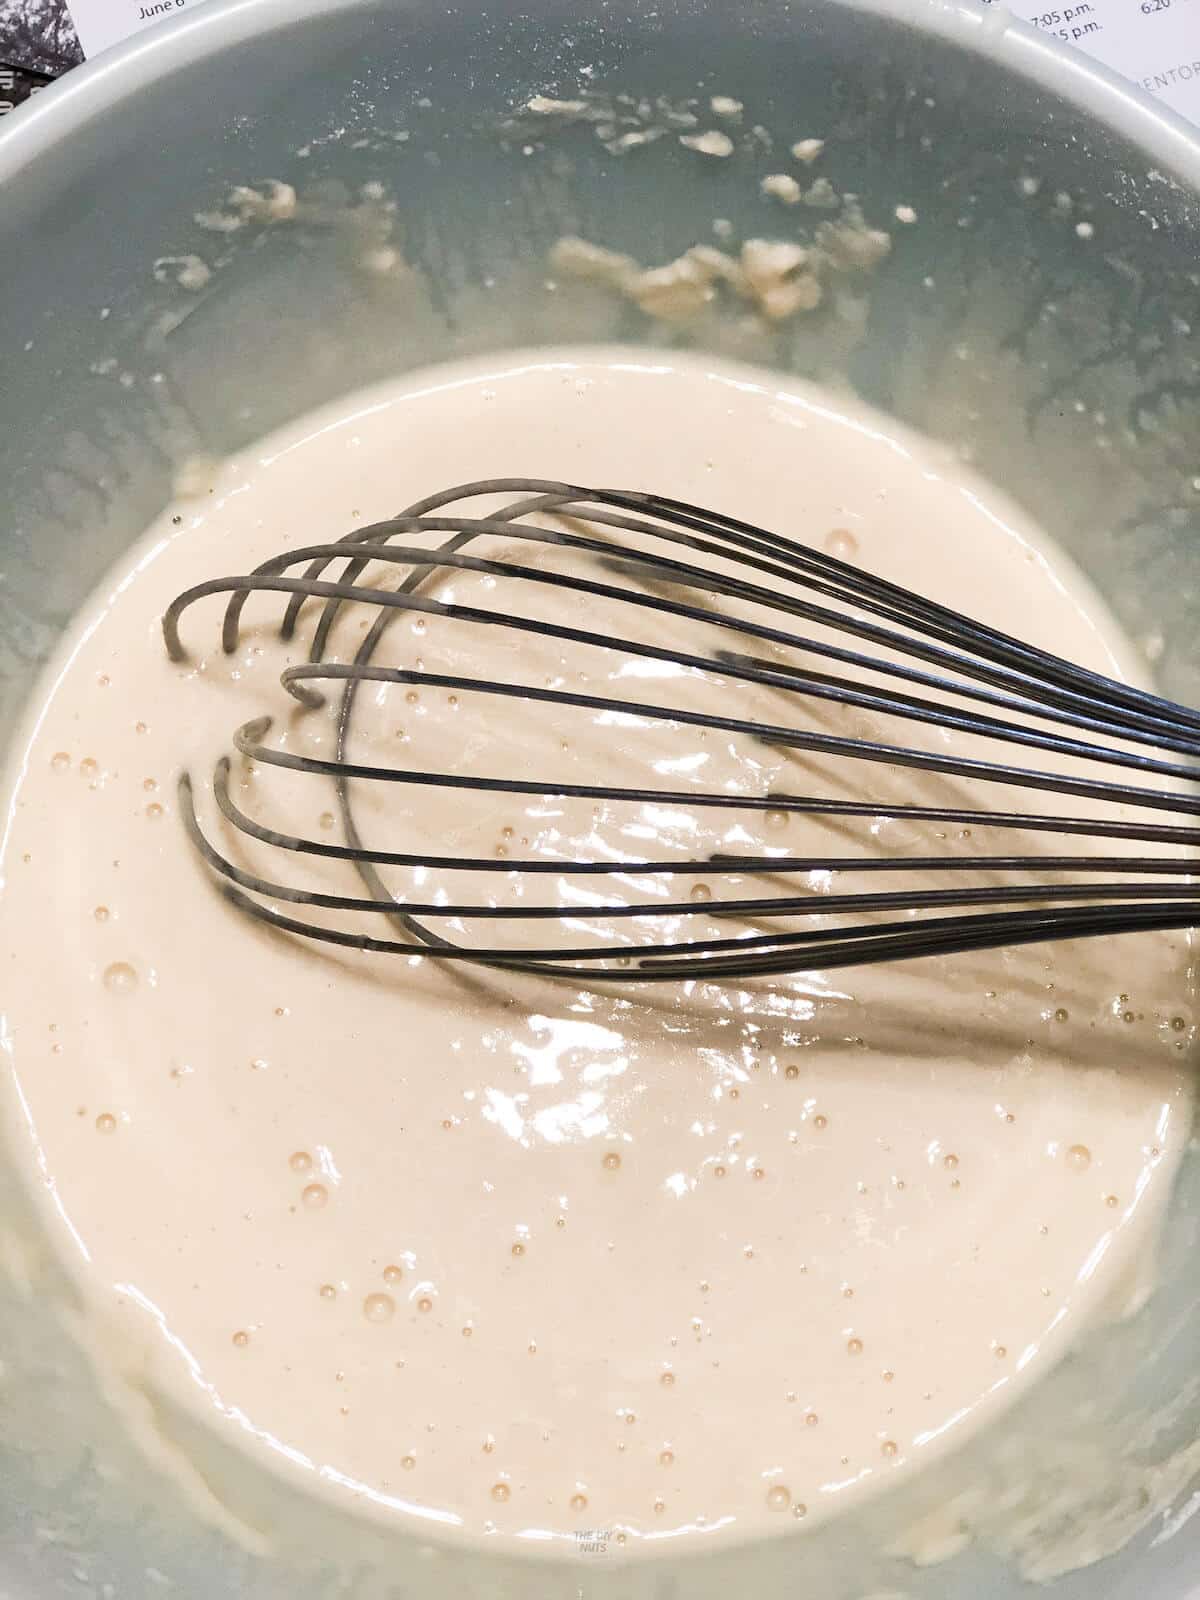
Step 3: Add A Pinch Of Salt
Adding salt helps preserve what you are making.
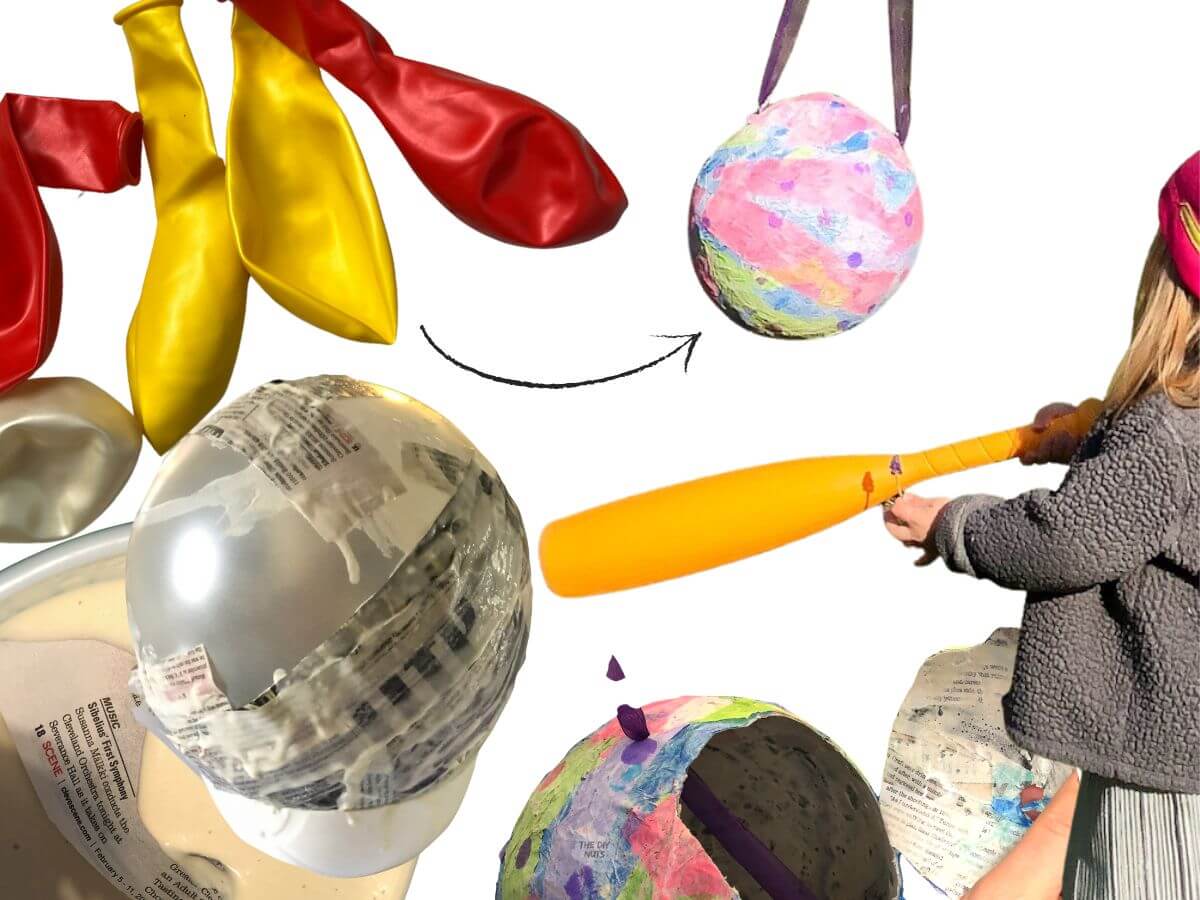
How To Make A Piñata From A Balloon
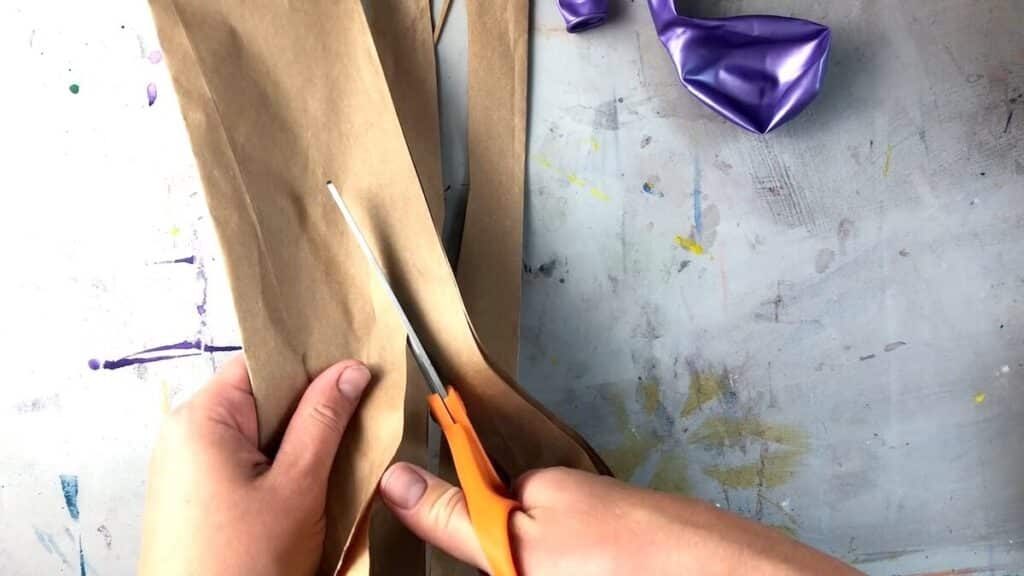
Step 1: Cut Strips Of Newspaper Or A Brown Bag
You will want to precut your newspaper or old paper brown bags into strips of paper about 1 inch wide. This can vary depending on your project.
Step 2: Blow Up The Balloon
If using a balloon, blow it up to the desired size and place it in a bowl. This will help you have a stand to work on. If you are creating a cardboard base, just get it ready.
Step 3: Start To Add Paper Strips
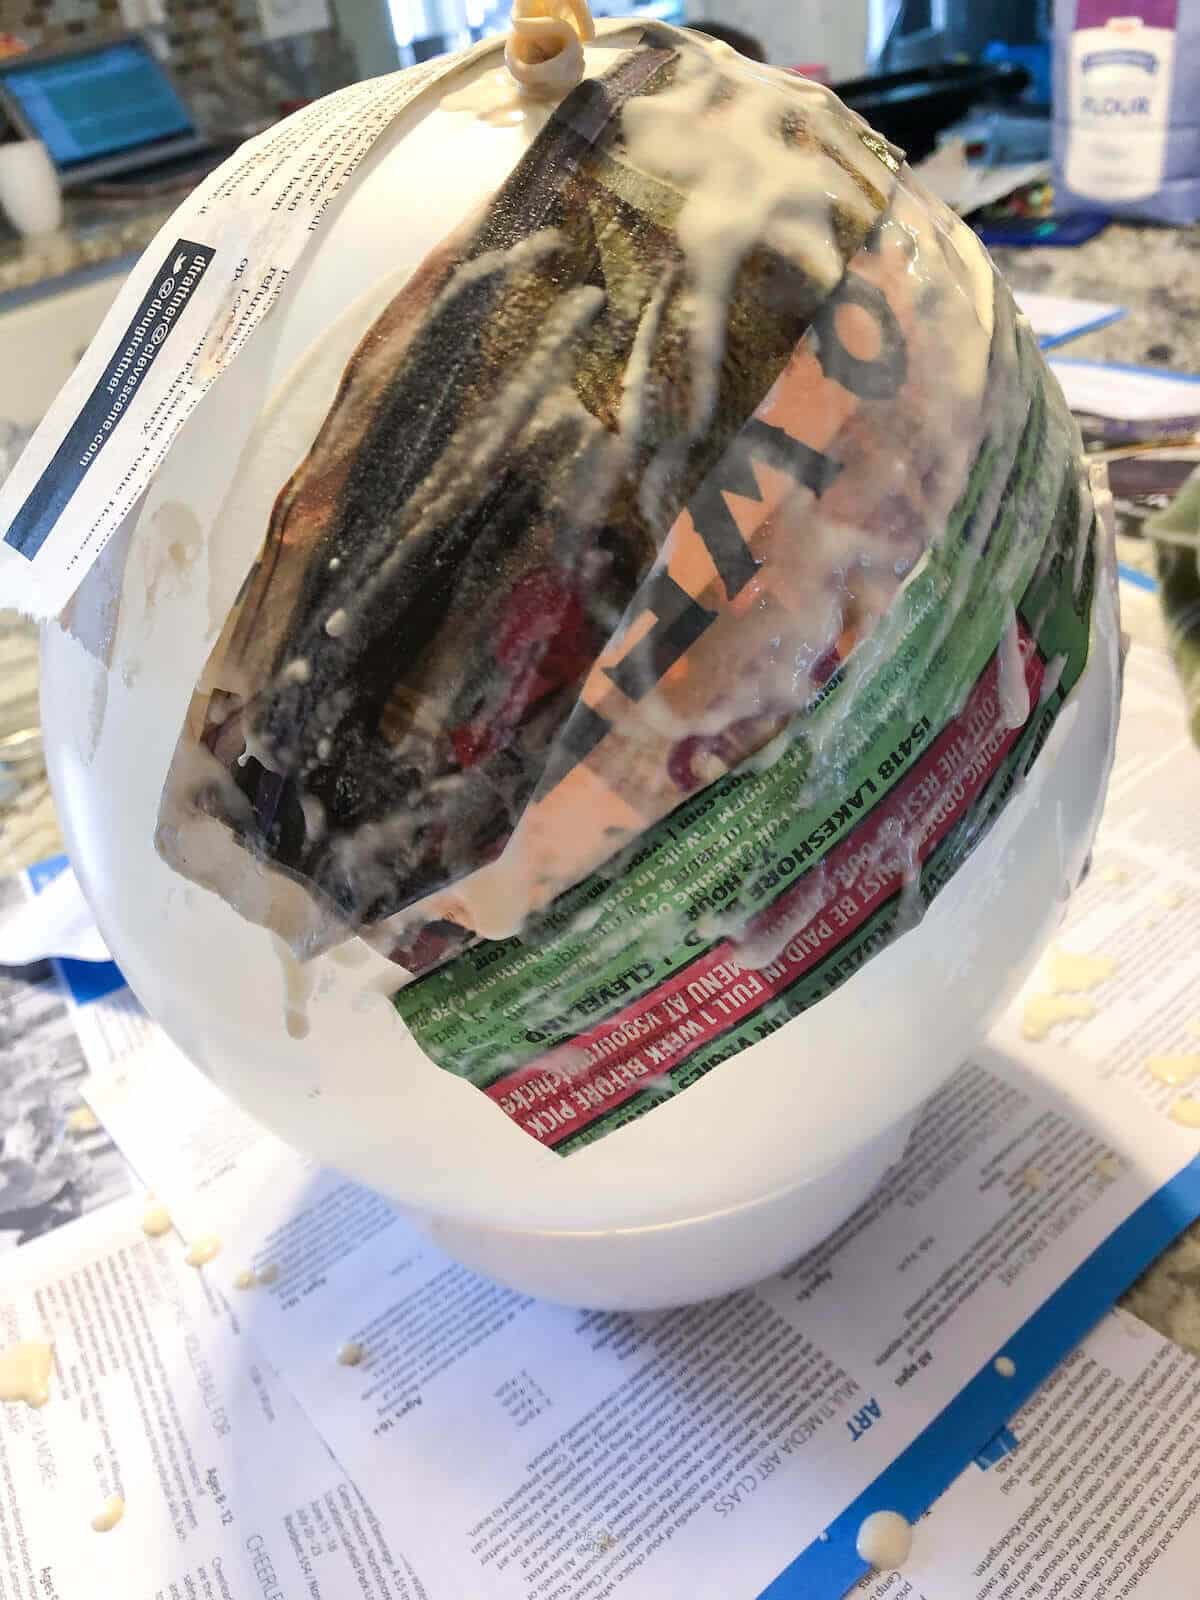
Dip a whole strip of newspaper into the flour mixture. Pull it out while keeping it flat.
This allows the edge of the bowl to take some of the excess paper mache off. You can also use your fingers to take extra goop off.

Step 4: Add Strips To The Balloon
Keep strips flat and place them on the balloon or base. Rubbing it to get flat.
Step 5: Continue Covering The Balloon
Overlap strips in different directions. You do not want the paper mache strips to all go the same way.
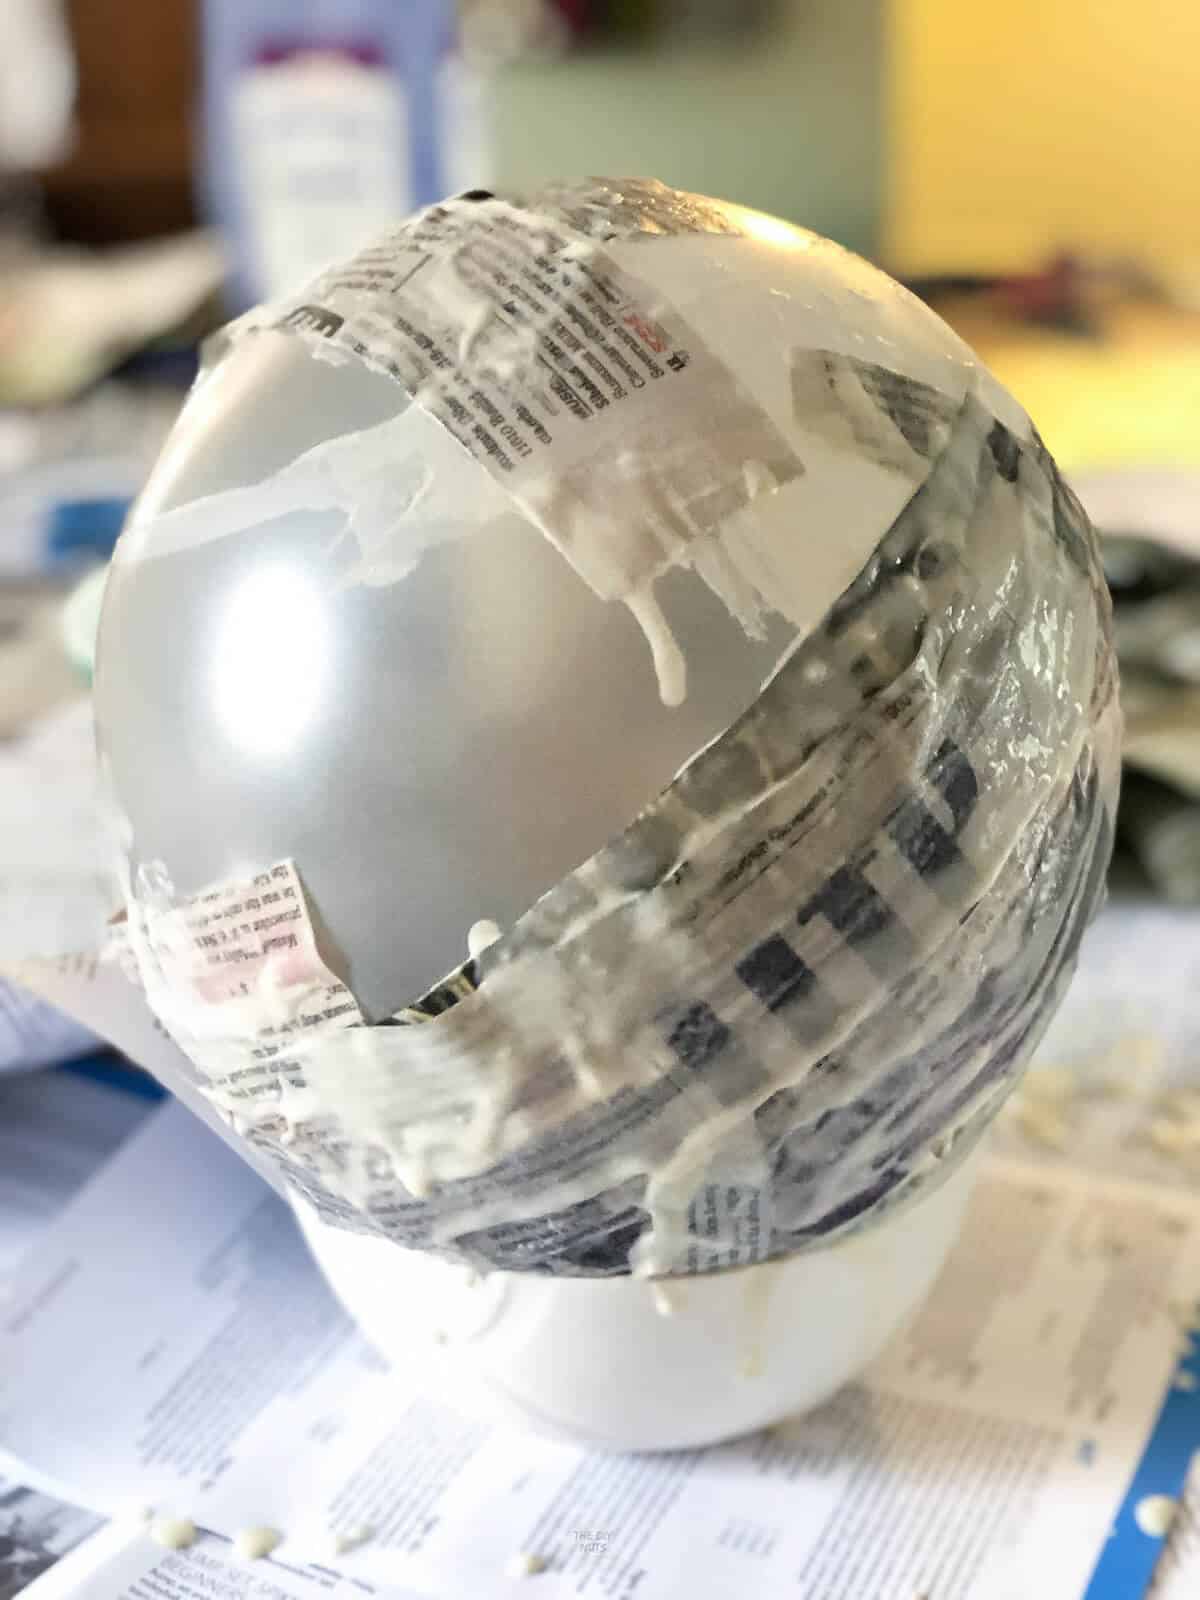
Step 6: Continue Adding Strips
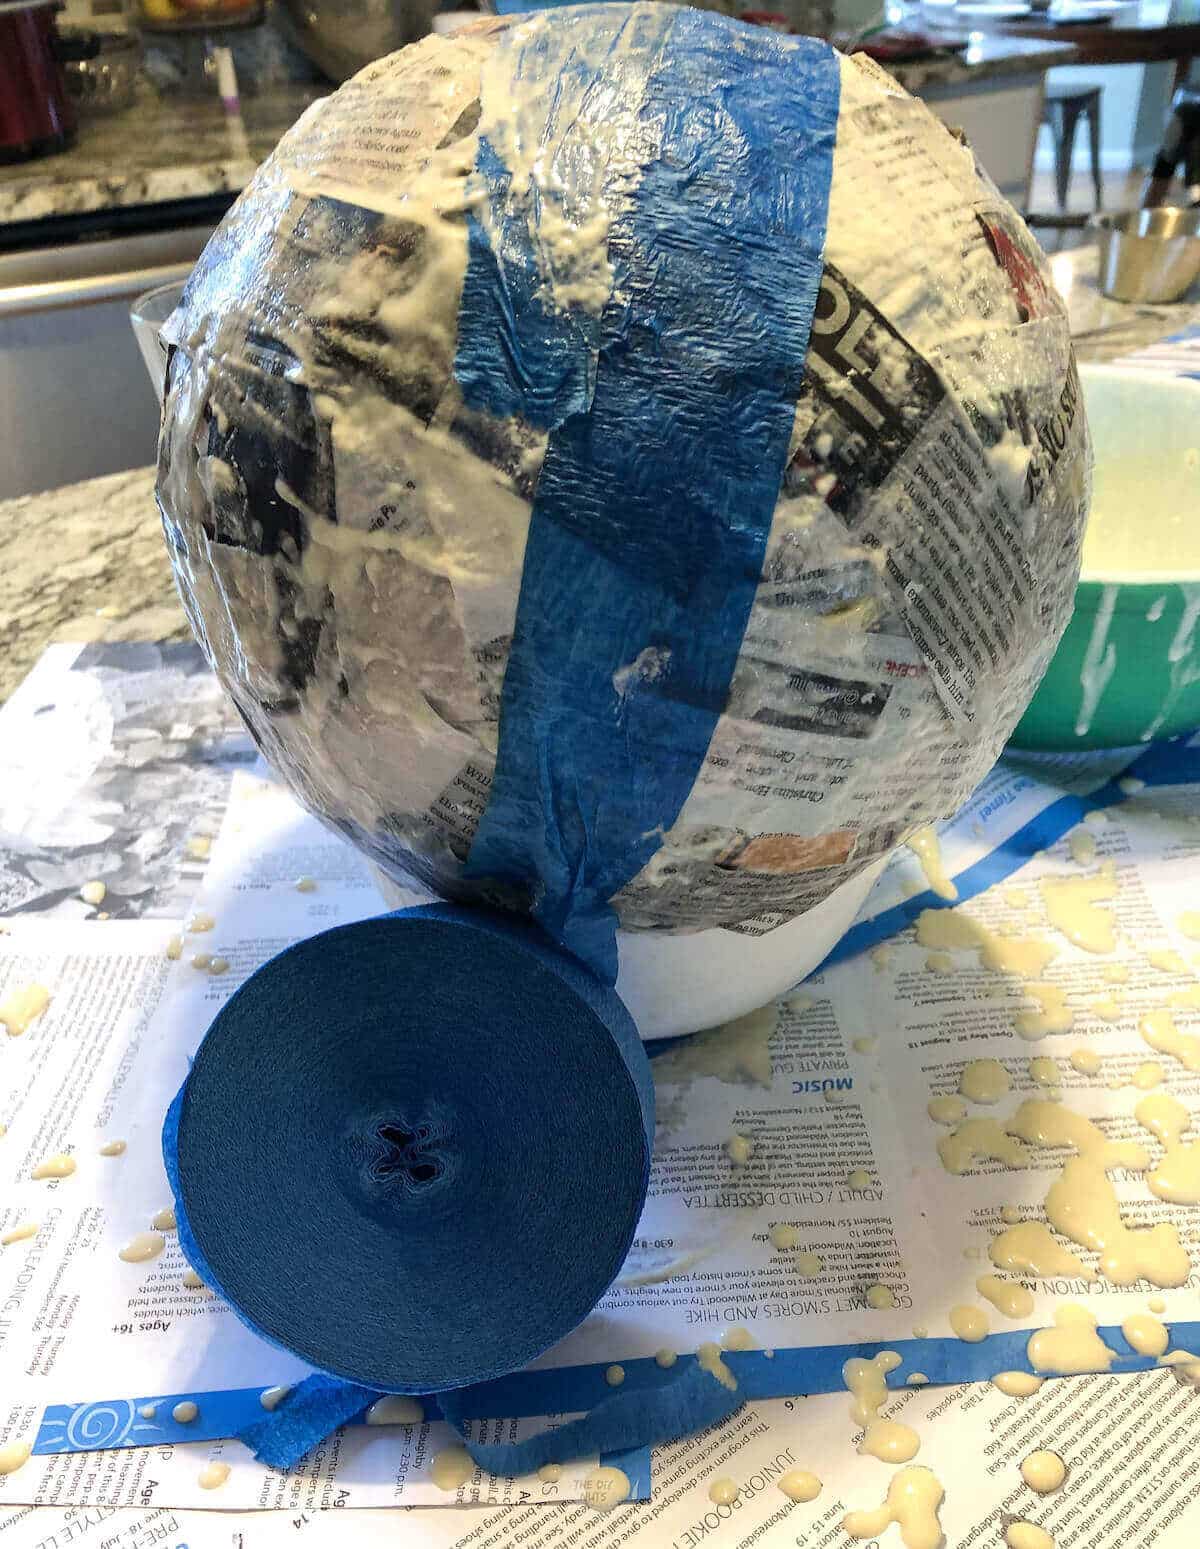
Repeat this until you have about 3 layers.
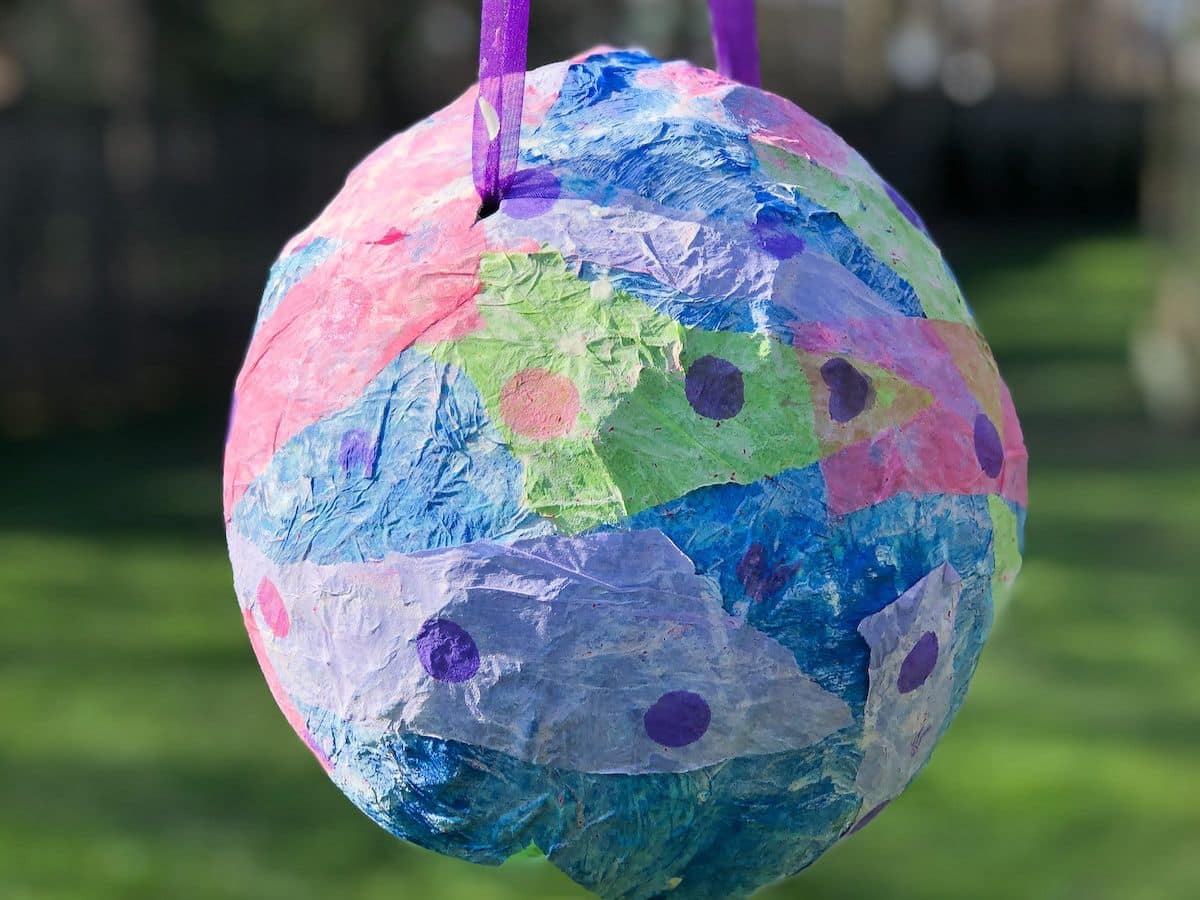
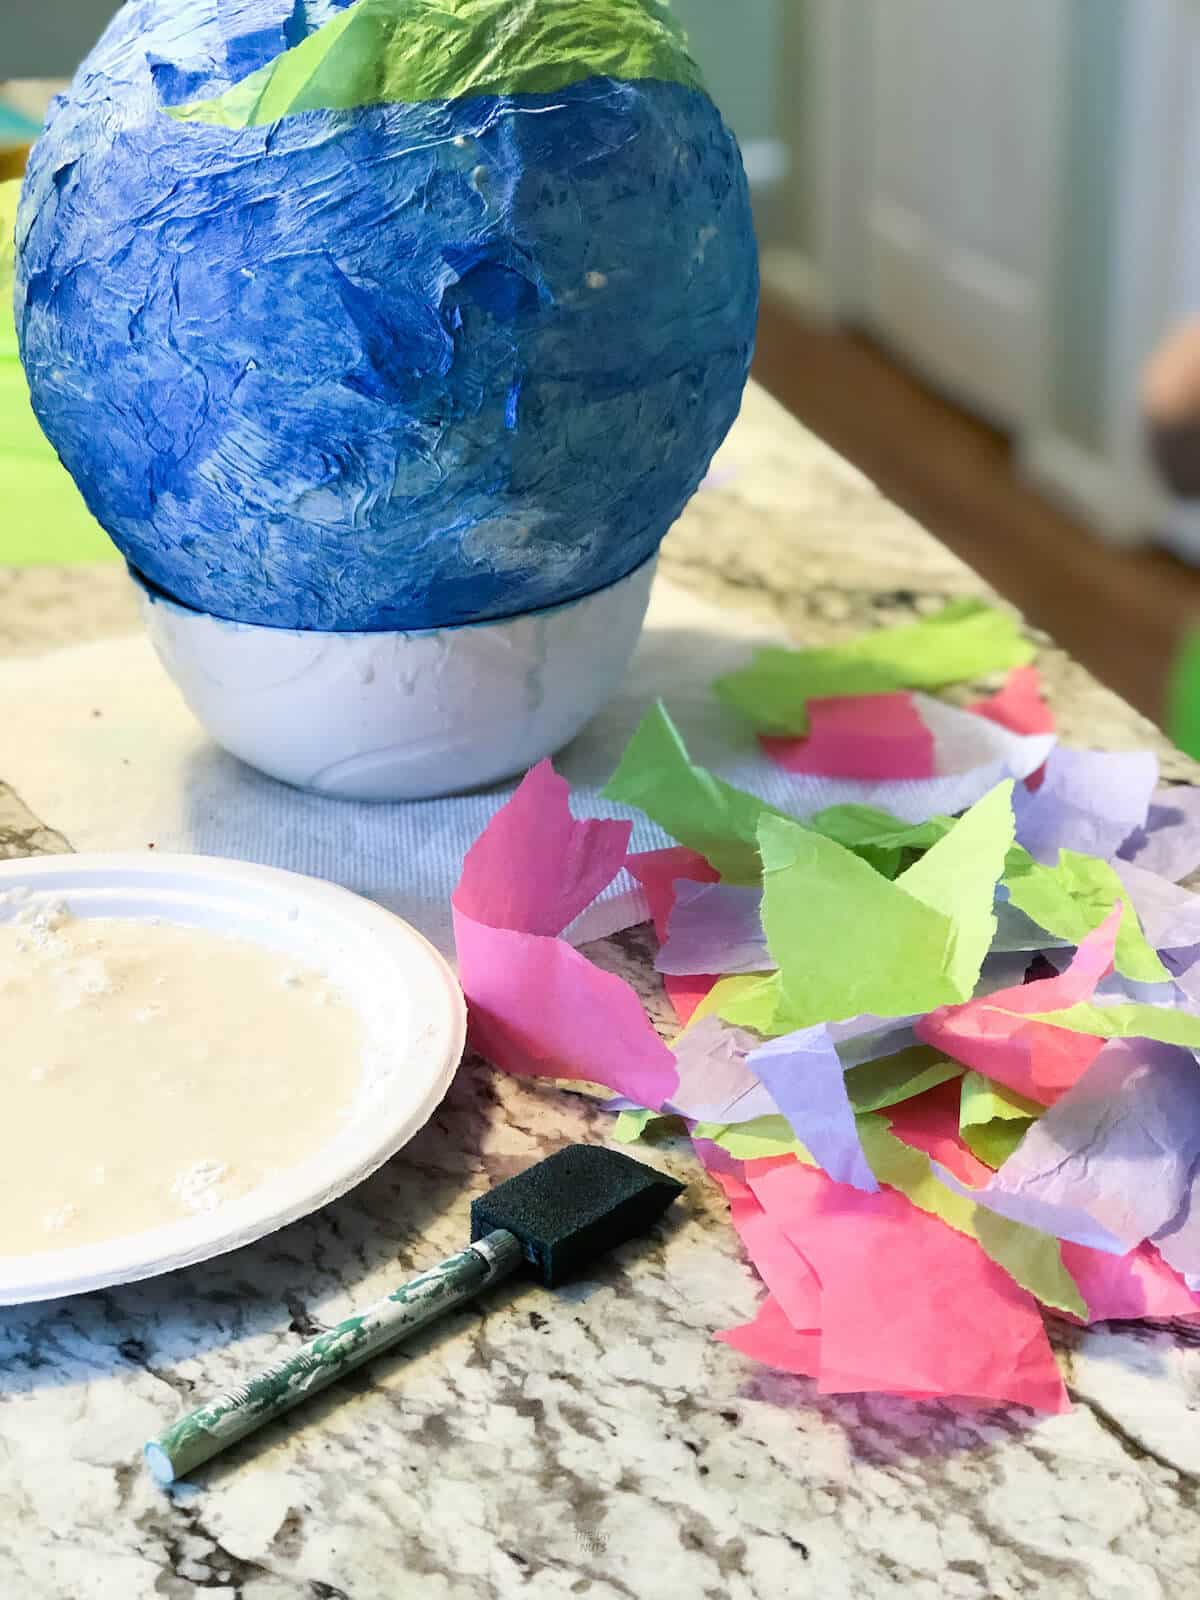
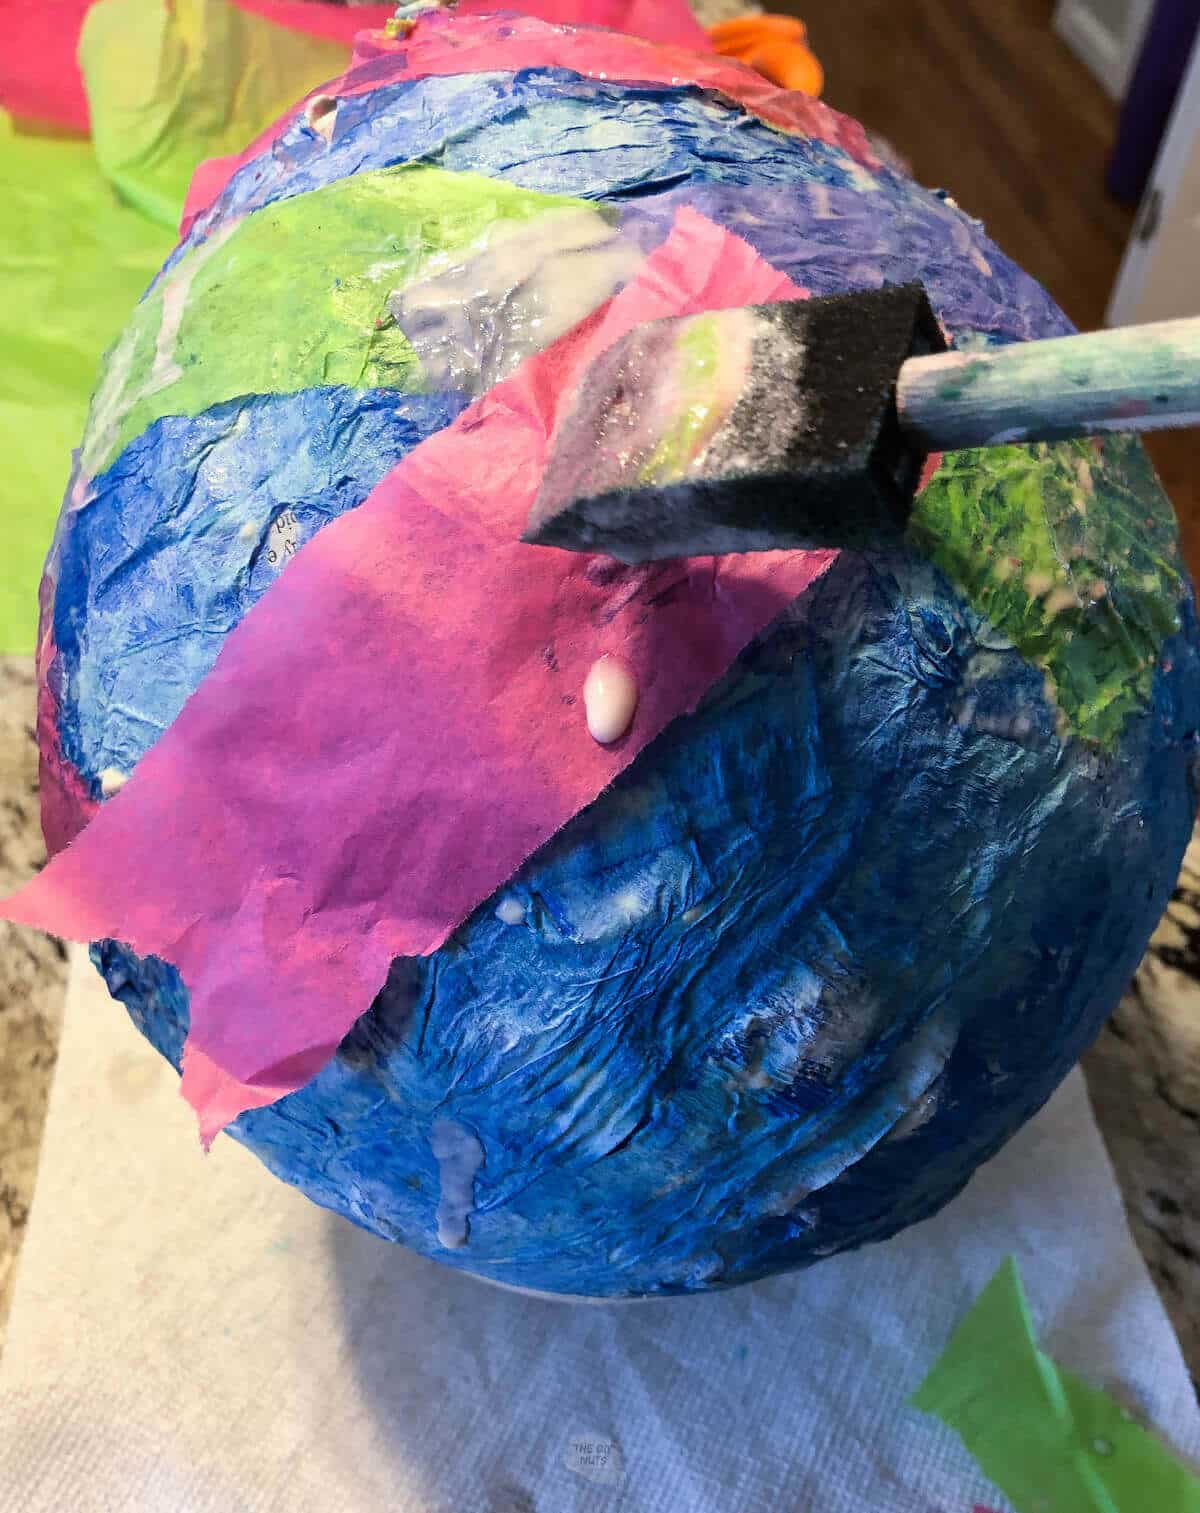
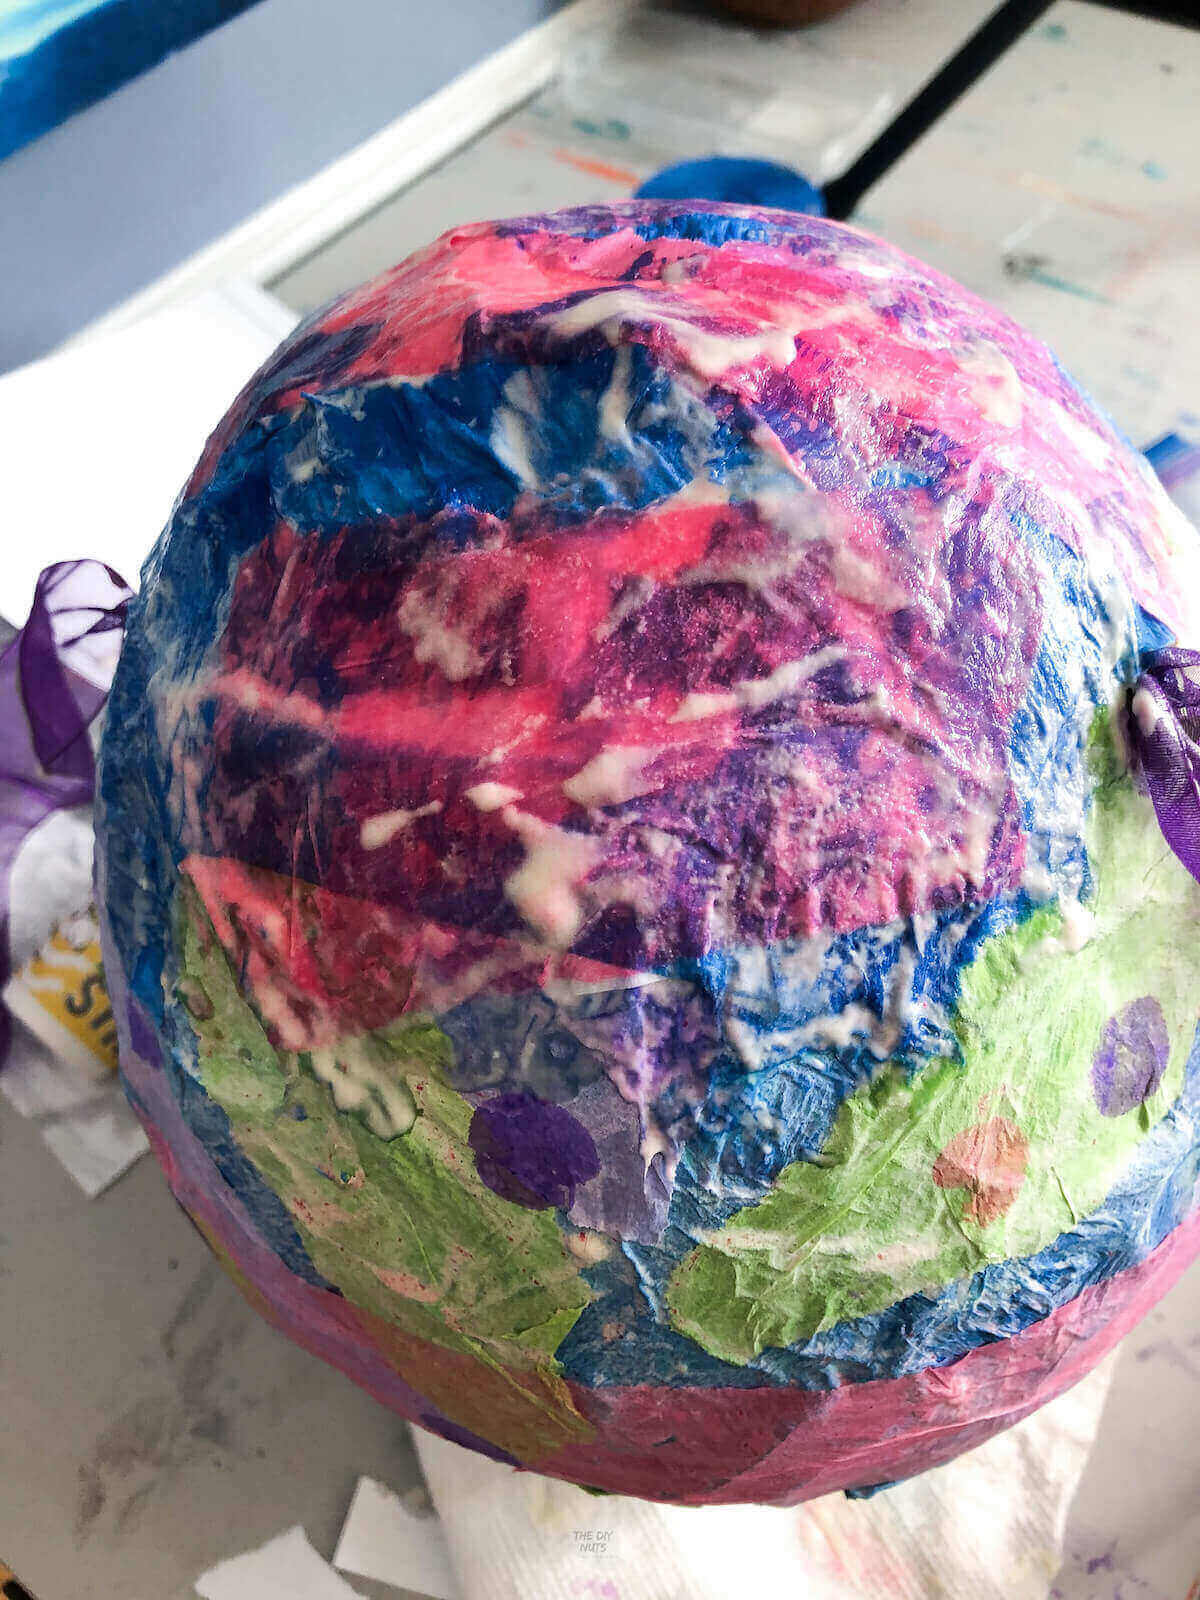
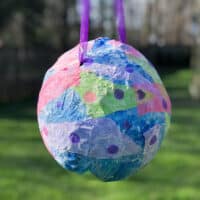
Optional Step: Add Tissue Paper For Color
If you want to add a base color to your homemade piñata, you can also carefully add tissue paper over the newspaper. You can try doing it while it is wet, or revisit it and add color after it dries.
Step 7: Let Piñata Fully Dry
Your piñata base may take up to 24-48 hours to completely dry.
Optional Homemade Piñata Decorating Steps
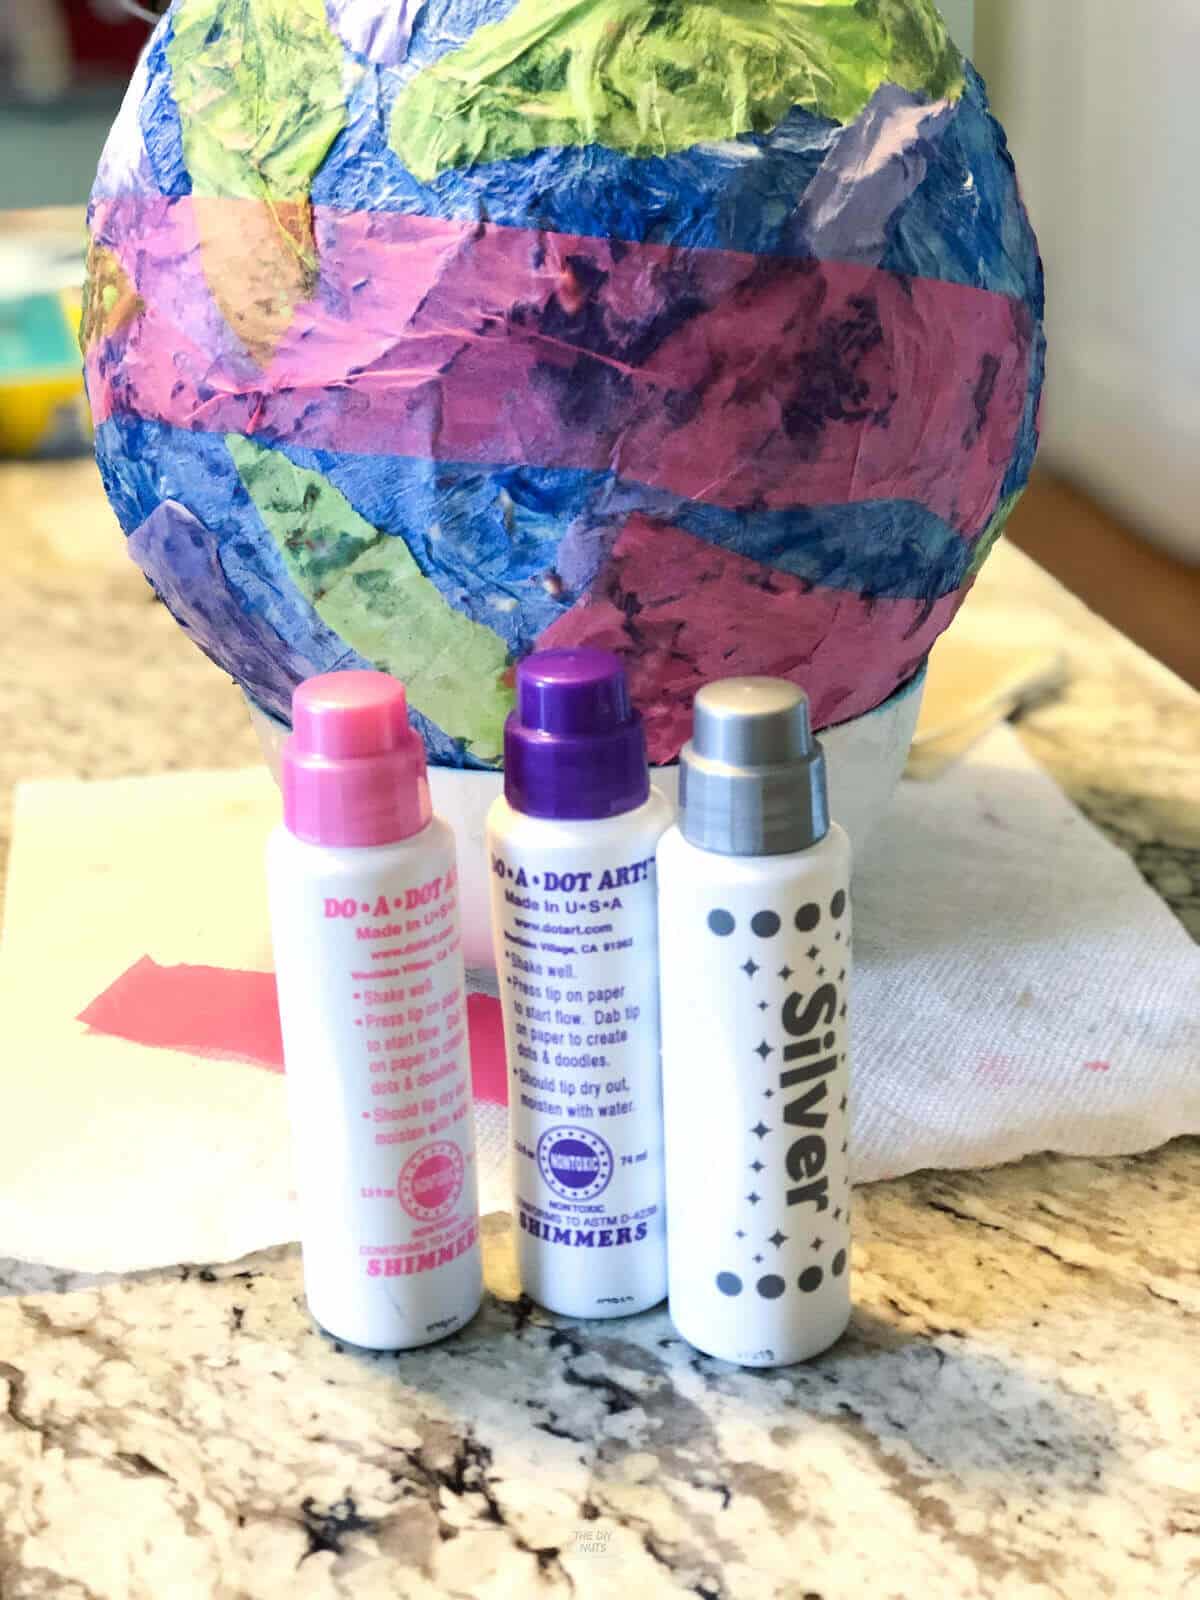
Paint Dotters or Paint
Use paint dot makers to have little ones help you add decorations, as we did after our homemade piñata dried.
Add Extra Colors Of Tissue Paper
Cut tissue paper in a fringe and glue it on to give it a more traditional pinata feel.
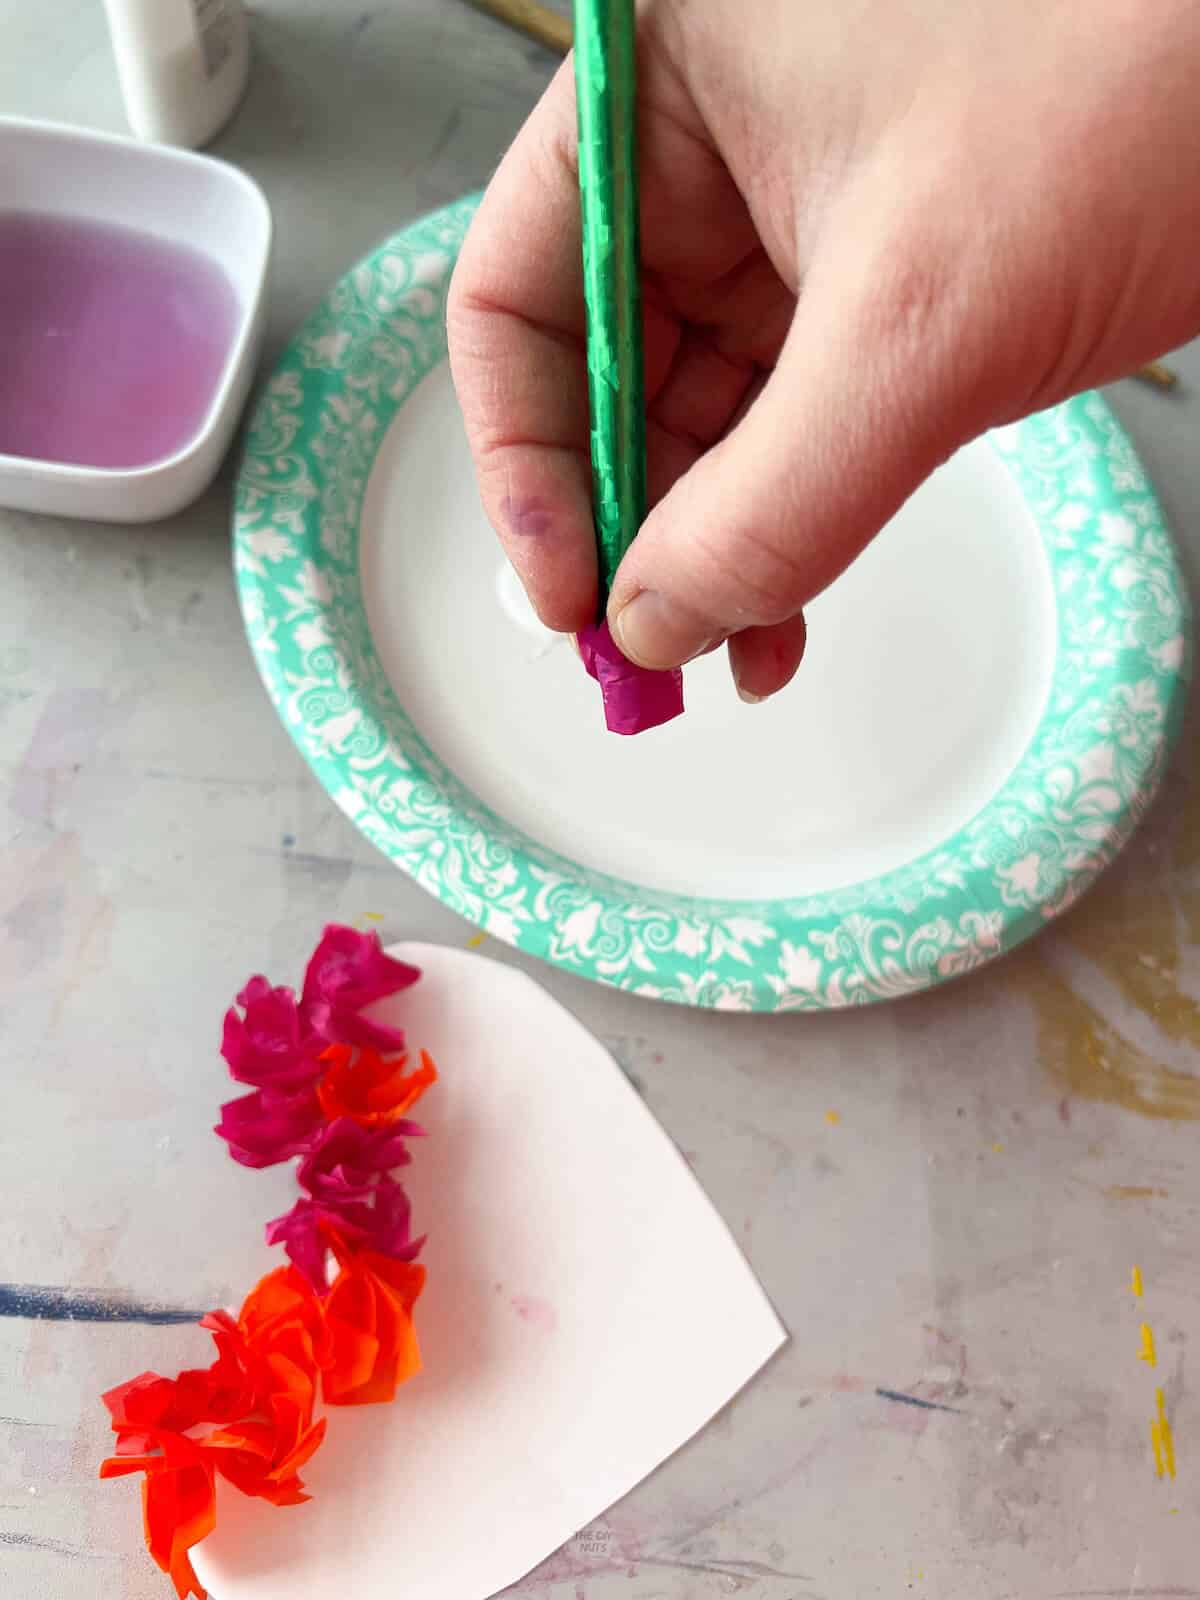
Add Texture
Cut some squares of tissue paper, wrap them around the end of a pencil and dip them in glue. Add the tissue paper to the pinata. In the image below, we are making a simple textured tissue paper heart craft.
This will give that fluffy texture. I think I will probably try this the next time I need to make a piñata, but it probably would be pretty time-consuming.
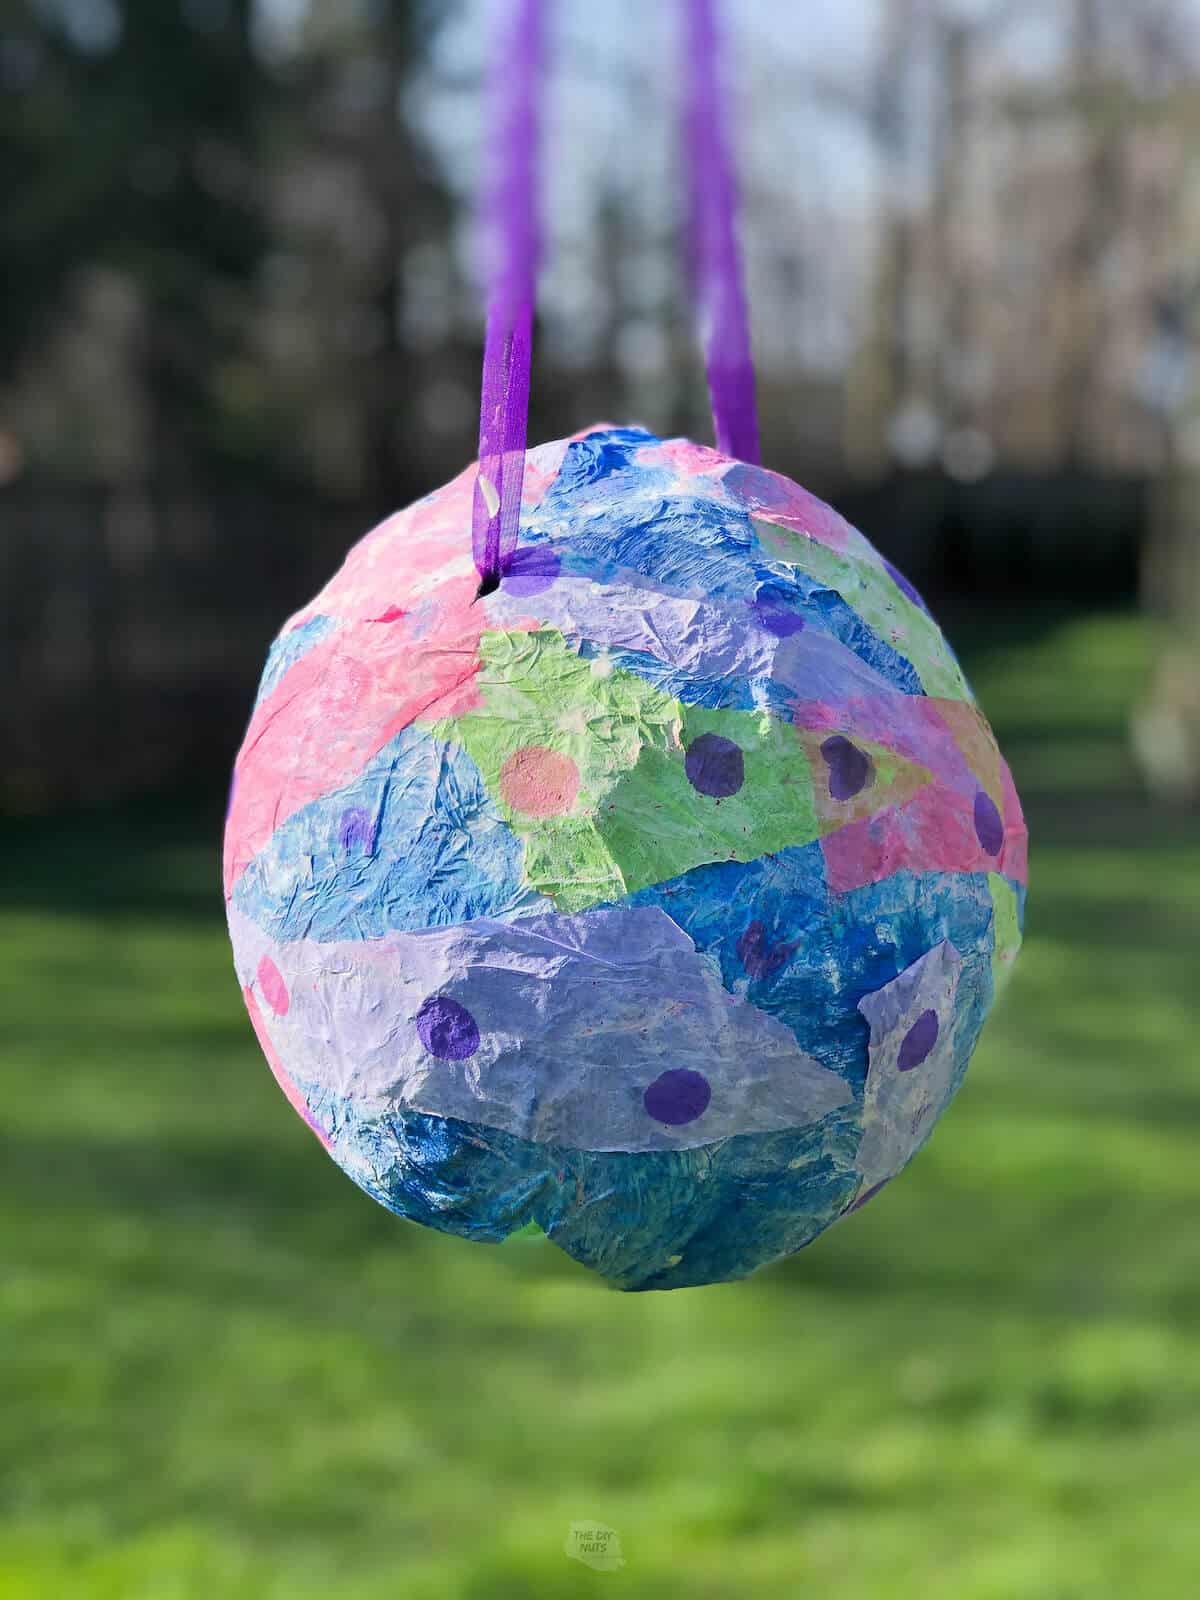
How To Turn A Balloon Into A Hanging Piñata
Step 1: Pop Balloon
First, pop the balloon. I did cover the whole balloon except for the knot.
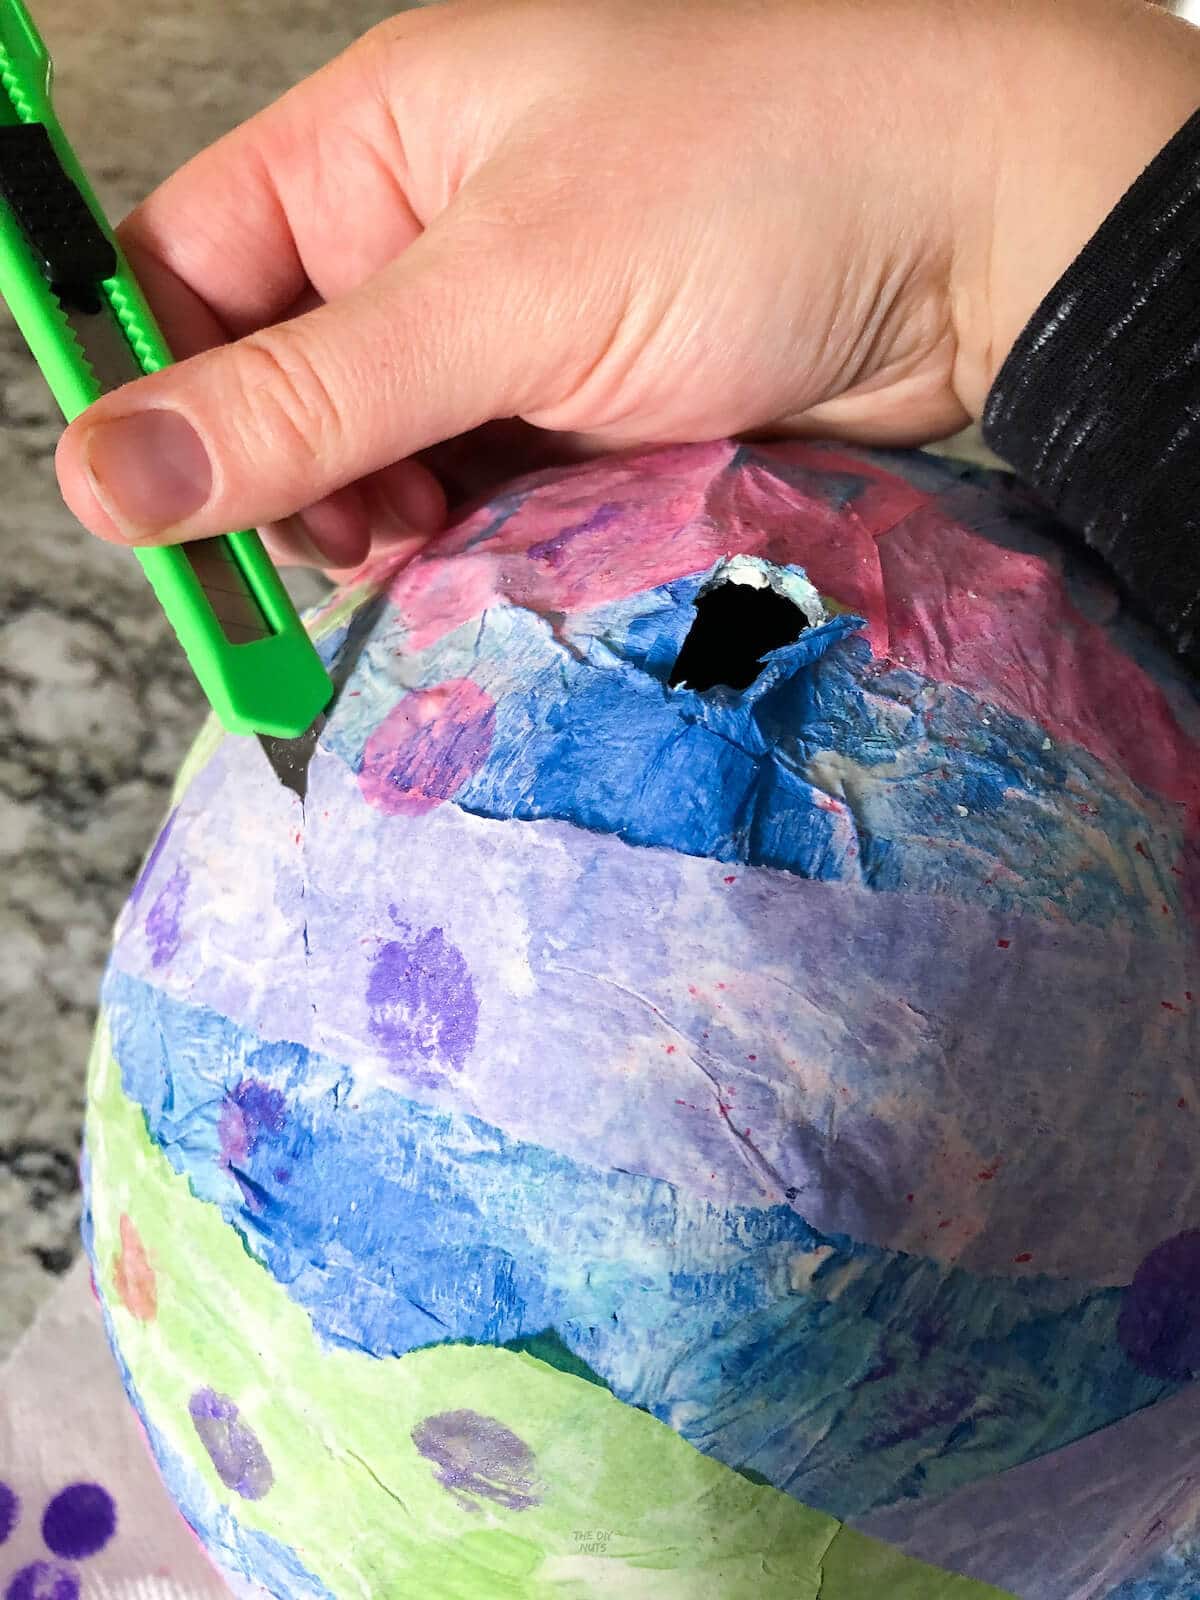
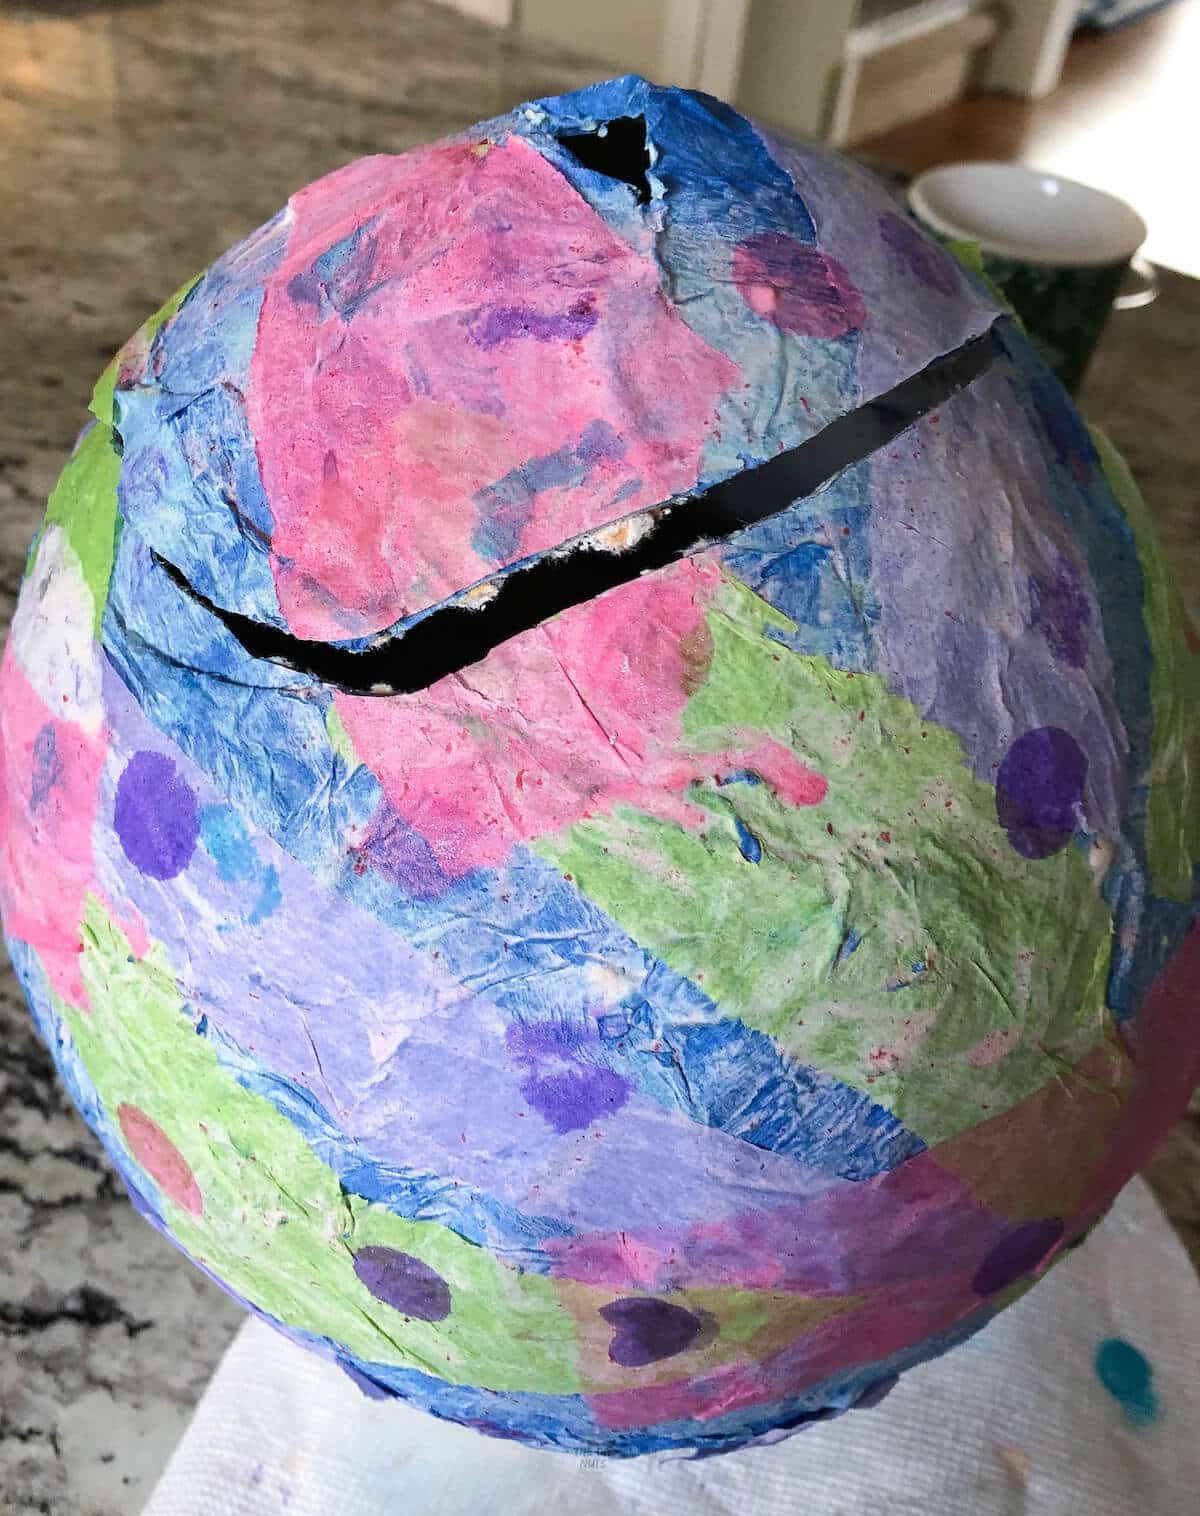
Step 2: Cut Door
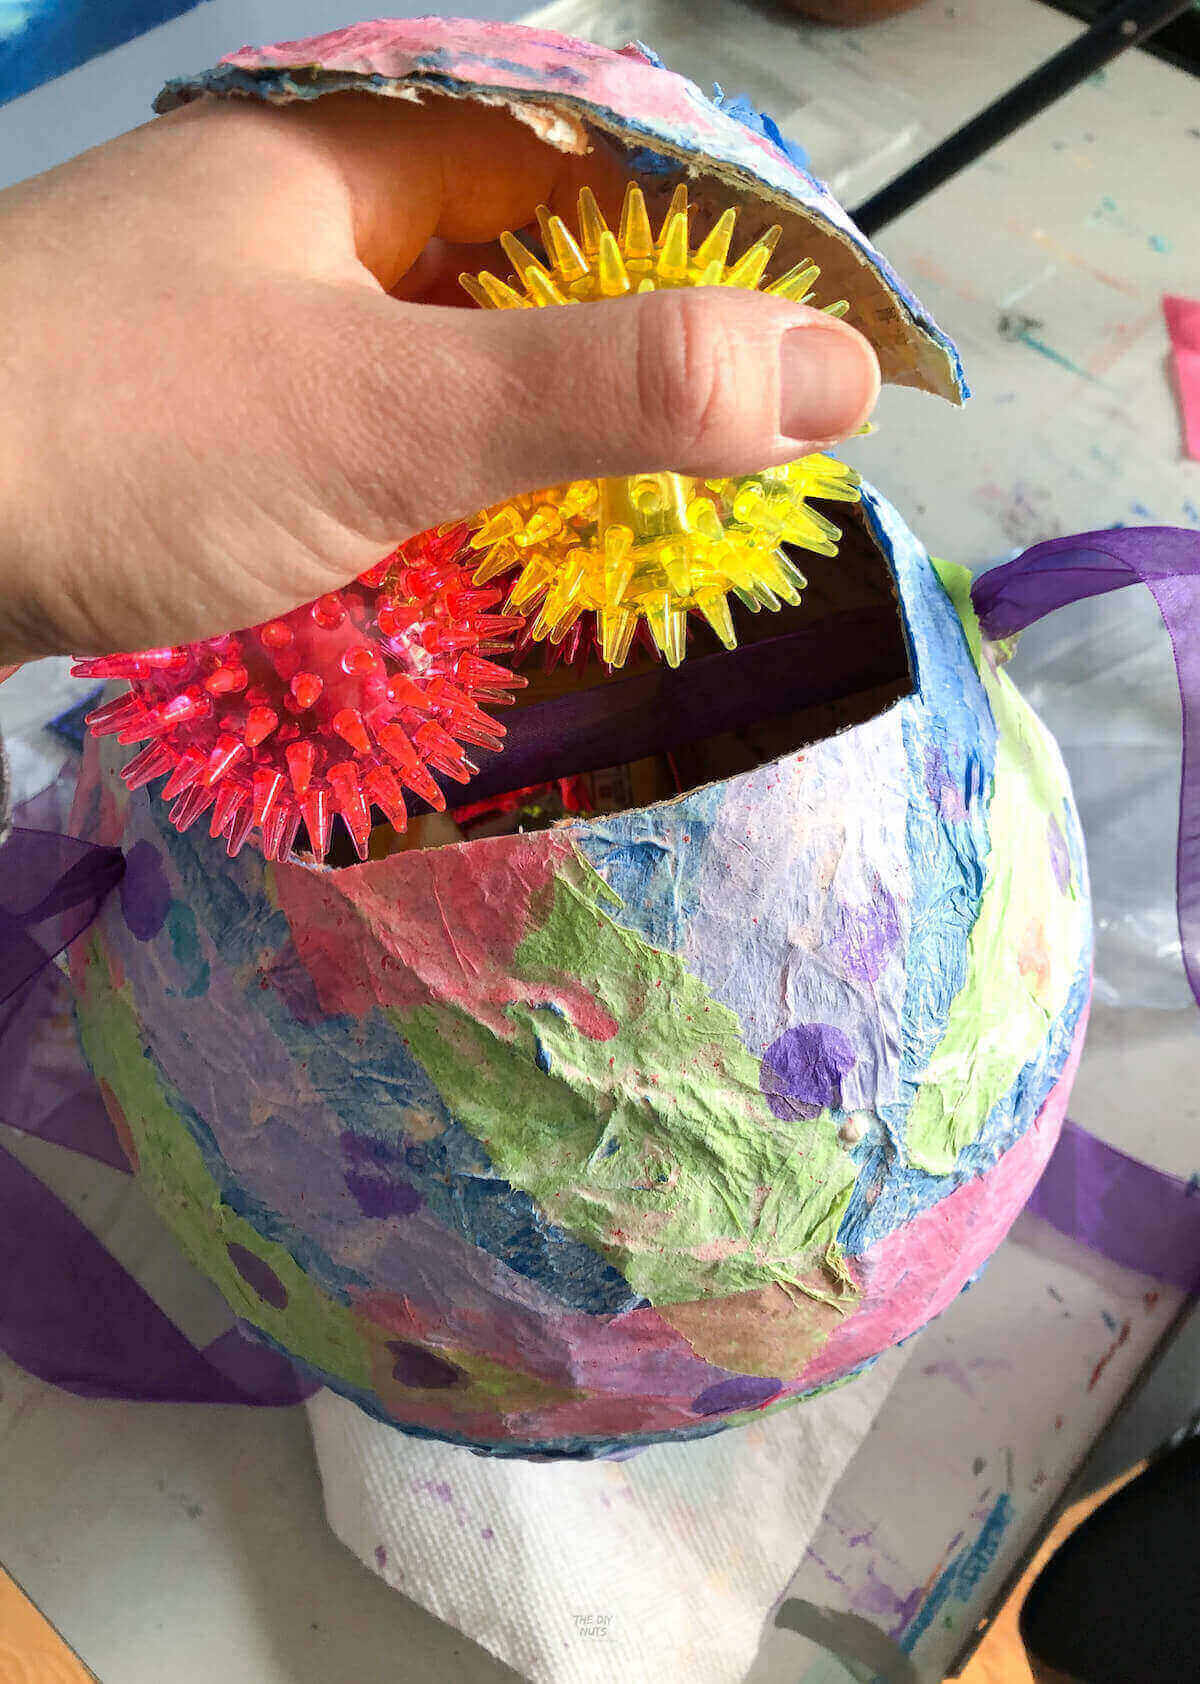
Cut out a shape on the top big enough for you to drop your prizes into. Use an X-Acto knife to cut a square flap from the top. Do not cut the whole shape. Cut 3 sides so the top of the piñata flips open.
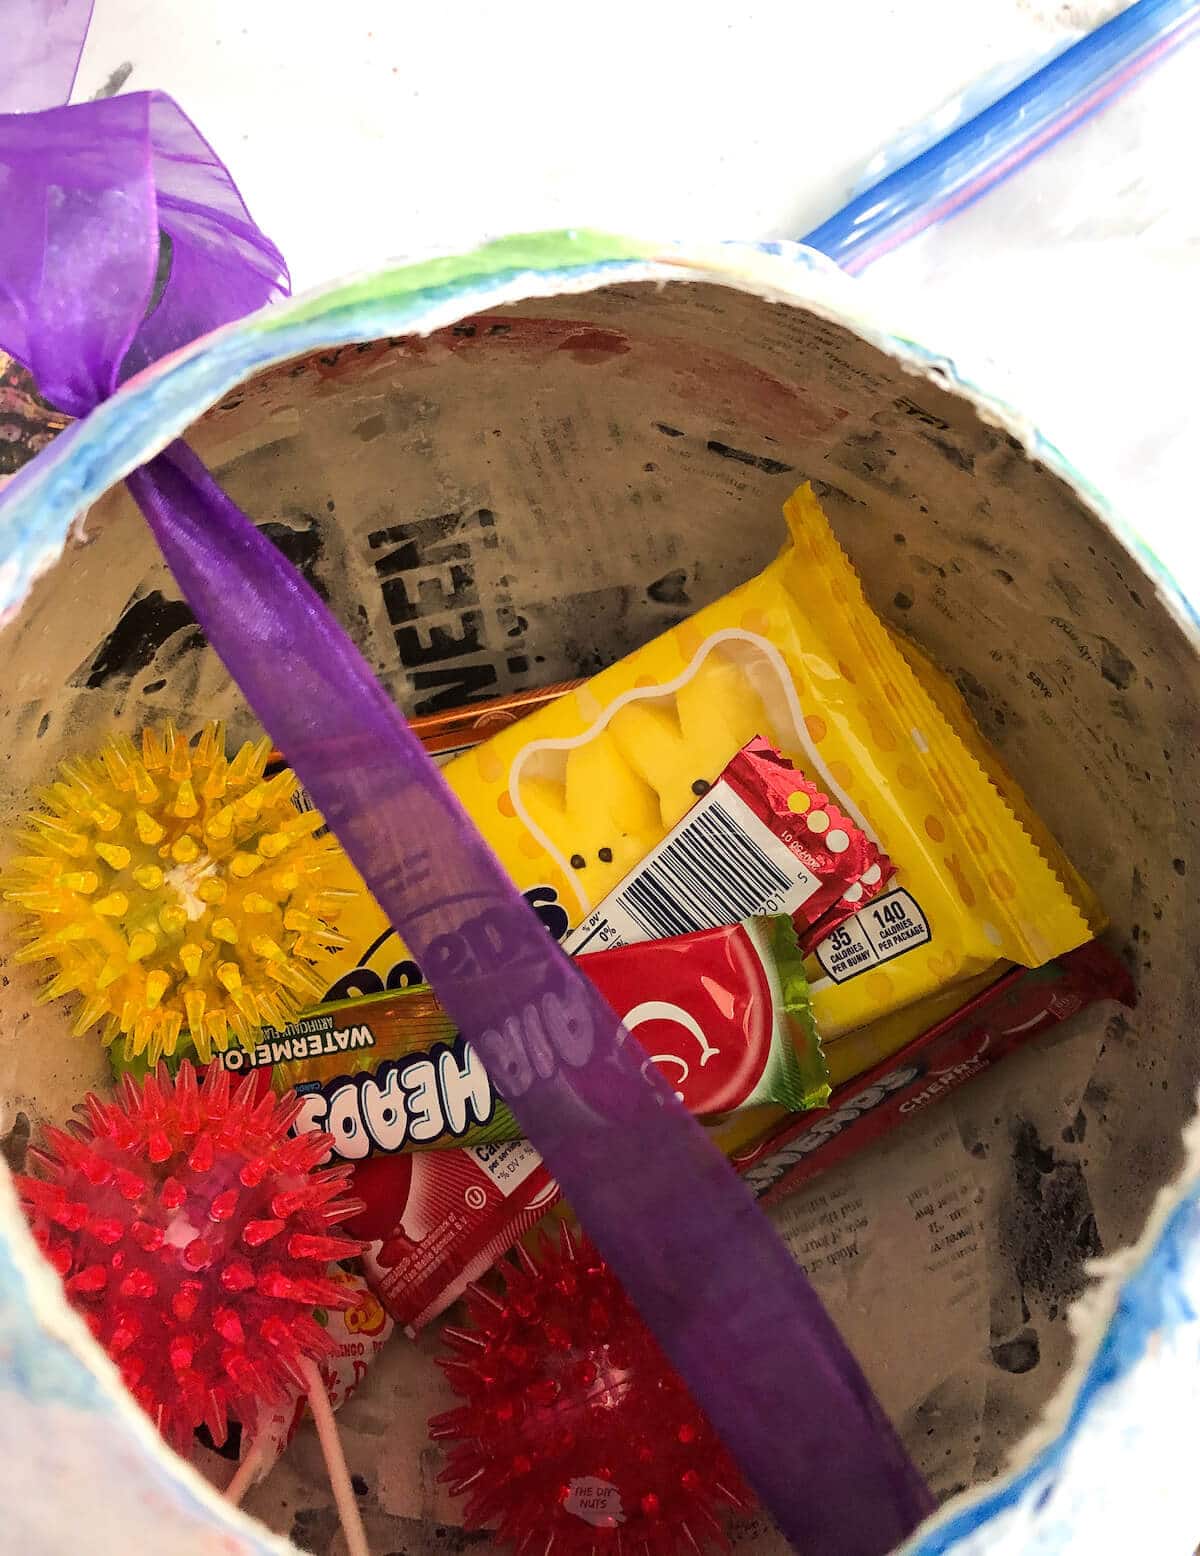
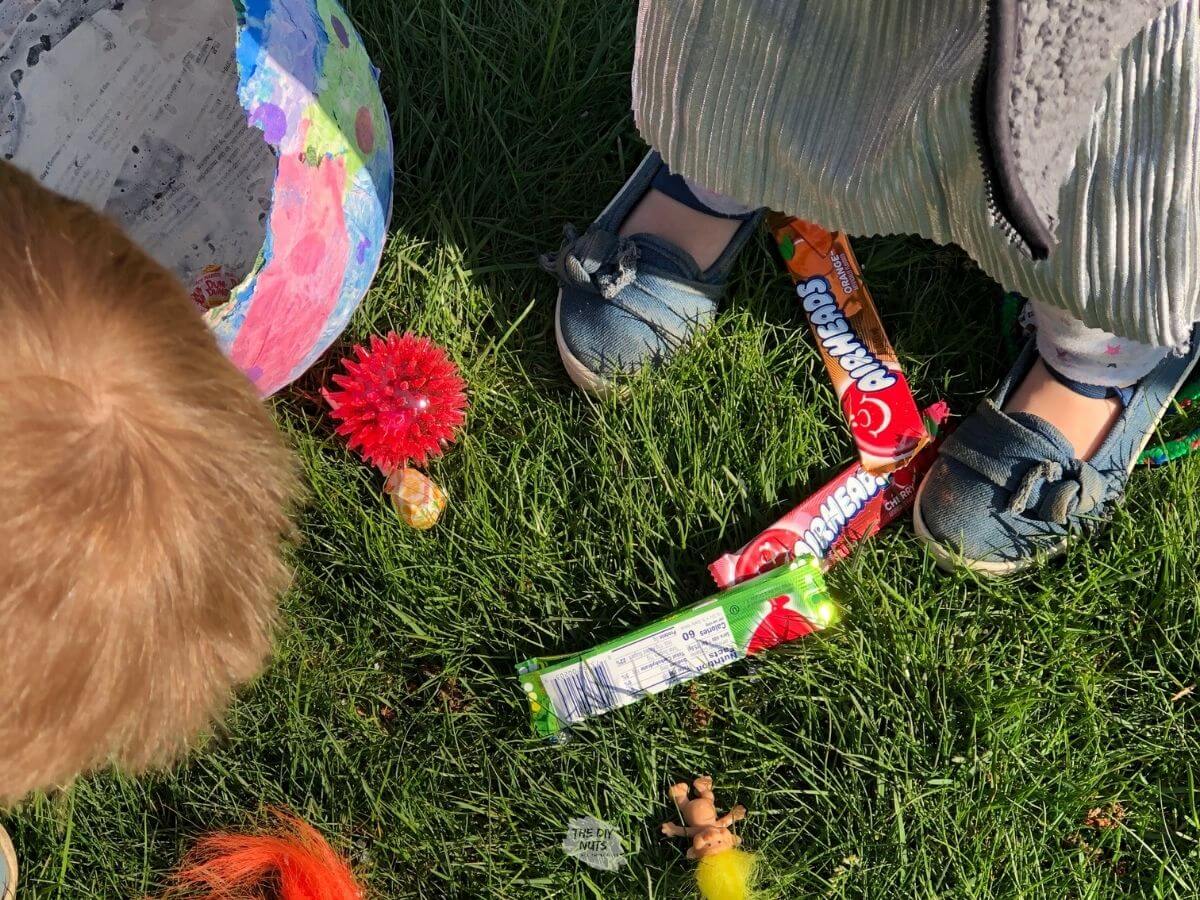
Step 3: Fill With Prizes
Drop in the prizes, homemade crafts such as these shrinky dink charms or small toys. Make sure that your piñata is strong enough to support whatever you are putting in. We added suckers, small toys, airheads, and my favorite little spiky balls to ours.
Step 4: Add Hanging String
Punch or cut two small holes far enough away from the opening and add a string or ribbon.
Step 5: Close The Lid
Flip the cut shape back on.
Step 6: Add Paper Maché and Paper Strips On The Seam
Make a small amount of homemade paper maché paste. Reapply flour paper-mache over the cut seams.
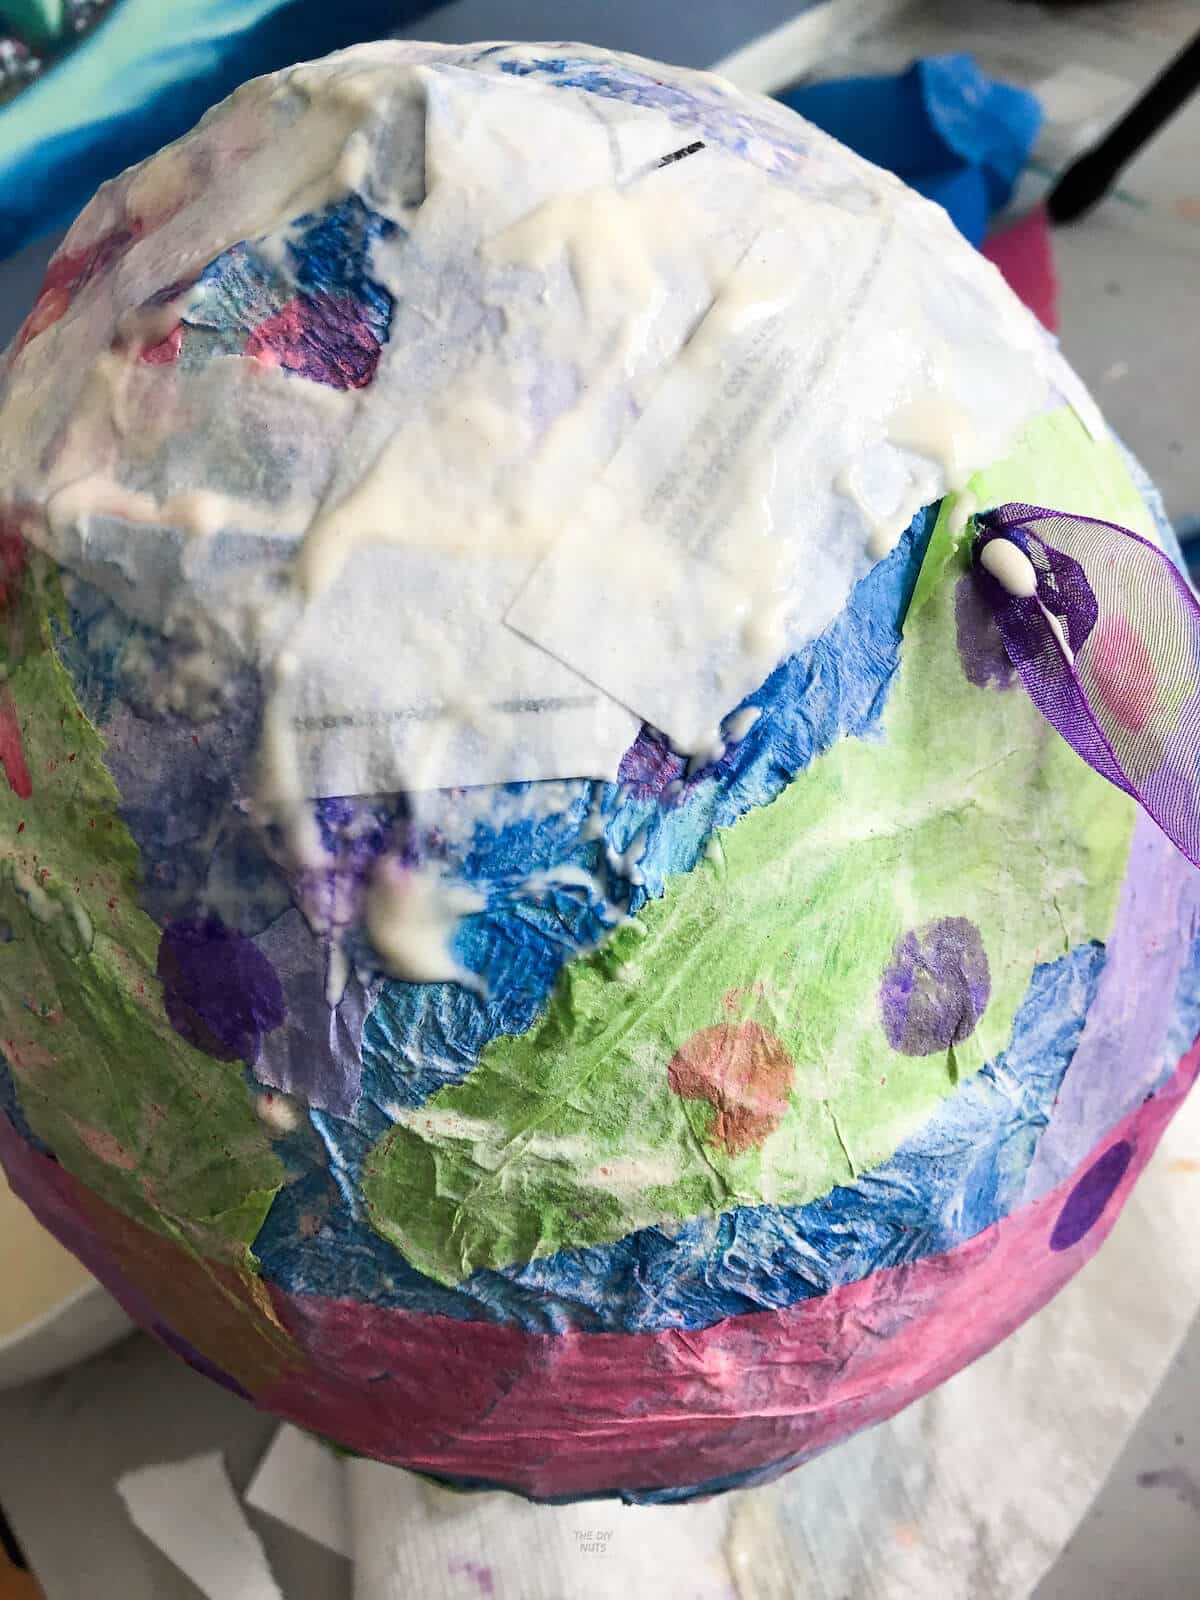
Step 7: Add Color To The Seam
Add colored tissue paper back on top using paper maché paste.
Step 8: Let Dry
Let the paper mache strips dry and get ready to have some fun!
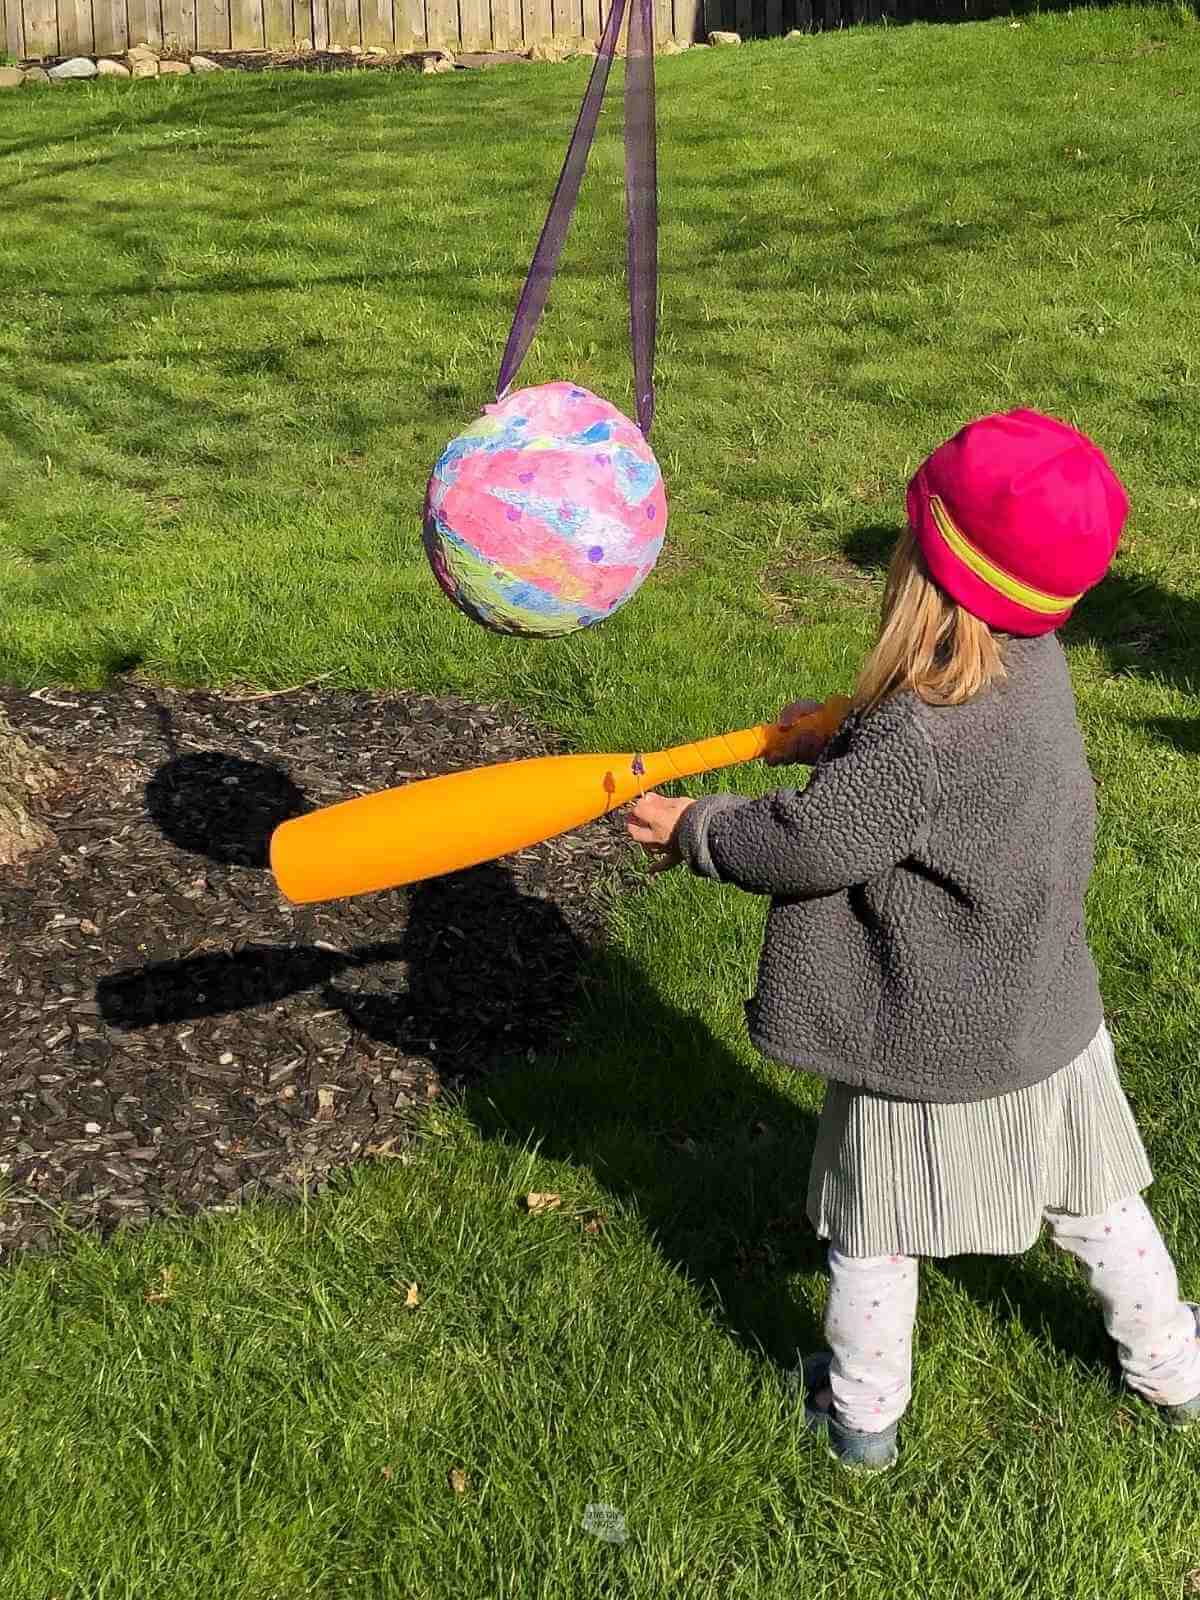
Hang Your Homemade Piñata
We decided to hang ours near our new treehouse and rock wall. Surprisingly, ours held up for quite a few swings. I was surprised at how strong the 3 layers of paper mache were. My kids loved knowing we had made it ourselves and couldn’t wait to see what was inside.
They also really thought it was a mystery about how things got inside. While they helped with the papier-mache part, they didn’t get to see me put the toys and candy inside. They were happily surprised by this homemade piñata!
Tips and Tricks For Making A Piñata
- Make sure that your homemade piñata structure is strong enough to hold what goodies you put in.
- Use a bowl to help prop up balloons or round objects.
- Find ways to add details with the whole family (like using paint dotters)
How-To FAQs
Honestly, don’t be shocked if it takes over 24 hours for your balloon piñata to dry. By now, 48 hours, it should be completely dry, no matter what environment you are drying it in.
Make sure to rotate the piñata; otherwise, you will have a wet spot. We kept ours in a bowl and just rotated it. On a sunny day, you can also speed up the drying time by placing your balloon outside.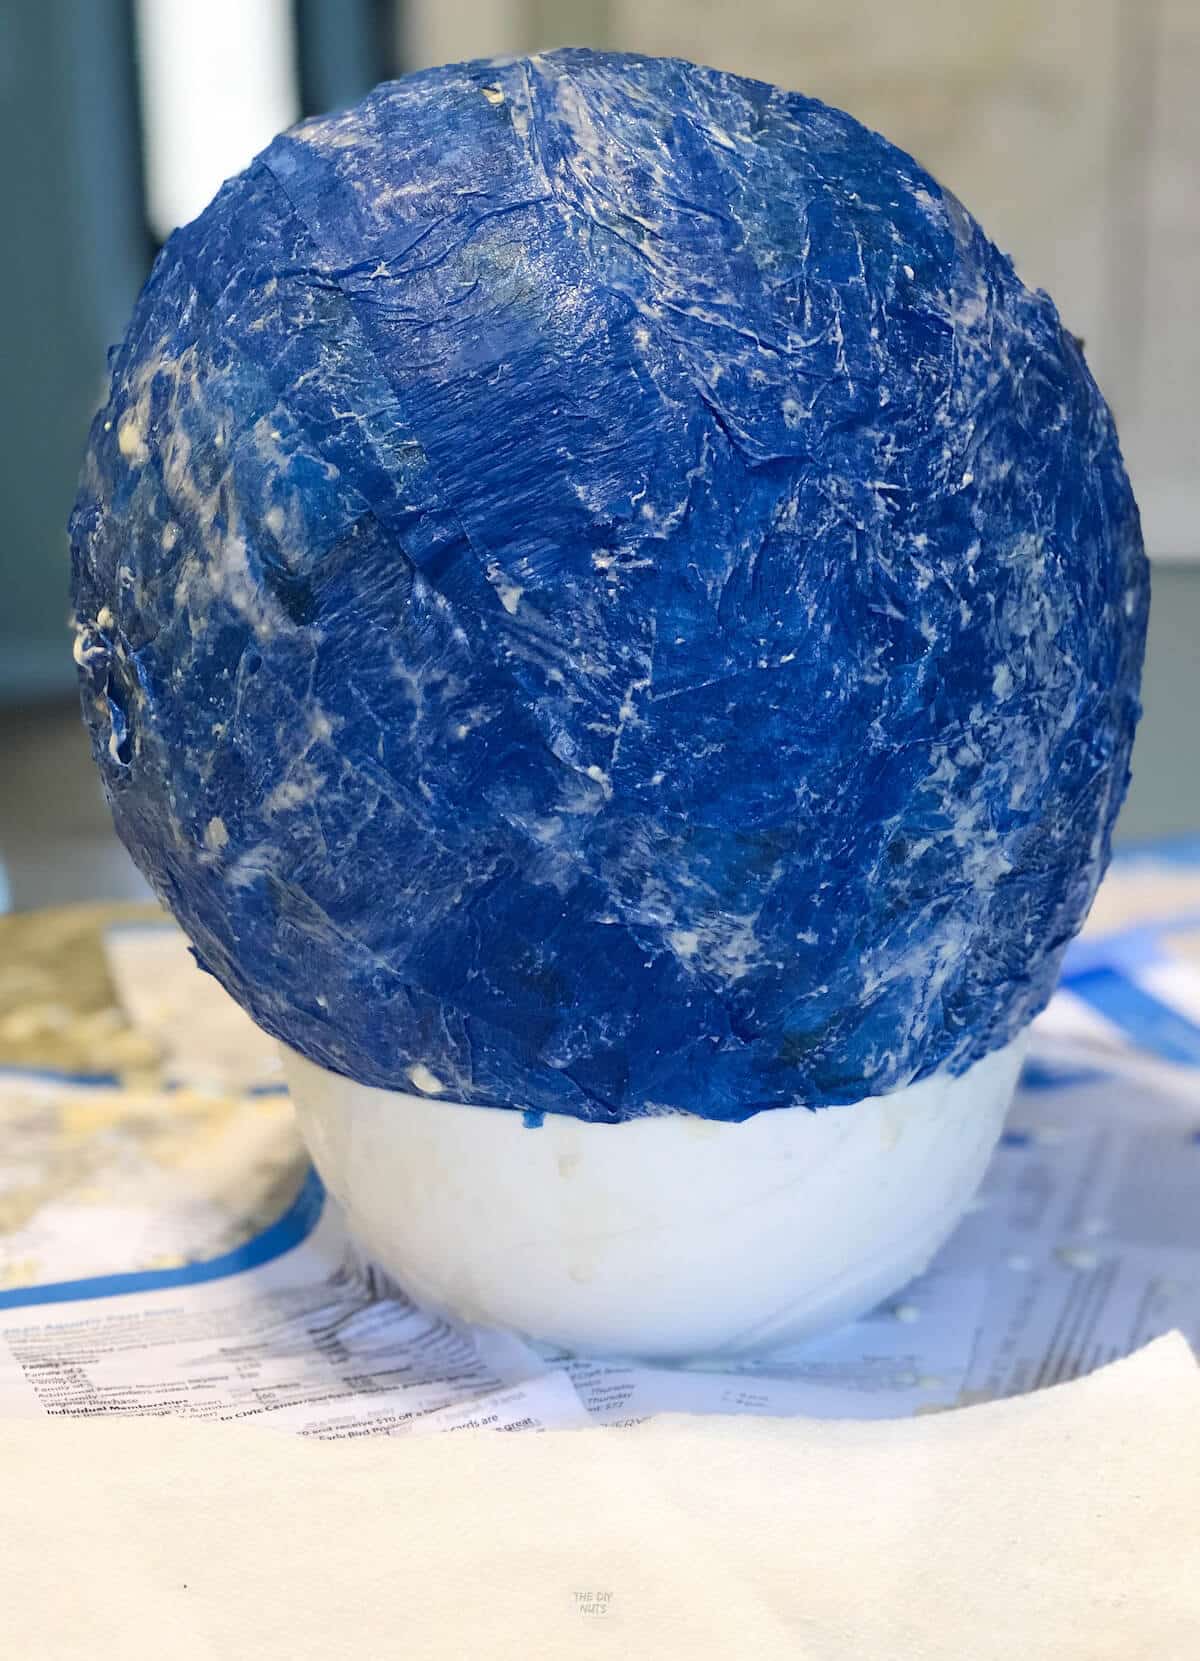
3 layers will ensure your piñata is strong enough to hold the goodies you put inside. Make sure you criss-cross the strips when applying them to the balloon.
Classic papier-mache consists of flour. However, we have had success mixing 1 part non-washable glue with 1 part water as a flour alternative. Make your strips out of thinner paper or even paper towels for the best results.
If you are using a box as a base, you would want to open parts of it and then re-tape it together with masking tape. This will make it easier for your children to smash.
When you add more papier-mache, you are making the piñata very strong. You could modify this step by taping the lid shut only. However, your piñata may easily break (which may be a good thing depending on the age trying to break it open).
Piñatas To Buy
Now, if after you read this, you decide you just want to spend the money and get a piñata, here are a few that I did consider buying.
- Race Car Pinata– Seemed to be the cheapest with the highest rating.
- Llama Pinata-I really would have had to think about getting if this was for my daughter
More Family-Friendly DIY Tutorials For Your Next Party
- DIY Anniversary Party Ideas
- Easy and Inexpensive Birthday Treat Bag Ideas
- Fun DIY Prize Punch Board Game
Follow us on Pinterest, YouTube or Facebook for more DIY inspiration!
I hope you enjoy making memories with your DIY papier-mache piñata! We know our family did.
Did you have fun making this craft with your family? Make sure to leave a 5-star ⭐️ ⭐️ ⭐️ ⭐️ ⭐️ review in the comments!
How To Make A Piñata
Equipment
- Bowl
- Utility Knife
Recommended Supplies
- Newspaper Strips
- 1 cup All-Purpose Flour
- 1.5 cups Water
- Tablespoon Salt
- Balloon
- Paint Dotters Optional
- Colored Tissue Paper Optional
- Fun items or candy to fill your piñata
Instructions
How To Make Paper Maché Paste
- Pour flour into a bowl and slowly add water.
- Stir or whisk until it is not chunky at all.
- Add salt (this helps preserve what you are making).
How To Make A Piñata Out Of A Balloon
- You will want to precut your newspaper into strips of paper about 1 inch wide. This can vary depending on your project.
- If using a balloon, blow it up to the desired size and place in a bowl.
- Dip the whole strip of newspaper into the flour mixture. Pull it out while keeping it flat. This allows the edge of the bowl to take some of the excess paper mache off. You can also use your fingers to take extra goop off.
- Keep strips flat and place them on the balloon or base. Rub them to get flat.
- Overlap strips in different ways. You do not want the paper mache strips to all go the same way.
- Repeat until you have 3 layers.
- Optional: You can use tissue paper to add color, paint the paper maché or use a variety of ways to finish your paper maché piñata.
- Let paper maché fully dry.
Adding Treats Inside The Piñata
- Once the piñata is dry, cut open the top and place party treats inside.
- Cut holes on side and string ribbon across before closing.
- Re-paper maché the top after attaching a ribbon or string.
- Decorate as needed and enjoy your DIY piñata.
Video
Notes
- Place a balloon in a bowl when trying to paper maché.
- This simple paper maché recipe can be used for all sorts of DIY art and easy craft projects.
- Instead of using a balloon for your base, you could make a base out of cardboard or a box to create any shaped piñata.
- Make sure to add three layers of paper maché to your balloon. This will make it strong enough to hold your weight items.
- If young children are having a hard time cracking the piñata, cut a small slit to help them break the piñata apart.
I used to make paper mache as a kid and this looks super fun to make!
Hi Hannah! Yes, my kids did enjoy getting pretty messy creating this DIY pinata. They had even more fun cracking the homemade pinata open!
You have just given me a great idea! We are still on lockdown and I was thinking of what to do to celebrate when we are finally back to the new normal. I’ll make a giant pinata!! It looks so simple and I’m sure it will be fun to do!
Hi Millie. Yes, our kids loved making the homemade pinata (even though the paper mache was pretty goopy). And of course, they love smashing it! It really made my son’s birthday (while being safe at home) special.
This is a great diy! Thanks for the steps. Piñatas are expensive so being able to make one is great!
Hi! Yes, we love being able to make things ourselves. A DIY pinata is a perfect solution for something you are just going to smash anyway!