DIY Rustic Bathroom Pipe Shelving Idea
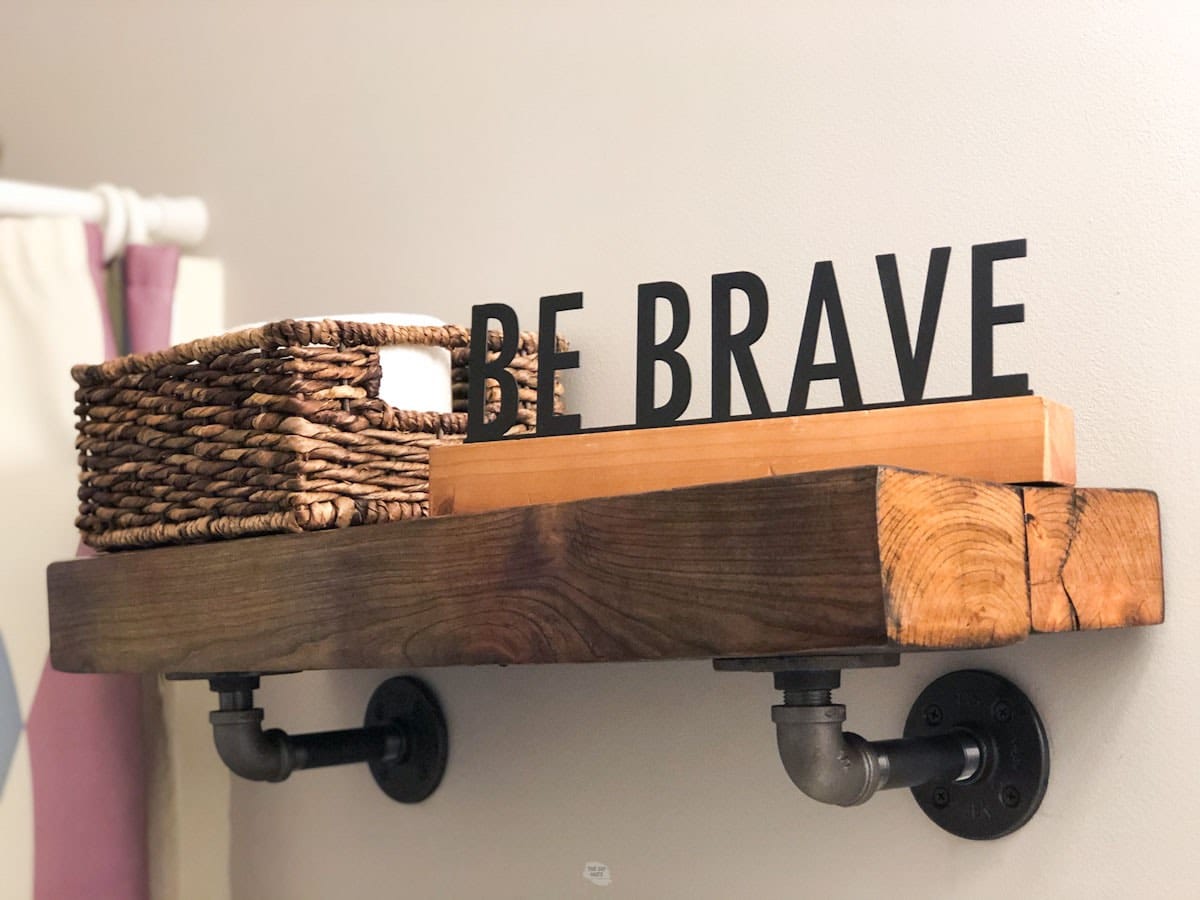
Are you looking for something to put over your toilet? This wall shelf was the perfect addition and the best part was it used wood we already had.
*Disclosure: I only recommend products I would use myself and all opinions expressed here are our own. This post may contain affiliate links that at no additional cost to you, I may earn a small commission. Read our full privacy policy.
Around here we love when one project leads to another. Isn’t that exactly how life goes (especially these days). Our inexpensive small bathroom remodel started simply with us wanting to paint the bathroom cabinets. Eventually, we realized we need to figure out a DIY bathroom shelf that could go on that blank wall.
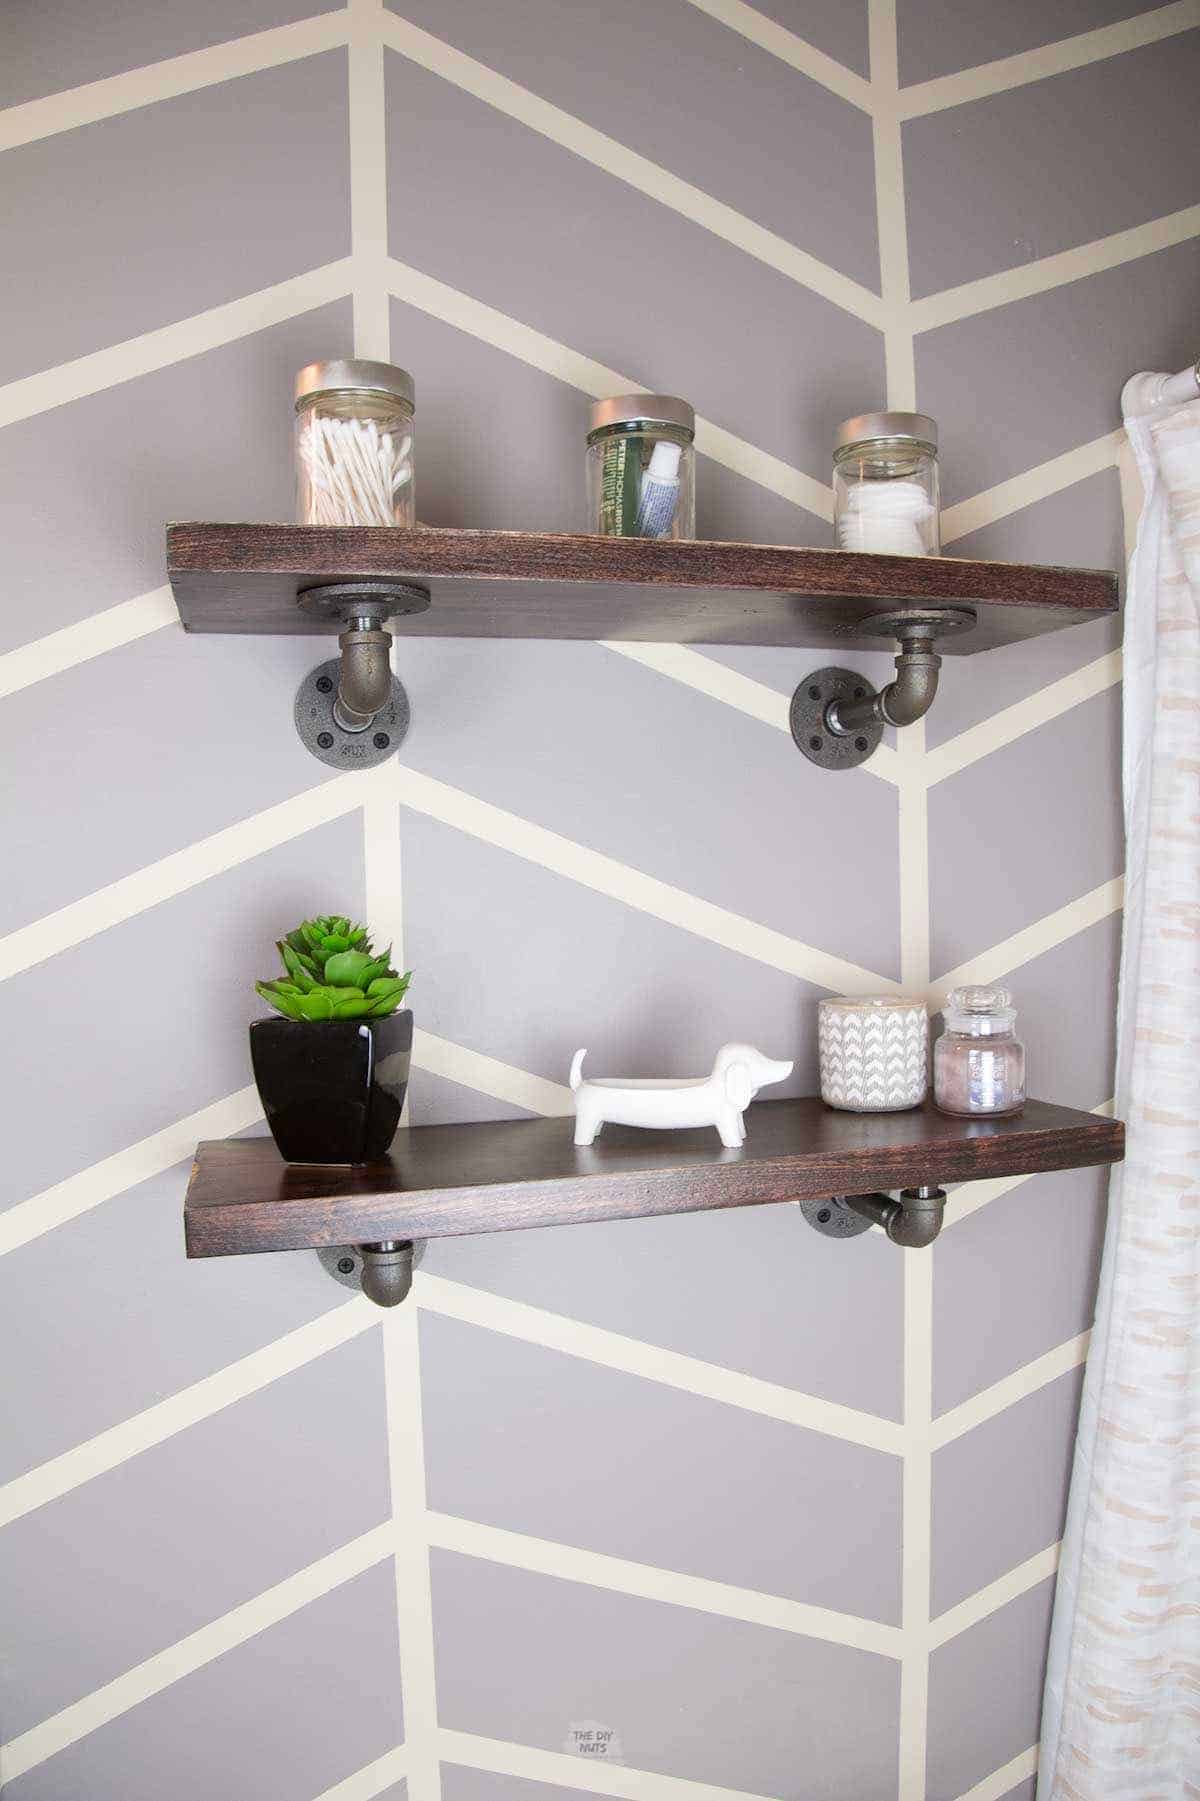
In one of our bathrooms, we have a simple word art canvas and in another, we have industrial shelves with a painted accent wall. We love that accent wall and bathroom shelves that we decided to use as inspiration for our upstairs bathroom.
What shelving works well in a bathroom?
Generally, we see 2 shelves above your toilet. We decided we only wanted one DIY bathroom shelf and that we would love a basket or wall hanging that would work below to store toilet paper and more.
If you are looking for a more in-depth project to really add more storage to your bathroom, then you have to make sure to check out how to build a recessed bathroom shelf in this post. One day we hope to accomplish this, once our children are older and need more space.
Pipe Fittings & Wood
Pipe Fittings
You can purchase pipe fittings separately or as a set (for a little more money). We had a set of these leftover flanges from when we created a DIY corner shelf for our corner-mounted television. So why not go with the same farmhouse-inspired DIY shelving that we had used before?
Reclaimed Wood
My husband decided that he wanted to try to repurpose an old piece of wood that we had lying around the garage. He liked the idea of this bathroom shelf having more thickness than a simple standard wood size (and not to mention it is free to repurpose what you have)!
Option: Purchase New Board Instead Of Reclaimed
We are aware that not every just hoards wood scraps for their next DIY project (but maybe you should start).
If you do not just have reclaimed wood lying around, then you can use any standard size would that you would like for your shelf.
In the image below, we added 2 x 10s cut to size and stained. If you are going for a rustic look you can distress the edges even more with sandpaper before adding poly.
How To Make A Reclaimed Wood Shelf
Step 1: Find Wood
Find your piece of wood.
Step 2: Cut Wood
Cut to length. Our shelf is 24” long.

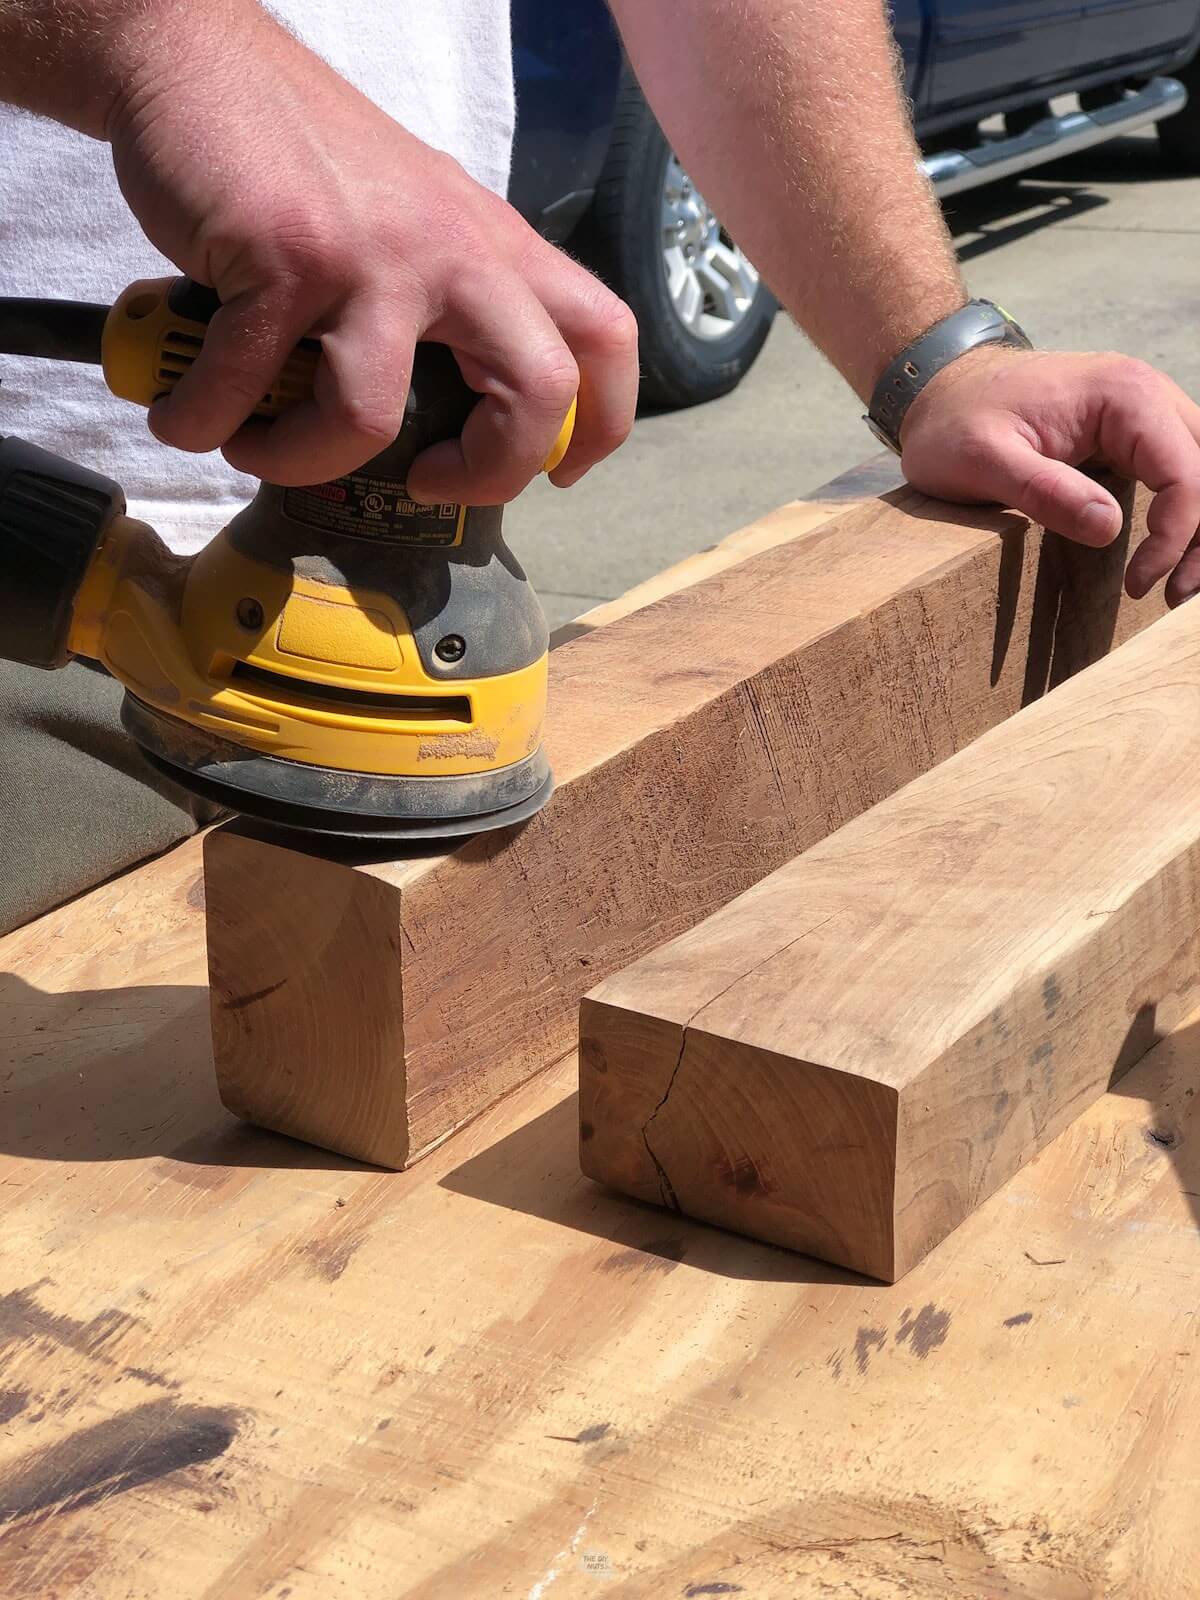
Step 3: Sand Wood
Use an orbital sander and 45 grit sandpaper to clean-up the wood.
- The piece of wood we used was an old piece of dunnage that was rough sawn (saw marks from the mill were visible).
Optional: Glue Wood Together If Not Wide Enough
Use wood glue to glue together the two or three pieces (depending on the thickness you desire).
Step 4: Create A Smooth Shelf
Once the glue has set (after 24 hours), sand both pieces of wood that are now glued together
- If you have access to a planer then the two (2) pieces could be planed which would save a ton of sanding time. This planer is on our wishlist!!!
- Due to the rough condition of the wood, our sanding took a very long time.
- If you want to know more about the difference between planing and sanding this article by the Woodwhisperer may be helpful.
Step 5: Stain Wood and Add Polyurethane
Once the wood is sanded stain and poly. We used this stain color, but wiped it off very quickly after applying it so that the overall color would be lighter.
How To Attach Pipe Fittings To The Wall
Step 1: Decide On The Style Of Pipe
Find wall brackets that you like, such as the curved pipe flanges that we have used on numerous shelves.
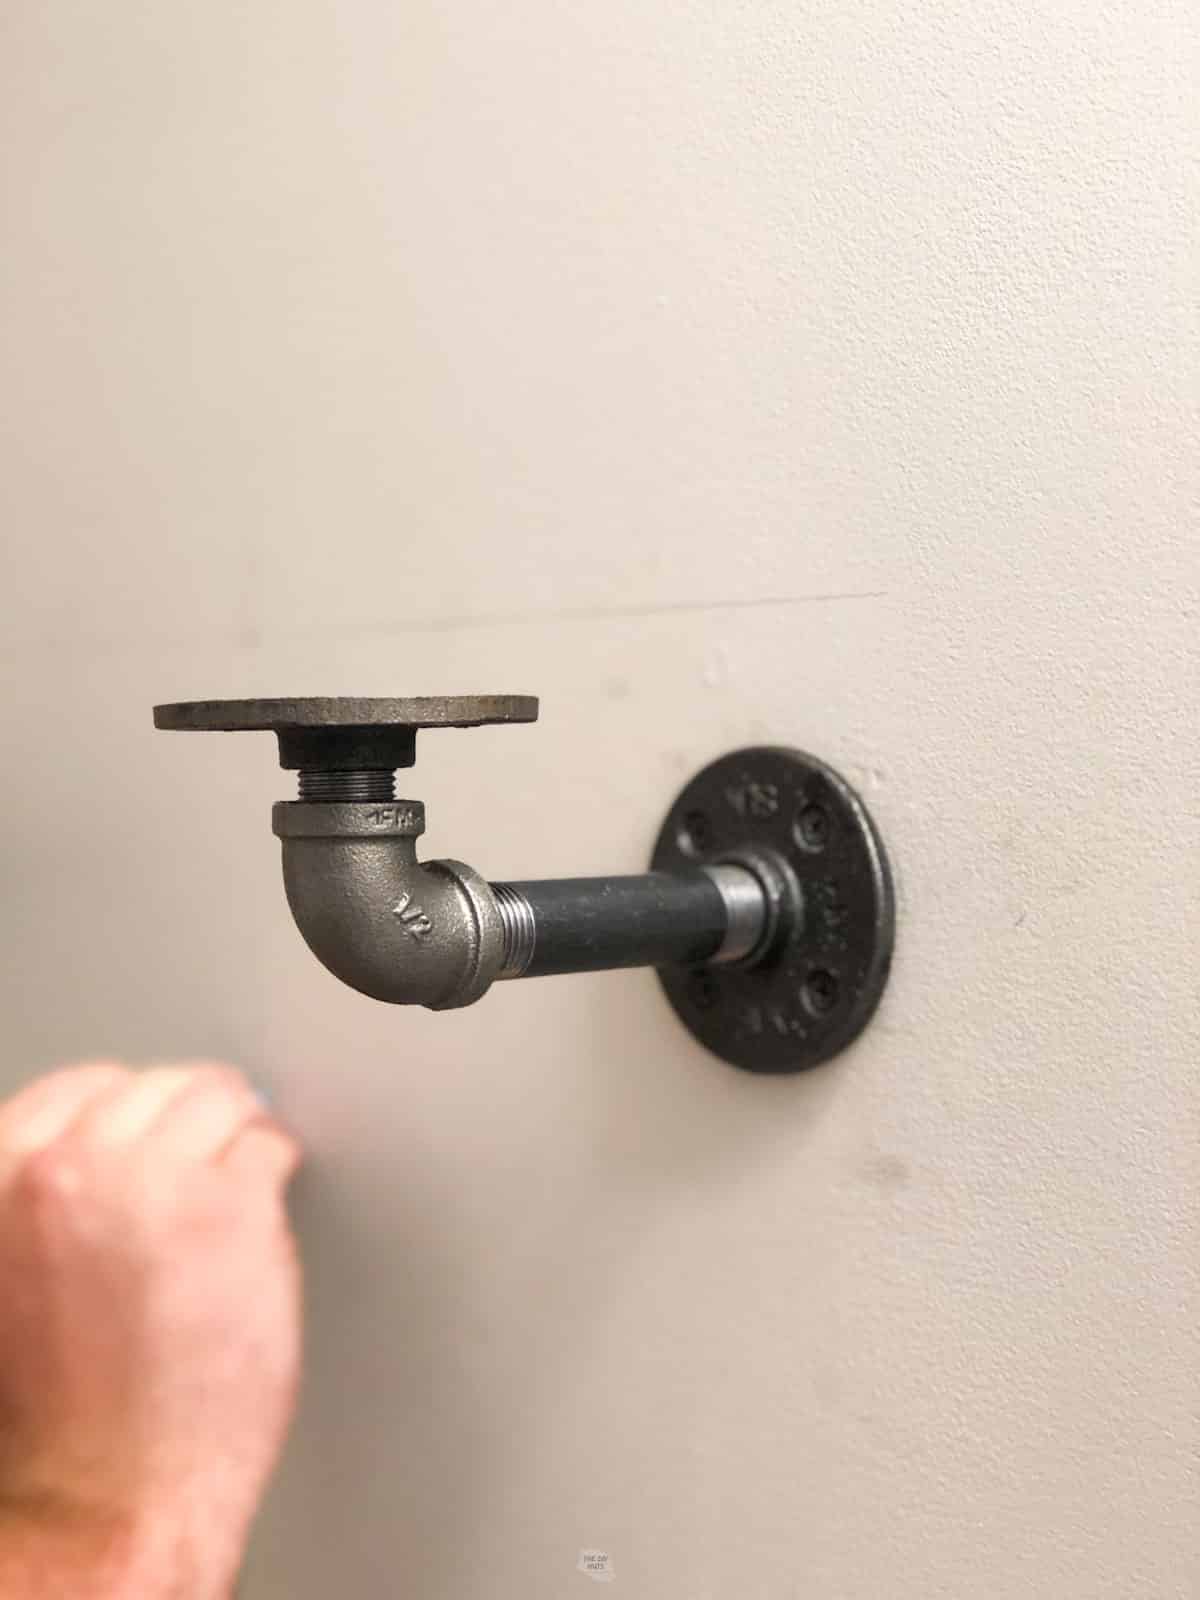
Step 2: Mount Brackets
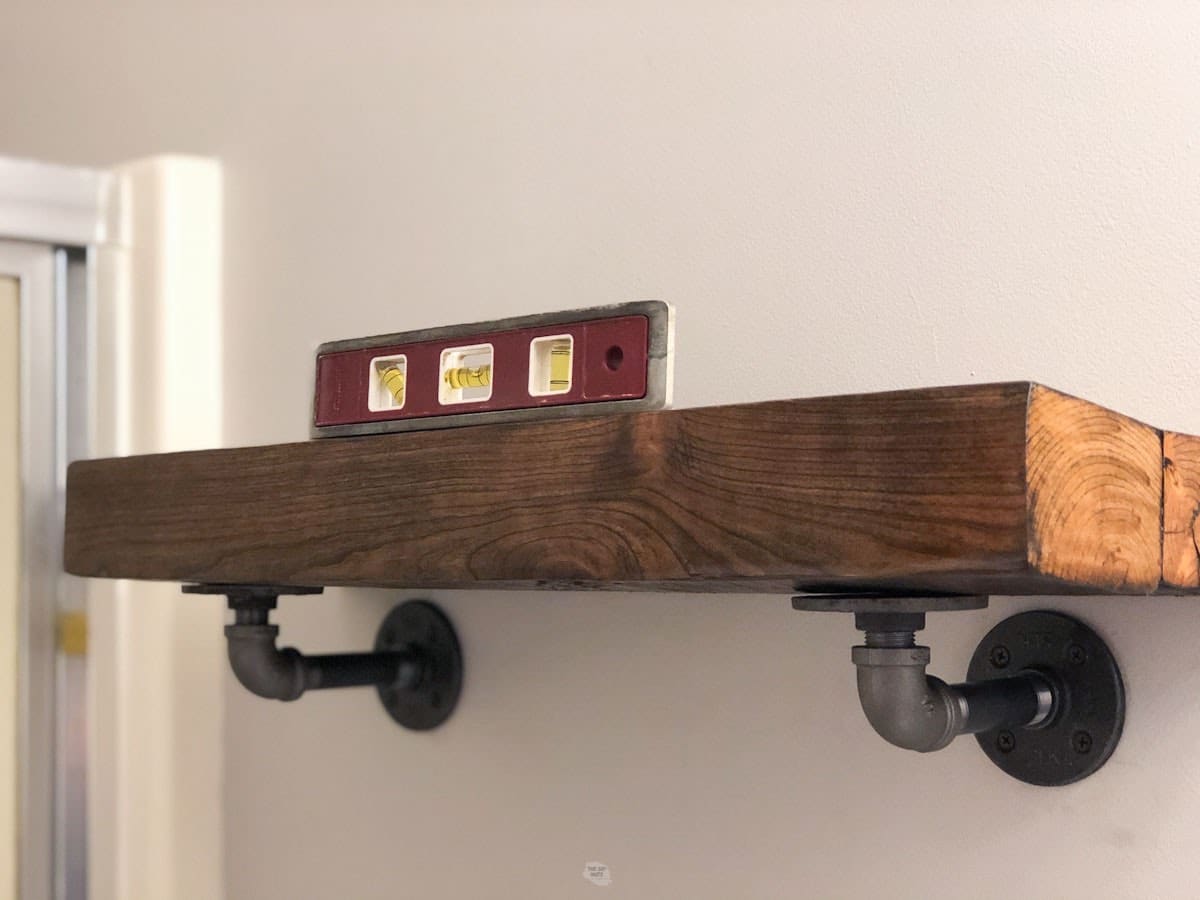
Mount the wall brackets to your wall with drywall anchors or into studs. Check that brackets are level by placing a 4′ level across both of them.
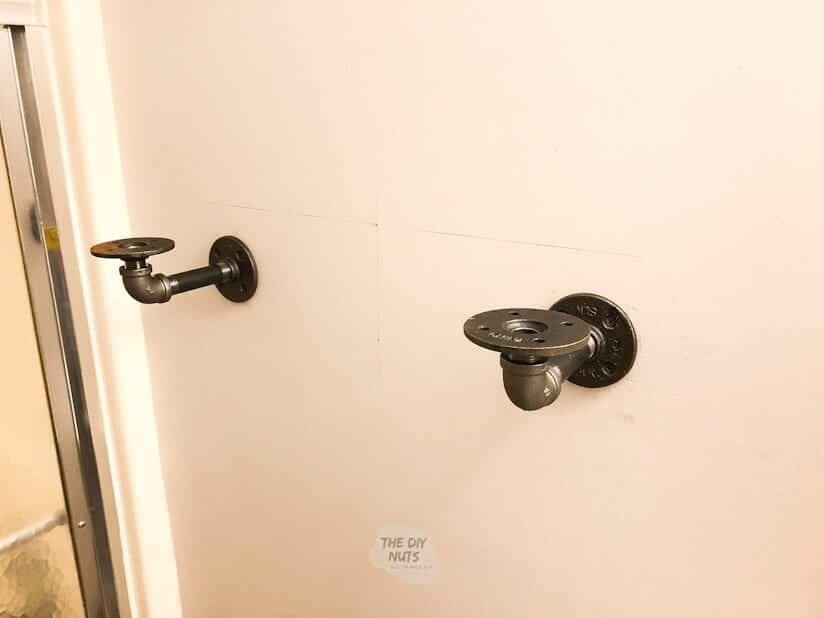
Pro Tip: Studs are typically 16”s apart. Use a level to make sure the brackets are level or else you may have a slanted shelf when you are all finished.
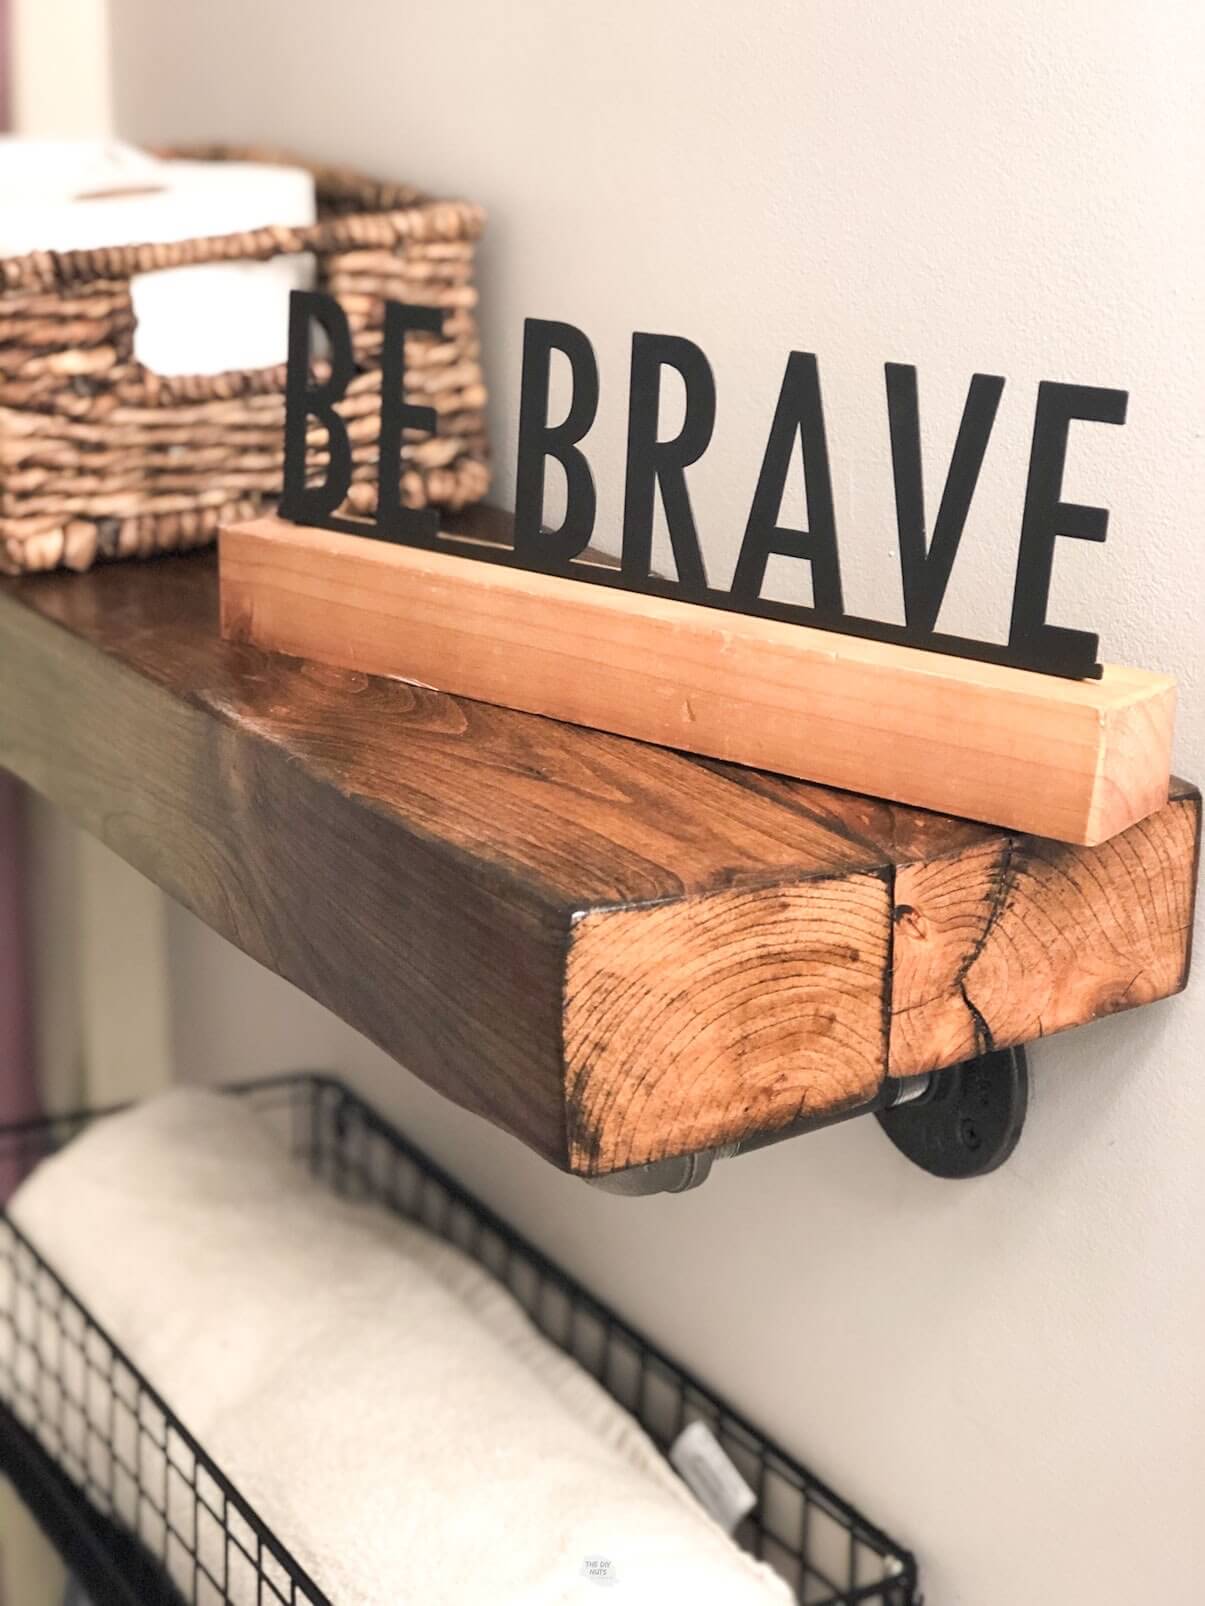
Step 3: Attach The Reclaimed Wood
Once you have your pipe fittings attached to studs and your piece of wood stained and sealed (if you want) then you can attach your piece of wood using the hardware provided.
These pipe flanges are great because the piece of wood literally can just sit on them while securing it to the flanges.
Other Bathroom Shelving Accessories
Because I really wanted a basket and I only had one set of pipe fittings, we decided to shop around for a basket shelf (I don’t think I am using the proper terms) that could go on the wall.
I found ours at AtHome. However here are other baskets that can give you the same look.
- Portable Farmhouse Wall Decor Baskets from Amazon-We actually have these above our children’s art table and use them to store art supplies. If I had not found ours at a local store, I would have probably ordered these.
- Metal Basket Storage Organizer with Hooks: Similar to the style above this basket from Target has hooks that could easily help your family stay organized.
Or you could even do a mix of industrial DIY bathroom shelving with a cool crate underneath your shelf as you see in this tutorial on the HGTV site by Ana White.
Looking for other DIY shelf ideas?
Read more of our related shelving projects! Because who doesn’t like to get organized in style?
Follow us on Pinterest or Facebook for more DIY inspiration!
This DIY reclaimed wooden shelf really helped finish our cheap bathroom makeover (and you know we love that)!
DIY Pipe Shelf With Reclaimed Wood
Equipment
- Orbital Sander
- Clamps
- 4' Level
- Bubble Level
Supplies
- Reclaimed Wood (or new 2 x10s)
- Stain
- Polyurethane
- 45 Grit Sandpaper
- Drywall Anchors
- Pipe Flanges We purchased this set to save time. You can go to a plumbing store and buy each individual part.
- Wood Glue
Instructions
- Create wood shelf. You can either cut and stain new wood or use reclaimed wood.
- Measure and mark studs. Use a level to mark the wall at your proper height.
- Mount brackets to the studs using drywall anchors.
- Screw in flanges.
- Add pipes into flanges. Check that both flanges are level with a 4' level.
- Add the wood shelf onto pipe fittings from the bottom with the screws provided.
Notes
- Sand down wood with an orbital sander.
- You possibly may need to glue and clamp pieces together to make it the right size for your shelf.
- Sand down glue pieces again until you have a shelf you are happy with.