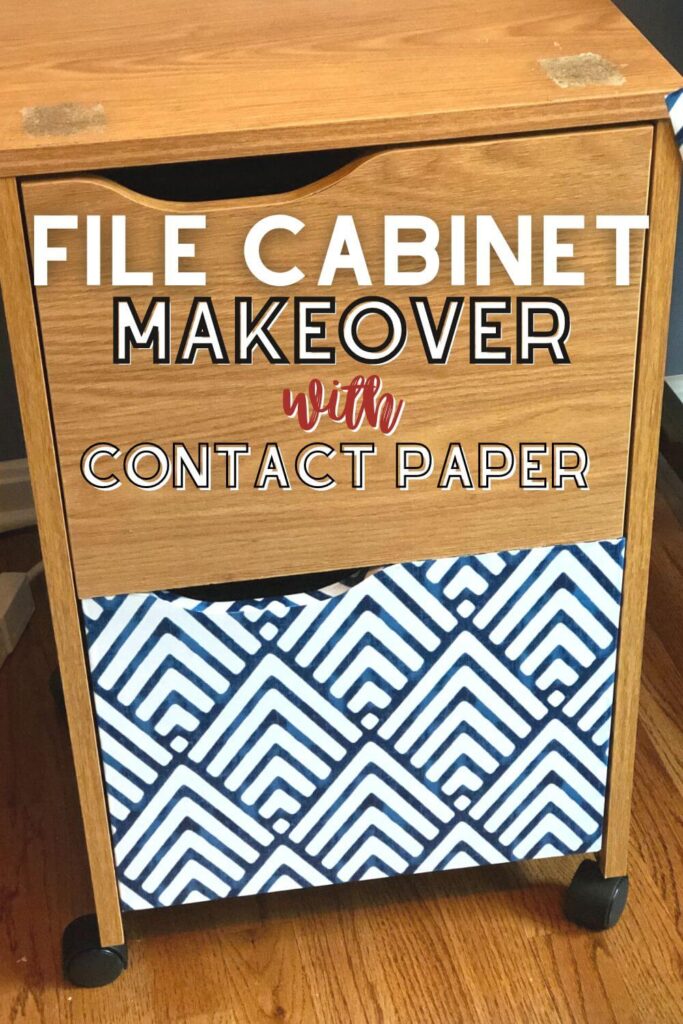
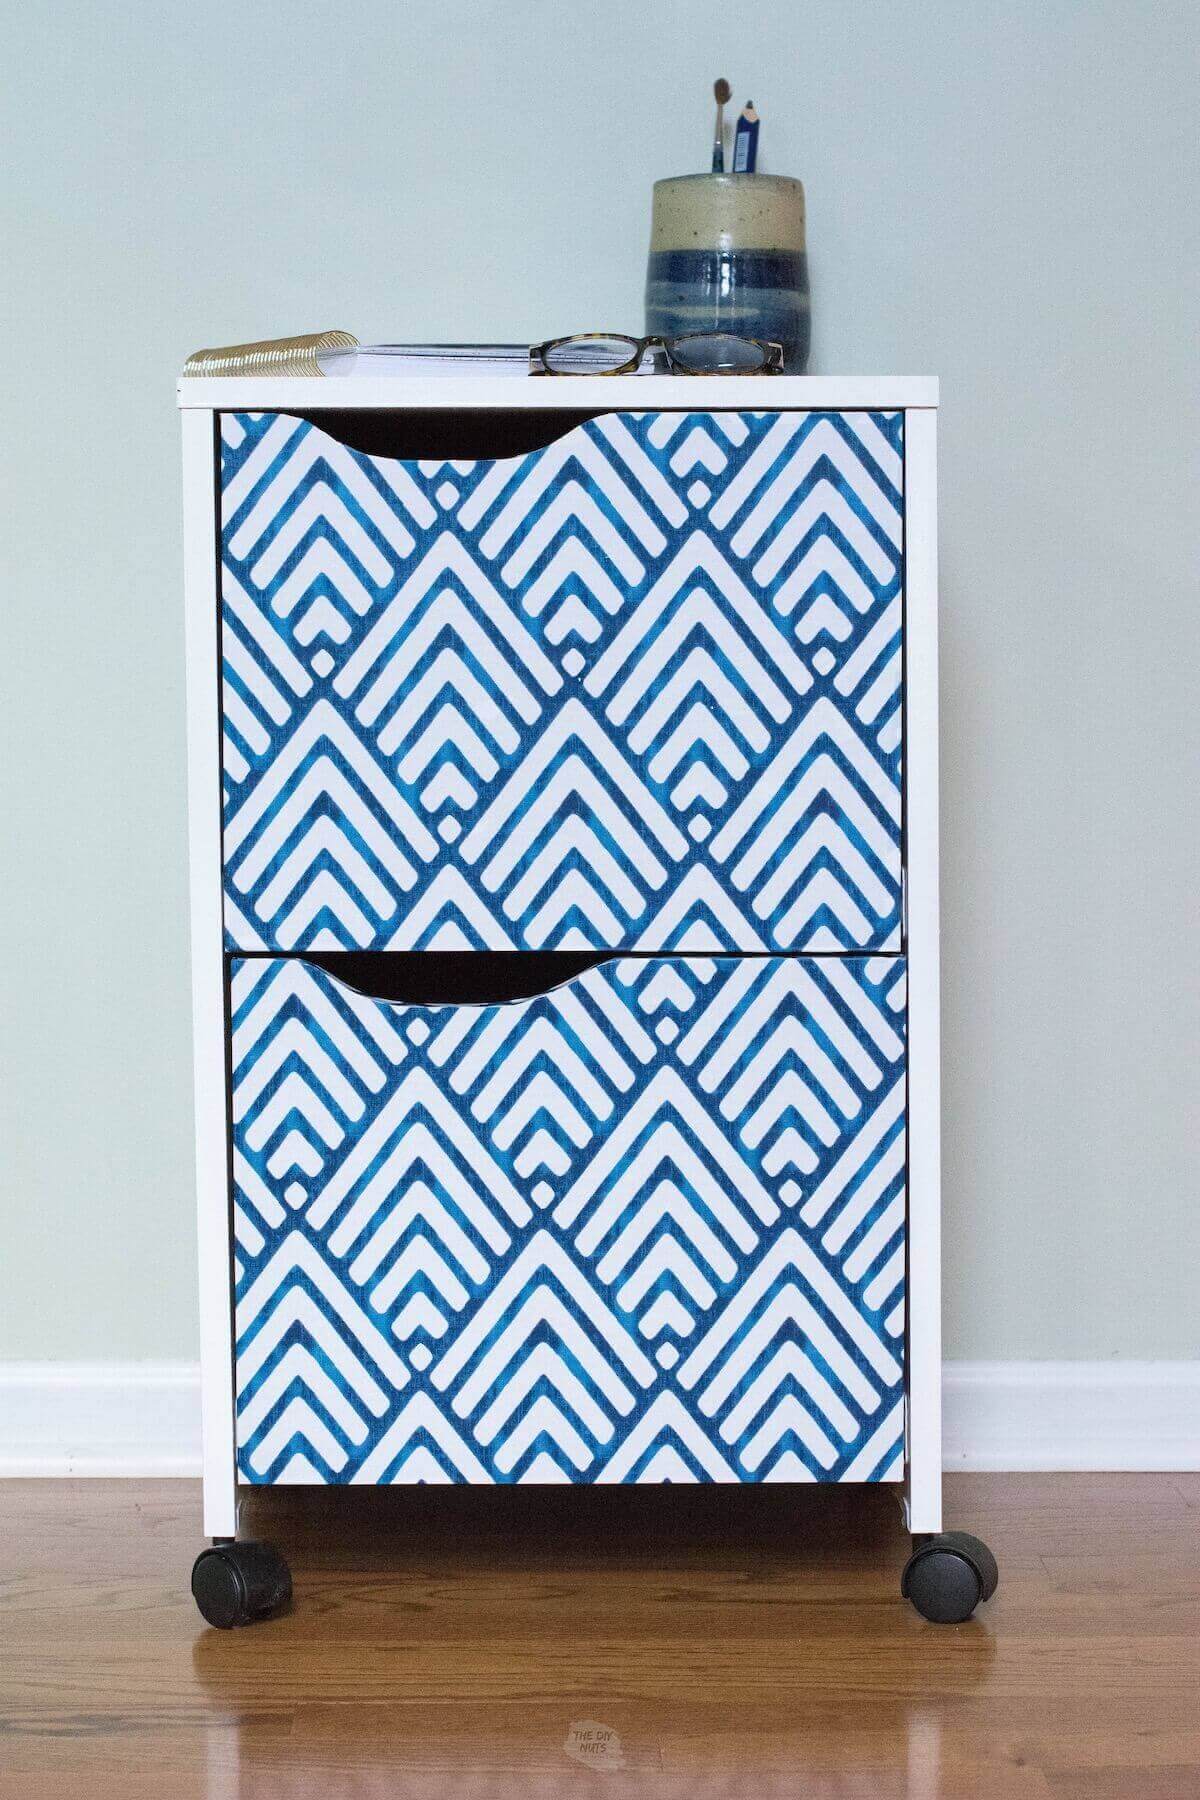
Easy DIY File Cabinet Makeover With Contact Paper
Are you looking for a way to add to your home office decor? Follow our steps to turn your ugly file cabinet into a funky and refreshed piece.
*Disclosure: I only recommend products I would use myself and all opinions expressed here are our own. This post may contain affiliate links that at no additional cost to you, I may earn a small commission. Read our full privacy policy.
Our dining room turned home office is filled with DIY projects that have resulted in an eclectic and fun workspace. First, we redid a large metal tanker desk in such a unique way that anything else we added to our office, definitely had to be fun. And giving this old cabinet a new life definitely accomplished that.
Filing Cabinet Makeover Ideas
- Simply repaint the file cabinet using chalk paint, DIY chalk paint or spray paint.
- Use contact paper
- Use cheap frames to help build up the structure of your file cabinet.
- Use paint and stencils
- Use gel stain to makeover a wooden file cabinet
- Use painter’s tape to create a fun geometric painted file cabinet
Our Plan
After weighing our options, we decided to cover part of our old filing cabinet with contact paper and apply a fresh coat of paint. We wanted a quick and easy way to get a funky patterned file cabinet with minimal mess.
What is contact paper?
Contact paper is a decorative paper with a very strong adhesive on the reverse side. There are so many patterns and designs to choose from for a variety of DIY projects.
As I remember it, contact paper used to be used to line drawers and old shelves mainly. However, contact paper has come a long way from the ’70s.
What if the contact paper doesn’t work?
If contact paper doesn’t work for you, you can always try using your DIY chalk paint recipe, as we did on a laminate entertainment center that we turned into a dress-up storage for our daughter.
Supplies You’ll Need
*Disclosure: This post may contain affiliate links that at no additional cost to you, may earn a small commission. Read our full privacy policy.
- There are many different contact paper patterns available. This roll is similar to ours but in gold.
Other Contact Paper Designs
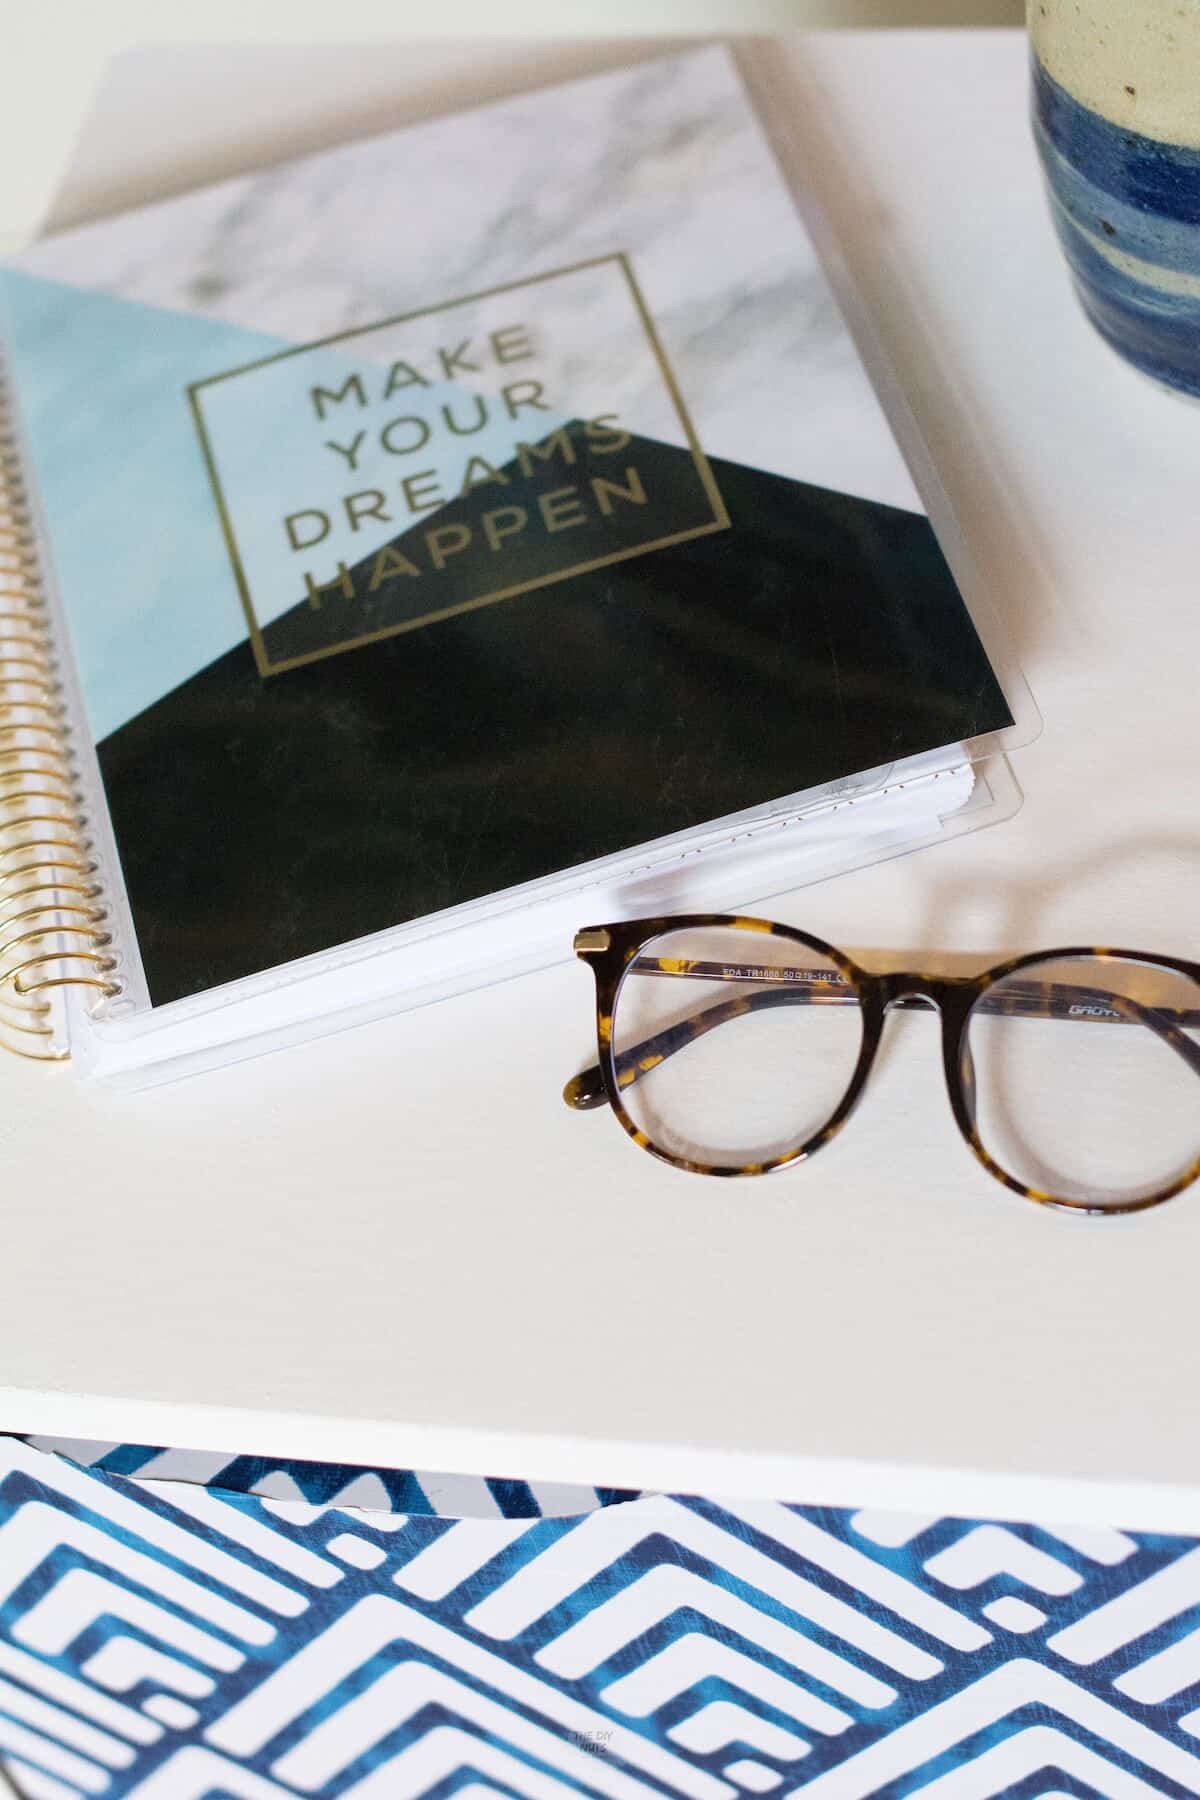
These choices are cheaper than the paper we used (although not by much). However, we were still set on the modern, geometric blue pattern. Some so many different colors and designs would really work for this project.
- Granite/Marble Looking Contact Paper
- Fun Gray Geometric Design
- Light Blue Geometric Paper
- Paisley Designs (also available in 20 other patterns)
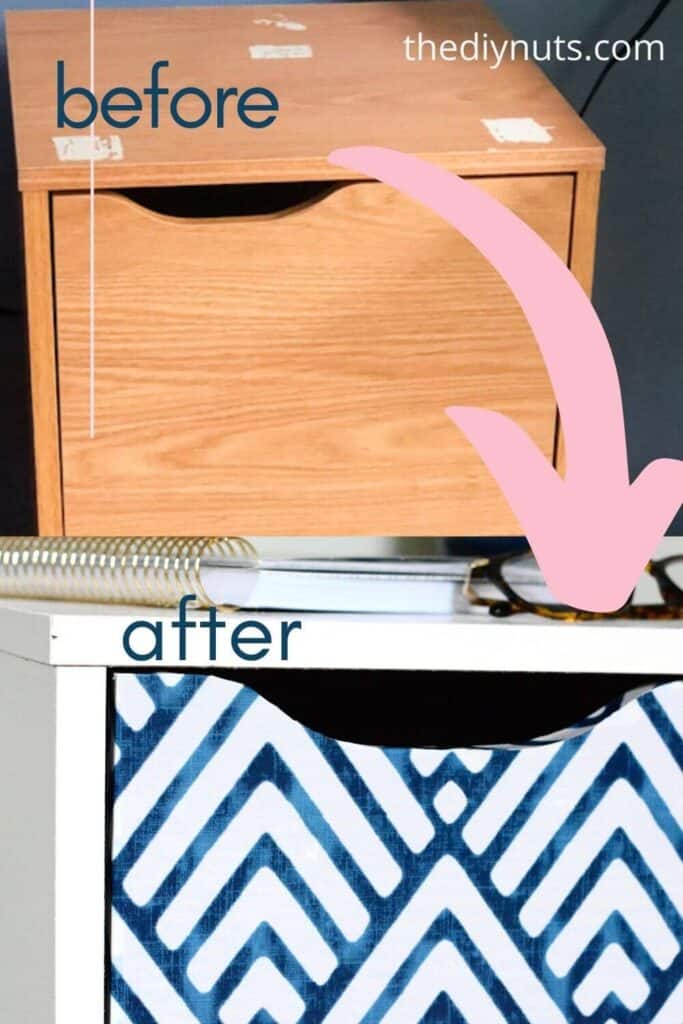
The “Before” File Cabinet

This file cabinet is a cheap (but functional) compressed wood file cabinet on wheels. You can find a similar one at a yard sale, a local thrift store, or you could buy a new file cabinet for cheaper. The best part is that we were upcycling something that would otherwise have ended up in a landfill.
File Cabinet Makeover
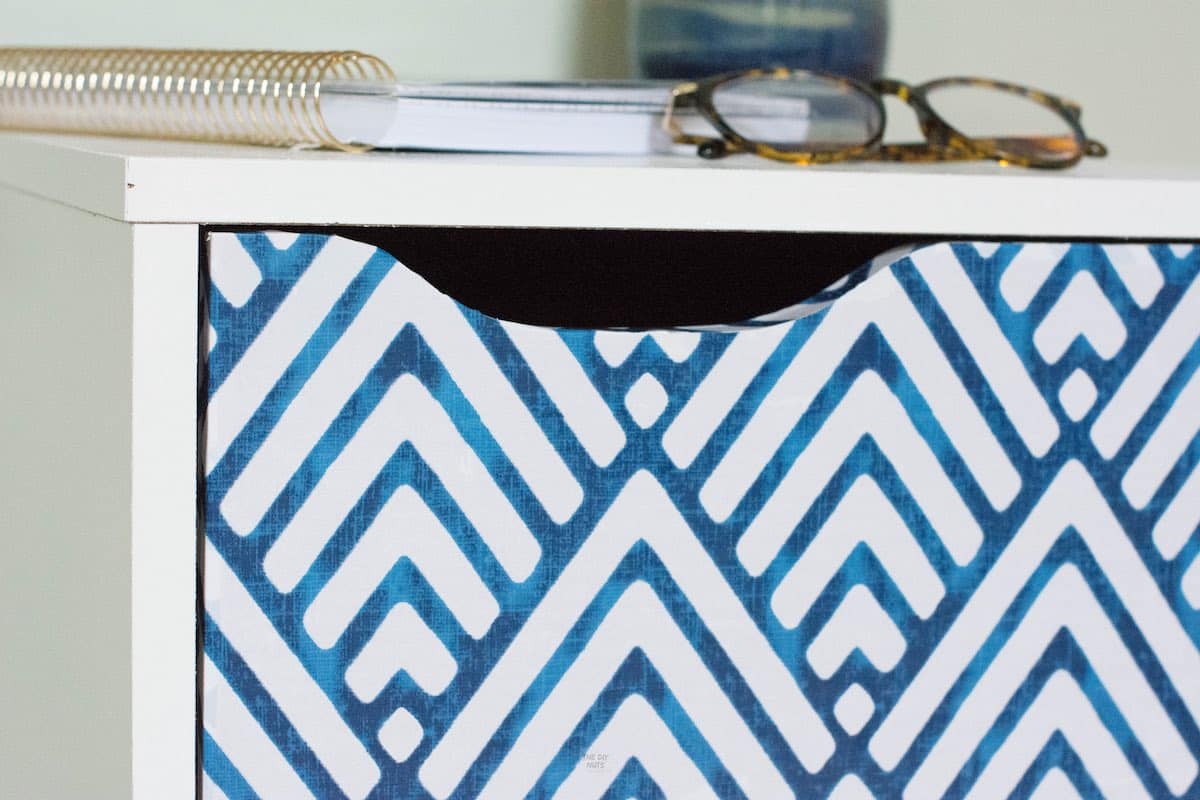
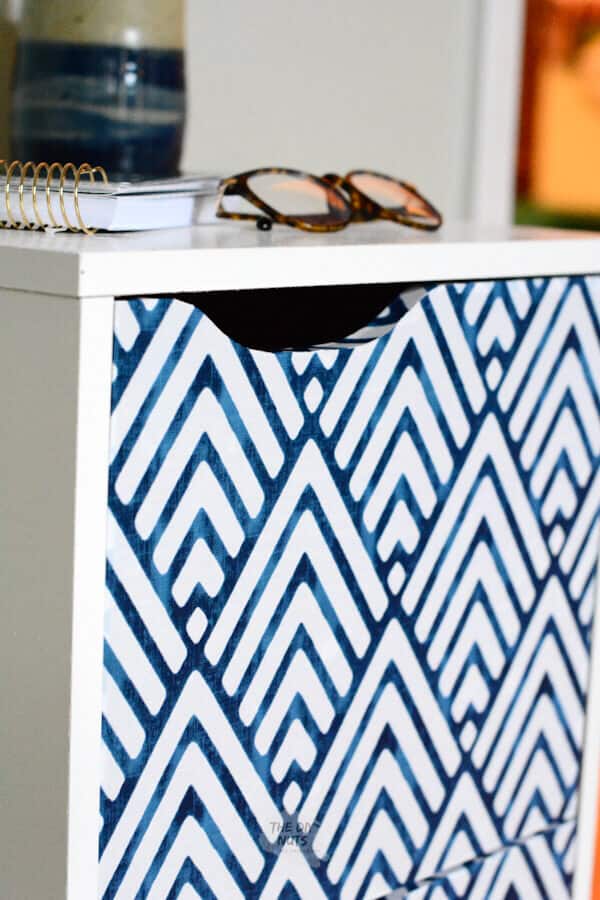
The biggest challenge with these particular drawer fronts is an indentation for where your hand can open the drawers. To make this file cabinet look more professional than just using cheap contact paper, you have to cover the edges neatly.
Since the top edge is curved, it made the DIY file cabinet makeover a little challenging. However, it really is an easy DIY project overall.
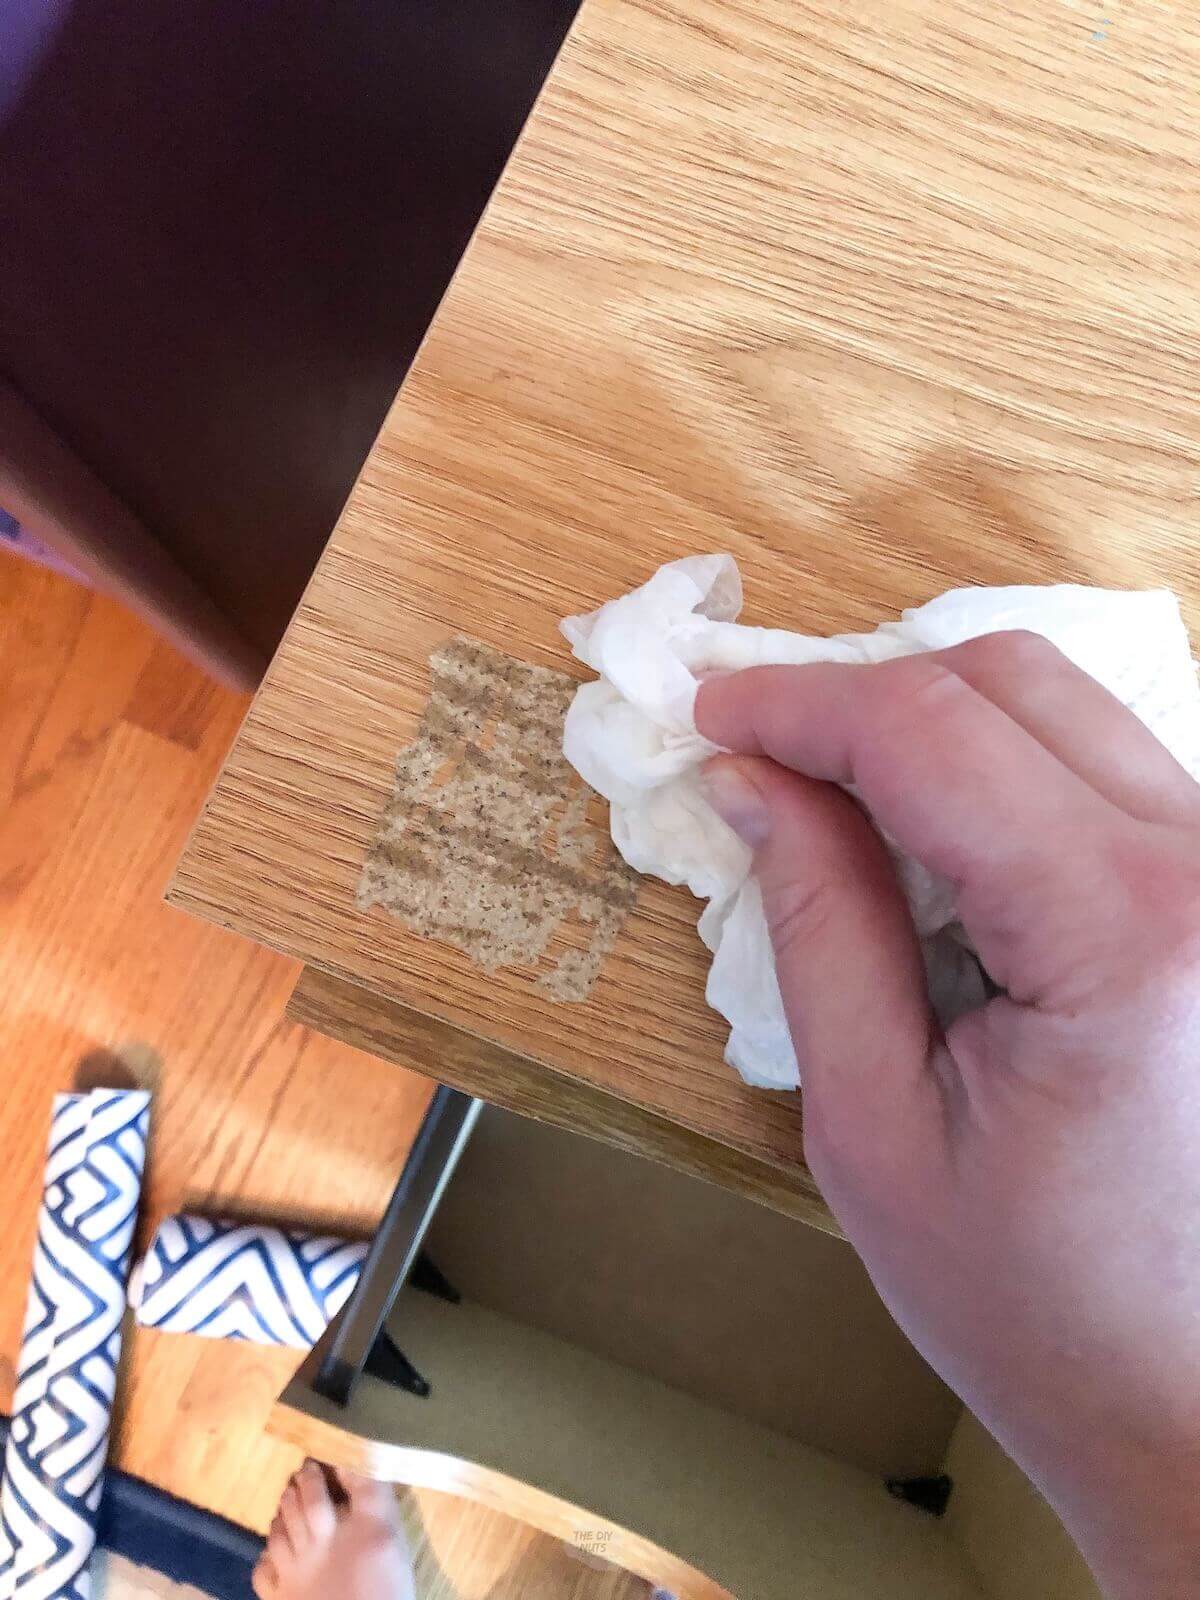
Before You Begin
Completely clean your file cabinet the best you can. Try to remove any sticker residue and wipe down before adding contact paper.
Step 1: Cut a Small Piece For the Drawer Edges
Cut a strip that is two blocks wide. The blocks were on the back of our contact paper as a guide to help cut straight lines. Align it with the edge, with a little hanging over the back.

Step 2: Carefully Cover The Drawer Edge
Carefully stick one part of the drawer edge. As you pull the backing off use your fingers to push out any air bubbles.
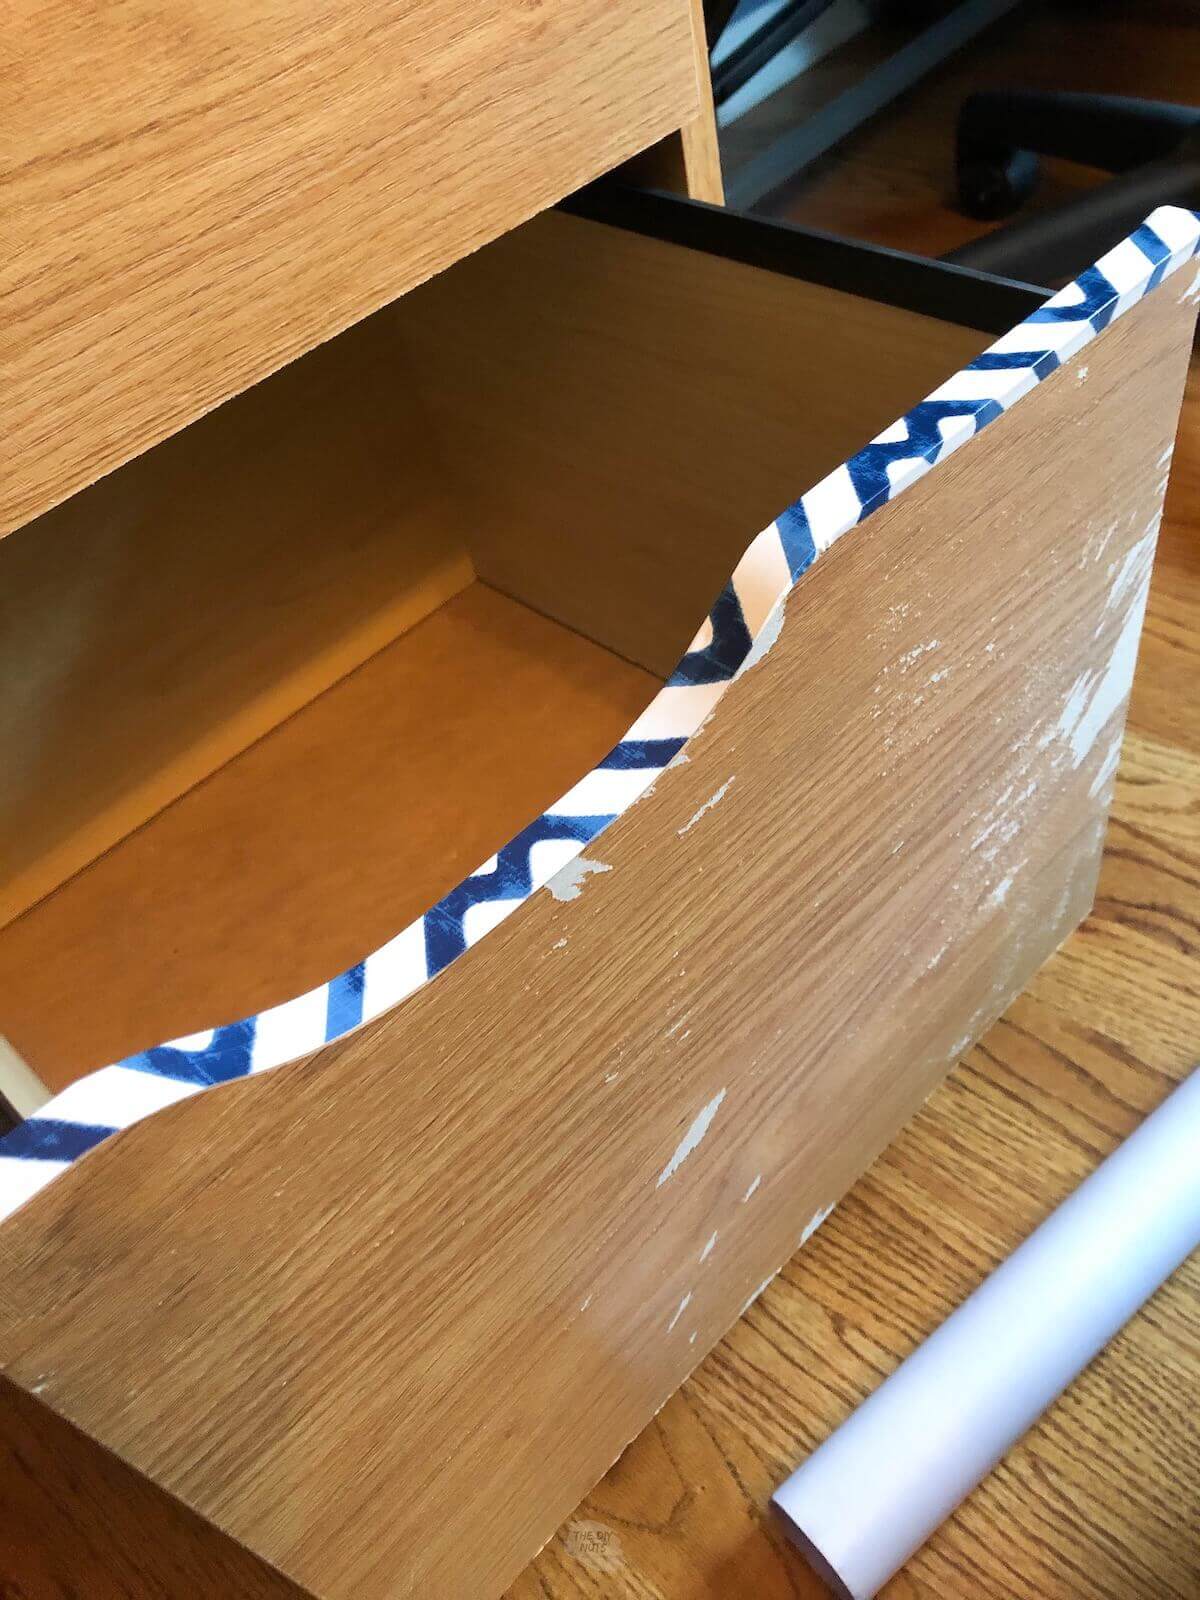
Wrap the extra around the back. Cut a small slit in the back, near the curve, so the contact paper lies nicely in the parts we can see.
In the corners, you can also cut a small slit in the excess so you can fold the corners neatly. This will allow the contact paper to lie flat like wrapping a present.
Contact Paper Tip: You can have excess contact paper hanging off the edge. You will trim it away once you get the pattern the right way.
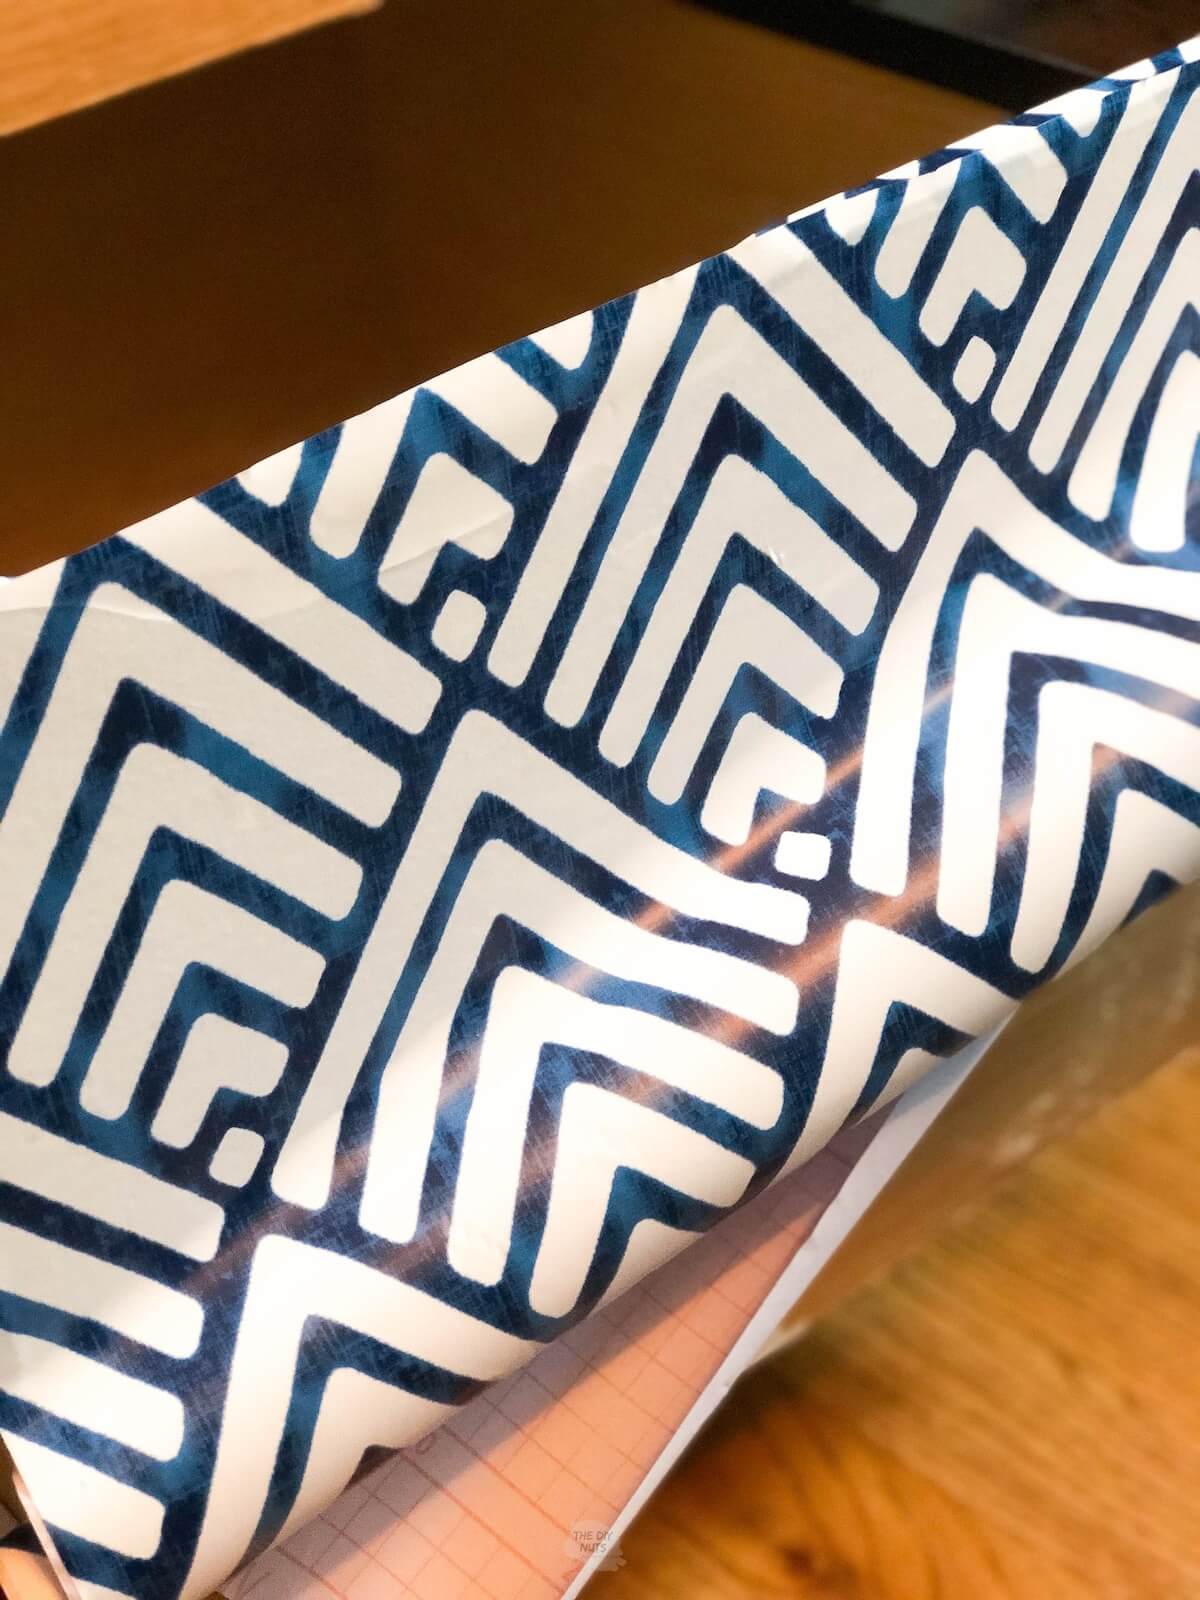
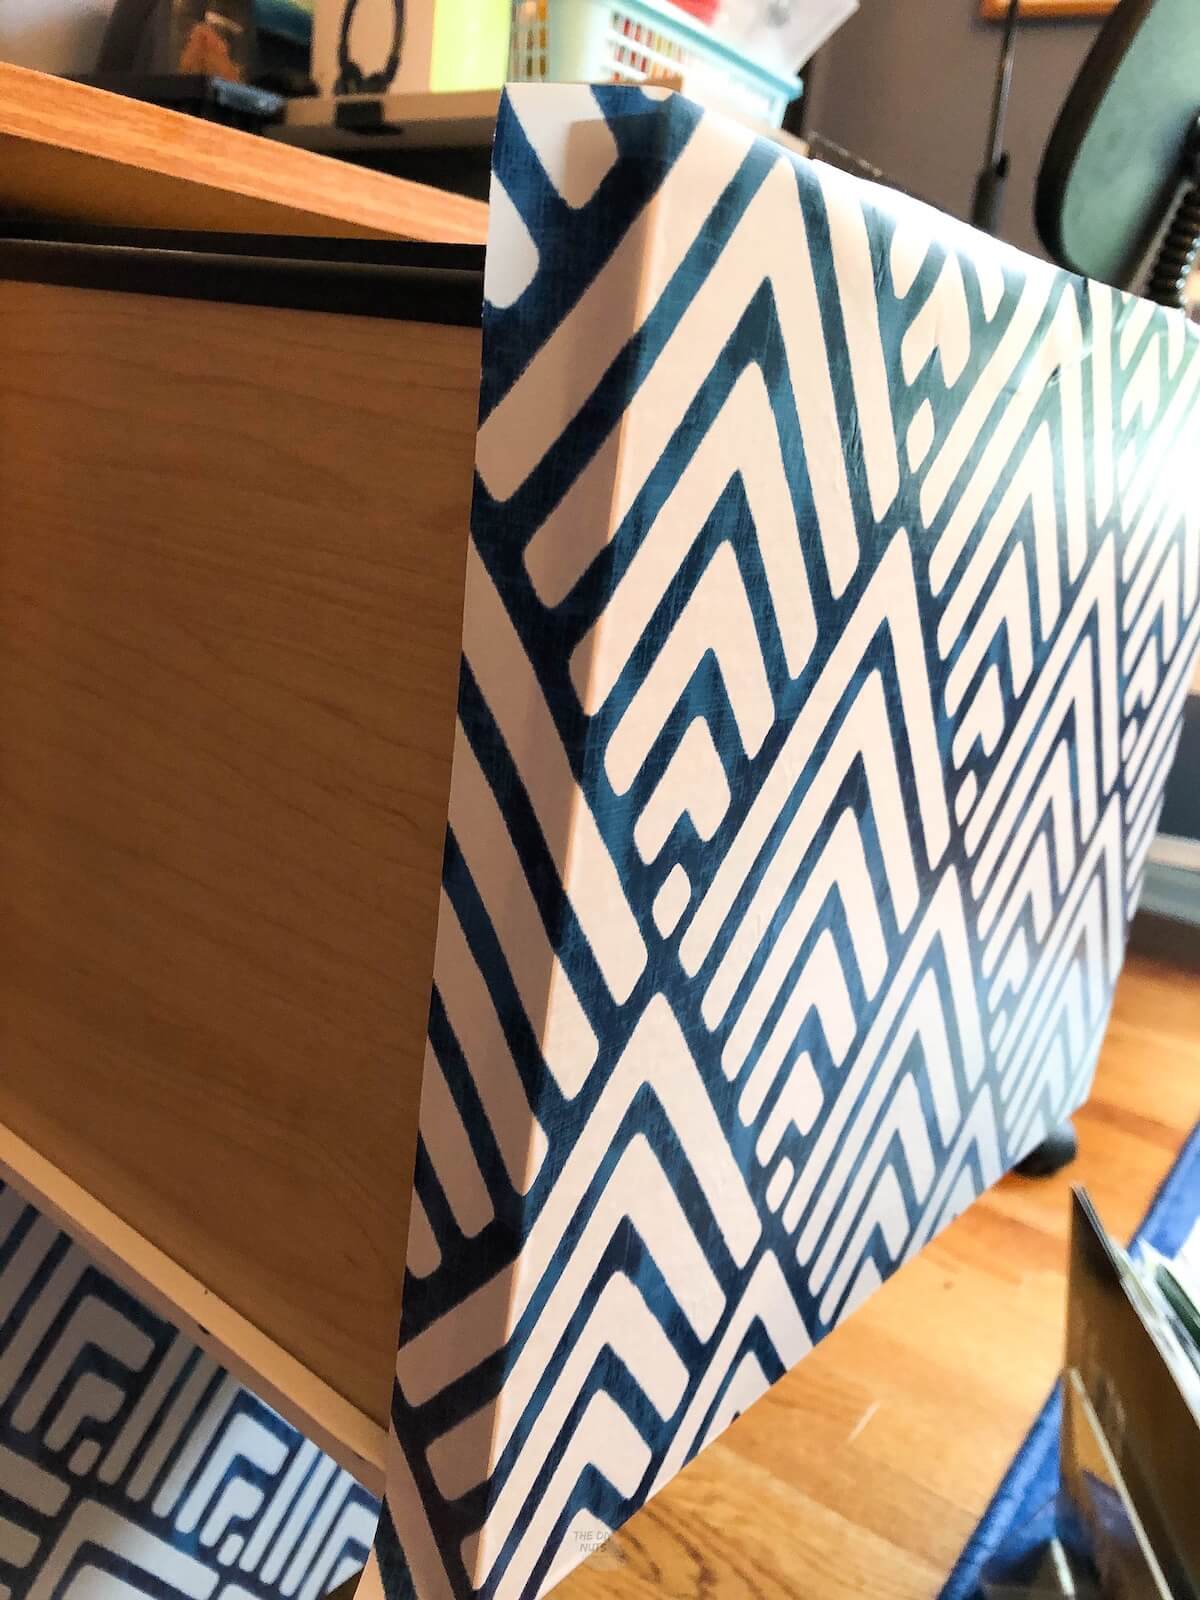
Step 3: Cut & Wrap A Piece Of Contact Paper Larger Than Your Drawer
Cut a 12” (bigger than your drawer) piece of contact paper. Smooth it out as you go and wrap it around the edges.
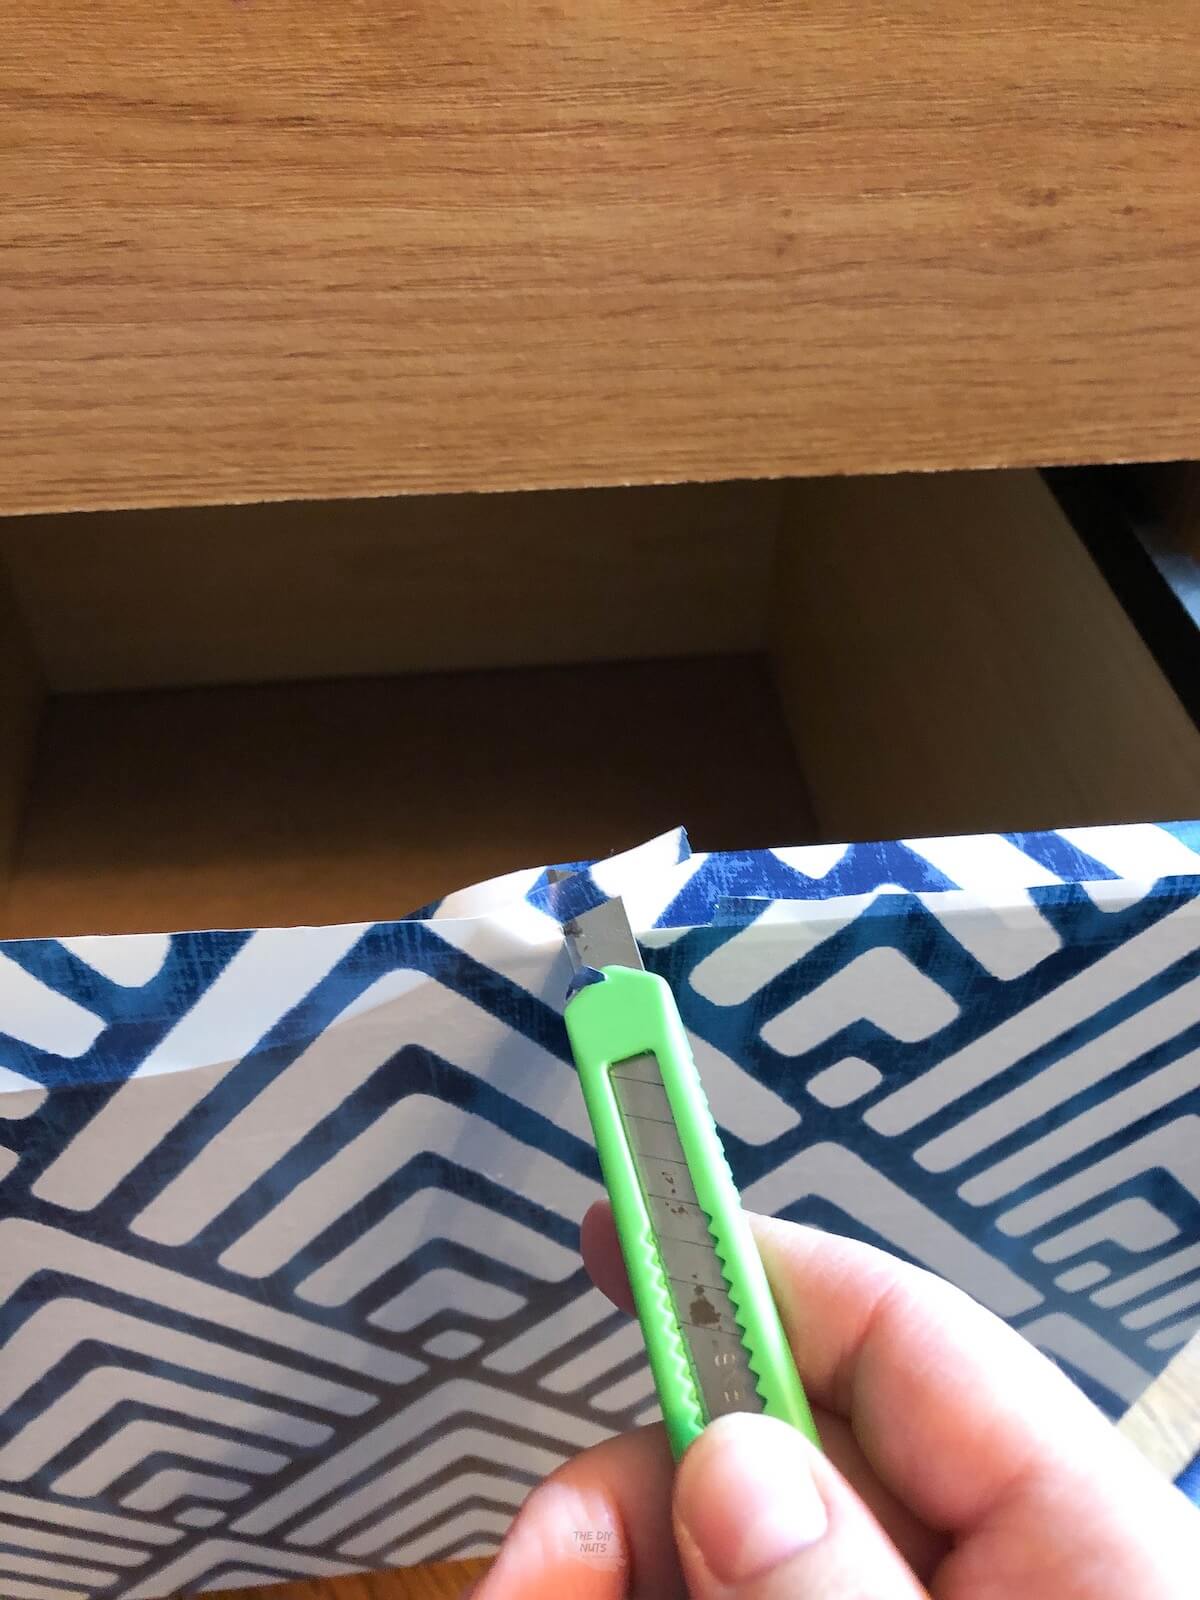
Step 4: Trim Extra Contact Paper Off The Top
Once you wrap the edges and corners, use an Xacto knife to trim any excess carefully.
Step 5: Repeat For The Second Drawer
Try to line up the design of the front piece. You will want paper hanging off the top and enough to wrap around the sides.
Step 6: Check For Air Bubbles
Rub your nail or a piece of cardboard or an old credit card on all edges to make sure that you made the contact paper stick.
Step 7: Take The Old File Cabinet Apart
If your file cabinet does not come apart, you will want to spray paint it before covering the drawers with contact paper.
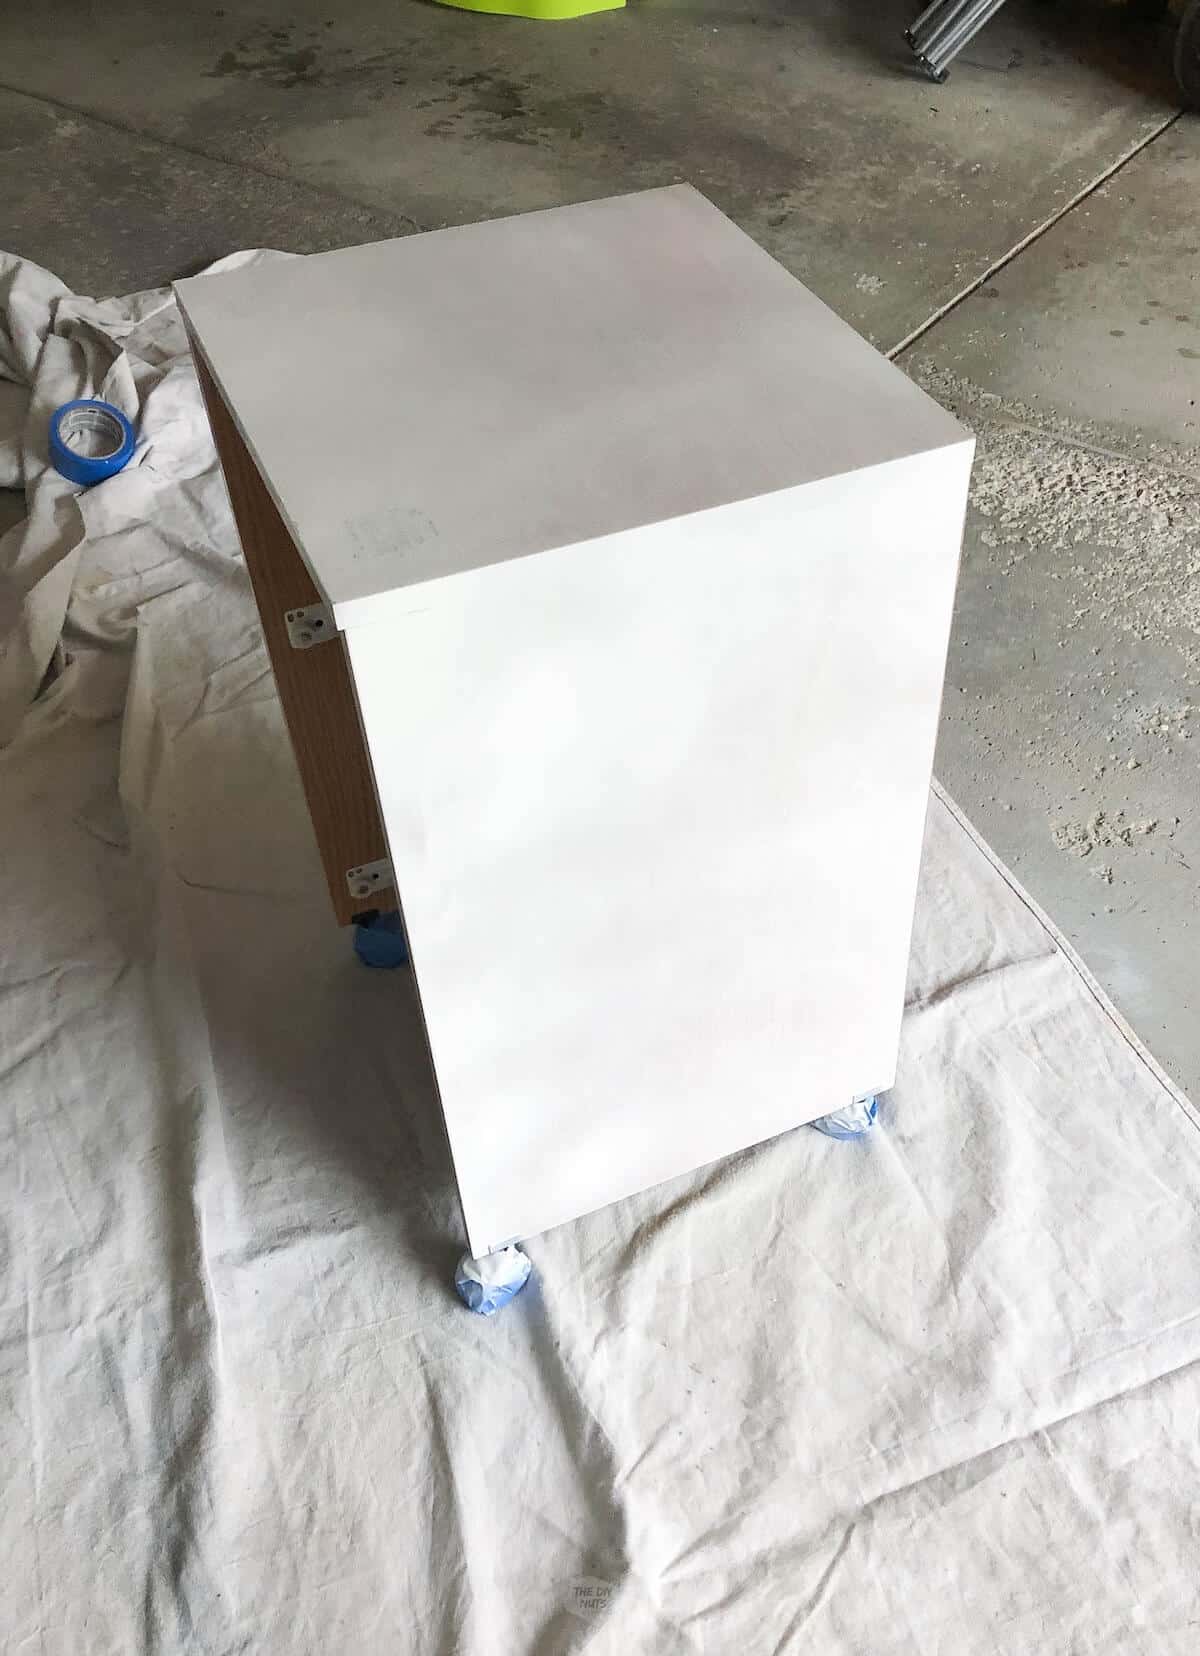
Step 8: Prep Areas Not Getting Painting
Cover the wheels with painter’s tape and sand any rough spots. The top isn’t perfect on ours.
Step 9: Wipe With Deglosser
For best results, use a deglosser on a cloth to prep the surface. You can also just use a damp rag to wipe down the surface. The most important step is to ensure the surface is clean and dust-free.
Step 10: Begin To Spray First Coat
In large sweeping motions, work to cover your file cabinet with spray paint.

Step 11: Once Dry, Spray With A Second Coat Of Paint
Depending on the original color and your new color, you may need to spray at least 3 coats of paint to fully cover your entire cabinet. You can see that after one coat it may look a little splotchy. Don’t worry about it and add another layer after each coat dries. Get our tips for using spray paint on DIY projects.
Step 12: Let The File Cabinet Fully Dry
Let it dry overnight before bringing it into your home. If you bring it in too early, you may still smell the spray paint.
Follow us on Pinterest, YouTube or Facebook for more DIY inspiration!
Spray Paint Tips
- Stick with one color for the outside of the file cabinet.
- This project is perfect for leftover spray paints.
- Make sure you use spray paint with primer.
- Since our file cabinet drawers could be removed, it was very easy to spray-paint only the outside of the file cabinet.
How-To FAQs
This file cabinet DIY project with contact paper costs under $10 to do. It all depends on the contact paper you choose to use as prices can vary widely. The good news is that you will have leftover contact paper for another project.
You can cover the whole file cabinet with contact paper or just the drawers. By using paint and contact paper this project can be a super simple DIY. Choose a paint color that is already in your contact paper design to limit your pattern from being too overwhelming.
It has been over 2 years since this file cabinet was redone. It is still in my office. Only a few times have I had to press down the contact paper on the inside of the drawer to make it stick again.
Yes, you should be able to apply contact paper to any clean, smooth surface.
We have seen other DIYers use scrapbook paper, washi tape, chalkboard paint, patterned duct tape, contact paper, paint or new drawer pulls to redo an old file cabinet.
Related DIY Furniture Ideas
- Midcentury Modern Dresser Makeover: Learn how gel stain and DIY chalk paint can create a fun dresser makeover.
- DIY Outdoor Dining Table: Build an outdoor dining table from leftover composite decking pieces.
- 14 Bathroom Vanity Paint Color Ideas: Get real-life inspiration before painting your bathroom cabinets.
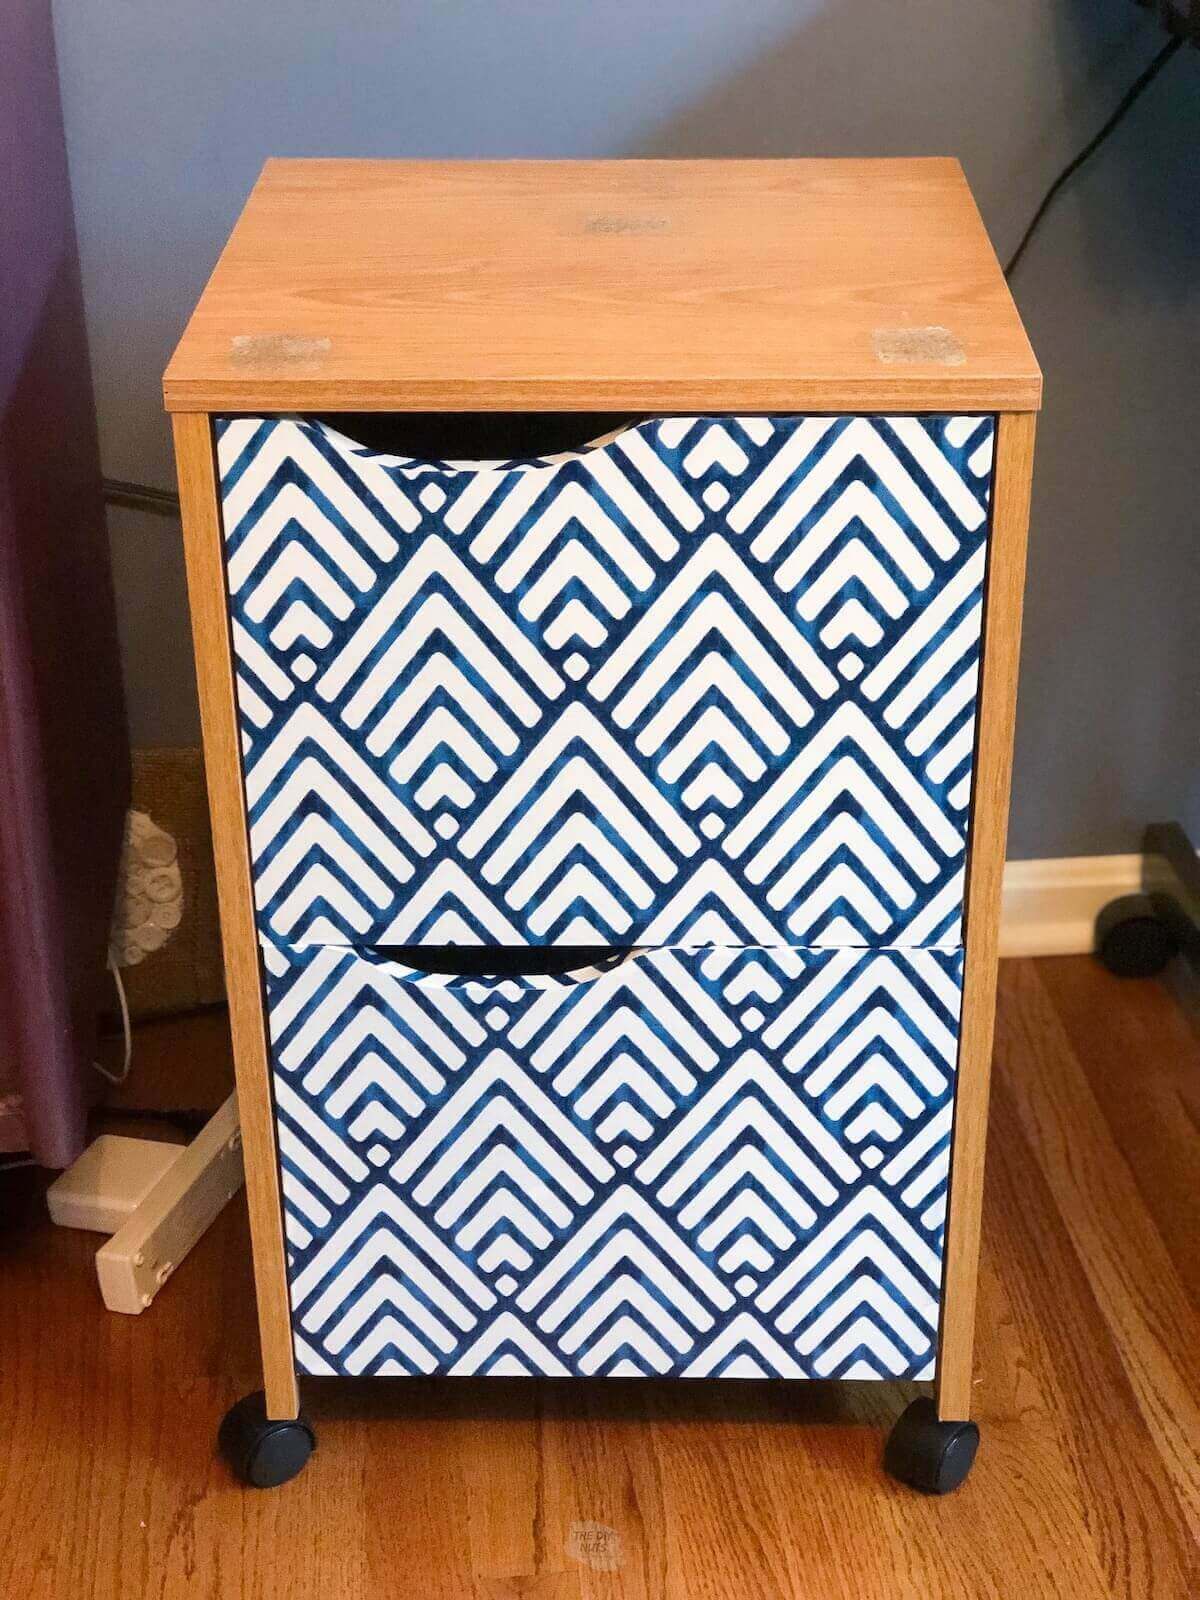
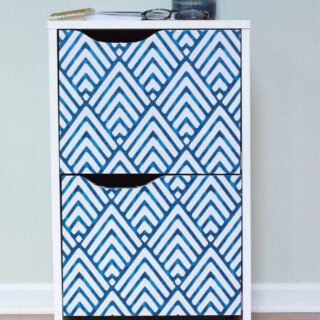
It is time to say goodbye to dull and lifeless file cabinets. Now we can finally get organized with our stylish (but cheap) file cabinet makeover project! You’ll love the fresh new look and how easy it is to achieve.
If you like this tutorial, please give it 5 stars below 🤩🤩🤩🤩🤩. Your support helps us continue to provide unique and budget-friendly DIYs.
How To Makeover A File Cabinet With Contact Paper
Equipment
- 220 Sandpaper optional
- Deglosser
- Rag
Supplies
- Painter’s Tape
- White Spray Paint with Primer Built-in
- Contact Paper
Instructions
- Make sure drawers are clean and dust-free.
- Cut small strips of contact paper to cover drawer edge.
- Carefully stick one part on the drawer edge. As you pull the backing off you need to make sure you are using your fingers to push out any air bubbles.
- You may need to cut small slits in the back of the paper to get contact paper to lay nicely.
- Cut a piece of contact paper larger than the drawer front.
- Starting on one side, stick the contact paper on the edge and cover the drawer. Push the contact paper on as you go from one side to the other.
- Wrap edges around the back of the drawer edges.
- Trim extra contact paper with exacto knife.
- Repeat for the second drawer.
- Remove drawers and take file cabinet box outside.
- Prep areas you do not want painted by covering wiht painter's tape.
- Lightly sand any rough spots.
- Wipe surface with a deglosser. Make sure your file cabinet is clean and dust-free.
- Use a spray paint with a primer built in and spray first coat of paint. Let fully dry.
- Continue to paint 2 more coats with drying time in between. Let paint dry overnight.
- Put your file cabinet back together.
Notes
- If your file cabinet does not come apart, you will want to spray paint before covering the drawers with contact paper.
- Use large sweeping motions when spray painting.
- When applying contact paper, rub your nail or piece of cardboard or old credit card on all edges to make sure that you made the contact paper stick.
A definite improvement on the typical pressed-board-and-laminate file cabinet. Great post!
Hi Mike. Thank you for your kind words. Yes, I am so happy with my file cabinet makeover.
This turned out really cute – I love the blue and white pattern!
Hi Andrea. Thank you so much. I couldn’t believe how easy it was to use this geometric contact paper on my file cabinet.
Hey, very nice site. I came across this on Google.